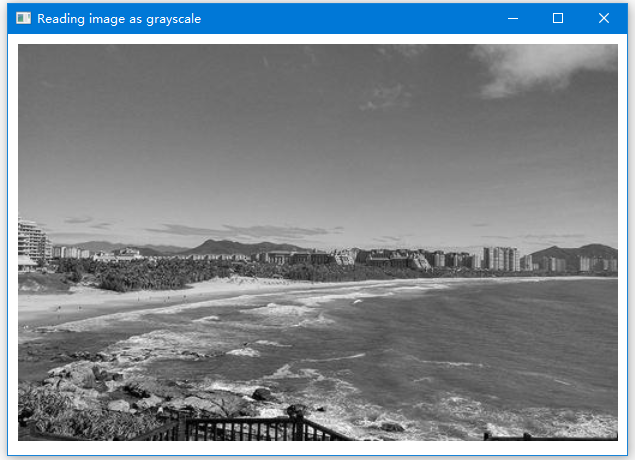
OpenCV將影象讀取為灰度
以下程式演示如何將彩色影象讀取為灰度並使用JavaFX視窗顯示。 在這裡通過將IMREAD_GRAYSCALE標誌與帶有彩色影象路徑的字串一起傳遞來讀取影象。
package tw511.com;

import java.awt.image.BufferedImage;

import org.opencv.core.Core;
import org.opencv.core.Mat;
import org.opencv.imgcodecs.Imgcodecs;

import javafx.application.Application;
import javafx.embed.swing.SwingFXUtils;
import javafx.scene.Group;
import javafx.scene.Scene;
import javafx.scene.image.ImageView;
import javafx.scene.image.WritableImage;
import javafx.stage.Stage;

public class ReadingAsGrayscale extends Application {
    @Override
    public void start(Stage stage) throws Exception {
        WritableImage writableImage = loadAndConvert();

        // Setting the image view
        ImageView imageView = new ImageView(writableImage);

        // Setting the position of the image
        imageView.setX(10);
        imageView.setY(10);

        // setting the fit height and width of the image view
        imageView.setFitHeight(400);
        imageView.setFitWidth(600);

        // Setting the preserve ratio of the image view
        imageView.setPreserveRatio(true);

        // Creating a Group object
        Group root = new Group(imageView);

        // Creating a scene object
        Scene scene = new Scene(root, 600, 400);

        // Setting title to the Stage
        stage.setTitle("Reading image as grayscale");

        // Adding scene to the stage
        stage.setScene(scene);

        // Displaying the contents of the stage
        stage.show();
    }

    public WritableImage loadAndConvert() throws Exception {
        // Loading the OpenCV core library
        System.loadLibrary(Core.NATIVE_LIBRARY_NAME);

        // Instantiating the imagecodecs class
        Imgcodecs imageCodecs = new Imgcodecs();

        String input = "F:/worksp/opencv/images/sample.jpg";

        // Reading the image
        Mat src = imageCodecs.imread(input, Imgcodecs.IMREAD_GRAYSCALE);

        byte[] data1 = new byte[src.rows() * src.cols() * (int) (src.elemSize())];
        src.get(0, 0, data1);

        // Creating the buffered image
        BufferedImage bufImage = new BufferedImage(src.cols(), src.rows(), BufferedImage.TYPE_BYTE_GRAY);

        // Setting the data elements to the image
        bufImage.getRaster().setDataElements(0, 0, src.cols(), src.rows(), data1);

        // Creating a WritableImage
        WritableImage writableImage = SwingFXUtils.toFXImage(bufImage, null);
        System.out.println("Image Read");
        return writableImage;
    }

    public static void main(String args[]) throws Exception {
        launch(args);
    }
}
假定以下是上述程式中指定的輸入影象sample.jpg。那麼輸出結果應該為一個灰色的圖片。