VueJS渲染函式
前面我們已經學習了元件和它的用法。 例如,有一個需要在整個專案中重用的內容。 我們可以將其轉換為元件並使用它。
下面來看看一個簡單元件的例子,看看渲染函式在它裡面做什麼。
範例
建立一個檔案:render_function.html -
<html>
   <head>
      <meta charset="utf-8" />
      <title>VueJs渲染函式</title>
      <script type = "text/javascript" src = "js/vue.js"></script>
   </head>
   <body>
      <div id = "component_test">
         <testcomponent></testcomponent>
      </div>
      <script type = "text/javascript">
         Vue.component('testcomponent',{
            template : '<h2>Hello World</h2>',
            data: function() {
            },
            methods:{
            }
         });
         var vm = new Vue({
            el: '#component_test'
         });
      </script>
   </body>
</html>
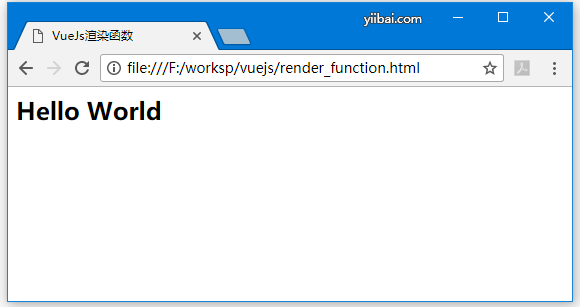
考慮上面一個列印"Hello World"的簡單元件的例子,在瀏覽器輸出效果如下圖所示 -
現在,如果想重新使用元件,可以通過重新列印來實現。 例如,
<div id = "component_test">
   <testcomponent></testcomponent>
   <testcomponent></testcomponent>
   <testcomponent></testcomponent>
   <testcomponent></testcomponent>
</div>
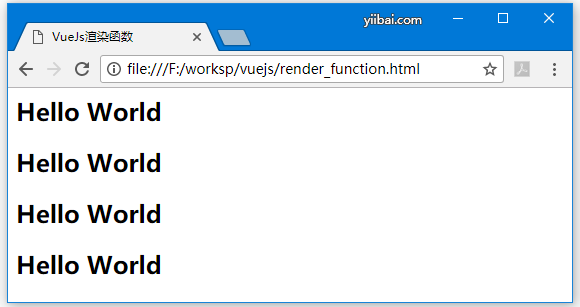
在瀏覽器輸出效果如下圖所示 -
但是,現在需要對元件進行一些更改。 我們不希望列印相同的文字。那麼如何修改它? 如果在元件內部輸入一些東西,是否會考慮到?
考慮下面的例子,看看會輸出什麼效果 -
<div id = "component_test">
   <testcomponent>Hello Java</testcomponent>
   <testcomponent>Hello Ruby</testcomponent>
   <testcomponent>Hello Linux</testcomponent>
   <testcomponent>Hello Python</testcomponent>
</div>
輸出結果仍與我們前面看到的一樣。 它不會改變我們需要的文字值。如下 -
元件提供了一些被稱為插槽的東西。在下面的範例中使用它,看看是否得到了預期的結果。
建立一個檔案:render_function-slots.html
<html>
   <head>
      <title>VueJs Instance</title>
      <script type = "text/javascript" src = "js/vue.js"></script>
   </head>
   <body>
      <div id = "component_test">
       <testcomponent>Hello Java</testcomponent>
       <testcomponent>Hello Ruby</testcomponent>
       <testcomponent>Hello Linux</testcomponent>
       <testcomponent>Hello Python</testcomponent>
    </div>
      <script type = "text/javascript">
         Vue.component('testcomponent',{
            template : '<h2><slot></slot></h2>',
            data: function() {
            },
            methods:{
            }
         });
         var vm = new Vue({
            el: '#component_test'
         });
      </script>
   </body>
</html>
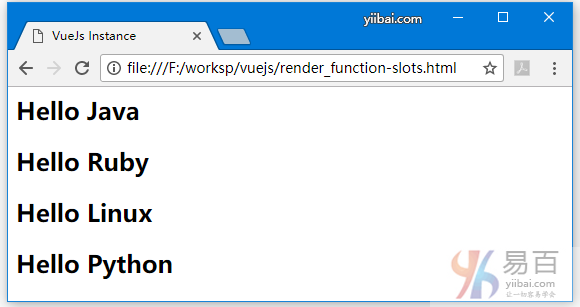
如上面的程式碼所示,在模板中新增了插槽,因此現在需要在元件內部傳送值,如以下螢幕截圖所示。
現在,假設想要改變顏色和大小。 例如,目前使用的是h2標籤,希望將HTML標籤更改為同一個元件的p標籤或div標籤。如何能夠靈活地進行如此多的改變?
可以在渲染函式的幫助下做到這一點。渲染函式有助於使元件動態化,並通過保持通用性和使用相同元件傳遞引數來使用它所需的方式。
範例
建立一個檔案:render_function-style.html -
<html>
   <head>
      <title>VueJs渲染函式樣式</title>
      <script type = "text/javascript" src = "js/vue.js"></script>
   </head>
   <body>
      <div id = "component_test">
         <testcomponent :elementtype = "'div,red,25,div1'">Hello Java</testcomponent>
         <testcomponent :elementtype = "'h3,green,25,h3tag'">Hello Ruby</testcomponent>
         <testcomponent :elementtype = "'p,blue,25,ptag'">Hello C#</testcomponent>
         <testcomponent :elementtype = "'div,green,25,divtag'">Hello Python</testcomponent>
      </div>
      <script type = "text/javascript">
         Vue.component('testcomponent',{
            render :function(createElement){
               var a = this.elementtype.split(",");
               return createElement(a[0],{
                  attrs:{
                     id:a[3],
                     style:"color:"+a[1]+";font-size:"+a[2]+";"
                  }
               },
               this.$slots.default
               )
            },
            props:{
               elementtype:{
                  attributes:String,
                  required:true
               }
            }
         });
         var vm = new Vue({
            el: '#component_test'
         });
      </script>
   </body>
</html>
在上面的程式碼中,我們已經改變了元件,並使用下面的一段程式碼新增了帶有props屬性的渲染函式。
Vue.component('testcomponent',{
   render :function(createElement){
      var a = this.elementtype.split(",");
      return createElement(a[0],{
         attrs:{
            id:a[3],
            style:"color:"+a[1]+";font-size:"+a[2]+";"
         }
      },
      this.$slots.default
      )
   },
   props:{
      elementtype:{
         attributes:String,
         required:true
      }
   }
});
props屬性如下所示。
props:{
   elementtype:{
      attributes:String,
      required:true
   }
}
已經定義了一個名為elementtype的屬性,它接受string型別的屬性欄位。 另一個必填欄位,其中提到該欄位是強制性的。
在渲染函式中,使用了elementtype屬性,如下面的一段程式碼所示。
render :function(createElement){
   var a = this.elementtype.split(",");
   return createElement(a[0],{
      attrs:{
         id:a[3],
         style:"color:"+a[1]+";font-size:"+a[2]+";"
      }
   },
   this.$slots.default
   )
}
渲染函式將createElement作為引數並返回相同的值。 CreateElement和JavaScript中一樣建立DOM元素。還用逗號分隔元素型別,使用attrs欄位中的值。
CreateElement將第一個引數作為要建立的元素標籤。它使用下面的一段程式碼傳遞給元件。
<testcomponent :elementtype = "'div,red,25,div1'">Hello Java</testcomponent>
該元件需要採取props欄位如上所示。 它開始於:props的名字。 在這裡傳遞元素標籤,顏色,字型大小和元素的ID。
在渲染函式中,在createElement中,使用逗號進行分割,所以第一個元素是elementtag,它被賦給了createElemet,如下面的一段程式碼所示。
return createElement(
   a[0],{
      attrs:{
         id:a[3],
         style:"color:"+a[1]+";font-size:"+a[2]+";"
      }
   },
   this.$slots.default
)
a[0]是html元素標記。 下一個引數是元素標籤的屬性。 它們在attr欄位中定義在下面的一段程式碼中。
attrs:{
   id:a[3],
   style:"color:"+a[1]+";font-size:"+a[2]+";"
}
我們已經定義了元素標籤的id和style兩個屬性。 對於id,傳遞了a[3],這是在逗號分割後的值。 使用樣式定義了顏色和字型大小。
最後是slot,下面的程式碼片段中給出的訊息。
<testcomponent :elementtype = "'div,red,25,div1'">Hello Java</testcomponent>
使用下面的一段程式碼定義了要在createElement中列印的文字。
this.$slots.default
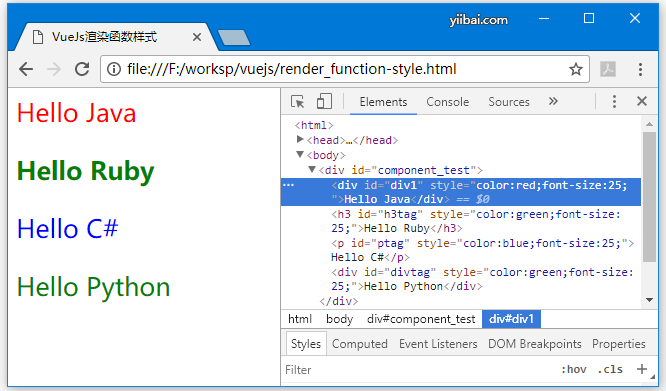
它採用元件欄位中分配的預設值。以下是在瀏覽器中獲得的輸出。

元素也顯示結構。下面是定義的元件 -
<div id = "component_test">
   <testcomponent :elementtype = "'div,red,25,div1'">Hello Java</testcomponent>
   <testcomponent :elementtype = "'h3,green,25,h3tag'">Hello Ruby</testcomponent>
   <testcomponent :elementtype = "'p,blue,25,ptag'">Hello C#</testcomponent>
   <testcomponent :elementtype = "'div,green,25,divtag'">Hello Python</testcomponent>
</div>