Yii小部件(Widget)
widget是可重複使用的用戶端程式碼,它包含HTML,CSS 和 JS。此程式碼包含最少邏輯並被包裝在一個 yii\base\Widget 物件。我們可以很容易地此物件插入到在任意檢視中應用。
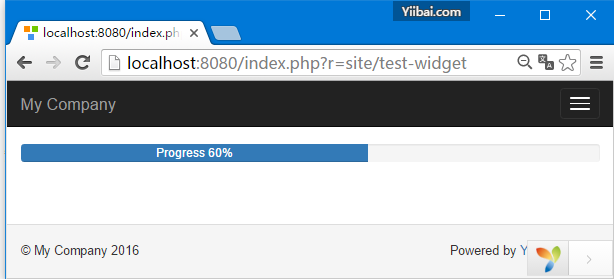
第1步- 要在動作中檢視小部件,我們在 SiteController 建立 actionTestWidget 函式並用下面的程式碼。
public function actionTestWidget() {
   return $this->render('testwidget');
}
在上面的例子中,我們只是返回了一個名為 「testwidget」 的檢視。
第2步 - 現在,在 views/site 檔案夾中,建立一個名為 testwidget.php 的檢視檔案。
<?php
   use yii\bootstrap\Progress;
?>
<?= Progress::widget(['percent' => 60, 'label' => 'Progress 60%']) ?>
使用Widgets
要在檢視中使用一個小部件,您應該呼叫 yii\base\Widget::widget() 函式。 這個函式使用的組態陣列來初始化視窗小部件。在前面的例子中,我們用插入百分比進度條和組態物件標記引數。
一些小部件需要內容塊,應該封閉在yii\base\Widget::begin() 和 yii\base\Widget::end()函式之間。 例如,下面的 widget 顯示一個聯絡的表單 -
<?php $form = ActiveForm::begin(['id' => 'contact-form']); ?>
   <?= $form->field($model, 'name') ?>
   <?= $form->field($model, 'email') ?>
   <?= $form->field($model, 'subject') ?>
   <?= $form->field($model, 'body')->textArea(['rows' => 6]) ?>
   <?= $form->field($model, 'verifyCode')->widget(Captcha::className(), [
      'template' =>
         '<div class="row">
            <div class = "col-lg-3">{image}</div>
            <div class = "col-lg-6">{input}</div>
         </div>',
   ]) ?>
   <div class = "form-group">
      <?= Html::submitButton('Submit', ['class' => 'btn btn-primary',
         'name' => 'contact-button']) ?>
   </div>
<?php ActiveForm::end(); ?>
建立Widgets
要建立一個視窗小部件,應該擴充套件類 yii\base\Widget。那麼需要重寫 yii\base\Widget::init() 和 yii\base\Widget::run() 函式。run()函式將返回渲染的結果。 init()函式將標準化小部件的屬性。
init()函式將標準化小部件的屬性。 在 components 檔案夾內,建立一個名為 FirstWidget.php 檔案,並使用下面的程式碼。
<?php
   namespace app\components;
   use yii\base\Widget;
   class FirstWidget extends Widget {
      public $mes;
      public function init() {
         parent::init();
         if ($this->mes === null) {
            $this->mes = '第一個Widget';
         }
      }
      public function run() {
         return "<h1>$this->mes</h1>";
      }
   }
?>
步驟2- 按以下列方式修改 views/site/testwidget.php 檢視。
<?php
   use app\components\FirstWidget;
?>
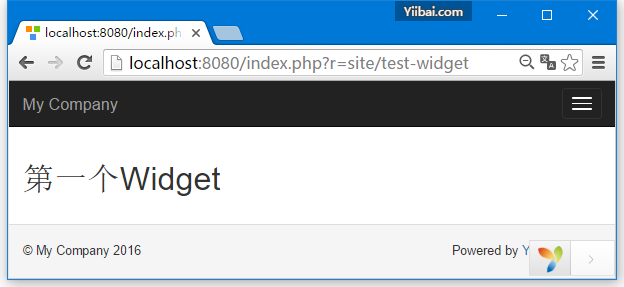
<?= FirstWidget∷widget() ?>
第4步- 要在 begin() 和 end() 函式之間呼叫顯示內容,您應該修改 FirstWidget 檔案。
<?php
   namespace app\components;
   use yii\base\Widget;
   class FirstWidget extends Widget {
      public function init() {
         parent::init();
         ob_start();
      }
      public function run() {
         $content = ob_get_clean();
         return "<h1>$content</h1>";
      }
   }
?>
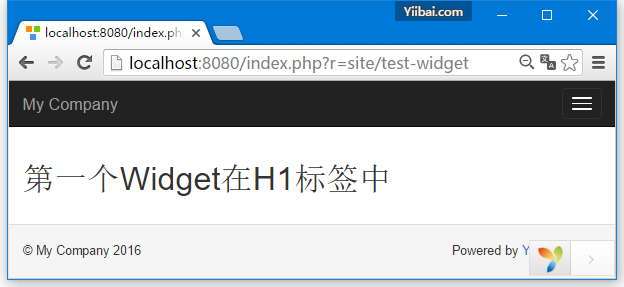
第5步 - 現在H1標籤將環繞的所有內容。請注意,我們使用 ob_start()函式來緩衝輸出。修改 views/site/testwidget.php 檢視使用如下面給出的程式碼。
<?php
   use app\components\FirstWidget;
?>
<?php FirstWidget::begin(); ?>
   第一個Widget在H1標籤中
<?php FirstWidget::end(); ?>
將會看到下面的輸出 -


要點
視窗小部件應該 -
-
要在MVC模式下建立。應該保持表現層在檢視,邏輯在視窗小部件(widget)類。
-
設計成自包含的。最終開發人員應該能夠將它設計到一個檢視。

