Spring Security登出登入範例
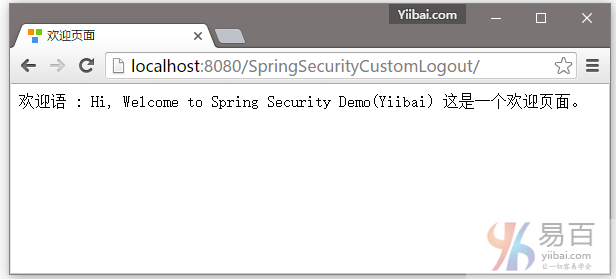
這篇教學文章將向您展示如何以程式設計方式登出 Spring Security 使用者。使用瀏覽器的後退按鈕也能很好顯示。要整個工程完成程式碼編寫並執行後,主頁面如下圖所示 -

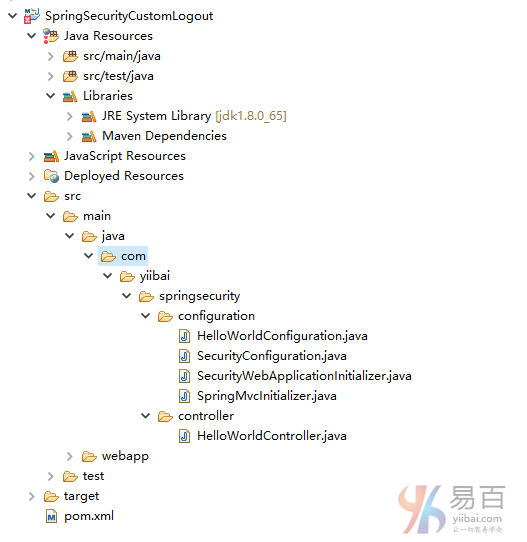
首先我們先來看看工程結構,這裡使用的是注釋方式來實現的。如下圖中所示 -
一般情況下,在你的檢視中應該提供一個簡單的登出連結來登出使用者,類似如下所示:
<%@ page language="java" contentType="text/html; charset=UTF-8" pageEncoding="UTF-8"%>
<%@ taglib prefix="c" uri="http://java.sun.com/jsp/jstl/core"%>
<html>
<head>
	<meta http-equiv="Content-Type" content="text/html; charset=UTF-8">
	<title>Admin page</title>
</head>
<body>
	Dear <strong>${user}</strong>, Welcome to Admin Page.
	<a href="<c:url value="/logout" />">Logout</a>
</body>
</html>
沒有什麼特別的東西。現在,我們只需要在對映控制器到 /logout 登出連結。建立一個新的方法如下所示:
	@RequestMapping(value="/logout", method = RequestMethod.GET)
	public String logoutPage (HttpServletRequest request, HttpServletResponse response) {
		Authentication auth = SecurityContextHolder.getContext().getAuthentication();
		if (auth != null){
			new SecurityContextLogoutHandler().logout(request, response, auth);
		}
		return "redirect:/login?logout";//You can redirect wherever you want, but generally it's a good practice to show login screen again.
	}
在這裡,首先我們確定,如果使用者在認證之後使用 SecurityContextHolder.getContext().getAuthentication() 。如果是這樣,那麼我們呼叫 SecurityContextLogoutHandler().logout(request, response, auth) 登出使用者。
登出呼叫執行以下操作:
-
HTTP的對談失效,那麼解除系結到它的任何物件;
-
將刪除 SecurityContext 的身份驗證,以防止併行請求的問題;
-
顯式地清除當前執行緒上下文值;
就這樣,不需要在應用程式中的任何其他地方處理登出。請注意,你甚至不需要做任何特殊的Spring組態(XML或基於注釋),資訊如下圖所示:
package com.yiibai.springsecurity.configuration;

import org.springframework.beans.factory.annotation.Autowired;
import org.springframework.context.annotation.Configuration;
import org.springframework.security.config.annotation.authentication.builders.AuthenticationManagerBuilder;
import org.springframework.security.config.annotation.web.builders.HttpSecurity;
import org.springframework.security.config.annotation.web.configuration.EnableWebSecurity;
import org.springframework.security.config.annotation.web.configuration.WebSecurityConfigurerAdapter;

@Configuration
@EnableWebSecurity
public class SecurityConfiguration extends WebSecurityConfigurerAdapter {


	@Autowired
	public void configureGlobalSecurity(AuthenticationManagerBuilder auth) throws Exception {
		auth.inMemoryAuthentication().withUser("yiibai").password("123456").roles("USER");
		auth.inMemoryAuthentication().withUser("admin").password("123456").roles("ADMIN");
		auth.inMemoryAuthentication().withUser("dba").password("123456").roles("ADMIN","DBA");
	}

	@Override
	protected void configure(HttpSecurity http) throws Exception {

	  http.authorizeRequests()
	  	.antMatchers("/", "/home").permitAll()
	  	.antMatchers("/admin/**").access("hasRole('ADMIN')")
	  	.antMatchers("/db/**").access("hasRole('ADMIN') and hasRole('DBA')")
	  	.and().formLogin().loginPage("/login")
	  	.usernameParameter("ssoId").passwordParameter("password")
	  	.and().exceptionHandling().accessDeniedPage("/Access_Denied");
	}
}
如在上面提到的,沒有特殊組態來處理登出。
以上如果使用 XML 來組態 Security ,那麼格式如下:
<beans:beans xmlns="http://www.springframework.org/schema/security"
    xmlns:beans="http://www.springframework.org/schema/beans"
    xmlns:xsi="http://www.w3.org/2001/XMLSchema-instance"
    xsi:schemaLocation="http://www.springframework.org/schema/beans http://www.springframework.org/schema/beans/spring-beans-4.1.xsd
    http://www.springframework.org/schema/security http://www.springframework.org/schema/security/spring-security-4.0.xsd">

    <http auto-config="true" >
        <intercept-url pattern="/" access="hasRole('USER')" />
        <intercept-url pattern="/home" access="hasRole('USER')" />
        <intercept-url pattern="/admin**" access="hasRole('ADMIN')" />
        <intercept-url pattern="/dba**" access="hasRole('ADMIN') and hasRole('DBA')" />
        <form-login  login-page="/login"
                     username-parameter="ssoId"
                     password-parameter="password"
                     authentication-failure-url="/Access_Denied" />
    </http>

    <authentication-manager >
        <authentication-provider>
            <user-service>
                <user name="yiibai"  password="123456"  authorities="ROLE_USER" />
                <user name="admin" password="123456" authorities="ROLE_ADMIN" />
                <user name="dba"   password="123456" authorities="ROLE_ADMIN,ROLE_DBA" />
            </user-service>
        </authentication-provider>
    </authentication-manager>

</beans:beans>
在本系列教學中的應用程式程式碼,在之後的文章都是基於這個教學的。所以如果打算往後學習其它教學,請務必清楚理解此文章程式碼和邏輯,以及相關組態或原理。
發布並執行
如需要自己動手實踐,可在文章底部提供的下載連結並點選下載本範例程式碼,這個專案的完整程式碼。它是在Servlet 3.0的容器(Tomcat7/8,本文章使用 Tomcat7)上構建和部署執行的。
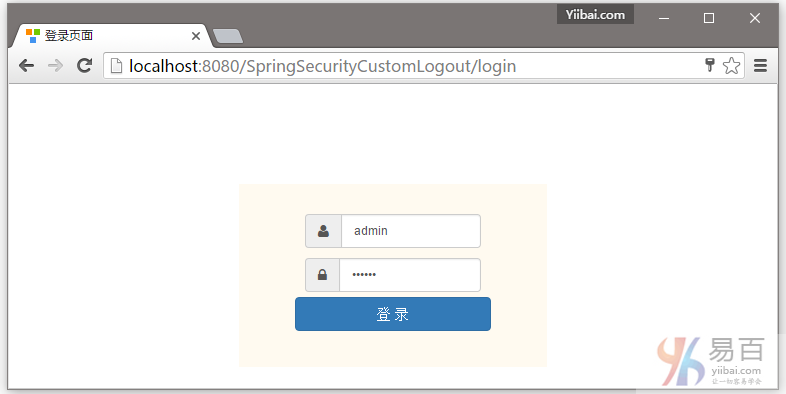
提供使用者名和密碼(admin/123456)並點選提交,就會看到管理頁面。如下圖中所示 -
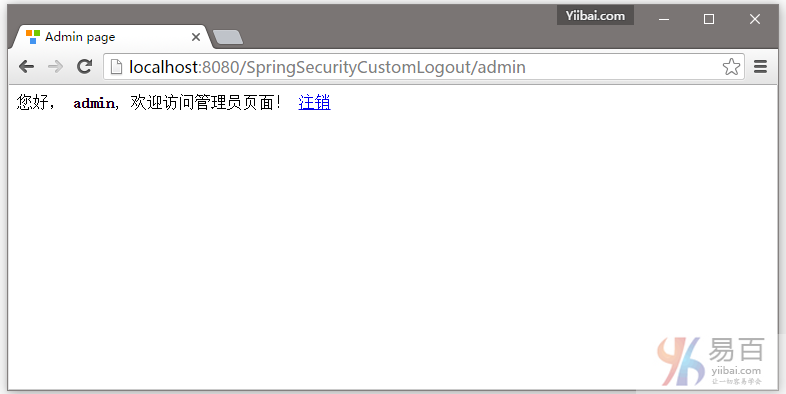

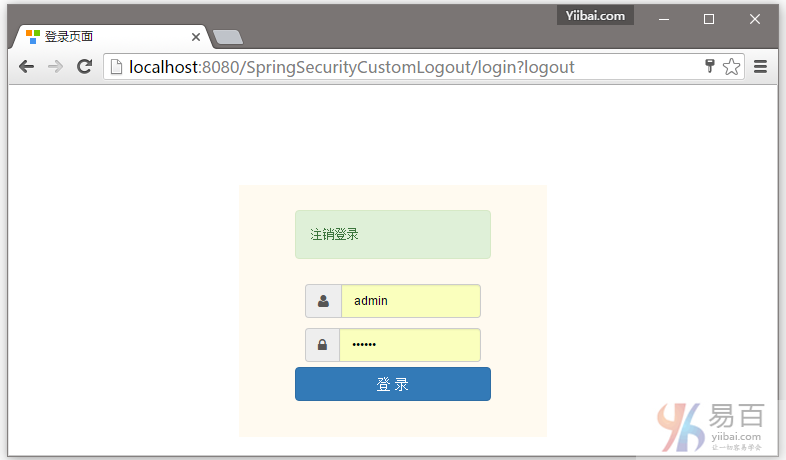
點選登出,將會自動跳轉到登入頁。如下圖中所示 -
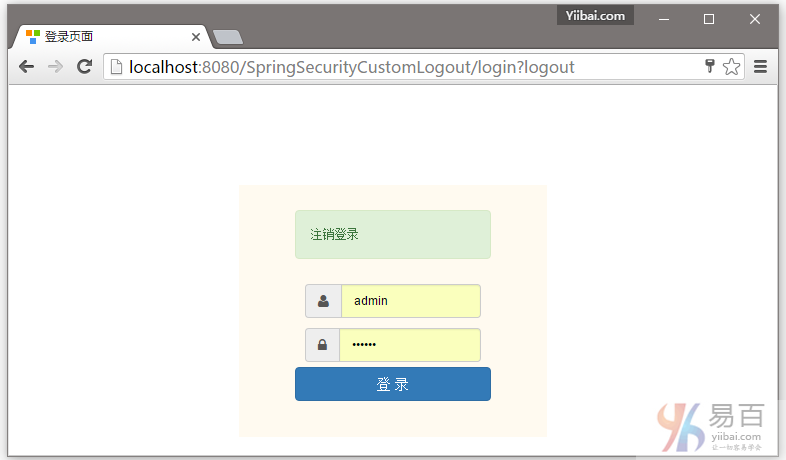

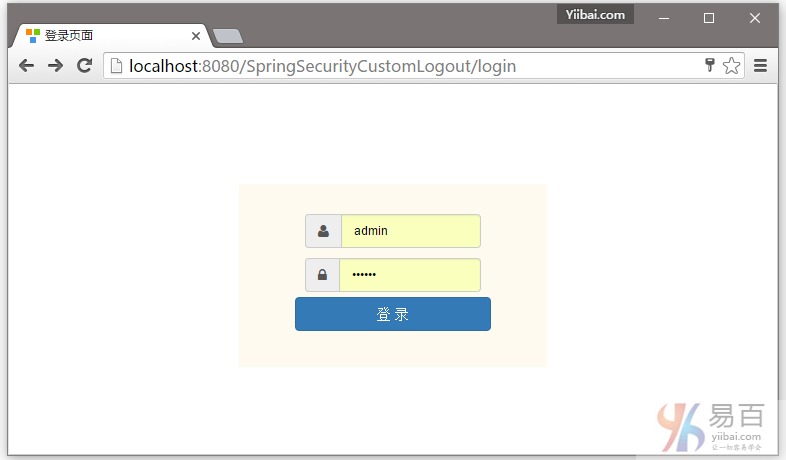
點選瀏覽器後退按鈕,將會留在登入螢幕。如下所示 -

而已。下一篇文章將學習如何顯示基於已登入使用者的角色,使用Spring Security 標籤顯示 JSP/檢視等等。
