Spring Cloud組態服務
這是使用Spring Cloud構建分散式應用程式的第一步。 在本文中將演示/指導您建立服務以管理其他服務的組態。
本文中討論的內容包括:
- 什麼是組態伺服器? 為什麼在分散式應用程式中需要伺服器?
- 說明集中組態管理和版本化組態管理。
- 設定儲存庫以儲存組態資訊。
- 構建並執行Spring Cloud伺服器。
1. 為什麼需要組態伺服器?
本小節中將討論為什麼需要一個服務來管理分散式應用程式中其他服務的組態。
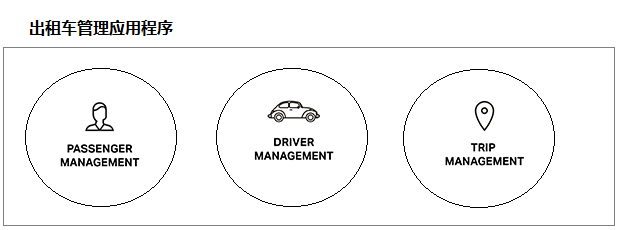
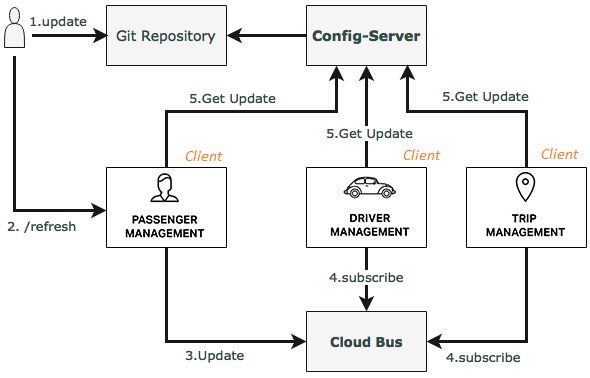
下面是分散式應用程式的示意圖 - 「出租車管理應用程式」,包括三個子應用程式(乘客管理,司機管理和旅程管理),每個子應用程式都部署在伺服器上。
每個服務(應用程式)都是由開發人員團隊開發的專案。 在專案中,除了程式碼之外,它還包含組態,例如,連線到資料庫的資訊,有關資料源位置的資訊等。如果您在專案程式碼中建立此資訊的硬程式碼(在程式碼中寫死資料庫連線資訊),這是一個很不好的做法。 因此,此資訊通常放在單獨的檔案中,這些檔案稱為組態檔案。
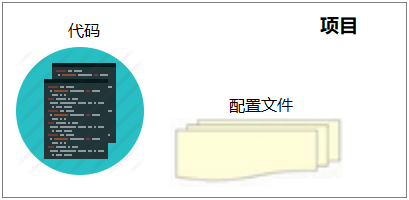
完成應用功能開發後,專案將打包並部署到伺服器上。 通常,組態檔案將與程式碼一起打包並形成唯一(檔案)產品。 因此,如果組態中有任何更改,則需要編譯並重新打包專案並將其重新部署到伺服器上。 這顯然是分散式應用程式環境中的挑戰。
使用組態伺服器
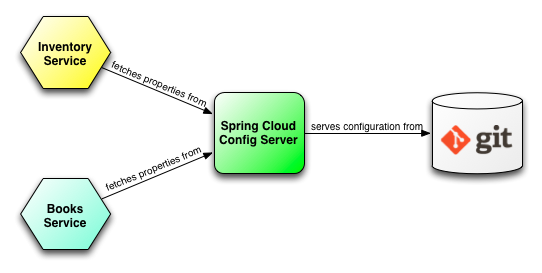
解決上述問題的想法是需要服務(應用程式)來管理其他服務的組態。 它在伺服器上獨立執行。

上述做法帶來以下好處:
在Config-Server上更改組態檔案時,您肯定希望將此類更改通知給用戶端。 Spring Cloud Bus提供了一種機制,用於通知客戶「存在更改」並要求用戶端更新新資訊。
2. Config Server如何儲存資料?
將所有組態檔案放在組態伺服器(Config Server)上時,您將詢問組態伺服器(Config Server)如何儲存這些檔案。
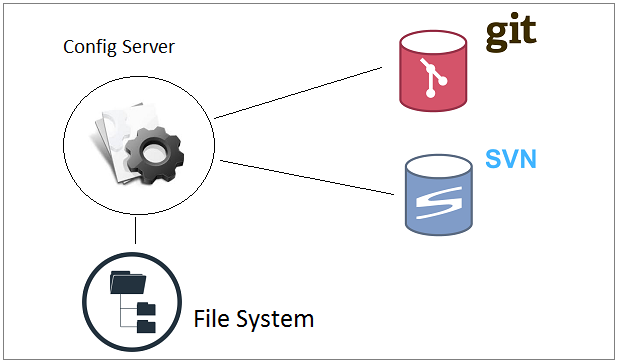
組態伺服器(Config Server)有兩種主要的儲存組態檔案的方法:
- 將它們作為系統檔案儲存在伺服器的硬碟驅動器上。
- 使用GIT或SVN(Subversion)。
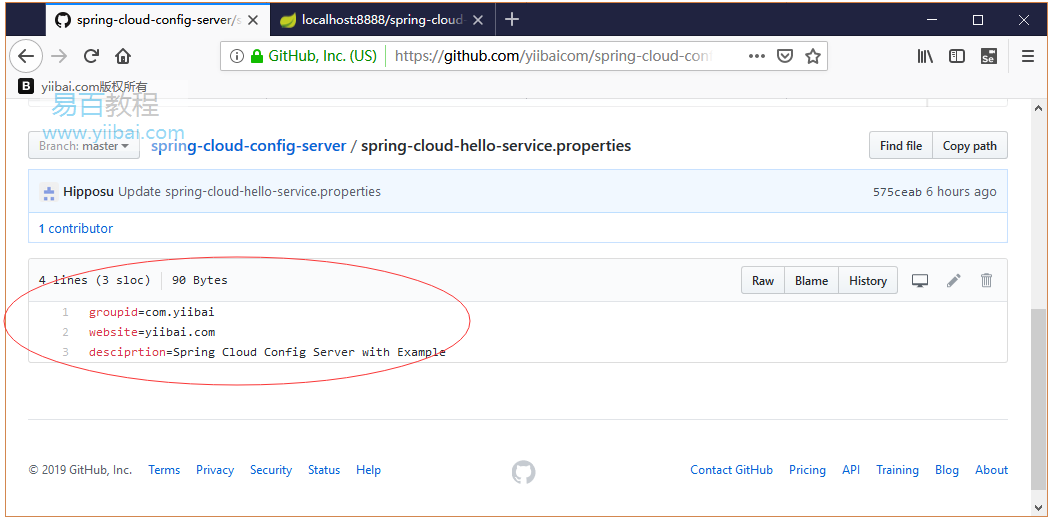
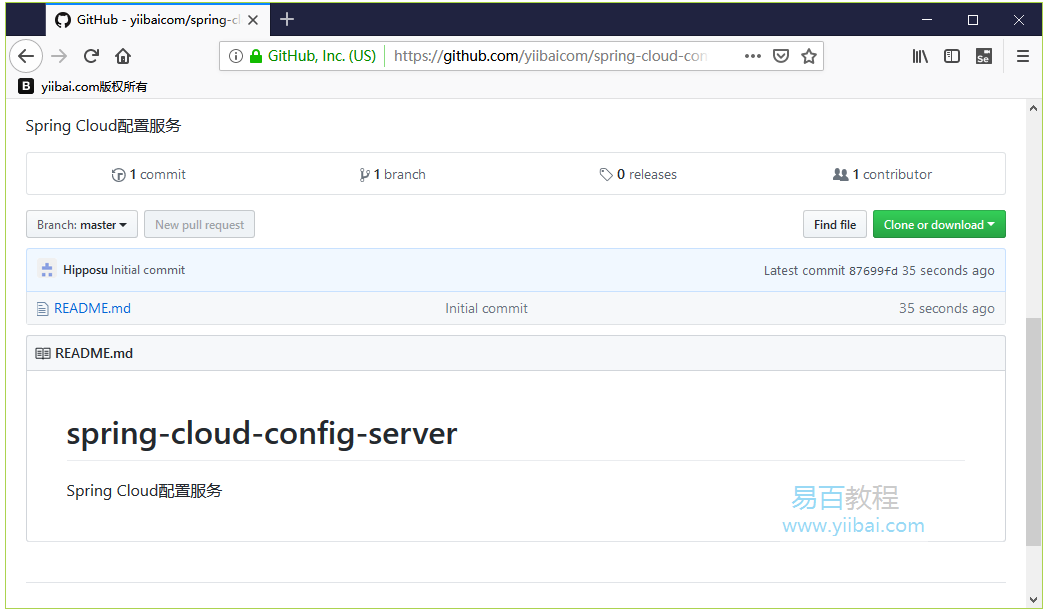
在本節中,將建立一個組態伺服器(Config Server),它將組態檔案儲存在GitHub上。 建立了一個GitHub儲存庫:
3. 建立Spring Boot專案
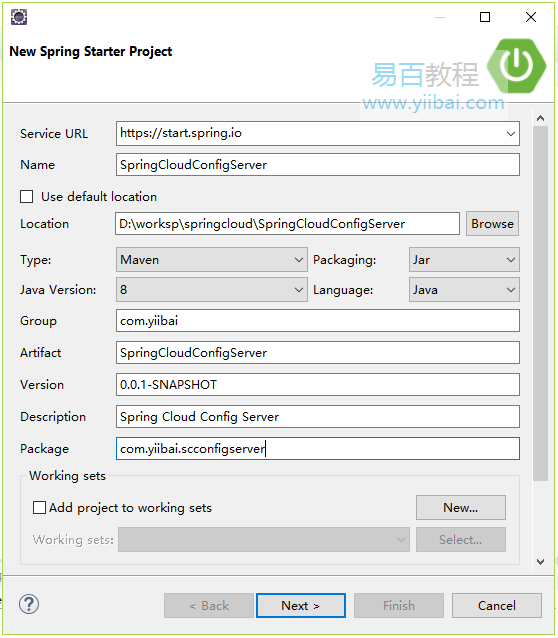
在Eclipse上,建立一個Spring Boot專案:
輸入:
- Name: SpringCloudConfigServer
- Group: com.yiibai
- Artifact: SpringCloudConfigServer
- Description: Spring Cloud Config Server
- Package: com.yiibai.scconfigserver
接著選擇建立的功能: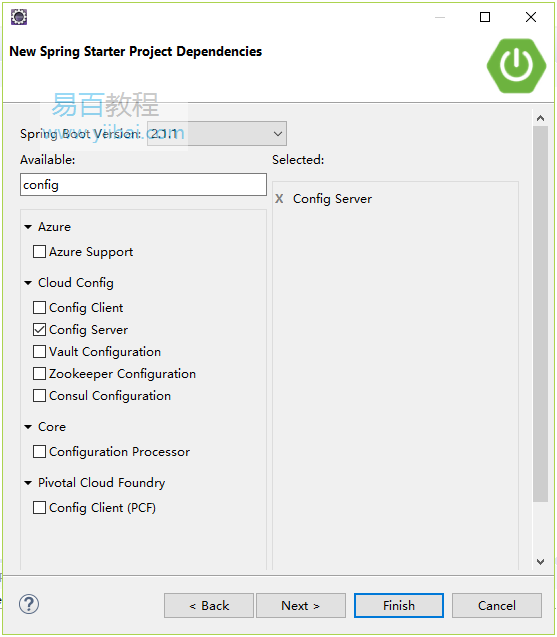
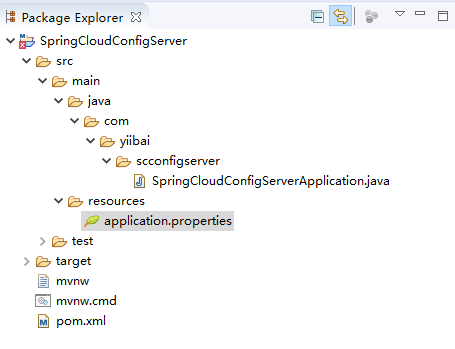
好的,專案已經建立完成:
檔案:pom.xml -
<?xml version="1.0" encoding="UTF-8"?>
<project xmlns="http://maven.apache.org/POM/4.0.0" xmlns:xsi="http://www.w3.org/2001/XMLSchema-instance"
    xsi:schemaLocation="http://maven.apache.org/POM/4.0.0 http://maven.apache.org/xsd/maven-4.0.0.xsd">
    <modelVersion>4.0.0</modelVersion>
    <parent>
        <groupId>org.springframework.boot</groupId>
        <artifactId>spring-boot-starter-parent</artifactId>
        <version>2.1.1.RELEASE</version>
        <relativePath/> <!-- lookup parent from repository -->
    </parent>
    <groupId>com.yiibai</groupId>
    <artifactId>SpringCloudConfigServer</artifactId>
    <version>0.0.1-SNAPSHOT</version>
    <name>SpringCloudConfigServer</name>
    <description>Spring Cloud Config Server</description>

    <properties>
        <java.version>1.8</java.version>
        <spring-cloud.version>Greenwich.RC2</spring-cloud.version>
    </properties>

    <dependencies>
        <dependency>
            <groupId>org.springframework.cloud</groupId>
            <artifactId>spring-cloud-config-server</artifactId>
        </dependency>

        <dependency>
            <groupId>org.springframework.boot</groupId>
            <artifactId>spring-boot-starter-test</artifactId>
            <scope>test</scope>
        </dependency>
    </dependencies>

    <dependencyManagement>
        <dependencies>
            <dependency>
                <groupId>org.springframework.cloud</groupId>
                <artifactId>spring-cloud-dependencies</artifactId>
                <version>${spring-cloud.version}</version>
                <type>pom</type>
                <scope>import</scope>
            </dependency>
        </dependencies>
    </dependencyManagement>

    <build>
        <plugins>
            <plugin>
                <groupId>org.springframework.boot</groupId>
                <artifactId>spring-boot-maven-plugin</artifactId>
            </plugin>
        </plugins>
        <defaultGoal>compile</defaultGoal>
    </build>

    <repositories>
        <repository>
            <id>spring-milestones</id>
            <name>Spring Milestones</name>
            <url>https://repo.spring.io/milestone</url>
        </repository>
    </repositories>

</project>
在檔案:SpringCloudConfigServerApplication.java 中新增註解:@EnableConfigServer ,完整程式碼如下所示 -
package com.yiibai.scconfigserver;

import org.springframework.boot.SpringApplication;
import org.springframework.boot.autoconfigure.SpringBootApplication;
import org.springframework.cloud.config.server.EnableConfigServer;

@EnableConfigServer // 此程式碼註解必須要加上
@SpringBootApplication
public class SpringCloudConfigServerApplication {

    public static void main(String[] args) {
        SpringApplication.run(SpringCloudConfigServerApplication.class, args);
    }
}
4. 組態Config Server
此服務(應用程式)將在埠8888上部署並執行,並在GitHub上儲存組態檔案,因此需要在檔案:application.properties 檔案中進行一些組態。
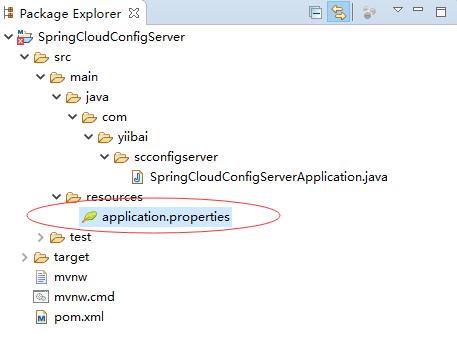
檔案:application.properties -
server.port=8888

spring.cloud.config.server.git.uri=https://github.com/yiibaicom/spring-cloud-config-server.git

# For File System:
# spring.profiles.active=native
# spring.cloud.config.server.native.searchLocations=C:/Users/tran/Desktop/config
如果Git Server(或SVN Server)需要使用者名/密碼,則需要進行其他組態。
5. 組態Config Server
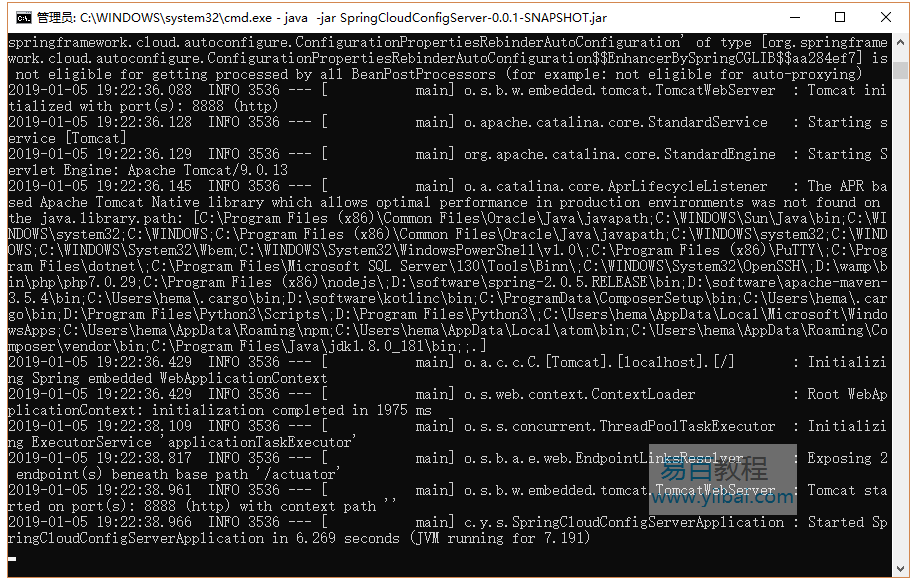
右鍵單擊專案名稱,選擇:Run As -> Maven install ,然後開啟命令列,進入到生成的Jar的target目錄,執行以下命令 -
D:\worksp\springcloud\SpringCloudConfigServer\target> java -jar SpringCloudConfigServer-0.0.1-SNAPSHOT.jar
執行後,輸出以下結果 -
測試Spring Cloud,開啟瀏覽器存取URL:
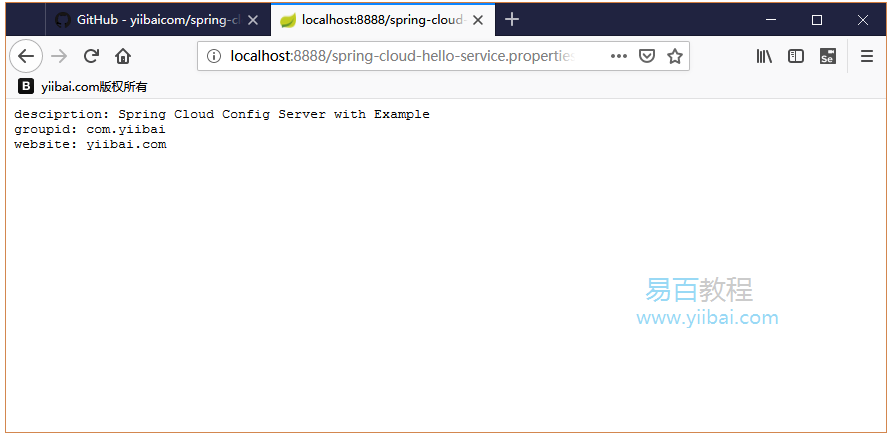
也就是上面建立的Githup中的內容: