對RGB源圖片數據進行縮放
2020-08-11 20:47:21
一、執行環境介紹
Linux系統: Redhat6.3 (32位元)
gcc 版本 4.4.6 20120305 (Red Hat 4.4.6-4) (GCC)
二、功能介紹
開啓一張BMP圖片,讀取RGB源數據進行縮放再生成新的BMP圖片。
三、核心程式碼
由於處理的是BMP圖片數據,傳入的縮放後的圖片寬度需要是4的倍數.
縮放演算法參考: http://blog.chinaunix.net/uid-22915173-id-2185545.html
#include <stdio.h>
#include <string.h>
#include <stdlib.h>

int PicZoom(unsigned char *s_buff,unsigned int s_width,unsigned int s_height,unsigned char *buff,unsigned int width,unsigned int height);
void *my_memcpy(void *v_dst,const void *v_src,unsigned char c);

#pragma pack(1)   /* 必須在結構體定義之前使用,這是爲了讓結構體中各成員按1位元組對齊 */
/*需要檔案資訊頭:14個位元組 */
struct BITMAPFILEHEADER
{
	unsigned short bfType;      //儲存圖片類似。 'BM'
	unsigned long  bfSize;      //圖片的大小
	unsigned short bfReserved1;
	unsigned short bfReserved2;
	unsigned long  bfOffBits;  //RGB數據偏移地址
};

/* 點陣圖資訊頭 */
struct BITMAPINFOHEADER { /* bmih */
	unsigned long  biSize;      //結構體大小
	unsigned long  biWidth;		//寬度
	unsigned long  biHeight;	//高度
	unsigned short biPlanes;
	unsigned short biBitCount;	//顏色位數
	unsigned long  biCompression;
	unsigned long  biSizeImage;
	unsigned long  biXPelsPerMeter;
	unsigned long  biYPelsPerMeter;
	unsigned long  biClrUsed;
	unsigned long  biClrImportant;
};

/*
圖片放大與縮小範例
*/
int main(int argc,char *argv[])
{
	struct BITMAPFILEHEADER src_head;  //原始檔頭數據
	struct BITMAPINFOHEADER src_info;  //原始檔參數結構
	struct BITMAPFILEHEADER new_head;  //新檔案頭數據
	struct BITMAPINFOHEADER new_info;  //新檔案參數結構
	unsigned int new_Width;			   //縮放後的寬度
	unsigned int new_Height;		   //縮放後的高度
	unsigned char *new_buff;           //存放新圖片的數據
	unsigned char *src_buff;           //存放源圖片的數據
	unsigned int cnt=0;

    if(argc!=5)
    {
        printf("參數格式: ./a.out <原圖片名稱> <新圖片名稱> <縮放後寬度> <縮放後高度>\n");
        printf("例如: ./a.out src.bmp new.bmp 80 80 \n");
        return 0;
    }
	/*1. 開啓圖片檔案*/
	FILE *src_file=fopen(argv[1],"rb");
	FILE *new_file=fopen(argv[2],"wb");
	if(src_file==NULL||new_file==NULL)
	{
		printf("%s 原始檔開啓失敗!\r\n",argv[1]);
		return;
	}

	/*2. 讀取源圖片參數*/
	fread(&src_head,sizeof(struct BITMAPFILEHEADER),1,src_file);
	fread(&src_info,sizeof(struct BITMAPINFOHEADER),1,src_file);
	printf("源圖片尺寸:w=%d h=%d\r\n",src_info.biWidth,src_info.biHeight);

	/*3. 獲取新圖片的尺寸*/
    new_Width=atoi(argv[3]);
    new_Height=atoi(argv[4]);
	printf("新圖片尺寸:w=%d h=%d\r\n",new_Width,new_Height);

	/*4. 申請存放圖片數據的空間*/
	src_buff=malloc(src_info.biWidth*src_info.biHeight*3);
	new_buff=malloc(new_Width*new_Height*3);
	if(new_buff==NULL||src_buff==NULL)
	{
		printf("malloc申請空間失敗!\r\n");
		return -1;
	}

	/*5. 讀取源圖片RGB數據*/
	fseek(src_file,src_head.bfOffBits,SEEK_SET); //移動檔案指針到RGB數據位置
	fread(src_buff,1,src_info.biWidth*src_info.biHeight*3,src_file); //讀取源數據

	/*6. 縮放圖片*/
	if(PicZoom(src_buff,src_info.biWidth,src_info.biHeight,new_buff,new_Width,new_Height))
	{
		printf("圖片縮放處理失敗!\r\n");
		return -1;
	}

	/*7. 寫入新圖片數據*/
	//填充檔案頭
	memset(&new_head,0,sizeof(struct BITMAPFILEHEADER));
	new_head.bfType=0x4d42;
	new_head.bfSize=54+new_Width*new_Height*3;
	new_head.bfOffBits=54;
	//填充檔案參數
	memset(&new_info,0,sizeof(struct BITMAPINFOHEADER));
	new_info.biSize=sizeof(struct BITMAPINFOHEADER);
	new_info.biWidth=new_Width;
	new_info.biHeight=new_Height;
	new_info.biPlanes=1;
	new_info.biBitCount=24;
	//寫入檔案數據
	fwrite(&new_head,sizeof(struct BITMAPFILEHEADER),1,new_file);
	fwrite(&new_info,sizeof(struct BITMAPINFOHEADER),1,new_file);
	fseek(new_file,new_head.bfOffBits,SEEK_SET); //移動檔案指針到RGB數據位置
	cnt=fwrite(new_buff,1,new_info.biWidth*new_info.biHeight*3,new_file); //寫數據

	/*8. 關閉圖片檔案*/
	fclose(new_file);
	fclose(src_file);

	printf("%s 新圖片建立成功! 路徑:程式執行路徑下\r\n",argv[2]);
	return 0;
}


/**********************************************************************
* 函數名稱: PicZoom
* 功能描述: 近鄰取樣插值方法縮放圖片
*            注意該函數會分配記憶體來存放縮放後的圖片,用完後要用free函數釋放掉
*            "近鄰取樣插值"的原理請參考網友"lantianyu520"所著的"影象縮放演算法"
* 輸入參數:  ptOriginPic - 內含原始圖片的象素數據
*             ptZoomPic    - 內含縮放後的圖片的象素數據
* 輸出參數: 無
* 返 回 值: 0 - 成功, 其他值 - 失敗
***********************************************************************/
int PicZoom(unsigned char *ptOriginPic_aucPixelDatas,unsigned int ptOriginPic_iWidth,unsigned int ptOriginPic_iHeight,unsigned char *ptZoomPic_aucPixelDatas,unsigned int ptZoomPic_iWidth,unsigned int ptZoomPic_iHeight)
{
	unsigned int ptOriginPic_iLineBytes=ptOriginPic_iWidth*3; //一行的位元組數
	unsigned int ptZoomPic_iLineBytes=ptZoomPic_iWidth*3;  //一行的位元組數

	unsigned long dwDstWidth=ptZoomPic_iWidth;
	unsigned long* pdwSrcXTable;
	unsigned long x;
	unsigned long y;
	unsigned long dwSrcY;
	unsigned char *pucDest;
	unsigned char *pucSrc;
	unsigned long dwPixelBytes=3; //畫素位元組
	pdwSrcXTable=malloc(sizeof(unsigned long) * dwDstWidth);
	if(NULL==pdwSrcXTable)
	{
		return -1;
	}

	for(x=0; x < dwDstWidth; x++)//生成表 pdwSrcXTable
	{
		pdwSrcXTable[x]=(x*ptOriginPic_iWidth/ptZoomPic_iWidth);
	}

	for(y=0; y < ptZoomPic_iHeight; y++)
	{
		dwSrcY=(y * ptOriginPic_iHeight/ptZoomPic_iHeight);

		pucDest=ptZoomPic_aucPixelDatas + y * ptZoomPic_iLineBytes;
		pucSrc=ptOriginPic_aucPixelDatas+dwSrcY * ptOriginPic_iLineBytes;

		for(x=0; x <dwDstWidth; x++)
		{
			my_memcpy(pucDest+x*dwPixelBytes,pucSrc+pdwSrcXTable[x]*dwPixelBytes,dwPixelBytes);
		}
	}

	free(pdwSrcXTable);
	return 0;
}

/*
函數功能:記憶體拷貝函數
*/
void *my_memcpy(void *v_dst,const void *v_src,unsigned char c)
{
	const char *src=v_src;
	char *dst=v_dst;
	while(c--)*dst++=*src++;
	return v_dst;
}
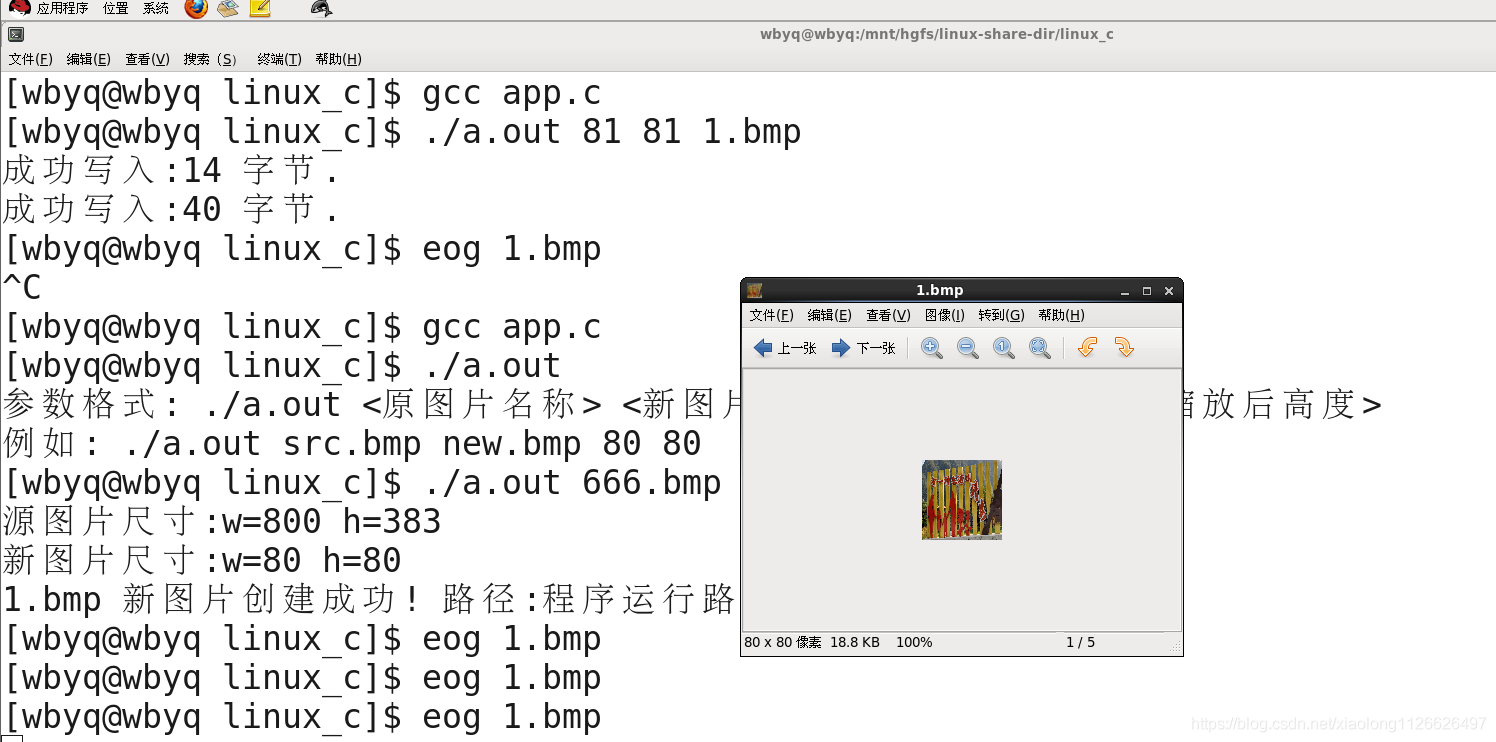
四、執行範例
[wbyq@wbyq linux_c]$ gcc app.c
[wbyq@wbyq linux_c]$ ./a.out
參數格式: ./a.out <原圖片名稱> <新圖片名稱> <縮放後寬度> <縮放後高度>
例如: ./a.out src.bmp new.bmp 80 80
[wbyq@wbyq linux_c]$ ./a.out 666.bmp 1.bmp 80 80
源圖片尺寸:w=800 h=383
新圖片尺寸:w=80 h=80
1.bmp 新圖片建立成功! 路徑:程式執行路徑下
[wbyq@wbyq linux_c]$ eog 1.bmp
下面 下麪公衆號有全套的微控制器、QT、C++、C語言、物聯網相關的教學,歡迎關注: