如何在 Centos 8 / RHEL 8 上安裝和設定 VNC 伺服器
VNC(虛擬網路計算)伺服器是基於 GUI 的桌面共用平台,它可讓你存取遠端桌面計算機。在 Centos 8 和 RHEL 8 系統中,預設未安裝 VNC 伺服器,它需要手動安裝。在本文中,我們將通過簡單的分步指南,介紹如何在 Centos 8 / RHEL 8 上安裝 VNC 伺服器。
在 Centos 8 / RHEL 8 上安裝 VNC 伺服器的先決要求
要在你的系統中安裝 VNC 伺服器,請確保你的系統滿足以下要求:
- CentOS 8 / RHEL 8
- GNOME 桌面環境
- root 使用者許可權
- DNF / YUM 軟體包倉庫
在 Centos 8 / RHEL 8 上安裝 VNC 伺服器的分步指導
步驟 1)安裝 GNOME 桌面環境
在 CentOS 8 / RHEL 8 中安裝 VNC 伺服器之前,請確保已安裝了桌面環境(DE)。如果已經安裝了 GNOME 桌面或安裝了 GUI 支援,那麼可以跳過此步驟。
在 CentOS 8 / RHEL 8 中,GNOME 是預設的桌面環境。如果你的系統中沒有它,請使用以下命令進行安裝:
[root@linuxtechi ~]# dnf groupinstall "workstation"或者[root@linuxtechi ~]# dnf groupinstall "Server with GUI成功安裝上面的包後,請執行以下命令啟用圖形模式:
[root@linuxtechi ~]# systemctl set-default graphical現在重新啟動系統,進入 GNOME 登入頁面(LCTT 譯註:你可以通過切換執行態來進入圖形介面)。
[root@linuxtechi ~]# reboot重新啟動後,請取消註釋 /etc/gdm/custom.conf 中的 WaylandEnable=false,以使通過 vnc 進行的遠端桌面對談請求由 GNOME 桌面的 xorg 處理,來代替 Wayland 顯示管理器。
注意: Wayland 是 GNOME 中的預設顯示管理器 (GDM),並且未設定用於處理 X.org 等遠端渲染的 API。
步驟 2)安裝 VNC 伺服器(tigervnc-server)
接下來,我們將安裝 VNC 伺服器,有很多 VNC 伺服器可以選擇,出於安裝目的,我們將安裝 TigerVNC 伺服器。它是最受歡迎的 VNC 伺服器之一,並且高效能還獨立於平台,它使使用者可以輕鬆地與遠端計算機進行互動。
現在,使用以下命令安裝 TigerVNC 伺服器:
[root@linuxtechi ~]# dnf install tigervnc-server tigervnc-server-module -y步驟 3)為本地使用者設定 VNC 密碼
假設我們希望使用者 pkumar 使用 VNC 進行遠端桌面對談,然後切換到該使用者並使用 vncpasswd 命令設定其密碼,
[root@linuxtechi ~]# su - pkumar[root@linuxtechi ~]$ vncpasswdPassword:Verify:Would you like to enter a view-only password (y/n)? nA view-only password is not used[root@linuxtechi ~]$[root@linuxtechi ~]$ exitlogout[root@linuxtechi ~]#步驟 4)設定 VNC 伺服器組態檔
下一步是設定 VNC 伺服器組態檔。建立含以下內容的 /etc/systemd/system/[email protected],以便為上面的本地使用者 pkumar 啟動 tigervnc-server 的服務。
[root@linuxtechi ~]# vim /etc/systemd/system/[email protected][Unit]Description=Remote Desktop VNC ServiceAfter=syslog.target network.target[Service]Type=forkingWorkingDirectory=/home/pkumarUser=pkumarGroup=pkumarExecStartPre=/bin/sh -c '/usr/bin/vncserver -kill %i > /dev/null 2>&1 || :'ExecStart=/usr/bin/vncserver -autokill %iExecStop=/usr/bin/vncserver -kill %i[Install]WantedBy=multi-user.target儲存並退出檔案,
注意:替換上面檔案中的使用者名稱為你自己的。
預設情況下,VNC 伺服器在 tcp 埠 5900+n 上監聽,其中 n 是顯示埠號,如果顯示埠號為 “1”,那麼 VNC 伺服器將在 TCP 埠 5901 上監聽其請求。
步驟 5)啟動 VNC 服務並允許防火牆中的埠
我將顯示埠號設定為 1,因此請使用以下命令在顯示埠號 “1” 上啟動並啟用 vnc 服務,
[root@linuxtechi ~]# systemctl daemon-reload[root@linuxtechi ~]# systemctl start vncserver@:1.service[root@linuxtechi ~]# systemctl enable vncserver@:1.serviceCreated symlink /etc/systemd/system/multi-user.target.wants/vncserver@:1.service → /etc/systemd/system/[email protected].[root@linuxtechi ~]#使用下面的 netstat 或 ss 命令來驗證 VNC 伺服器是否開始監聽 5901 上的請求,
[root@linuxtechi ~]# netstat -tunlp | grep 5901tcp 0 0 0.0.0.0:5901 0.0.0.0:* LISTEN 8169/Xvnctcp6 0 0 :::5901 :::* LISTEN 8169/Xvnc[root@linuxtechi ~]# ss -tunlp | grep -i 5901tcp LISTEN 0 5 0.0.0.0:5901 0.0.0.0:* users:(("Xvnc",pid=8169,fd=6)) tcp LISTEN 0 5 [::]:5901 [::]:* users:(("Xvnc",pid=8169,fd=7)) [root@linuxtechi ~]#使用下面的 systemctl 命令驗證 VNC 伺服器的狀態,
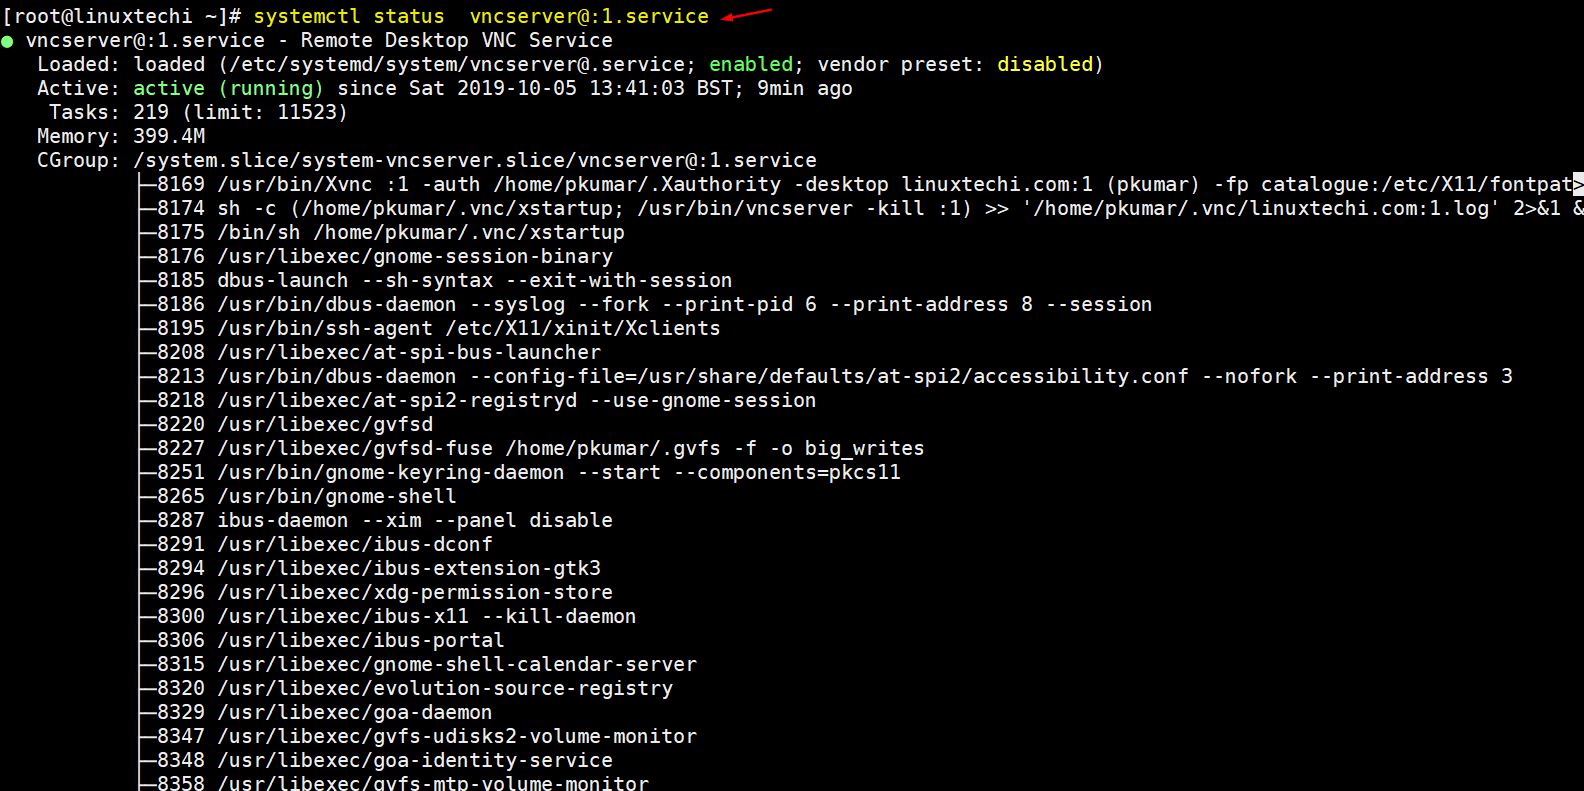
[root@linuxtechi ~]# systemctl status vncserver@:1.service
上面命令的輸出確認在 tcp 埠 5901 上成功啟動了 VNC。使用以下命令在系統防火牆中允許 VNC 伺服器埠 “5901”,
[root@linuxtechi ~]# firewall-cmd --permanent --add-port=5901/tcpsuccess[root@linuxtechi ~]# firewall-cmd --reloadsuccess[root@linuxtechi ~]#步驟 6)連線到遠端桌面對談
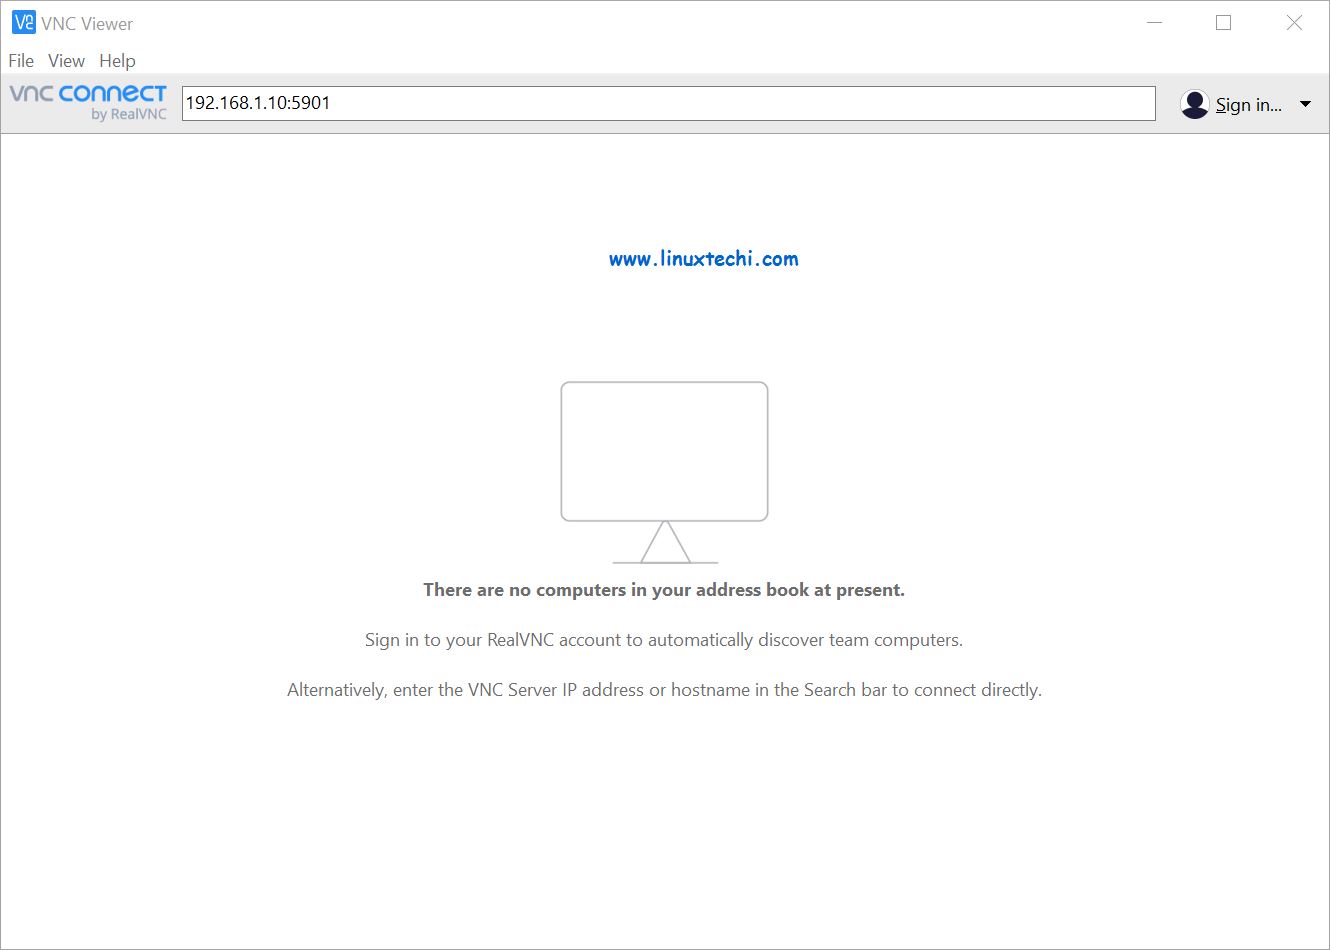
現在,我們已經準備就緒,可以檢視遠端桌面連線是否正常工作。要存取遠端桌面,請在 Windows / Linux 工作站中啟動 VNC Viewer,然後輸入 VNC 伺服器的 IP 地址和埠號,然後按回車。

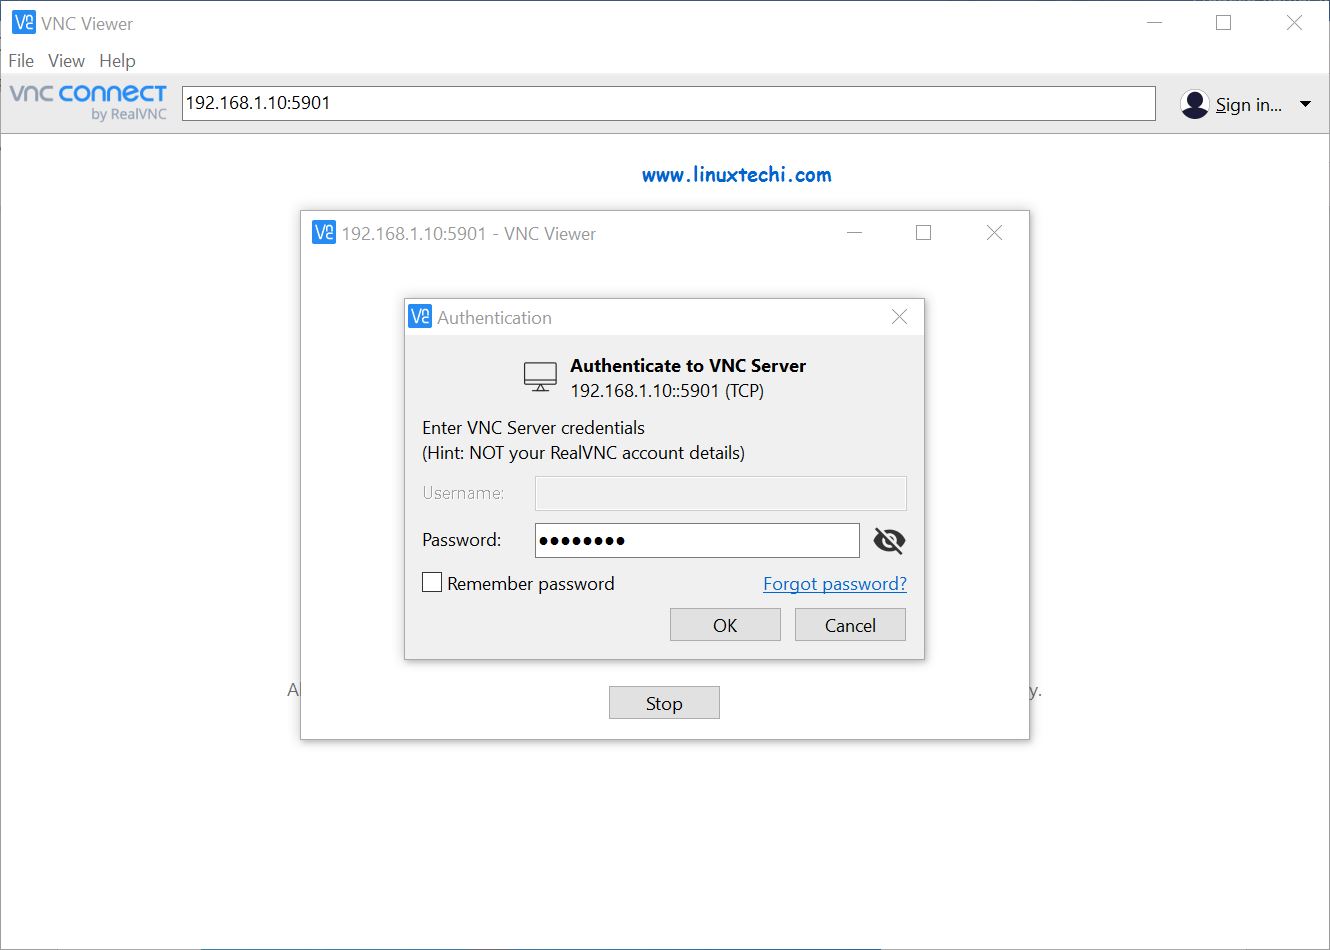
接下來,它將詢問你的 VNC 密碼。輸入你先前為本地使用者建立的密碼,然後單擊 “OK” 繼續。

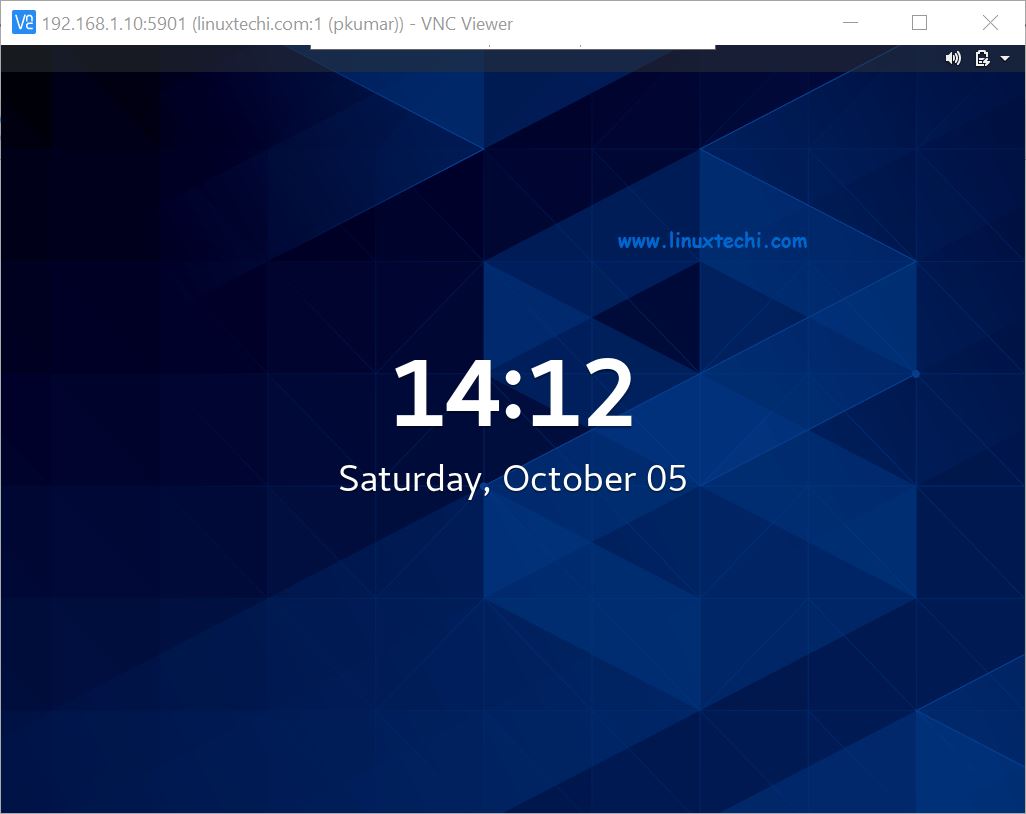
現在你可以看到遠端桌面,

就是這樣,你已經在 Centos 8 / RHEL 8 中成功安裝了 VNC 伺服器。
總結
希望這篇在 Centos 8 / RHEL 8 上安裝 VNC 伺服器的分步指南為你提供了輕鬆設定 VNC 伺服器並存取遠端桌面的所有資訊。請在下面的評論欄中提供你的意見和建議。下篇文章再見。謝謝再見!!!