stable-diffusion-webui官方版本地安裝教學
stable-diffusion-webui官方版本地安裝教學
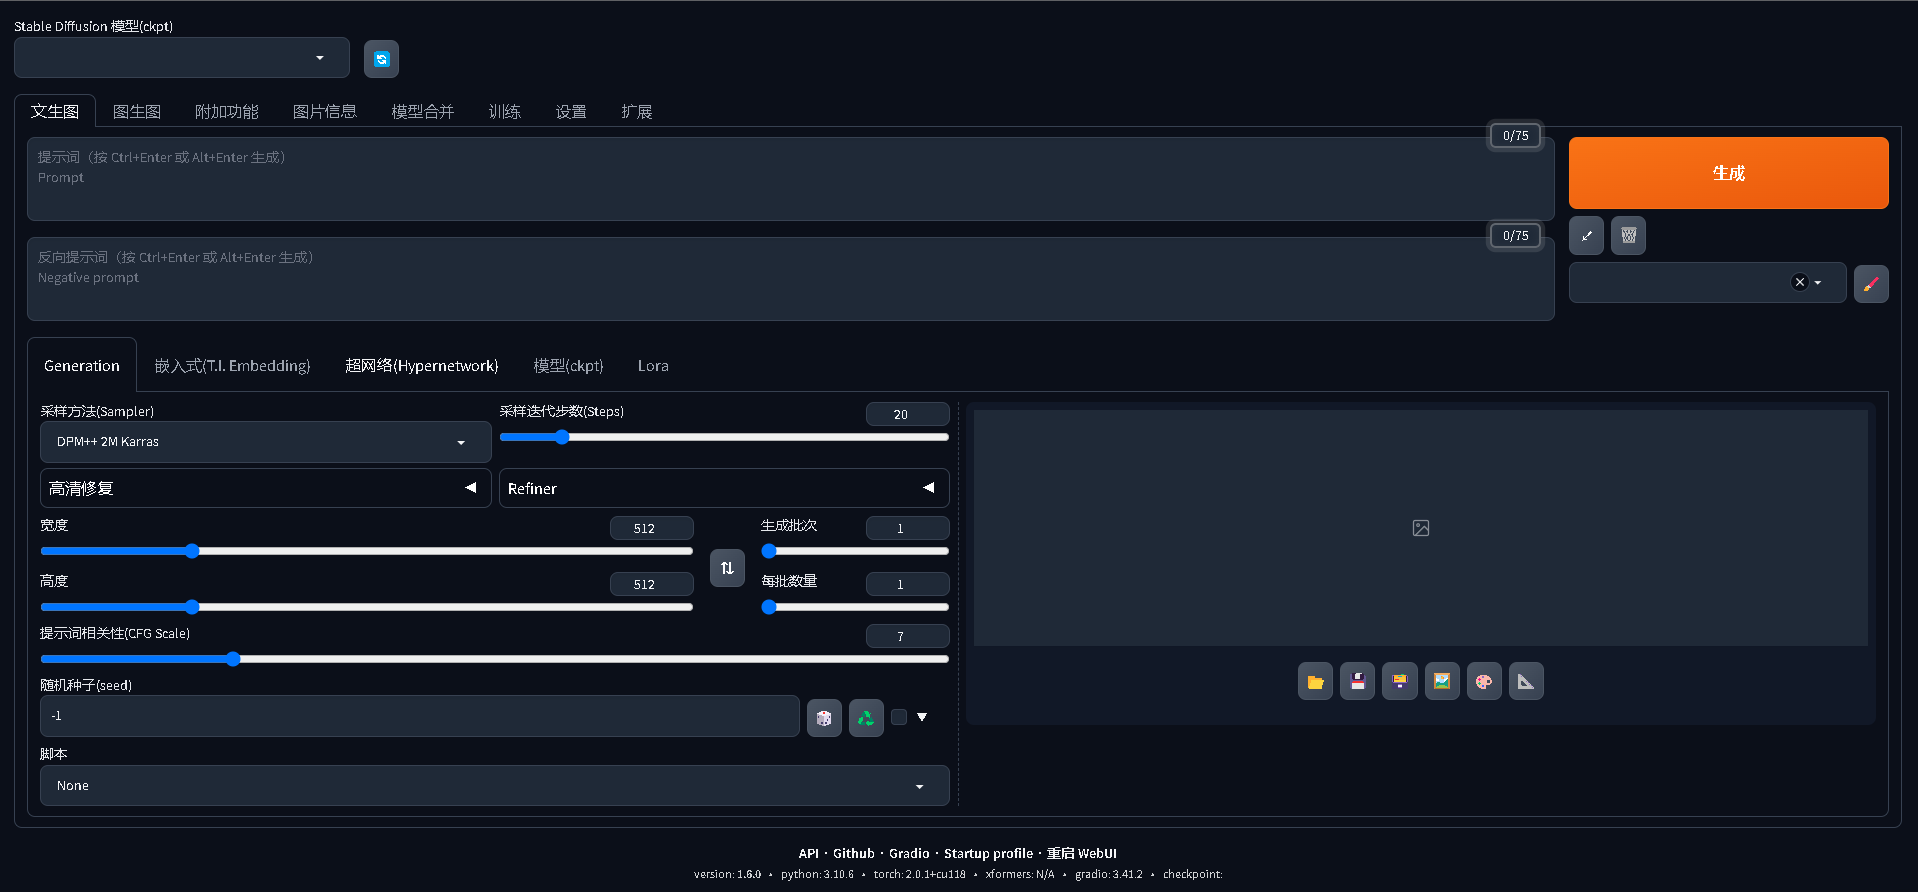
最終效果

1. python安裝
官網:https://www.python.org/downloads/release/python-3106/
直接下載安裝程式:https://www.python.org/ftp/python/3.10.6/python-3.10.6-amd64.exe
記得勾選加入環境變數
2. cuda安裝
cmd 輸入命令
$ nvidia-smi

CUDA Version: 12.0
表示需要安裝12.0版本的cuda
下載地址:
https://developer.nvidia.com/cuda-12-0-0-download-archive
下載完安裝即可。
此過程略微漫長...
3. git安裝
https://git-scm.com/download/win
安裝後建議給git設定了代理(否則很慢):
git config --global http.proxy "http://127.0.0.1:7890"
3. 安裝stable-diffusion-webui
https://github.com/AUTOMATIC1111/stable-diffusion-webui
下載並解壓到D:\TempD\AIGC\Painting\stable-diffusion-webui-1.6.0,注意選擇磁碟空間較大的。
建議在安裝前升級pip。在程式目錄終端輸入
venv\Scripts\activate
python -m pip install --upgrade pip
然後執行webui-user.bat,會自動幫我們安裝虛擬環境和依賴。
此過程略微漫長...
如遇到RuntimeError: Couldn’t determine Stable Diffusion’s hash: cf1d67a6fd5ea1aa600c4df58e5b47da45f6bdbf.錯誤
解決方案:
在stable-diffusion-webui-1.6.0/repoitories 檔案中開啟終端 輸入
git clone https://github.com/Stability-AI/stablediffusion.git
並將下載的資料夾重新命名成 stable-diffusion-stability-ai
執行後會提示沒有ckpt模型,關掉終端進行下一步
4. 下載novelai模型
https://cyberes.github.io/stable-diffusion-models/
迅雷下載:
magnet:?xt=urn:btih:5bde442da86265b670a3e5ea3163afad2c6f8ecc&dn=novelaileak&tr=udp%3A%2F%2Ftracker.opentrackr.org%3A1337%2Fannounce&tr=udp%3A%2F%2F9.rarbg.com%3A2810%2Fannounce&tr=udp%3A%2F%2Ftracker.openbittorrent.com%3A6969%2Fannounce&tr=http%3A%2F%2Ftracker.openbittorrent.com%3A80%2Fannounce&tr=udp%3A%2F%2Fopentracker.i2p.rocks%3A6969%2Fannounce
注意這裡可以先下載stableckpt/animefull-final-pruned/model.ckpt,其它的等這個檔案下載後再掛著下載,不然很慢。
下載後放到D:\TempD\AIGC\Painting\stable-diffusion-webui-1.6.0\models\Stable-diffusion目錄
再次執行webui-user.bat即可自動開啟網站
5. 安裝中文外掛
具體參考:https://github.com/dtlnor/stable-diffusion-webui-localization-zh_CN
啟動外掛後如果報錯:
OSError: openai/clip-vit-large-patch14 does not appear to have a file named pytorch_model.bin but there is a file for TensorFlow weights. Use `from_tf=True` to load this model from those weights.
解決方法:
在.py頭部加上
from transformers import CLIPModel

model = CLIPModel.from_pretrained("openai/clip-vit-large-patch14", from_tf=True)
再次重啟bat指令碼即可。
如果遇到了該錯誤:
Expecting value: line 1 column 1 (char 0)" thrown, when I added
解決方法:
在webui.bat加上
set SD_WEBUI_RESTART=tmp/restart
set ERROR_REPORTING=FALSE
set COMMANDLINE_ARGS=--no-gradio-queue 這句
重啟即可。
寫在最後
搭建過程中其實又遇到很多問題,考慮到應該有很多人和我一樣,不妨建一個交流群:947910560