Avalonia 實現視訊聊天、遠端桌面(原始碼,支援Windows、Linux、國產OS)
現在最火的.NET跨平臺UI框架莫過於Avalonia了。Avalonia 基於.NET Core,因此它可以執行在任何支援.NET Core的平臺上。之前基於CPF跨平臺UI框架寫過一個視訊聊天的demo,而現在看來Avalonia是大勢所趨,於是,我再寫一個Avalonia版本的Demo來供大家參考,它可以在Windows和Linux(包括國產OS,如銀河麒麟、統信UOS)上執行。
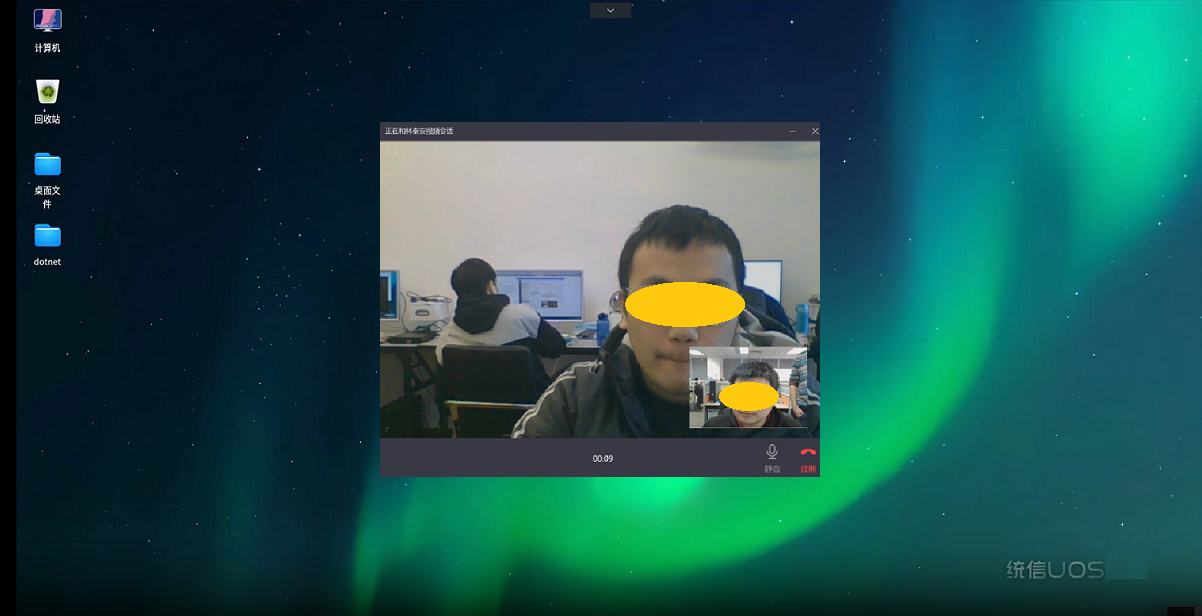
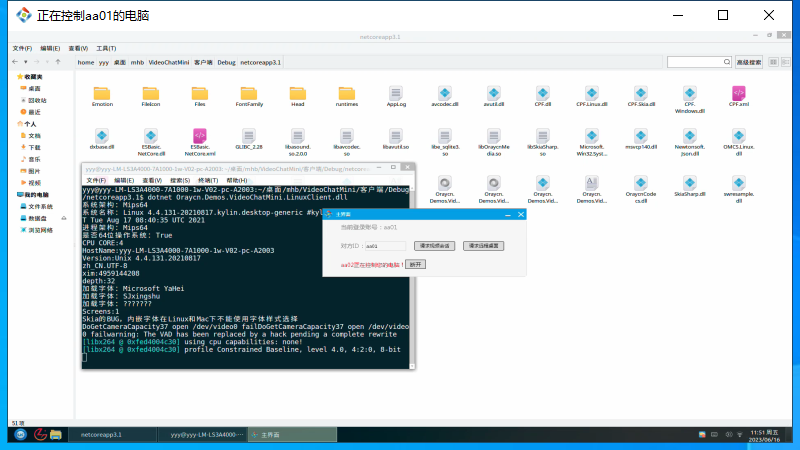
下圖是視訊聊天Demo的Avalonia使用者端在國產統信UOS上的執行的截圖:

(2)傳送回複視訊聊天請求訊息
 protected override void OnClosed(EventArgs e)
 {
     base.OnClosed(e);
     if (this.EndTheCalled != null)
     {
         this.EndTheCalled(this.DestID);
     }
     if (this.NotifyOther)
     {
         //回覆對方的視訊通話請求
         byte[] bytes = BitConverter.GetBytes(replyResult);
         VideoController.Singleton.SendMessage(this.DestID, InformationTypes.VideoResult, bytes);
     }
     if (this.replyResult)
     {
         VideoController.Singleton.OpenVideoChat(DestID,true);
     }
 }
4. 收到對方視訊請求的回覆
    /// <summary>
    /// 視訊通話,收到對方回覆
    /// </summary>
    internal void TargerReply(string destID, CommunicationStateType type)
    {
        ICommunicationAid aid = this.objectManager.Get(destID);
        if(aid == null)
        {
            return;
        }
        switch (type)
        {
            case CommunicationStateType.Agree:
                VideoChatWindow videoChatWindow = (VideoChatWindow)aid;
                videoChatWindow.BeginConnect();
                break;
            case CommunicationStateType.Reject:
                aid.CloseWindow(false);
                break;
            case CommunicationStateType.HangUp:
                aid.CloseWindow(false);
                break;
            default:
                break;
        }
    }
當對方回覆同意時,將連線到對方的麥克風和攝像頭,開始視訊聊天對談:
  /// <summary>
  /// 連線對方裝置
  /// </summary>
  internal void BeginConnect()
  {
      UiSafeInvoker.ActionOnUI(() =>
      {
          this.IsWorking = true;
          this.Title = this.title.Text = this.RepeatedCallTip(false);
          this.startTime = DateTime.Now;
          this.timer.Start();
          this.otherCamera.Core.DisplayVideoParameters = true;
          this.otherCamera.Core.VideoDrawMode = VideoDrawMode.ScaleToFill;
          this.otherCamera.Core.ConnectEnded += DynamicCameraConnector_ConnectEnded;
          this.otherCamera.Core.Disconnected += DynamicCameraConnector_Disconnected;
          this.microphoneConnector.ConnectEnded += MicrophoneConnector_ConnectEnded;
          this.microphoneConnector.Disconnected += MicrophoneConnector_Disconnected;
          this.otherCamera.BeginConnect(this.DestID);
          this.microphoneConnector.BeginConnect(this.DestID);

          this.NotifyOther = true;
      });
  }
5. 實現遠端桌面
遠端桌面的請求/應答邏輯幾乎與視訊聊天請求/應答邏輯是一模一樣的。這裡就不再羅列響應的程式碼了。
(1)當收到對方的遠端桌面控制請求時,將顯示請求視窗。

(2)當同意對方的控制請求時,對方就可以控制請求方的電腦了。

四.原始碼下載
.NetCore伺服器端 + Avalonia使用者端:VideoChatMini.Avalonia.rar
在Windows上部署執行伺服器端和使用者端很容易,大家也都很熟悉了。下面講一下如何在Linux上部署執行這個視訊聊天程式的伺服器端和使用者端。
在Linux上部署執行說明
在部署之前,需要在linux伺服器端和使用者端上分別安裝 .Net core 3.1版本,命令列安裝命令如下:
yum install dotnet-sdk-3.1
檢查版本安裝情況
dotnet --version
執行:
(1)在CentOS上啟動VideoChatMini.ServerNetcore伺服器端:
拷貝Oraycn.VideoChatMini.ServerNetcore專案下的Debug資料夾,到CentOS作業系統上,開啟Debug -> netcoreapp3.1目錄 ,在目錄下開啟終端,執行以下命令啟動伺服器端
dotnet Oraycn.VideoChatMini.ServerNetcore.dll
(2)在麒麟或統信UOS、Ubuntu上執行VideoChatMini.ClientAvalonia使用者端:
拷貝Oraycn.VideoChatMini.ClientAvalonia專案下的Debug資料夾,到麒麟或統信UOS、Ubuntu作業系統上,開啟Debug -> netcoreapp3.1目錄 ,在目錄下開啟終端,執行以下命令啟動使用者端
dotnet Oraycn.VideoChatMini.ClientAvalonia.dll
命令執行成功後,就會出現之前截圖的使用者端主介面。
Avalonia 支援在X64和ARM64架構的Linux上執行,Demo的執行目錄下放的是X64架構的so,如果需要ARM64架構的so,可留下郵箱獲取。