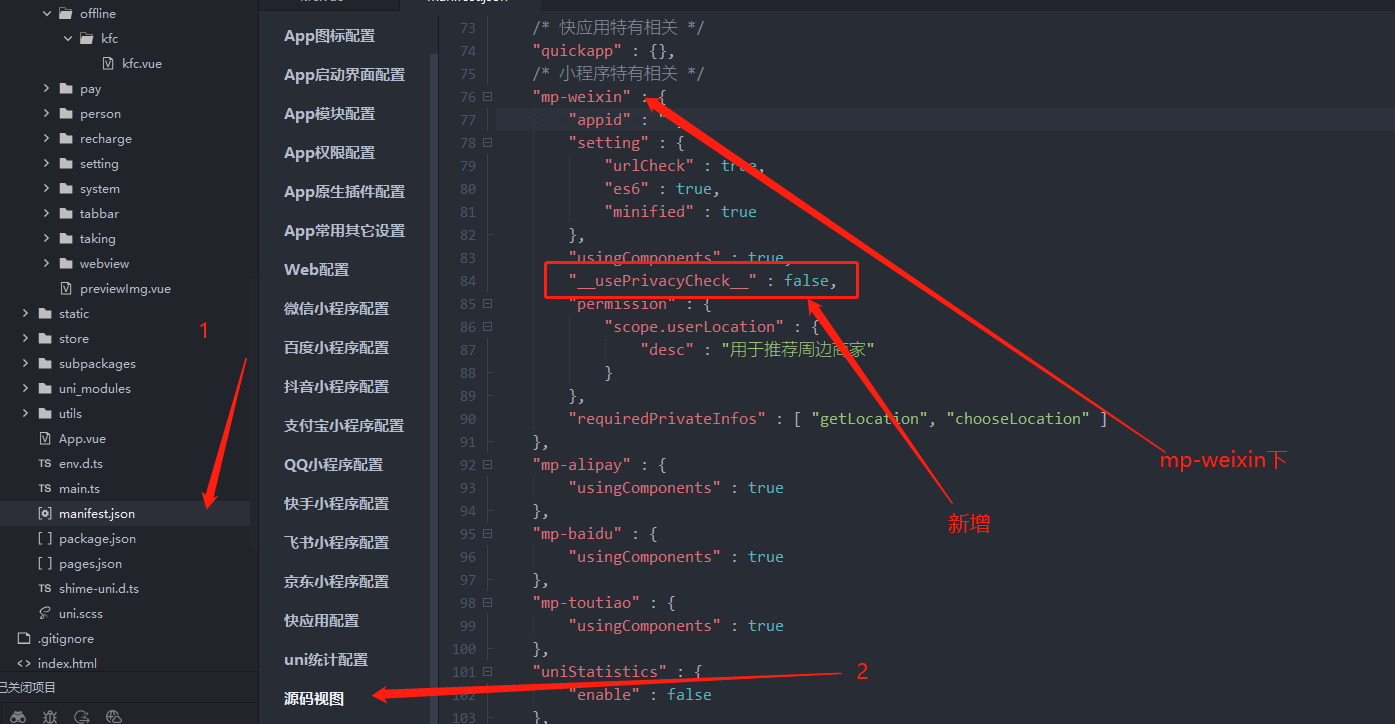
微信小程式隱私保護協定修改方法 uniapp
一天天沒事閒的


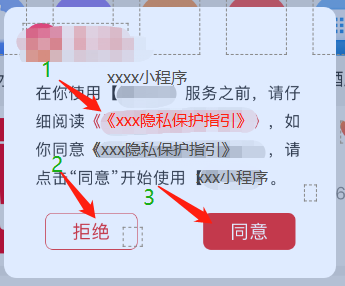
這個彈窗樣式隨便 主要得包含三個功能元件

1、用於呼叫wx.openPrivacyContract() Api
wx.openPrivacyContract({
  success: () => {}, // 開啟成功
  fail: () => {}, // 開啟失敗
  complete: () => {}
})
2、繫結handleDisagree 事件做拒絕授權的處理
handleDisagree() {
this.show = false
uni.showModal({
title: '提示',
content: '您拒絕隱私授權, 將無法使用當前小程式',
cancelText: '重新授權',
confirmText: "關閉退出",
success: function(res) {
if (res.confirm) {
console.log('使用者點選確定');
uni.exitMiniProgram({
success(suc) {},
fail(err) {}
})
} else if (res.cancel) {
console.log('使用者點選取消');
this.show = true
}
}
});
},
uni.exitMiniProgram 是關閉當前小程式的Api 如果拒絕直接退出當前小程式的處理
this.show 是控制彈窗的顯示與隱藏
3、繫結handleAgree事件
<button id="agree-btn" class="agree" open-type="agreePrivacyAuthorization" @agreeprivacyauthorization="handleAgree">同意</button>
這個事件繫結必須放在button元件上 open-type="agreePrivacyAuthorization @agreeprivacyauthorization="handleAgree"
handleAgree() {
    console.log("使用者同意隱私授權, 接下來可以呼叫隱私協定中宣告的隱私介面")
    uni.showToast({
        title:'授權成功',
        icon:'none'
    })
    this.$emit('onAgree')
}
this.$emit('onAgree') 向父元件傳遞同意授權的方法
在頁面onShow週期中呼叫 wx.getPrivacySetting 查詢當前使用者是否需要授權
wx.getPrivacySetting({
   success(res){
        console.log(res, '***getPrivacySetting***')
        if (res.needAuthorization) {
                // 需要彈出隱私協定
                that.privacyPopupShow = true
        }else{
            // 使用者已經同意過隱私協定,所以不需要再彈出隱私協定,也能呼叫隱私介面
        }
    }

})


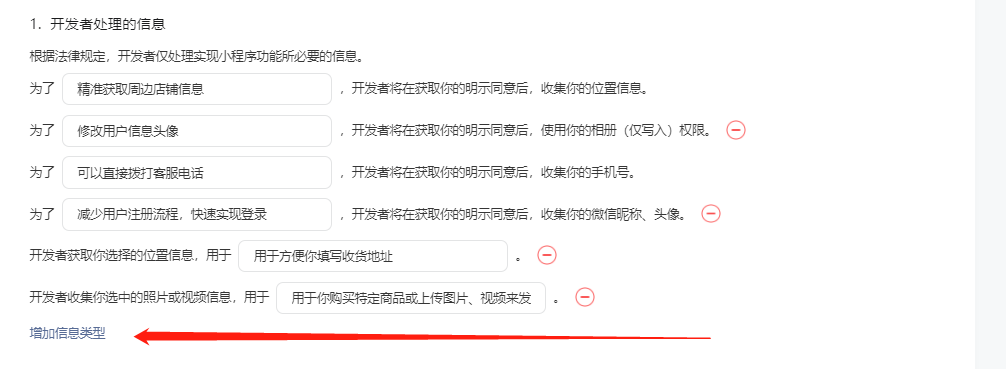
把小程式中用到的都更新上來 不然即使你同意授權後 呼叫沒有更新到協定裡的api 會報錯 xxx :fail api scope is not declared in the privacy agreement
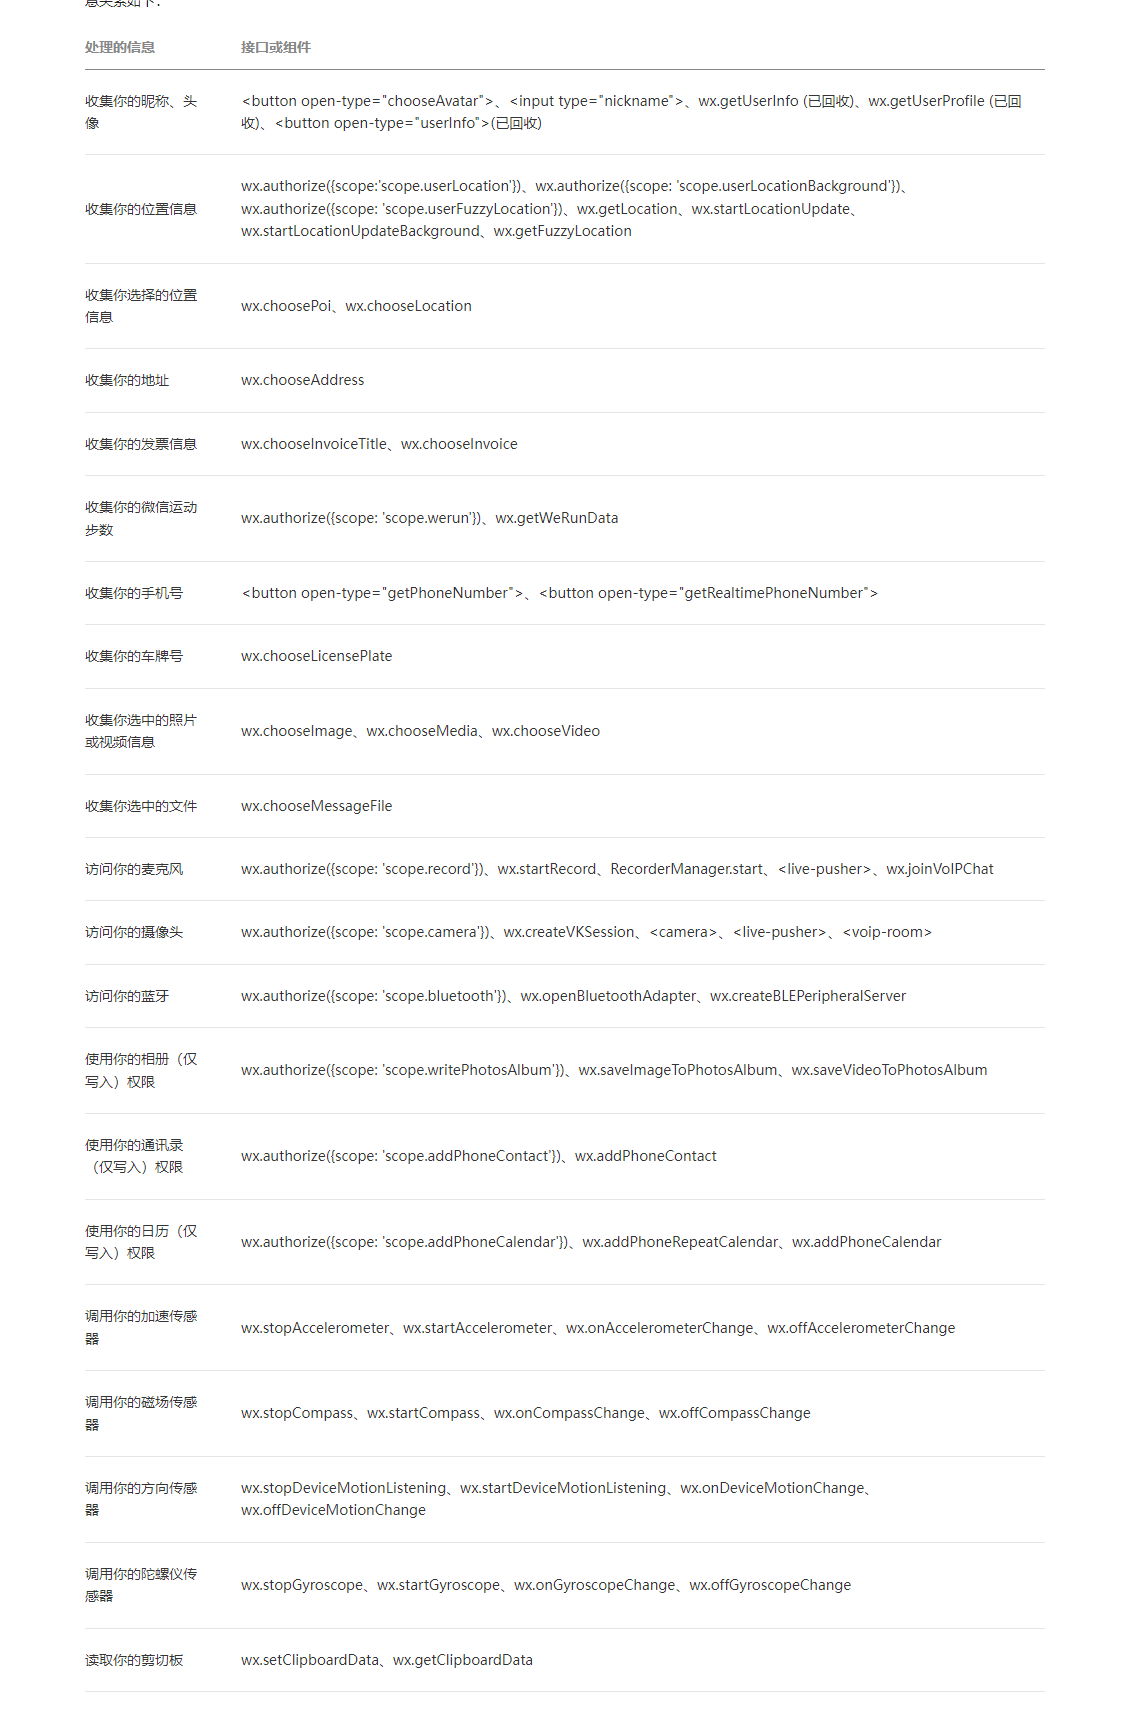
開發者需在此板塊宣告所處理的使用者資訊,微信會根據小程式版本隱私介面呼叫情況展示必填項,開發者可自主勾選其他專案。隱私介面與對應的處理的資訊關係如下:
