java與es8實戰之六:用JSON建立請求物件(比builder pattern更加直觀簡潔)
2023-08-31 09:00:18
歡迎存取我的GitHub
這裡分類和彙總了欣宸的全部原創(含配套原始碼):https://github.com/zq2599/blog_demos
本篇概覽
- 本文是《java與es8實戰》系列的第六篇,經過前面的實戰,咱們初步掌握了一些Java對ES的基本操作,通過傳送請求物件(例如CreateIndexResponse)到ES伺服器端,達到操作ES的目的,但是細心的您可能發現了:請求物件可能很複雜,例如多層物件巢狀,那麼用程式碼來建立這些請求物件也必然不會容易
- 今天的文章,咱們先來體驗用程式碼建立請求物件的不便之處,再嘗試ES官方給我們提供的解決之道:用JSON建立請求物件
- 接下來,咱們從一個假設的任務開始
任務安排
- 現在咱們要建立一個索引,此索引記錄的是商品資訊
- 有一個副本(屬於setting部分)
- 共三個分片(屬於setting部分)
- 共三個欄位:商品名稱name(keyword),商品描述description(text),價格price(integer)(屬於mapping部分)
- name欄位值長為256,超出此長度的欄位將不會被索引,但是會儲存
- 接下來,咱們在kibana上用JSON建立索引,再寫程式碼建立相同索引,然後對比兩種方式的複雜程度
kibana上建立索引
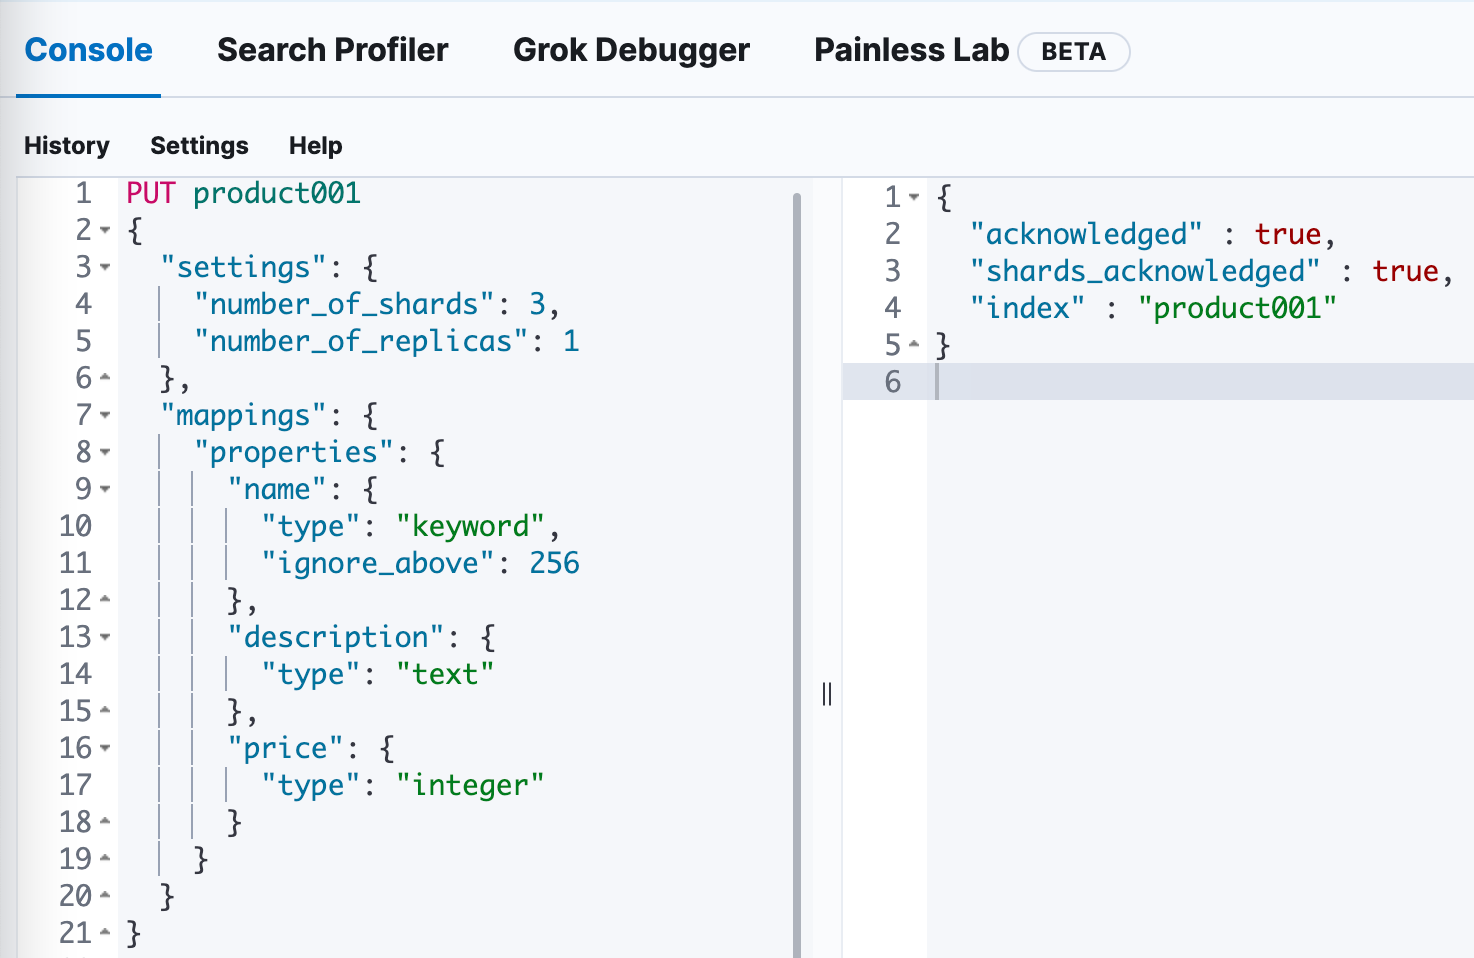
- 如果在kibana上用json來建立,請求內容如下,索引名是product001
PUT product001
{
  "settings": {
    "number_of_shards": 3,
    "number_of_replicas": 1
  },
  "mappings": {
    "properties": {
      "name": {
        "type": "keyword",
        "ignore_above": 256
      },
      "description": {
        "type": "text"
      },
      "price": {
        "type": "integer"
      }
    }
  }
}
- 效果如下,符合預期

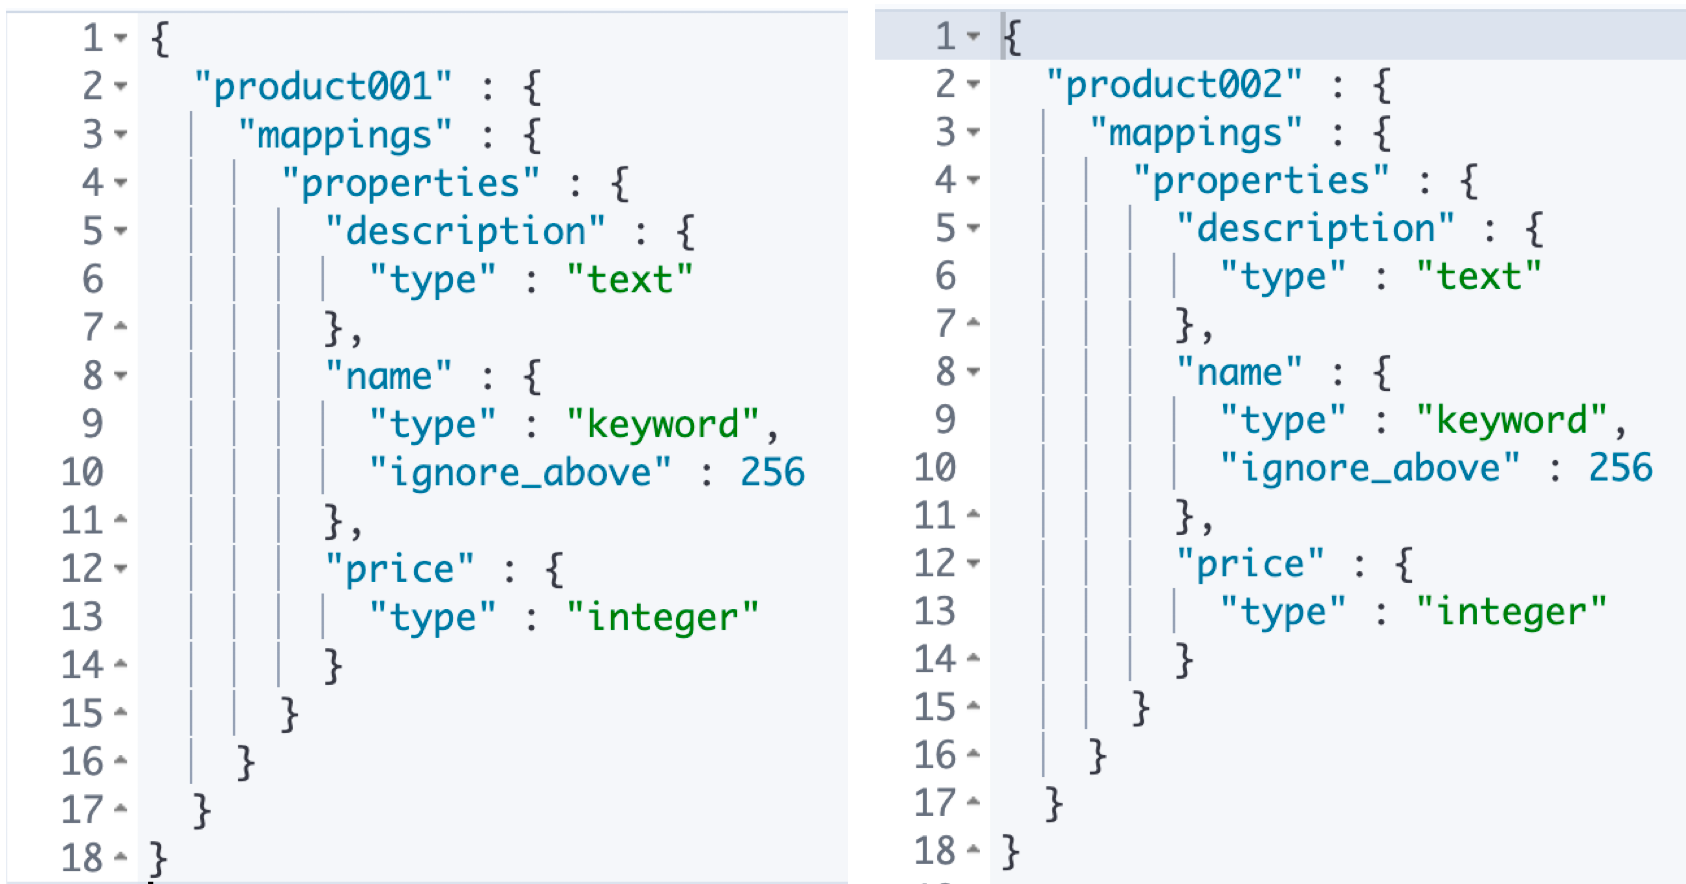
- 最後,將product001和product002的mapping放在一起對比,可見一模一樣

建立工程
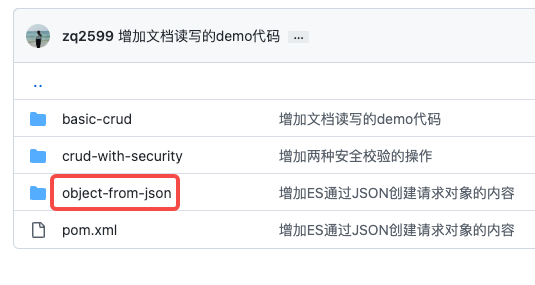
- 在《java與es8實戰之二:實戰前的準備工作》中建立整了個系列共用的父工程elasticsearch-tutorials,今天新建的新工程名為object-from-json,也屬於elasticsearch-tutorials的子工程,pom.xml如下
<?xml version="1.0" encoding="UTF-8"?>

<project xmlns="http://maven.apache.org/POM/4.0.0" xmlns:xsi="http://www.w3.org/2001/XMLSchema-instance"
         xsi:schemaLocation="http://maven.apache.org/POM/4.0.0 http://maven.apache.org/xsd/maven-4.0.0.xsd">
    <!-- 請改為自己專案的parent座標 -->
    <parent>
        <artifactId>elasticsearch-tutorials</artifactId>
        <groupId>com.bolingcavalry</groupId>
        <version>1.0-SNAPSHOT</version>
        <relativePath>../pom.xml</relativePath>
    </parent>
    <modelVersion>4.0.0</modelVersion>
    <!-- 請改為自己專案的artifactId -->
    <artifactId>object-from-json</artifactId>
    <packaging>jar</packaging>
    <!-- 請改為自己專案的name -->
    <name>object-from-json</name>
    <url>https://github.com/zq2599</url>

    <!--不用spring-boot-starter-parent作為parent時的設定-->
    <dependencyManagement>
        <dependencies>
            <dependency>
                <groupId>org.springframework.boot</groupId>
                <artifactId>spring-boot-dependencies</artifactId>

                <version>${springboot.version}</version>
                <type>pom</type>
                <scope>import</scope>
            </dependency>
        </dependencies>
    </dependencyManagement>

    <dependencies>
        <dependency>
            <groupId>org.springframework.boot</groupId>
            <artifactId>spring-boot-starter-actuator</artifactId>
        </dependency>

        <!-- 不加這個,configuration類中,IDEA總會新增一些提示 -->
        <dependency>
            <groupId>org.springframework.boot</groupId>
            <artifactId>spring-boot-configuration-processor</artifactId>
            <optional>true</optional>
        </dependency>

        <dependency>
            <groupId>org.projectlombok</groupId>
            <artifactId>lombok</artifactId>
        </dependency>

        <dependency>
            <groupId>org.springframework.boot</groupId>
            <artifactId>spring-boot-starter-web</artifactId>
        </dependency>

        <dependency>
            <groupId>org.springframework.boot</groupId>
            <artifactId>spring-boot-starter-test</artifactId>
            <scope>test</scope>

            <!-- exclude junit 4 -->
            <exclusions>
                <exclusion>
                    <groupId>junit</groupId>
                    <artifactId>junit</artifactId>
                </exclusion>
            </exclusions>

        </dependency>

        <!-- junit 5 -->
        <dependency>
            <groupId>org.junit.jupiter</groupId>
            <artifactId>junit-jupiter-api</artifactId>
            <scope>test</scope>
        </dependency>

        <dependency>
            <groupId>org.junit.jupiter</groupId>
            <artifactId>junit-jupiter-engine</artifactId>
            <scope>test</scope>
        </dependency>

        <!-- elasticsearch引入依賴  start -->
        <dependency>
            <groupId>co.elastic.clients</groupId>
            <artifactId>elasticsearch-java</artifactId>
        </dependency>

        <dependency>
            <groupId>com.fasterxml.jackson.core</groupId>
            <artifactId>jackson-databind</artifactId>
        </dependency>

        <!-- 使用spring boot Maven外掛時需要新增該依賴 -->
        <dependency>
            <groupId>jakarta.json</groupId>
            <artifactId>jakarta.json-api</artifactId>
        </dependency>

        <dependency>
            <groupId>org.springframework.boot</groupId>
            <artifactId>spring-boot-starter-web</artifactId>
        </dependency>
    </dependencies>

    <build>
        <plugins>
            <!-- 需要此外掛,在執行mvn test命令時才會執行單元測試 -->
            <plugin>
                <groupId>org.apache.maven.plugins</groupId>
                <artifactId>maven-surefire-plugin</artifactId>
                <version>3.0.0-M4</version>
                <configuration>
                    <skipTests>false</skipTests>
                </configuration>
            </plugin>

            <plugin>
                <groupId>org.springframework.boot</groupId>
                <artifactId>spring-boot-maven-plugin</artifactId>
                <configuration>
                    <excludes>
                        <exclude>
                            <groupId>org.projectlombok</groupId>
                            <artifactId>lombok</artifactId>
                        </exclude>
                    </excludes>
                </configuration>
            </plugin>
        </plugins>

        <resources>
            <resource>
                <directory>src/main/resources</directory>
                <includes>
                    <include>**/*.*</include>
                </includes>
            </resource>
        </resources>
    </build>
</project>
- 是個普通的SpringBoot應用,入口類FromJsonApplication.java如下,非常簡單
package com.bolingcavalry.fromjson;

import org.springframework.boot.SpringApplication;
import org.springframework.boot.autoconfigure.SpringBootApplication;

@SpringBootApplication
public class FromJsonApplication {
    public static void main(String[] args) {
        SpringApplication.run(FromJsonApplication.class, args);
    }
}
- 然後是連線ES的設定類ClientConfig.java,關於如何連線ES,在《java與es8實戰之四》一文已經詳細說明,不再贅述,直接使用設定類的elasticsearchClient方法建立的ElasticsearchClient物件即可操作ES
@ConfigurationProperties(prefix = "elasticsearch") //設定的字首
@Configuration
public class ClientConfig {

    @Setter
    private String hosts;

    /**
     * 解析設定的字串,轉為HttpHost物件陣列
     * @return
     */
    private HttpHost[] toHttpHost() {
        if (!StringUtils.hasLength(hosts)) {
            throw new RuntimeException("invalid elasticsearch configuration");
        }

        String[] hostArray = hosts.split(",");
        HttpHost[] httpHosts = new HttpHost[hostArray.length];
        HttpHost httpHost;
        for (int i = 0; i < hostArray.length; i++) {
            String[] strings = hostArray[i].split(":");
            httpHost = new HttpHost(strings[0], Integer.parseInt(strings[1]), "http");
            httpHosts[i] = httpHost;
        }

        return httpHosts;
    }

    @Bean
    public ElasticsearchClient elasticsearchClient() {
        HttpHost[] httpHosts = toHttpHost();
        RestClient restClient = RestClient.builder(httpHosts).build();
        RestClientTransport transport = new RestClientTransport(restClient, new JacksonJsonpMapper());
        // And create the API client
        return new ElasticsearchClient(transport);
    }
}
- 最後是組態檔application.yml
elasticsearch:
  # 多個IP逗號隔開
  hosts: 127.0.0.1:9200
- 現在工程已經建好,接下來開始實踐如何通過JSON得到請求物件,通過剛才對WithJson介面的分析,JSON轉請求物件共有三種方式
- ImputStream
- JSON字串
- Parse
- 接下來逐個實踐
第一種:InputStream作為入參
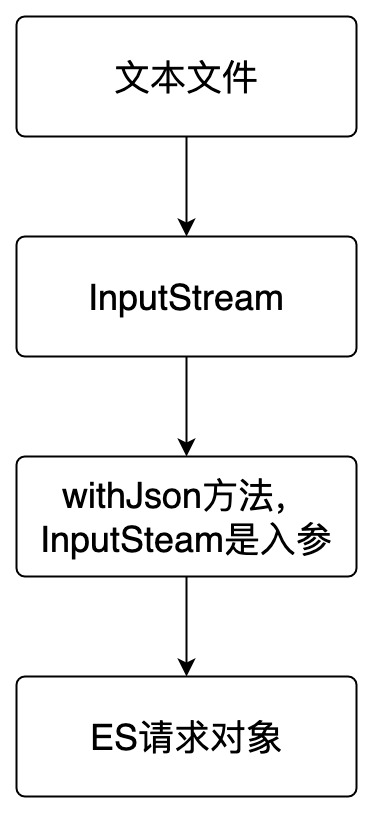
- 最簡單的方式莫過通過InputStream轉換,InputStream是大家常用到的IO類,相信您已經胸有成竹了,流程如下圖

