我的第一個專案(十二) :分數和生命值的更新(後端增刪查改的"改")
2023-04-28 06:00:43
好傢伙,寫後端,這多是一件美逝.
關於這個專案的程式碼前面的部落格有寫
我的第一個獨立專案 - 隨筆分類 - 養肥胖虎 - 部落格園 (cnblogs.com)
現在,我們登陸進去了,我開始和敵人戰鬥,誒,打到一百分了,我現在要把這個分數儲存起來
1.前端先把測試樣例寫好
隨便寫一個測試樣例
<template>
  <div>
    <div ref="stage"></div>
    <button @click="http">網路請求測試</button>
  </div>
</template>

<script>
import { canvas, main_1 } from "panghu-planebattle-esm"
import bus from '../js/eventBus'
export default {
  data() {
    return {
      player: {
        id:'',
        loginName: 123456,
        life: 100,
        score: score,
      },
    }
  },
  methods:{
    http(){
      setInterval(() => {
      this.axios.post('http://localhost:3312/sys-user/update', this.player)
        .then((resp) => {

          console.log("this is update", resp);
          let data = resp.data;
          //
          if (data.success) {
            console.log({
              message: '修改成功',
              type: 'success'
            });
          }
        })
    }, 5000)
    }
  },
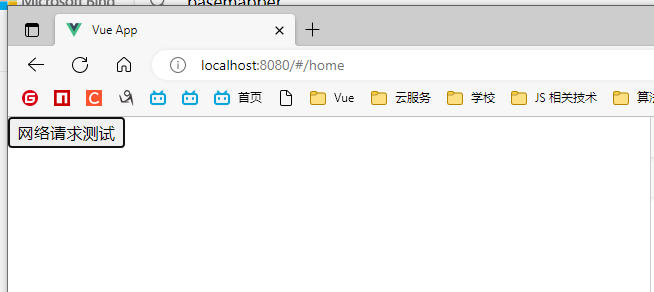
(確實是非常樸實無華的測試樣例)
2.隨後我們來到後端
來到controller類中新增介面
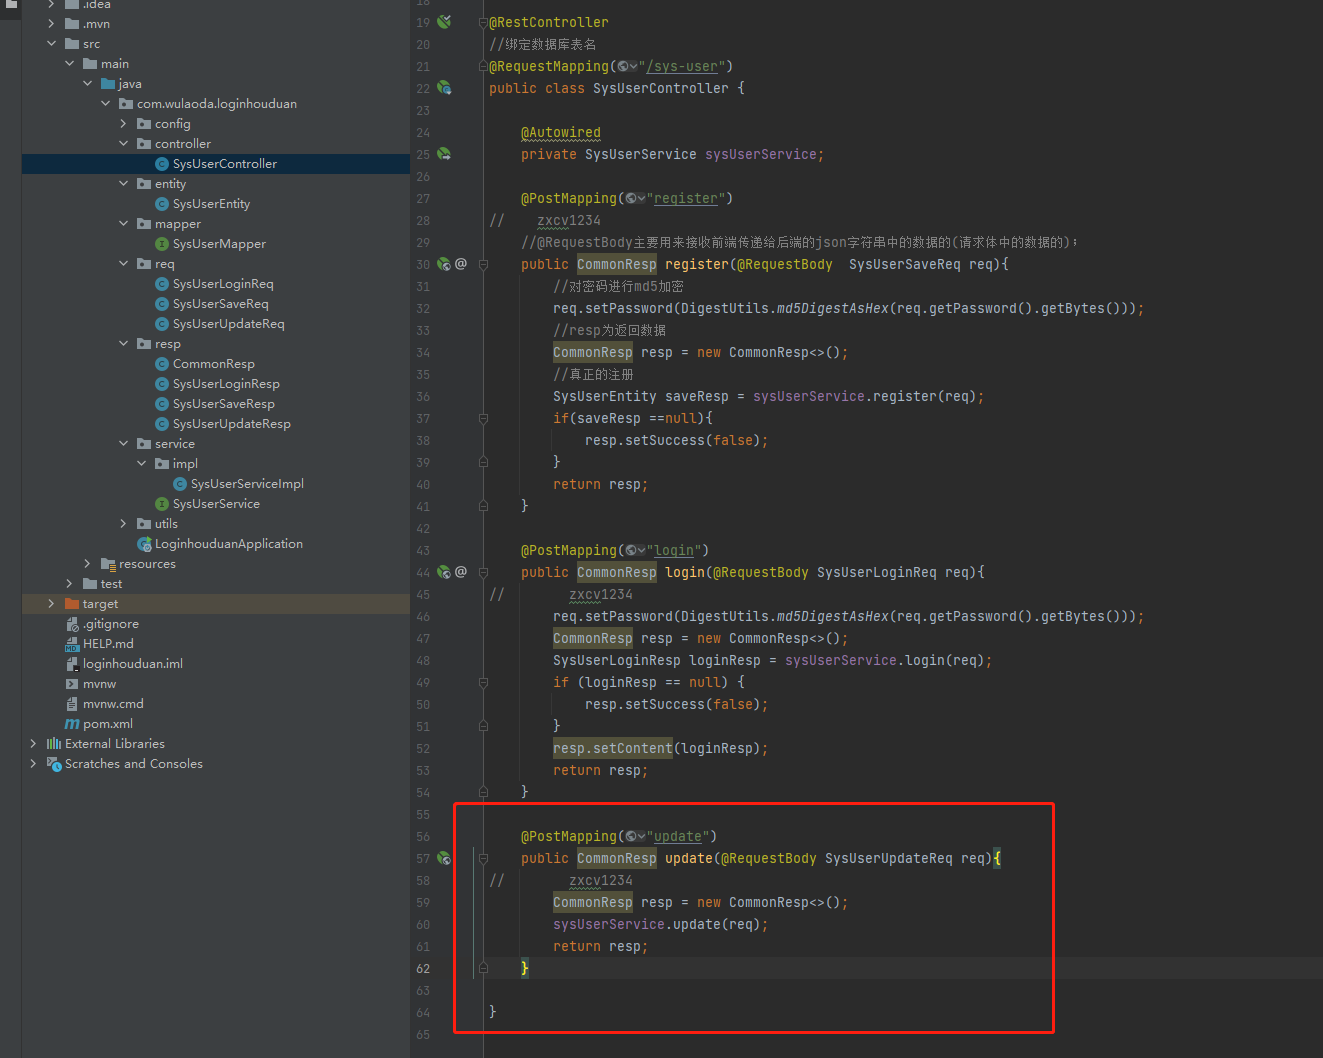
    @PostMapping("update")
    public CommonResp update(@RequestBody SysUserUpdateReq req){
//        zxcv1234
        CommonResp resp = new CommonResp<>();
        sysUserService.update(req);
        return resp;
    }
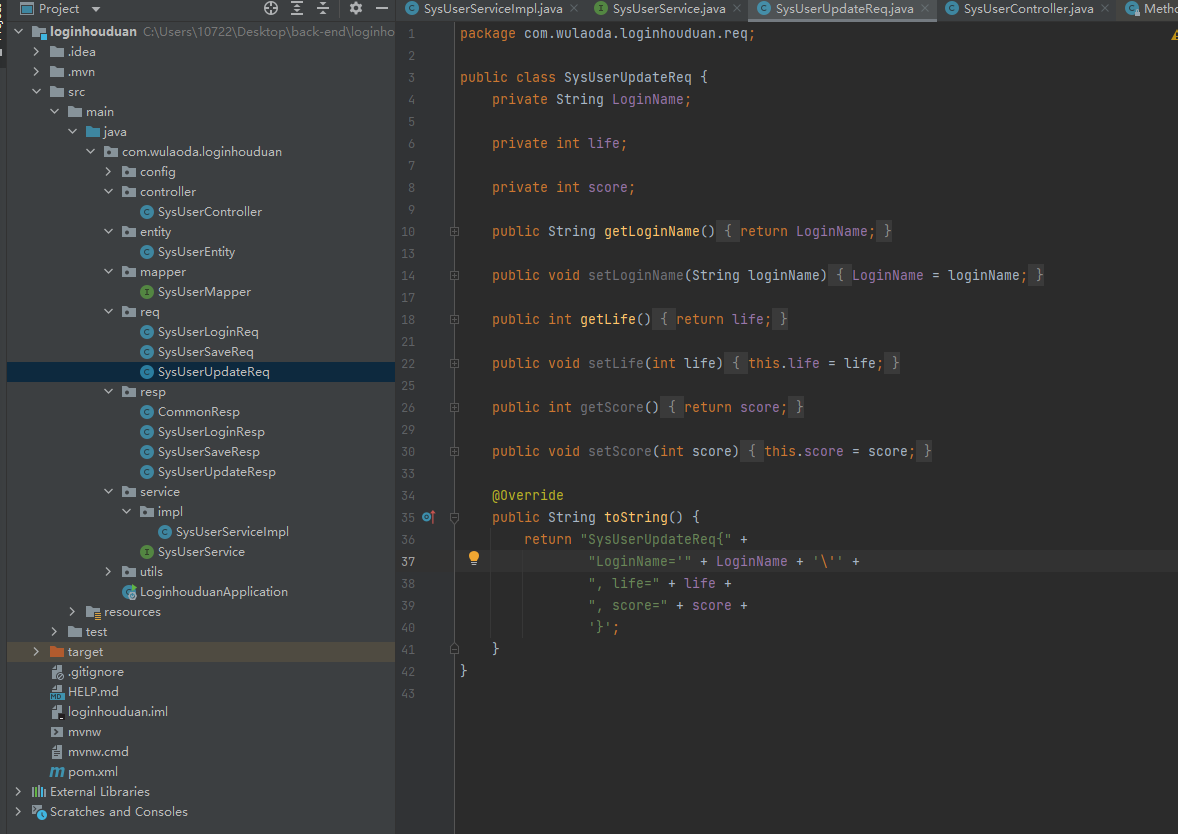
3.在req檔案下新增一個SysUserUpdateReq類
因為這個我們只做對資料的更新,所以只用LoginName,life,score就可以了
package com.wulaoda.loginhouduan.req;

public class SysUserUpdateReq {
    private String LoginName;

    private int life;

    private int score;

    public String getLoginName() {
        return LoginName;
    }

    public void setLoginName(String loginName) {
        LoginName = loginName;
    }

    public int getLife() {
        return life;
    }

    public void setLife(int life) {
        this.life = life;
    }

    public int getScore() {
        return score;
    }

    public void setScore(int score) {
        this.score = score;
    }

    @Override
    public String toString() {
        return "SysUserUpdateReq{" +
                "LoginName='" + LoginName + '\'' +
                ", life=" + life +
                ", score=" + score +
                '}';
    }
}
4.編寫業務
這裡Mybatis-plus提供的update方法
嘶,引數看不懂
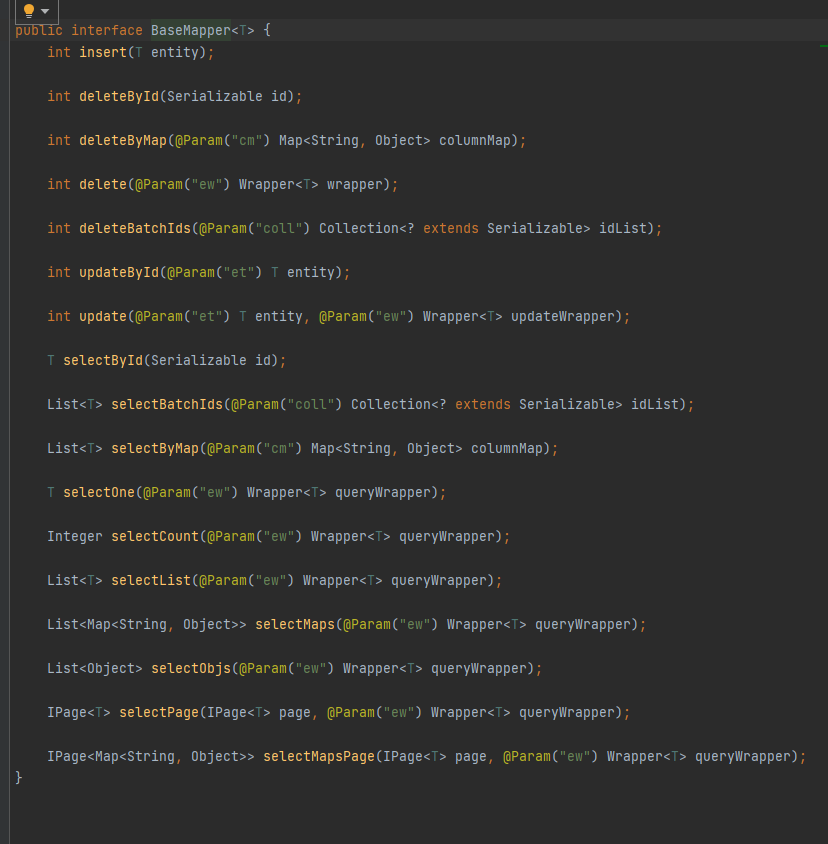
然後,改怎麼寫啊...不會啊...
必應我來了
mybatis-plus入門學習-BaseMapper - 掘金 (juejin.cn)
mybatis-plus update更新操作的三種方式_mybatisplus的uodate_波神小波的部落格-CSDN部落格
直接就對著抄
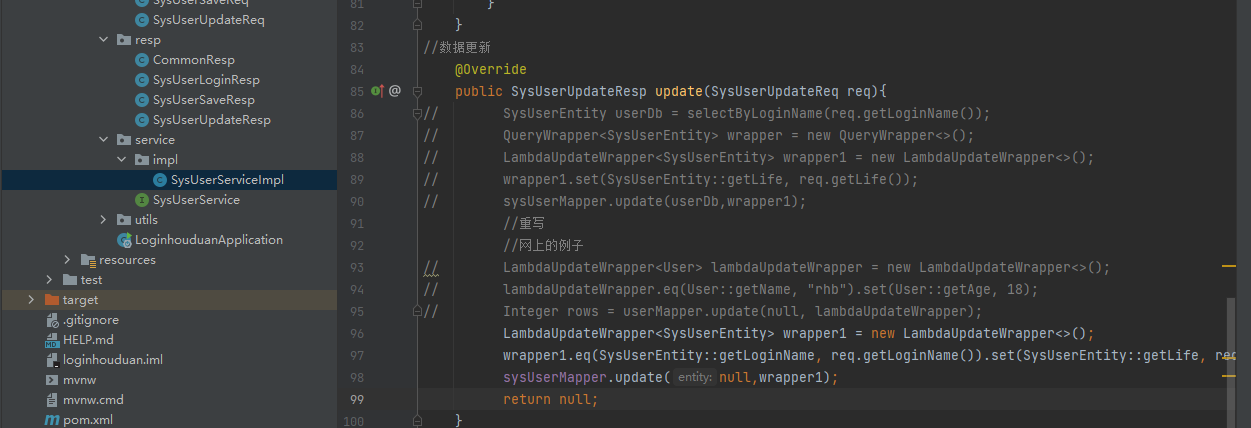
//資料更新
    @Override
    public SysUserUpdateResp update(SysUserUpdateReq req){//重寫
          //網上的例子
//        LambdaUpdateWrapper<User> lambdaUpdateWrapper = new LambdaUpdateWrapper<>();
//        lambdaUpdateWrapper.eq(User::getName, "rhb").set(User::getAge, 18);
//        Integer rows = userMapper.update(null, lambdaUpdateWrapper);
          LambdaUpdateWrapper<SysUserEntity> wrapper1 = new LambdaUpdateWrapper<>();
          wrapper1.eq(SysUserEntity::getLoginName, req.getLoginName()).set(SysUserEntity::getLife, req.getLife());
          sysUserMapper.update(null,wrapper1);
          return null;
    }
前端點下按鈕,開始測試,
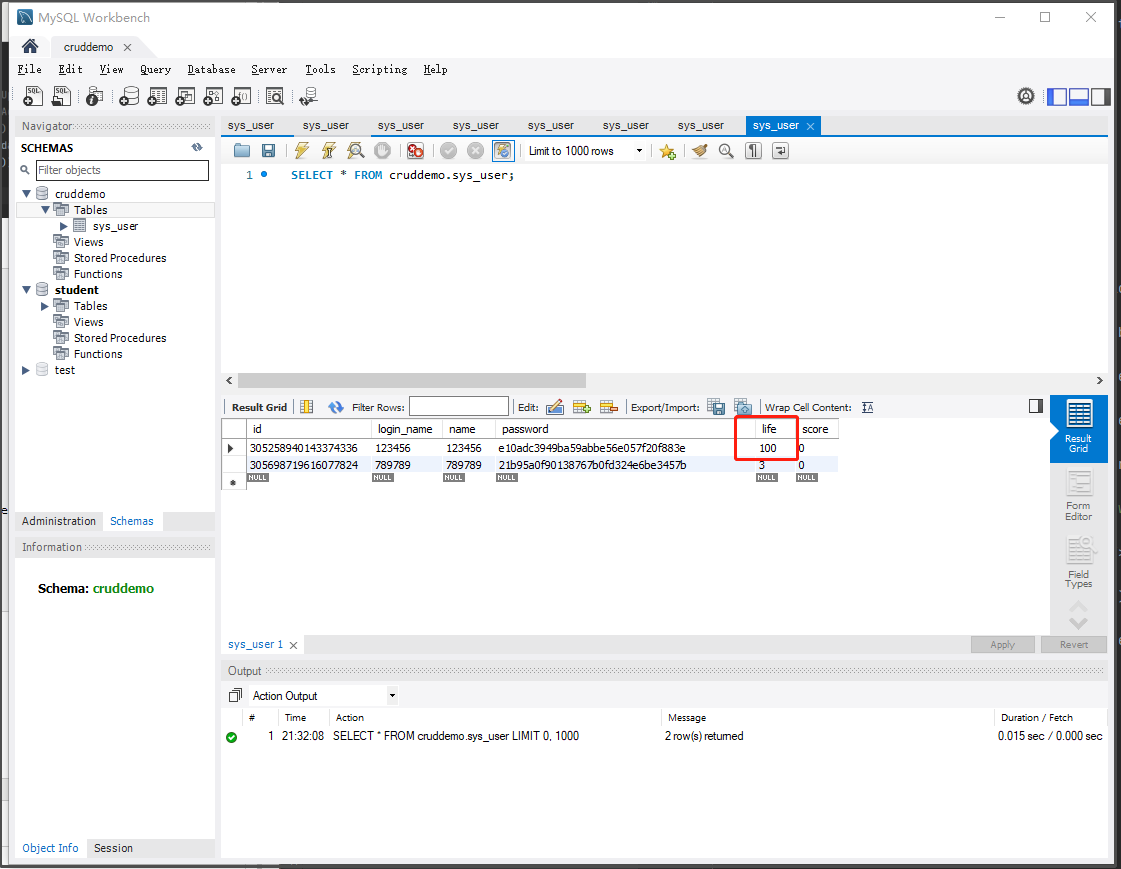
資料成功修改