漲姿勢了,殊途同歸的圖片互動動效製作!
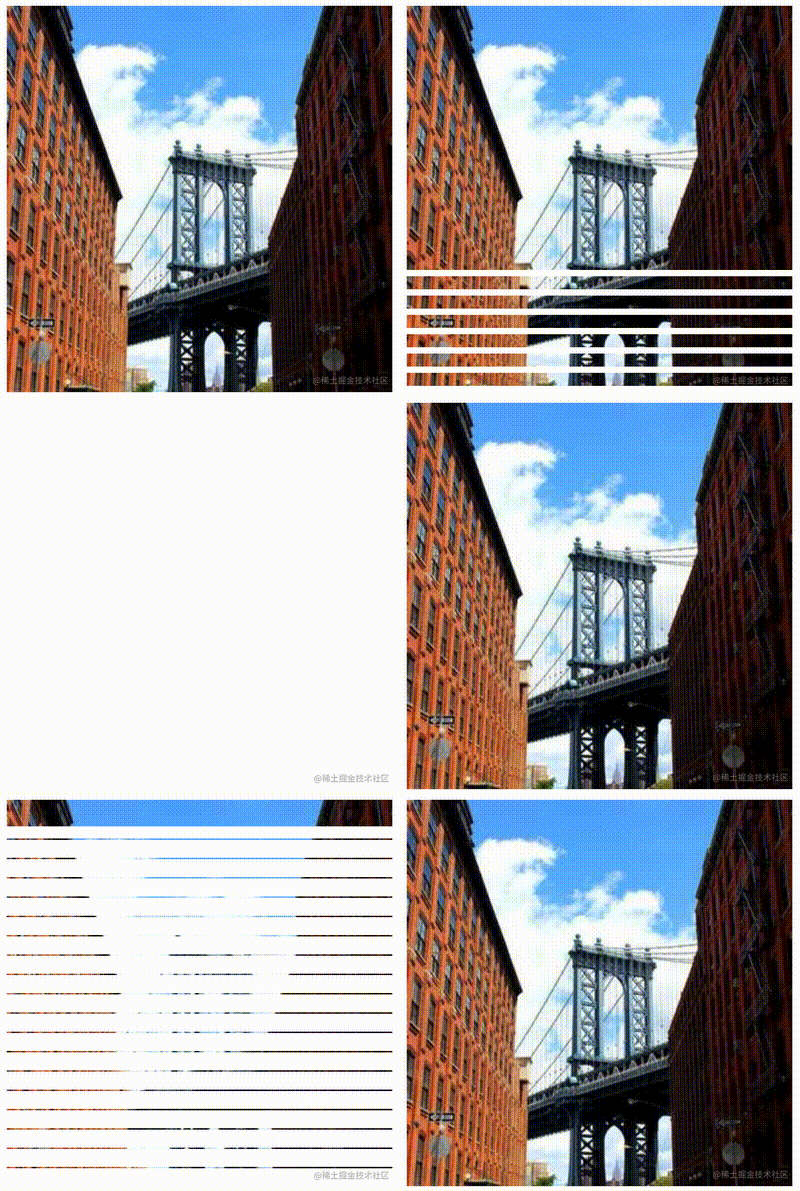
最近,在 CodePen 上,看到一個非常有意思的圖片動效,效果如下:
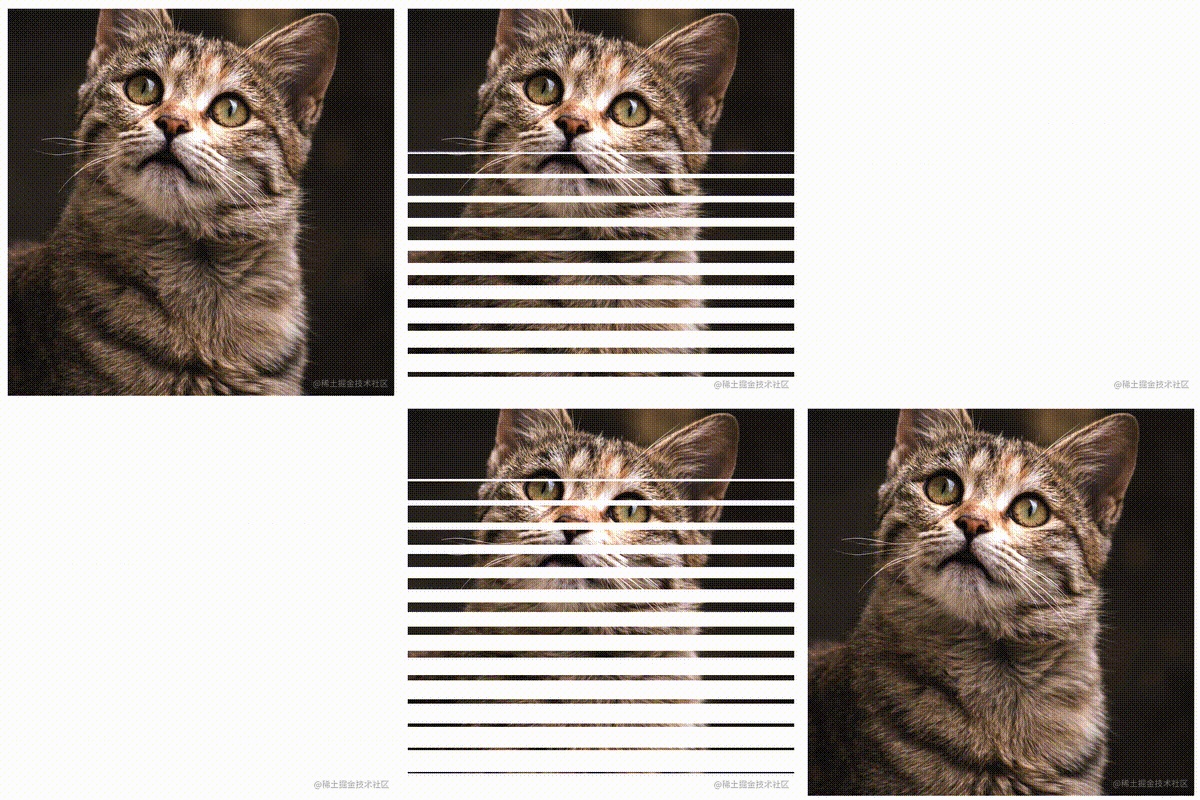
原效果連結:CodePen Demo - 1 div pure CSS blinds staggered animation in 13 declarations
本身這個動畫效果,並沒有多驚豔。驚豔的地方在於原作者的實現方式非常有趣,我們簡單來看看:
<div></div>
$base: 'https://images.unsplash.com/';
$imid: '1608848461950-0fe51dfc41cb';
$size: 800;

/* declarations 1 through 3 are for layout */
html, body, div { display: grid } /* 1 */

html { height: 100% } /* 2 */

div {
	place-self: center; /* 3 */
	background: /* cat image */
		url('#{$base}photo-#{$imid}?w=#{$size}')
			50%/ cover; /* 4 */

	&::after {
		padding: 200px; /* 5 size element */
		background: /* blinds */
			/* top to bottom 50% lightness grey to white
			 * repeating gradient (16 repetitions) */
			/* slightly lighter than 50% grey to fix Chrome on Android glitch */
			repeating-linear-gradient(hsl(0, 0%, 52.5%), #fff 6.25%),
			/* 50% lightness grey to white gradient
			 * the top third of the gradient is fully grey
			 * the middle third is the gradient transition
			 * from the 50% lightness grey of the first third
			 * to white, which also covers the bottom third */
			/* extra black stop added to fix Chrome on Android glitch */
			linear-gradient(#000 33.3%, grey 0, #fff 66.7%)
				/* background height is 3x the element's height */
				0/ 100% 300%; /* 6 */
		/* for reference: this talk where I go into
		 * the multiply blend mode (Chromium only slides)
		 * https://codepen.io/thebabydino/project/full/ZjwjBe */
		background-blend-mode: multiply; /* 7 */
		/* use a very high contrast value to make
		 * all greys darker than the 50% lightness one black
		 * and all others white
		 * from top to bottom, this gives us
		 * horizontal white bands of increasing height
		 * with black in between */
		filter: contrast(999); /* 8 */
		/* also detailed in the talk mentioned above
		 * wherever this pseudo is white, result of blending
		 * with parent (with cat background) is white;
		 * wherever this pseudo is black, result of blending
		 * with parent is the parent (cat background here) */
		mix-blend-mode: screen; /* 9 */
		/* background-position animation goes back and forth */
		animation: p 1s linear infinite alternate; /* 10 */
		content: '' /* 11 necesarry for pseudo to show up */
	}
}

@keyframes p {
	/* cat is covered by grey top third of tall gradient,
	 * which results in a fully black pseudo after
	 * blending backgrounds & applying contrast
	 * => result after blending it with the cat is the cat*/
	0%, 25% { background-position: 0 0 } /* 12 */
	/* cat is covered by white bottom third of tall gradient,
	 * which results in a fully white pseudo after
	 * blending backgrounds & applying contrast
	 * => fully white result after blending with cat */
	75%, 100% { background-position: 0 100% } /* 13 */
}
怎麼樣,實際程式碼行數不錯,大部分是註釋。
整個效果的核心是利用了漸變 + mix-blend-mode、background-blend-mode 以及濾鏡 filter。相信大部分人看到上述的程式碼不偵錯一番是不知道到底發生了啥的。(我也是)
當然,本文不是來剖析原作者的構思巧妙,而是想就著這個效果,思考一下,在 CSS 中,我們是否有辦法使用其他方式,快速還原同樣的動畫效果?
答案是肯定的。接下來,我們就使用 CSS @property 和 mask 的組合,快速還原上述動畫效果。
動畫分解
其實上面的動畫,整體而言可以拆解成兩個部分。
- 向上遮罩消失動畫
首先,我們需要實現這麼一個向上的遮罩消失動畫:
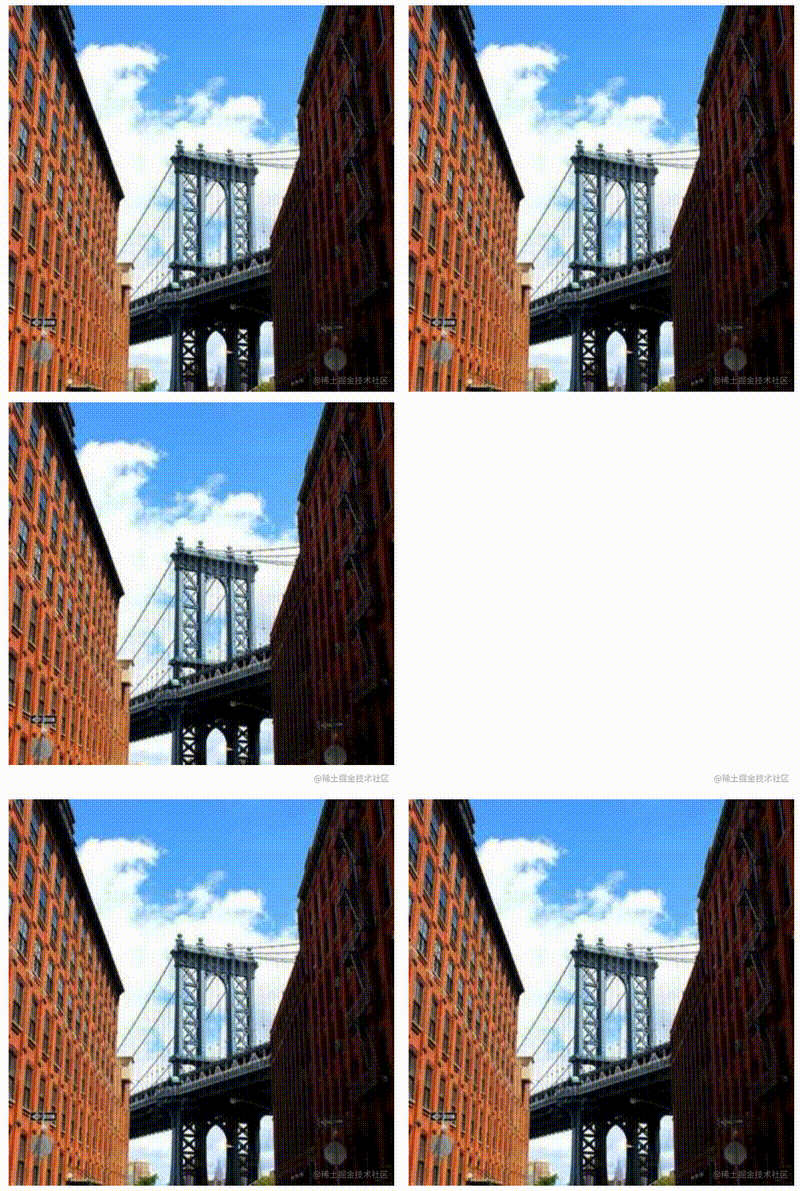
方法很多,但是最適合用於實現這類效果的是 mask 或者 clip-path,當然,需要配合上 CSS @property。
我們使用 mask 配合上 CSS @property,這個效果其實很簡單,程式碼如下:
<div></div>
@property --per {
  syntax: '<percentage>';
  inherits: false;
  initial-value: 100%;
}

div {
    background: url(https://picsum.photos/400/400?random=100);
    width: 400px;
    height: 400px;
    mask: linear-gradient(#000, #000 var(--per), transparent var(--per), transparent);
    animation: change 3s infinite linear;
}

@keyframes change {
    0%, 60% {
        --per: 100%;
    }
    70%, 100% {
        --per: 0%;
    }
}
核心就在於設定了這樣一個 mask -- linear-gradient(#000, #000 var(--per), transparent var(--per), transparent),其中 --per 這個 CSS 變數的值表示的就是透明與顯示狀態的一個百分比值。動畫過程中,只需要動態的將這個百分比值從 100% 修改為 0% 即可完成向上遮罩消失動畫。
這樣,我們就得到了這麼個效果:

如果你對 mask 和 CSS @property 的用法還不是很熟悉,建議你先看看這兩篇,補齊一下基礎知識:
奇妙的 CSS MASK
CSS @property,讓不可能變可能
- 百葉窗動畫
其次,我們需要實現一個百葉窗動畫效果,像是這樣:
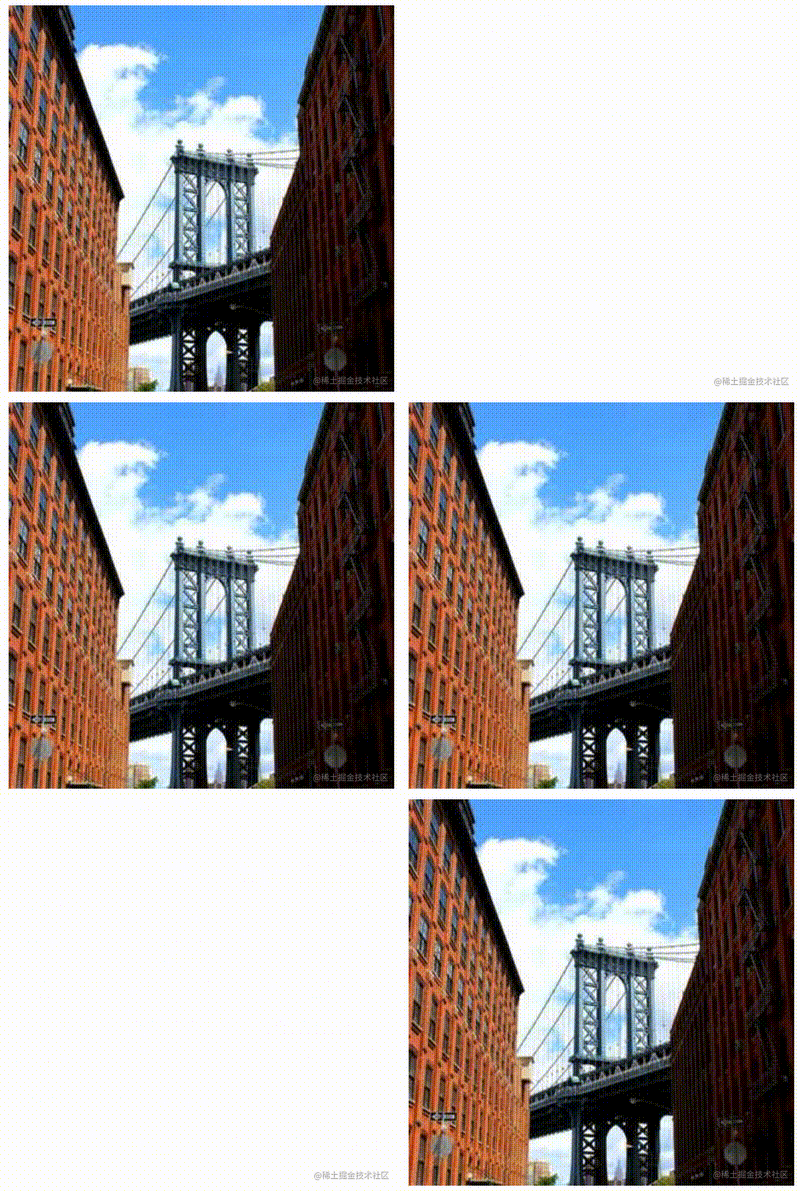
在理解了上面的向上遮罩消失動畫後,其實這裡的百葉窗動畫只是迷你版本的向上遮罩消失動畫。
與上述的程式碼完全一致,只是調整一下 mask-size 即可。
@property --per {
  syntax: '<percentage>';
  inherits: false;
  initial-value: 100%;
}

div {
    background: url(https://picsum.photos/400/400?random=100);
    width: 400px;
    height: 400px;
    mask: linear-gradient(#000, #000 var(--per), transparent var(--per), transparent);
    mask-size: 100px 20px;
    animation: change 3s infinite linear;
}

@keyframes change {
    0%, 60% {
        --per: 100%;
    }
    70%, 100% {
        --per: 0%;
    }
}
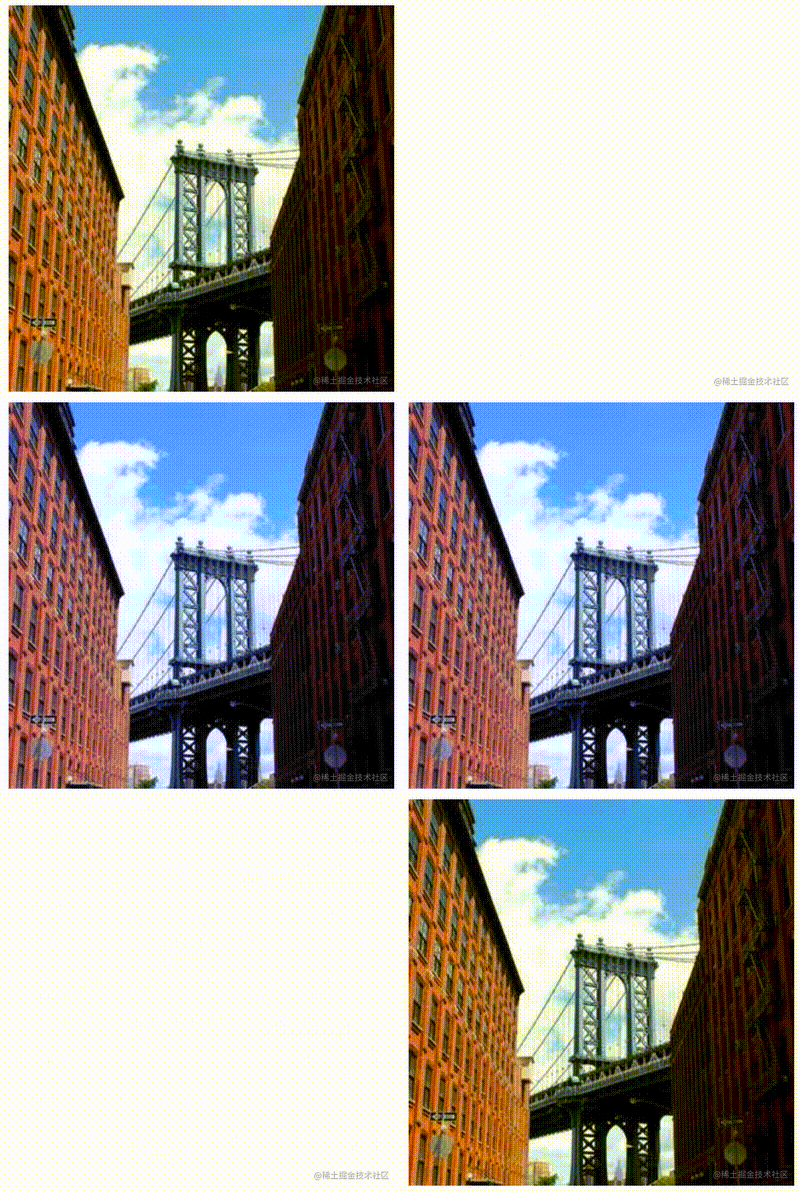
注意,上面的程式碼與第一段程式碼幾乎完全一致,僅僅在於多加了 mask-size: 100px 20px。這樣,我們就快速的得到了百葉窗的切換動畫效果:
- 結合向上遮罩消失動畫與百葉窗動畫
有了上述兩個動畫,其實我們只需要把它們結合一下,就可以得到文章一開頭的效果。
完整的程式碼如下:
@property --per {
  syntax: '<percentage>';
  inherits: false;
  initial-value: 100%;
}

div {
    background: url(https://picsum.photos/400/400?random=100);
    width: 400px;
    height: 400px;
    mask:
        linear-gradient(#000, #000 var(--per), transparent var(--per), transparent),
        linear-gradient(#000, #000 var(--per), transparent var(--per), transparent);
    mask-size: 100px 20px, 100% 100%;
    animation: change 3s infinite linear;
}

@keyframes change {
    0%, 60% {
        --per: 100%;
    }
    70%, 100% {
        --per: 0%;
    }
}
這樣,我們就成功的利用了一種其它方式,還原了文章一開頭的動畫效果:
CodePen Demo -- Image Hover Effect
擴充套件延伸
當然,掌握了上述動畫的技巧後,我們完全可以進行一些延伸嘗試。
譬如,我們可以把上面 mask 的 linear-gradient() 替換成 radial-gradient()。
原理也是一樣的:
@property --per1 {
  syntax: '<length>';
  inherits: false;
  initial-value: 20px;
}
@property --per2 {
  syntax: '<percentage>';
  inherits: false;
  initial-value: 0%;
}

div {
    background: url(https://picsum.photos/400/400?random=100);
    width: 400px;
    height: 400px;
    mask:
        repeating-radial-gradient(#000, #000 var(--per1), transparent var(--per1), transparent 20px),
        radial-gradient(transparent, transparent var(--per2), #000 var(--per2), #000);
    animation: change 3s infinite linear;
}

@keyframes change {
    0%, 60% {
        --per1: 20px;
        --per2: 0%;
    }
    70%, 100% {
        --per1: 0px;
        --per2: 100%;
    }
}
只是,這裡我們用到了兩個 CSS @property 變數。這樣,就實現了一個環形的遞進向外的百葉窗消失動畫:

稍加改造,就能實現 Hover 互動效果:
div {
    cursor: pointer;
    transition:
        --per1 .3s,
        --per2 .3s;
}
div:hover {
  --per1: 0px;
  --per2: 100%;
}
一個非常有意思的 Hover 效果就實現了:

完整的程式碼,你也可以戳這裡:CodePen Demo -- Image Hover Effect
最後
好了,本文到此結束,希望對你有幫助