gerrit部署使用
前言
gerrit是基於git的工具,code review功能是開發中很方便,此外它可以配合Jenkins進行自動化的編譯工作。今天給大家分享一下gerrit在ubuntu的安裝使用
作者:良知猶存
轉載授權以及圍觀:歡迎關注微信公眾號:羽林君
或者新增作者個人微信:become_me
Gerrit簡介
Gerrit 是建立在Git版本控制系統之上並且基於Web的一個免費開源的輕量級程式碼審查工具。 作為開發者和Git之間的一層屏障,不允許直接將本地修改內容同步到遠端倉庫中。 與Jenkins整合後,可以在每次提交程式碼後,人工稽核程式碼前,通過Jenkins任務自動執行單元測試、構建以及自動化測試,如果Jenkins任務失敗,會自動打回本次提交。
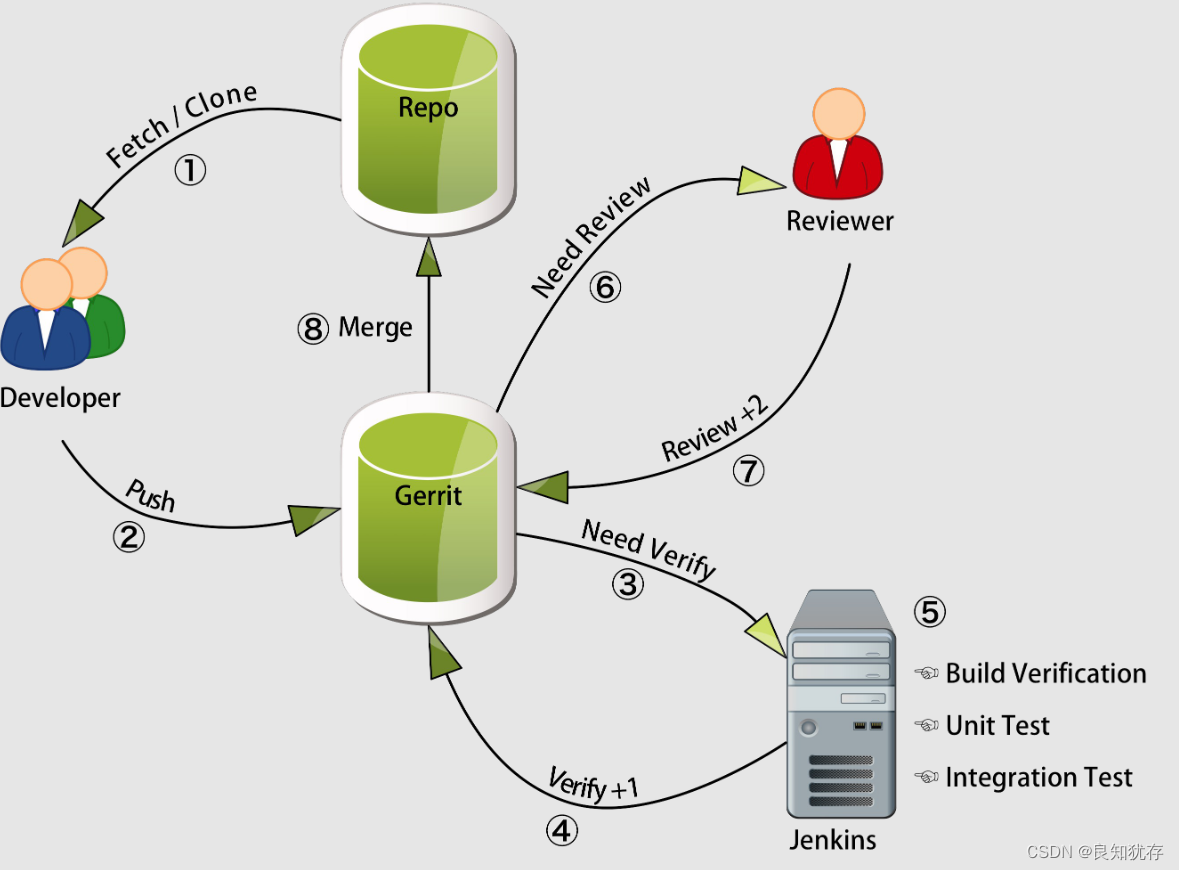
一般Git、Gerrit和Jenkins整合後的使用流程
- 1.開發者提交程式碼到Gerrit
- 2.觸發對應的Jenkins任務,通過以後Verified加1
- 3.人工稽核,稽核通過後code review加2,觸發對應的Jenkins任務
- 4.通過以後確認本次提交,Gerrit執行與Git倉庫的程式碼同步操作
- 5.程式碼進入Git倉庫
Gerrit 安裝
安裝需要內容,gerrit檔案,環境有git、jdk環境、反向代理工具nginx(幫助登入網頁)
本文在nginx安裝部分是最後解決問題時候,才發現反向代理工具的是必須的,最後才安裝。
先下載 gerrit檔案
下載連結:https://www.gerritcodereview.com/#download,官網可達 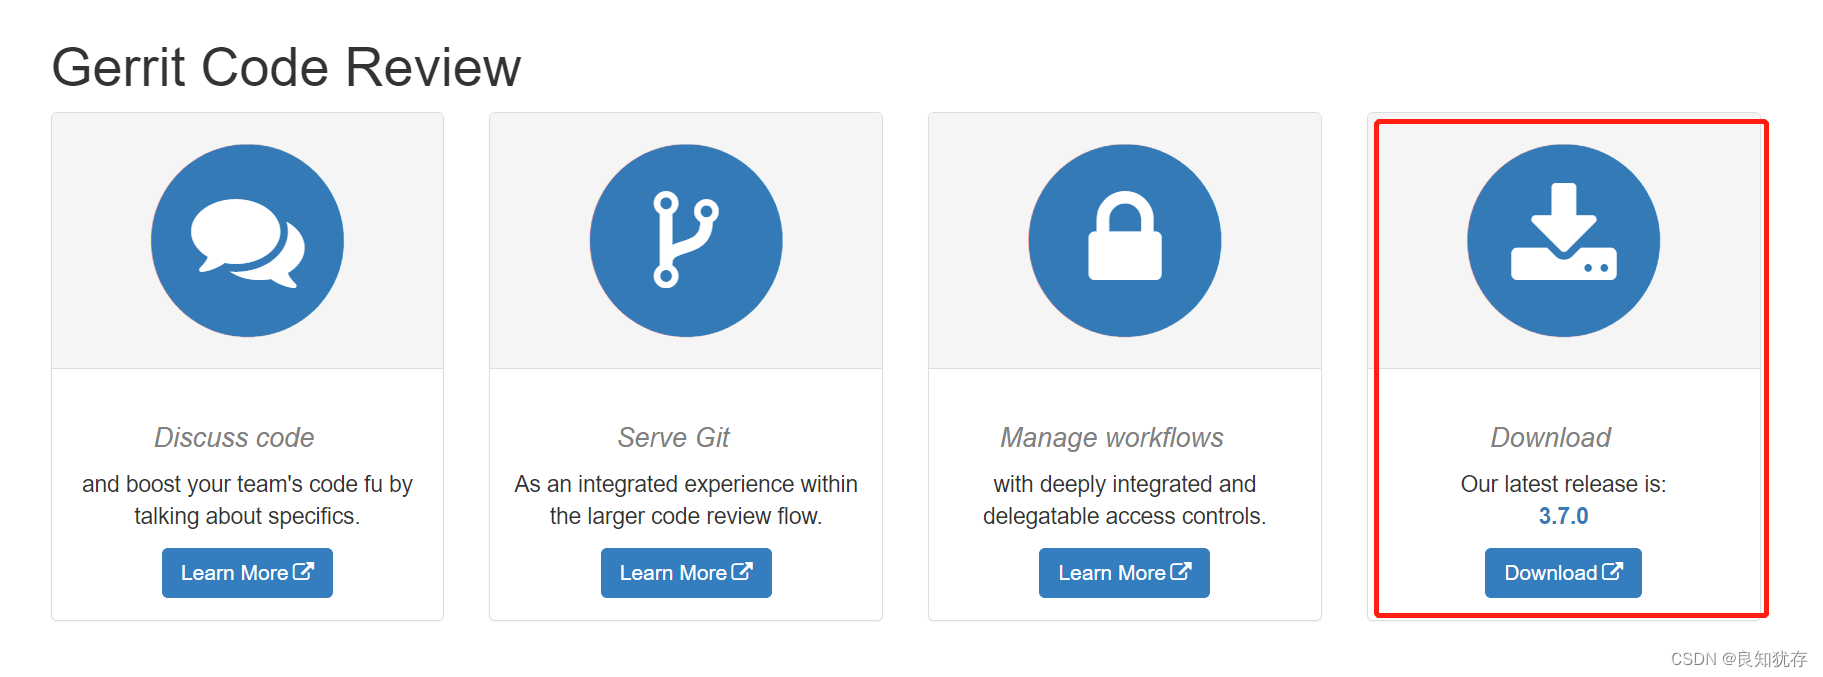 也可以使用wget工具命令列下載:
wget https://gerrit-releases.storage.googleapis.com/gerrit-3.1.3.war
官網安裝指導檔案:
-
https://gerrit-review.googlesource.com/Documentation/index.html
-
https://gerrit-documentation.storage.googleapis.com/Documentation/3.6.2/install.html
下載下來等待其他環境安裝好之後進行使用。
jdk環境
直接apt install進行安裝sudo apt install openjdk-11-jdk 安裝之後使用java -version命令檢視是否安裝成功 
git環境
gerrit需要git環境,直接安裝git sudo apt-get install git

gerrit啟動
進入到gerrit*.war檔案所在目錄,執行以下命令進行互動式安裝 java -jar ~/Downloads/gerrit*.war init -d ~/Gerrit/
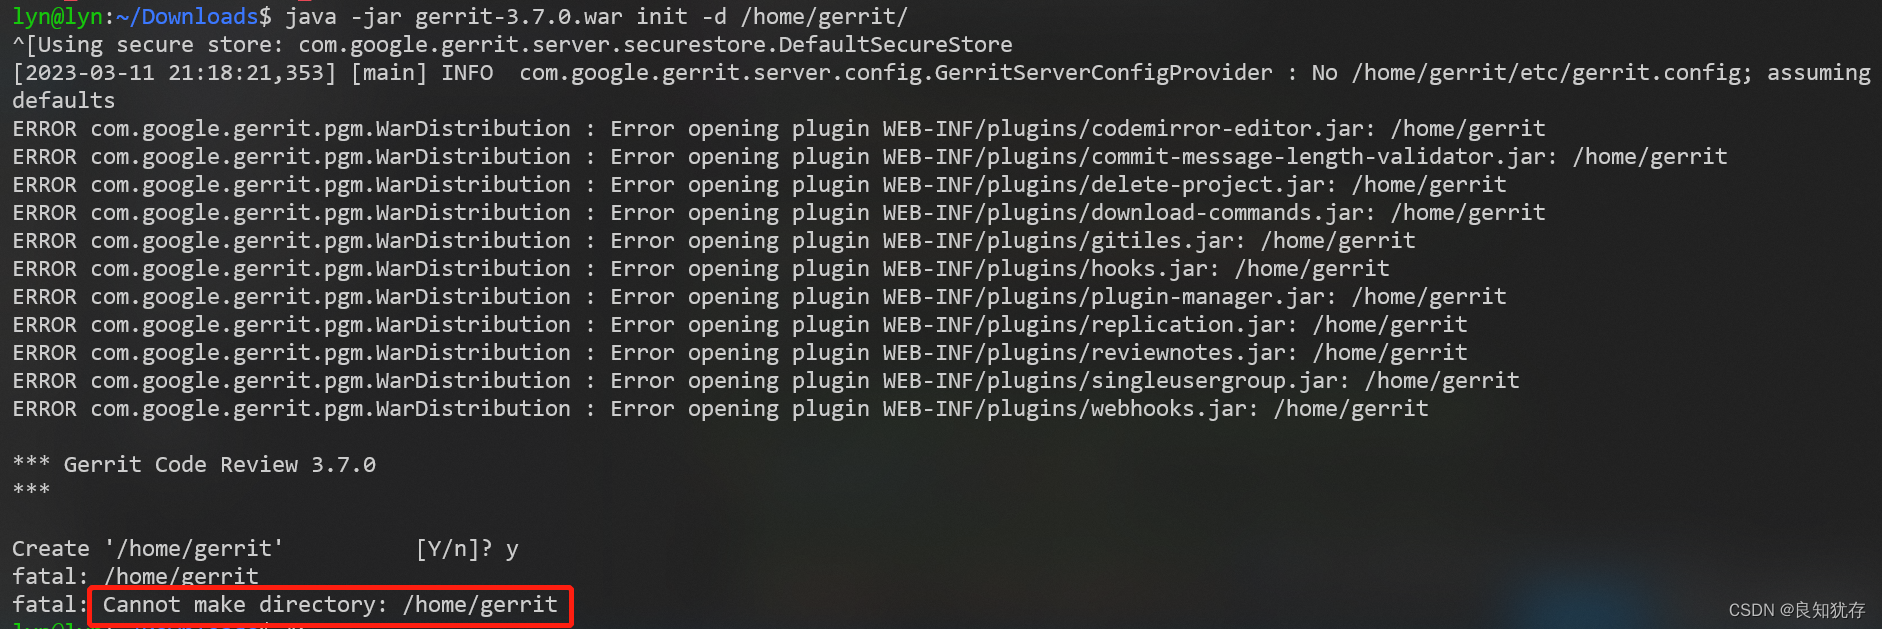 很多人是把gerrit放入/home/gerrit/目錄,但是無法建立,需要建立一個gerrit賬號進行存取。
sudo adduser gerrit
sudo su gerrit
類似於如此操作就可以建立一個gerrit目錄
最後我選擇了本地目錄建立 Gerrit ,操作執行 java -jar gerrit*.war init -d ~/Gerrit/
注意: 1、gerrit可以將資料儲存到mysql或其他的資料中,如果你需要使用mysql,則需要安裝gerrit之前安裝mysql,我這裡直接使用預設的資料庫型別 H2。如果你需要使用其他型別資料庫,可以參考下面這個連結:
- https://gerrit-documentation.storage.googleapis.com/Documentation/2.12.2/install.html
2、如果gerrit需要結合jenkins做CI持續構建的話,在互動式安裝過程中需要安裝Verified label,預設是不安裝的:Install Verified label [y/N]? y 這裡選擇y,安裝Verified label。
啟動執行具體細節如下:(比較複雜,後期使用需要反覆觀看裡面設定以及解釋)
lyn@lyn:~/Downloads$ java -jar gerrit*.war init -d ~/Gerrit/
Using secure store: com.google.gerrit.server.securestore.DefaultSecureStore
[2023-03-11 21:25:46,286] [main] INFO  com.google.gerrit.server.config.GerritServerConfigProvider : No /home/lyn/Gerrit/etc/gerrit.config; assuming defaults

*** Gerrit Code Review 3.7.0
***

Create '/home/lyn/Gerrit'      [Y/n]? y

*** Git Repositories
***

Location of Git repositories   [git]:  git       #指定Git儲存庫,最好指定一個不存在的目錄,他會自動建立

*** JGit Configuration
***

Auto-configured "receive.autogc = false" to disable auto-gc after git-receive-pack.

*** Index
***

Type                           [lucene]:       #預設即可。

*** User Authentication
***

Authentication method          [openid/?]: HTTP       #認證方法輸入HTTP,我們要使用反向代理
Get username from custom HTTP header [y/N]?
SSO logout URL                 :
Enable signed push support     [y/N]?
Use case insensitive usernames [Y/n]?

*** Review Labels
***

Install Verified label         [y/N]?  y

*** Email Delivery
***

SMTP server hostname           [localhost]:       #輸入自動傳送郵件的smtp伺服器
SMTP server port               [(default)]:       #465/994時SSL協定埠後,25是非SSL協定埠號
SMTP encryption                [none/?]:       #如果上一步輸入的是465/994,此處輸入SSL,否則直接回車即可
SMTP username                  :       #此處是你定義自動傳送郵件的郵箱地址
                                       #接著我們需要輸入2次咱們郵箱的授權碼,而非郵箱密碼!

*** Container Process
***

Run as                         [lyn]: gerrit
Java runtime                   [/usr/lib/jvm/java-11-openjdk-amd64]:
Copy gerrit-3.7.0.war to /home/lyn/Gerrit/bin/gerrit.war [Y/n]?
Copying gerrit-3.7.0.war to /home/lyn/Gerrit/bin/gerrit.war

*** SSH Daemon
***

Listen on address              [*]:       #指定SSH後臺服務的監聽地址
Listen on port                 [29418]:       #指定SSH後臺服務的埠號
Generating SSH host key ... rsa... ed25519... ecdsa 256... ecdsa 384... ecdsa 521... done

*** HTTP Daemon
***
Behind reverse proxy           [Y/n]? y        #使用發向代理
Proxy uses SSL (https://)      [Y/n]?       #不適用SSL
Subdirectory on proxy server   [/]:       #指定代理伺服器的子目錄,預設為"/"路徑,預設即可
Listen on address              [*]:       #只當gerrit服務的監聽地址
Listen on port                 [8080]: 8088       #指定gerrit的伺服器埠
Canonical URL                  [http://lyn:8080/]: http://lyn:8088       #指定標準連線


*** Cache
***


*** Plugins
***

Installing plugins.       #接下來就是詢問我們是否安裝外掛,我們一路」y「 即可~
Install plugin codemirror-editor version v3.7.0 [y/N]? y
Installed codemirror-editor v3.7.0
Install plugin commit-message-length-validator version v3.7.0 [y/N]? y
Installed commit-message-length-validator v3.7.0
Install plugin delete-project version v3.7.0 [y/N]? y
Installed delete-project v3.7.0
Install plugin download-commands version v3.7.0 [y/N]? y
Installed download-commands v3.7.0
Install plugin gitiles version v3.7.0 [y/N]? y
Installed gitiles v3.7.0
Install plugin hooks version v3.7.0 [y/N]? y
Installed hooks v3.7.0
Install plugin plugin-manager version v3.7.0 [y/N]? y
Installed plugin-manager v3.7.0
Install plugin replication version v3.7.0 [y/N]? y
Installed replication v3.7.0
Install plugin reviewnotes version v3.7.0 [y/N]? y
Installed reviewnotes v3.7.0
Install plugin singleusergroup version v3.7.0 [y/N]? y
Installed singleusergroup v3.7.0
Install plugin webhooks version v3.7.0 [y/N]? y
Installed webhooks v3.7.0
Initializing plugins.

============================================================================
Welcome to the Gerrit community

Find more information on the homepage: https://www.gerritcodereview.com
Discuss Gerrit on the mailing list: https://groups.google.com/g/repo-discuss
============================================================================
Initialized /home/lyn/Gerrit
Init complete, reindexing accounts,changes,groups,projects with: reindex --site-path /home/lyn/Gerrit --threads 1 --index accounts --index changes --index groups --index projects --disable-cache-statsReindexed 0 documents in accounts index in 0.0s (0.0/s)
Index accounts in version 12 is ready
Reindexing groups:      100% (2/2)
Reindexed 2 documents in groups index in 0.8s (2.5/s)
Index groups in version 9 is ready
Reindexing changes: Slicing projects: 100% (2/2), done
Reindexed 0 documents in changes index in 0.0s (0.0/s)
Index changes in version 79 is ready
Reindexing projects:    100% (2/2)
Reindexed 2 documents in projects index in 0.1s (14.6/s)
Index projects in version 5 is ready
Executing /home/lyn/Gerrit/bin/gerrit.sh start
Starting Gerrit Code Review: WARNING: Could not adjust Gerrit's process for the kernel's out-of-memory killer.
         This may be caused by /home/lyn/Gerrit/bin/gerrit.sh not being run as root.
         Consider changing the OOM score adjustment manually for Gerrit's PID=193375 with e.g.:
         echo '-1000' | sudo tee /proc/193375/oom_score_adj
OK
建立gerrit.password檔案,並建立使用者
htpasswd -c /home/lyn/Gerrit/etc/gerrit.password admin      # 建立第一個使用者admin,同時會生成一個gerrit.password檔案

htpasswd -m /home/lyn/Gerrit/etc/gerrit.password lyn     # 在gerrit.password增加使用者用 -m
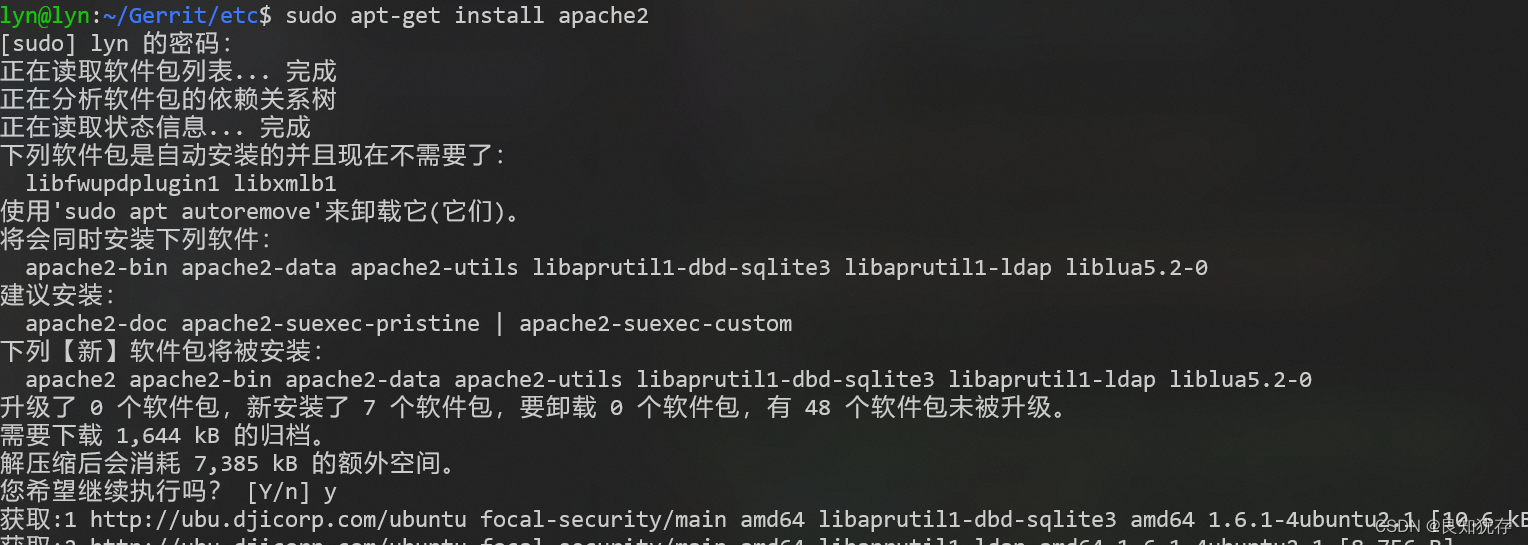
執行上面的命令,會要求多次輸入密碼,改密碼就是對應使用者的登入密碼。  htpasswd 是apache密碼生成工具,如果你的電腦沒有這個命令,可以直接安裝apache2
sudo apt-get install apache2
執行gerrit
在之前安裝gerrit的目錄下執行指令碼,啟動gerrit
# 啟動gerrit
$ ~/Gerrit/bin/gerrit.sh start
# 停止gerrit
$ ~/Gerrit/bin/gerrit.sh stop
# 重啟gerrit
$ ~/Gerrit/bin/gerrit.sh restart
 成功之後使用8088埠進行存取:
這個時候我沒有開啟反向代理,會提示如下問題:
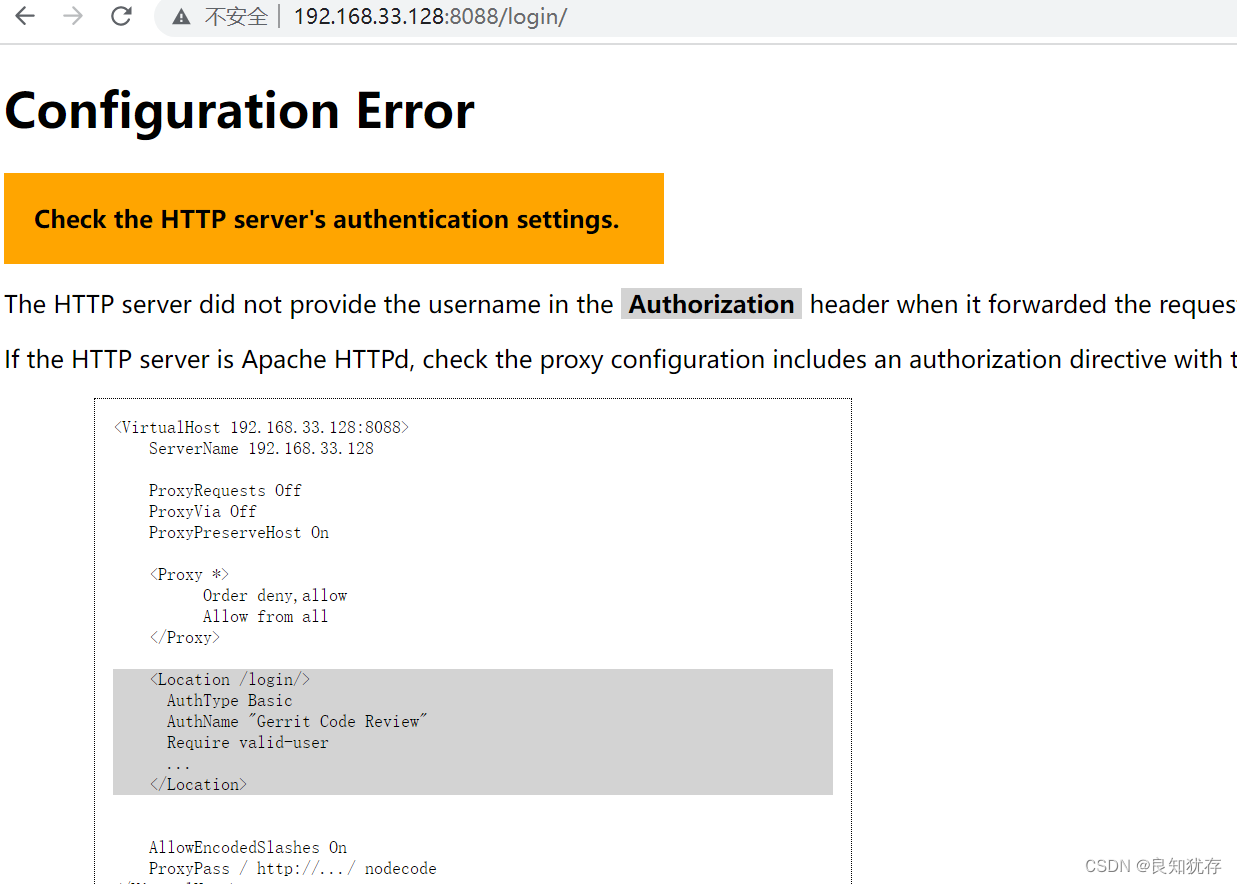
Configuration Error
Check the HTTP server’s authentication settings.
The HTTP server did not provide the username in the Authorization header when it forwarded the request to Gerrit Code Review.

If the HTTP server is Apache HTTPd, check the proxy configuration includes an authorization directive with the proper location, ensuring it ends with ‘/’:
後面還遇到了反向代理設定後,502,403問題。  但都可以歸結為一個原因。
錯誤原因:gerrit.conf 設定錯誤
gerrit相關組態檔修改,gerrit目錄的gerrit.config和nginx的gerrit.conf修改解決。
原因是Gerrit有兩種工作方式,我們要採用 http 的工作方式,也就是程式碼稽核人員,可以直接通過Web頁面對提交的程式碼進行評審以及後續的操作。
然後Gerrit要求不能直接請求其埠,必須要使用反向代理才能正確登入。而我們知道Nginx的成功正在於其高效、輕量級以及 反向代理 ,雖然Apache也有反向代理的功能,但是如果你在安裝Apache時沒有開啟,後續的開啟過程要相對複雜一點,而Nginx就簡單的多了。
https://blog.csdn.net/zhoulr000/article/details/114173876
方法一:安裝ngnix sudo apt-get install nginx
設定nginx的gerrit反向代理檔案 sudo vi /etc/nginx/conf.d/gerrit.conf
- 設定nginx反向代理,檔案內容如下
server {
    listen 81;
    server_name localhost;
    allow all;
    deny all;

    auth_basic "Welcome to Gerrit Code Review Site!";
    auth_basic_user_file /home/lyn/Gerrit/etc/gerrit.password;


    location / {
        proxy_pass http://127.0.0.1:8088;
        proxy_set_header X-Forwarded-For $remote_addr;
        proxy_set_header Host $host;
    }
}
需要注意的部分:
- listen 81: nginx server 監聽的埠,儘量不要使用知名埠80,我這裡面換成了81埠
- /home/lyn/Gerrit/etc/gerrit.password: 這個是http認證使用的檔案,後面需要設定 對應
- gerrit 埠設定為8088
其中還修改了gerrit中etc目錄的gerrit.config檔案,內容如下:
[gerrit]
        basePath = git
        canonicalWebUrl = http://lyn:8088/
        serverId = f0858671-052c-4ea0-9883-032a598c9aae
[container]
        javaOptions = "-Dflogger.backend_factory=com.google.common.flogger.backend.log4j.Log4jBackendFactory#getInstance"
        javaOptions = "-Dflogger.logging_context=com.google.gerrit.server.logging.LoggingContext#getInstance"
        user = lyn
        javaHome = /usr/lib/jvm/java-11-openjdk-amd64
[index]
        type = lucene
[auth]
        type = HTTP
[receive]
        enableSignedPush = false
[sendemail]
        smtpServer = localhost
[sshd]
        listenAddress = *:29418
[httpd]
        listenUrl = proxy-https://*:8088/
[cache]
        directory = cache
設定完成後重啟gerrit~/Gerrit/bin/gerrit.sh restart
設定完成後重啟ngnix服務
sudo /etc/init.d/nginx restart       # 重啟nginx
sudo /etc/init.d/nginx status        # 檢視狀態
或者執行
systemctl restart nginx.service
systemctl status nginx.service
啟動之後可以使用工具檢視一下自己設定的埠有沒有正常工作: sudo netstat -ltpn 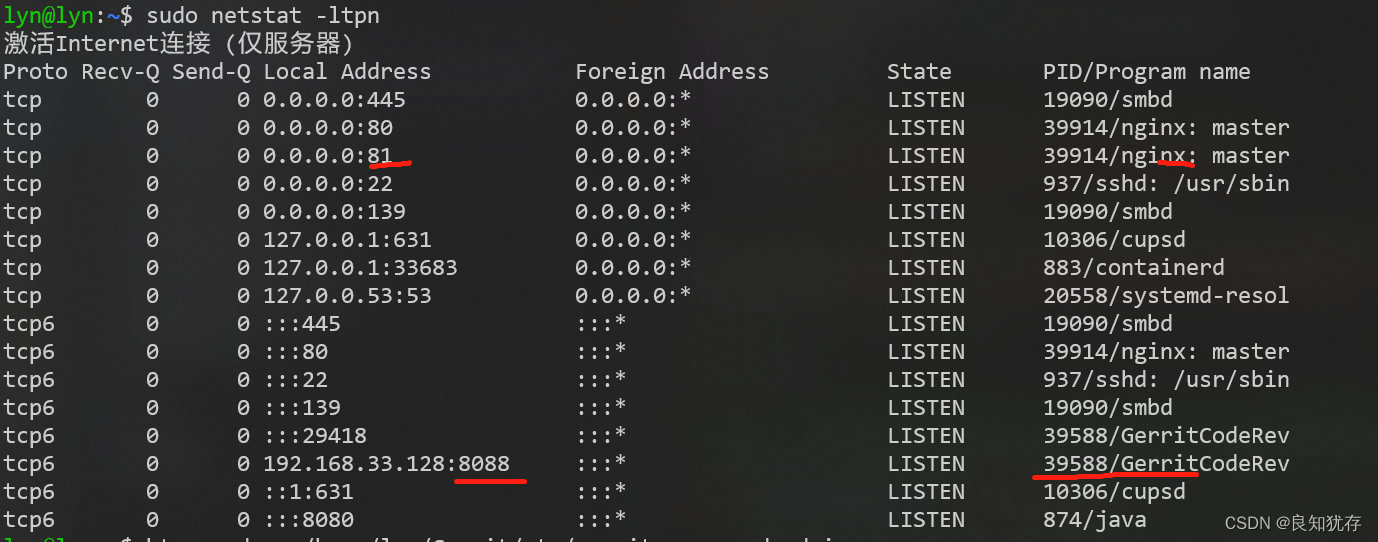
ps $(fuser 8088/tcp)這個工具可以直接檢視有沒有佔據這個埠的程序
方法二:安裝apache2
我們也可以讓Apache2作為反向代理伺服器存取Gerrit, 這個沒有驗證,所以沒有過多描述,大家也可以參考此文:https://www.jianshu.com/p/0808559e6e2b 進行apache2設定
登入gerrit
輸入下面連結,就可以登入到gerrit頁面。
http://192.168.33.128:81/
- 192.168.33.128:是主機地址
- 81: 是nginx監聽的地址,不是gerrit設定的8088(這就是反向代理的作用)。
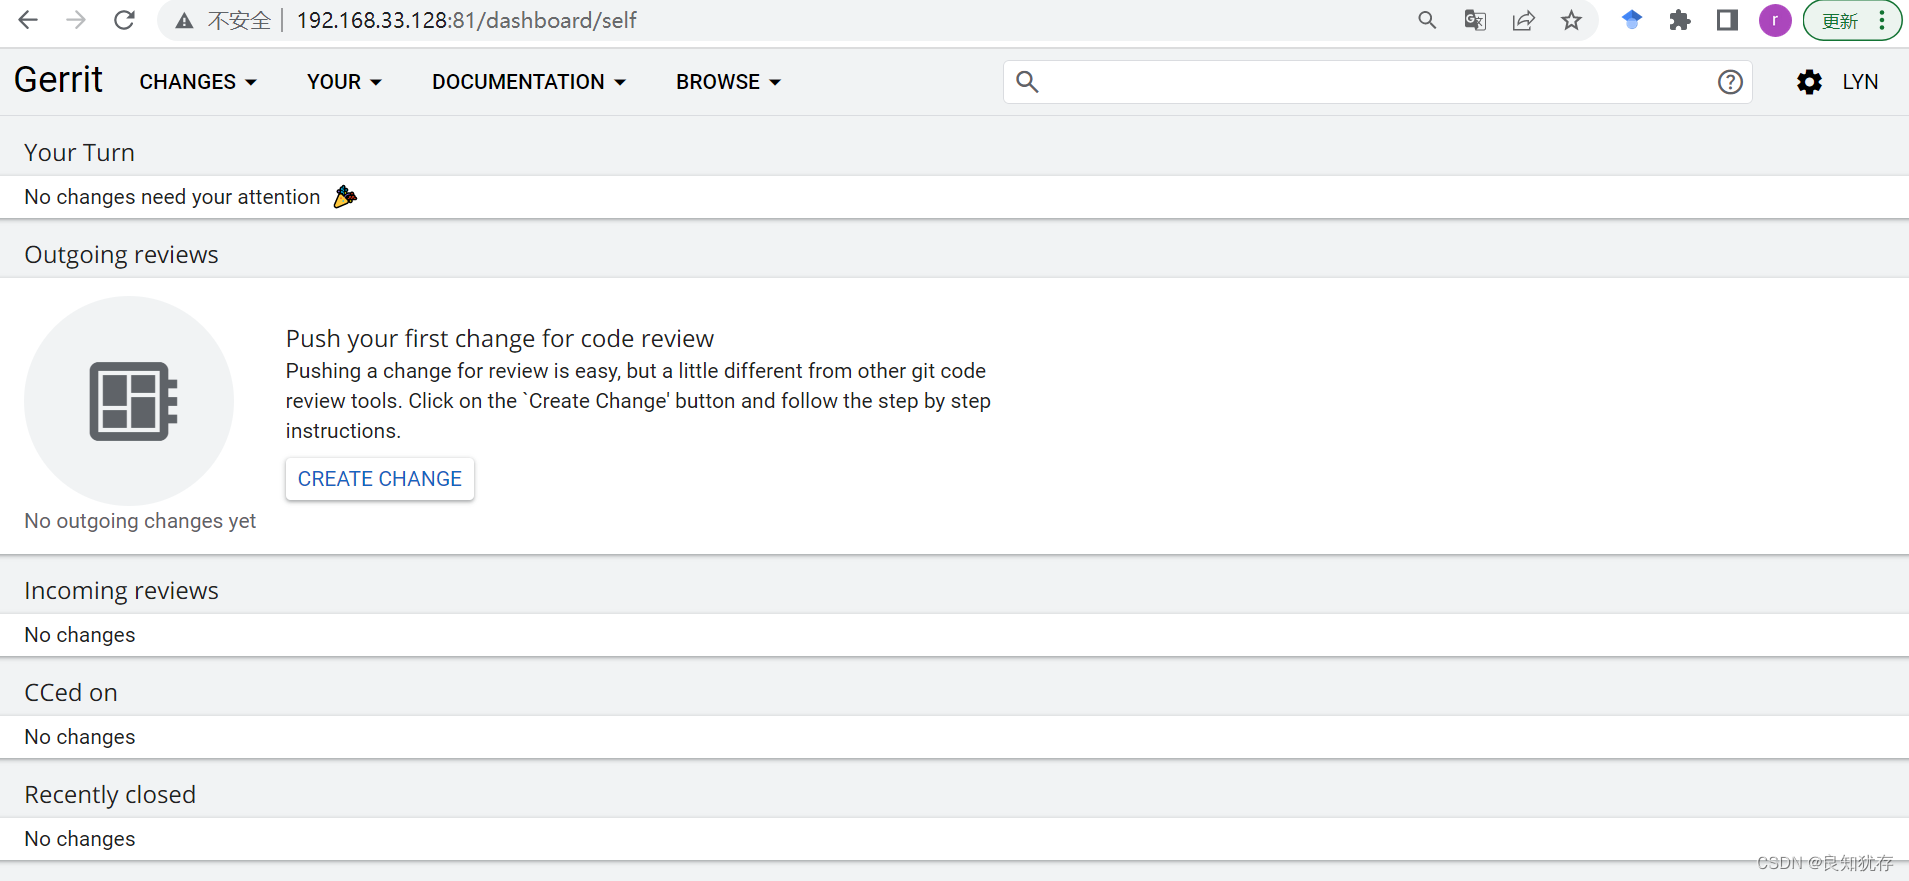
輸入剛才htpasswd設定好的使用者名稱和密碼登入: 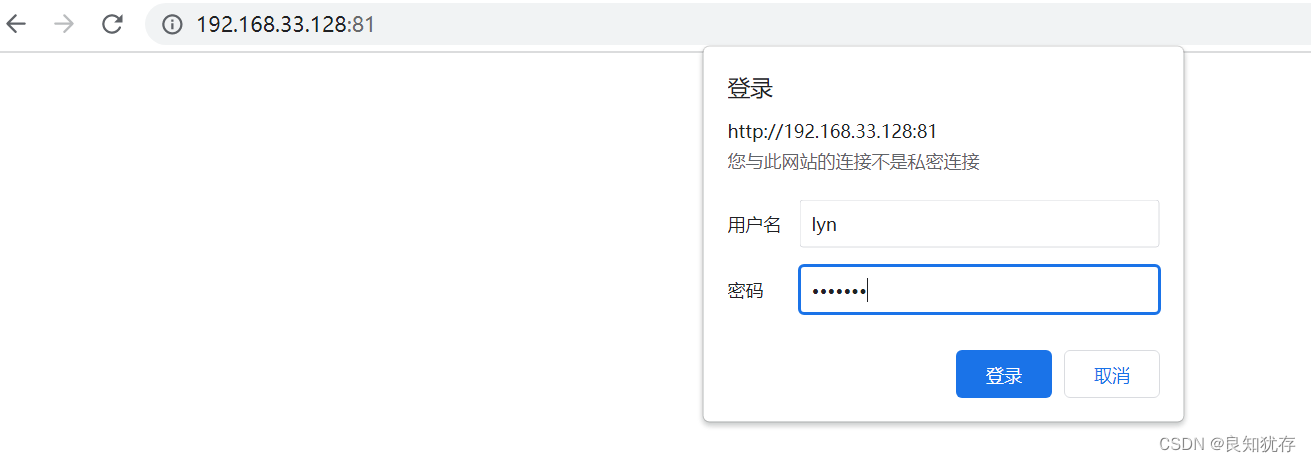 gerrit就可以看到了:
gerrit外掛小知識
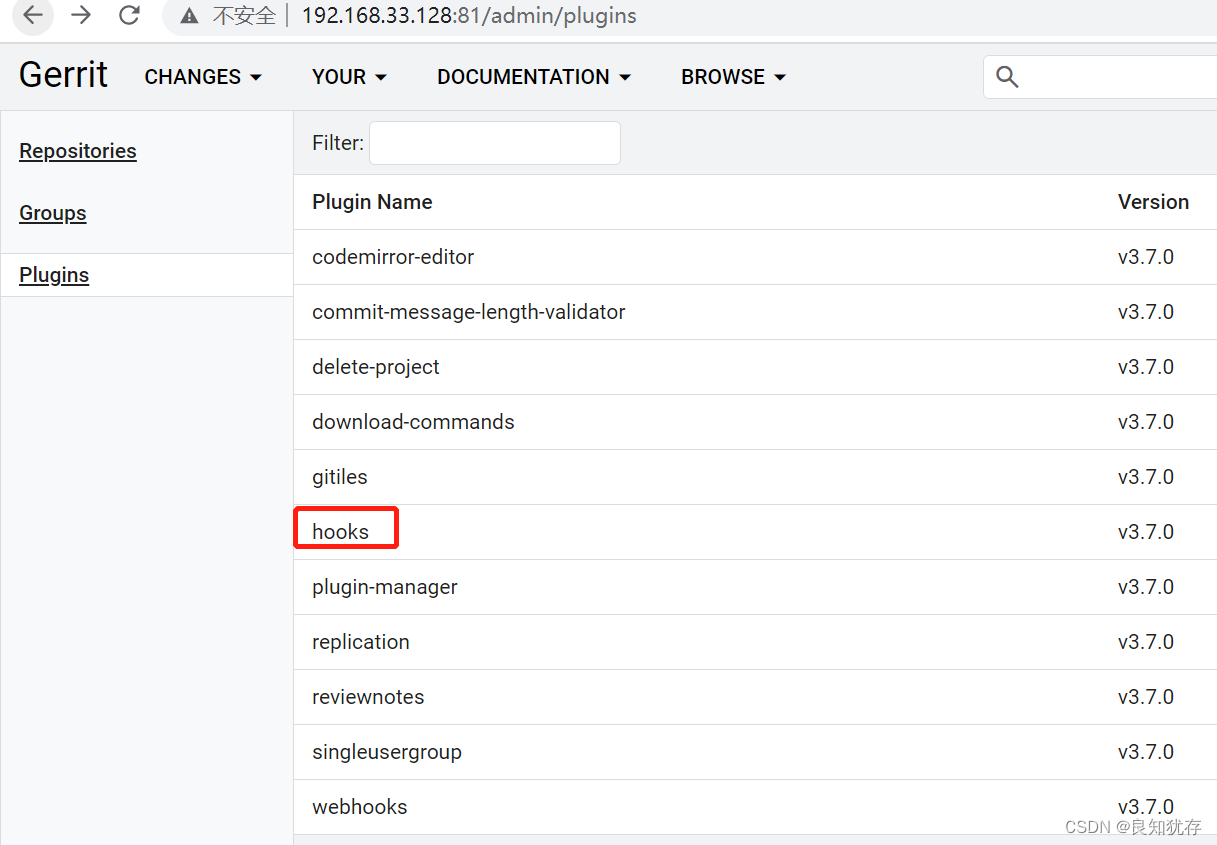
gerrit 使用過程中,當進行 commit時,必須要生成一個 Change-Id,否則,push到gerrit伺服器時,會收到一個錯誤提醒,而生成Change-Id可以用hooks工具。hooks勾點工具中commit-msg hook可以幫我們生成Change-Id,就是執行gerrit使用安裝的外掛  外掛安裝情況可以在gerrit管理員的介面看到
 但是當我們想看外掛裡面的指導檔案時候會遇到打不開情況:
 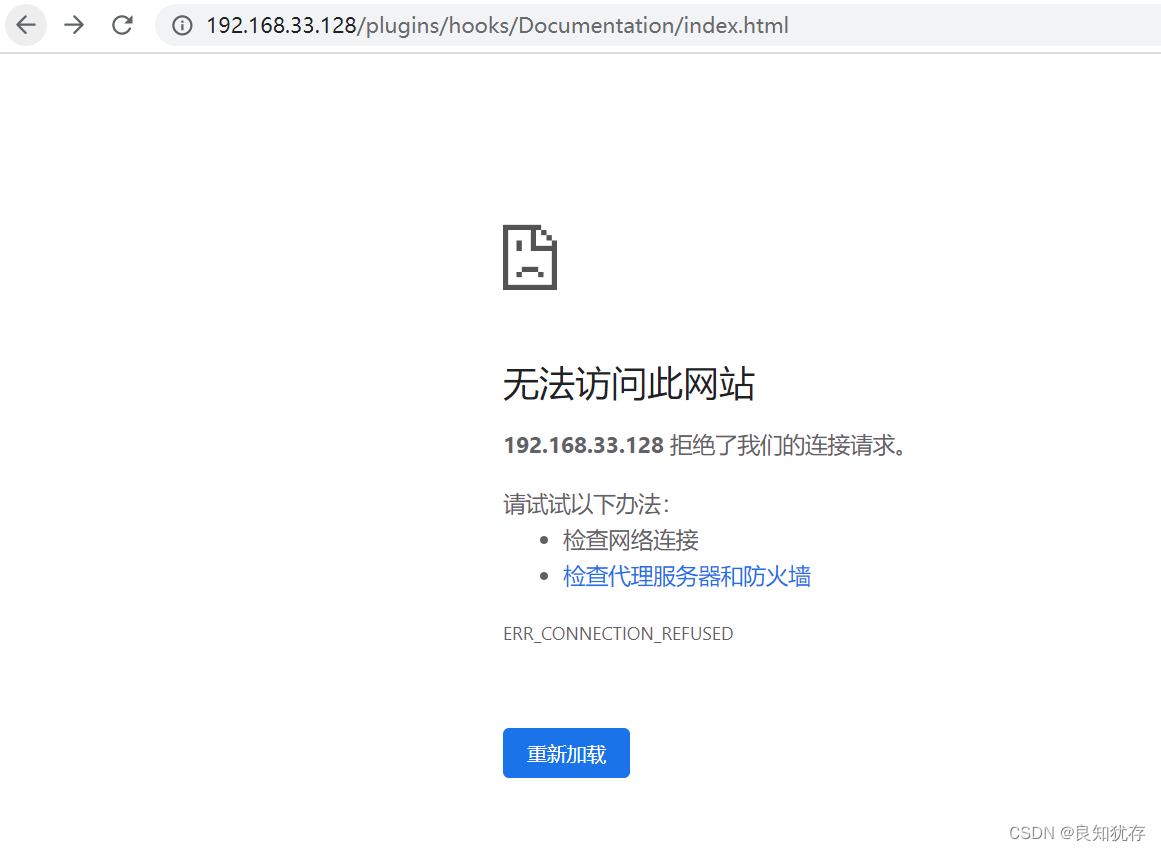 這個時候需要我們修改一下存取方式:如下修改
 http://192.168.33.128:81/plugins/hooks/Documentation/index.html
這樣修改就可以看到外掛的指導網頁了 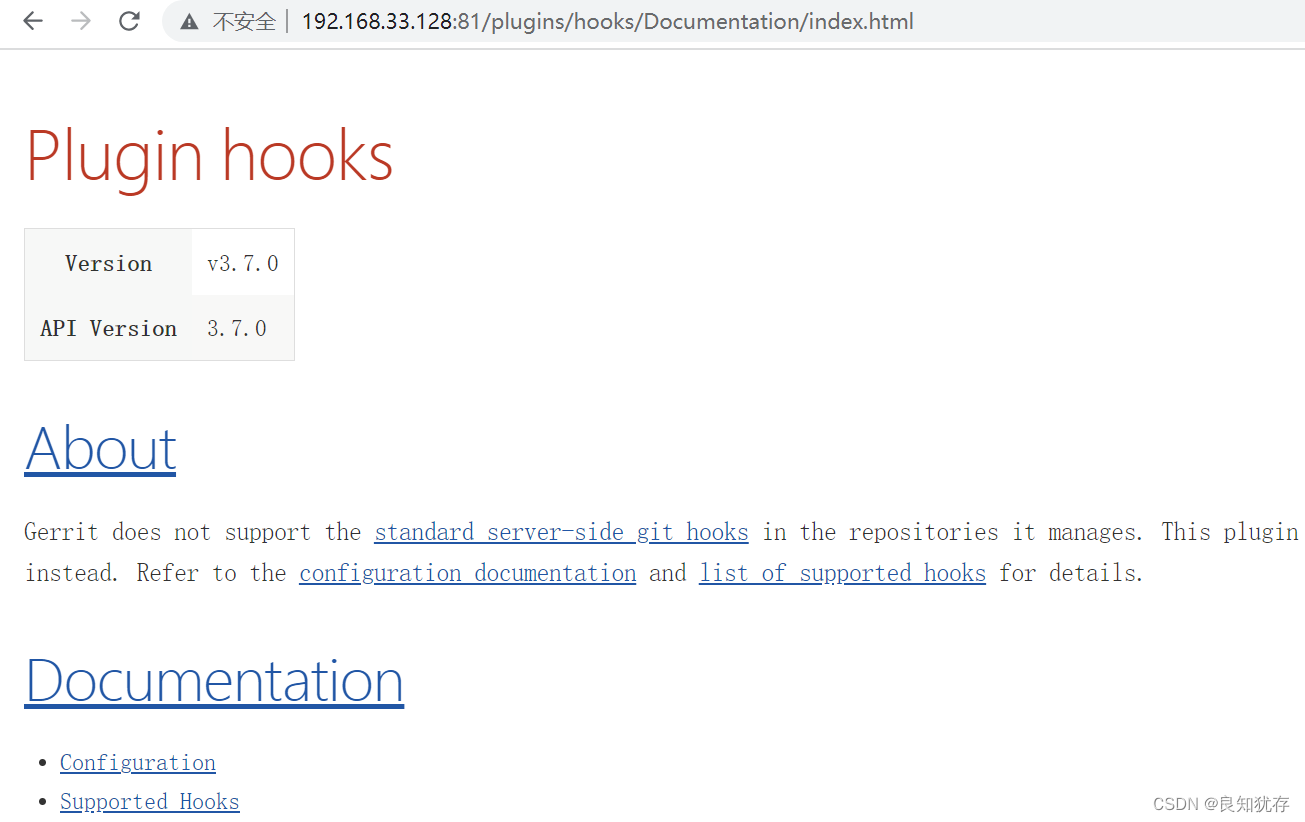 此外還有將Gerrit伺服器設定開機自啟動,Jenkins設定等等,後面我們再描述
結語
這就是我在gerrit部署基本操作的使用分享。如果大家有更好的想法,也歡迎大家加我好友交流分享哈。
作者:良知猶存,白天努力工作,晚上原創公號號主。公眾號內容除了技術還有些人生感悟,一個認真輸出內容的職場老司機,也是一個技術之外豐富生活的人,攝影、音樂 and 籃球。關注我,與我一起同行。
‧‧‧‧‧‧‧‧‧‧‧‧‧‧‧‧ END ‧‧‧‧‧‧‧‧‧‧‧‧‧‧‧‧
推薦閱讀
【3】CPU中的程式是怎麼執行起來的 必讀
本公眾號全部原創乾貨已整理成一個目錄,回覆[ 資源 ]即可獲得。
