一文淺析Vue中父子元件間傳值問題
2023-02-23 22:00:15
vue父子元件之間怎麼傳值?下面本篇文章帶大家瞭解一下Vue中父元件以及子元件傳值問題,希望對大家有所幫助!

前言:在一些頁面中不單單的純純的一個vue檔案,vue講究元件化開發,但是一般的肯定會產生互動事件,今天瞭解了這個傳值,特此的來記錄一下。
一.父元件向子元件傳值
父元件向子元件傳值會用到:,一般的我們需要在子元件中進行相關的宣告,如下所示:
子元件為HellowWorld.vue
<script>export default {
  name: 'HelloWorld',
  //接收的變數
  props: {
  //宣告相關的型別
    msg: String,
    count:Number,
    options:[]
  },
  data(){
    return{

    }
  },
  methods:{
  }}</script>登入後複製
在父元件App.vue中
<template>
  <div id="app">
    <!-- msg為字串型別,count為數位,options為陣列 -->
    <HelloWorld msg="First App" :count='count' :options="options"/>
  </div></template><script>//引入元件import HelloWorld from './components/HelloWorld.vue'export default {
  name: 'App',
  components: {
    HelloWorld  },
  data(){
    return{
      count:0,
      options:[],
    }
  },
  methods:{
  }}</script>登入後複製
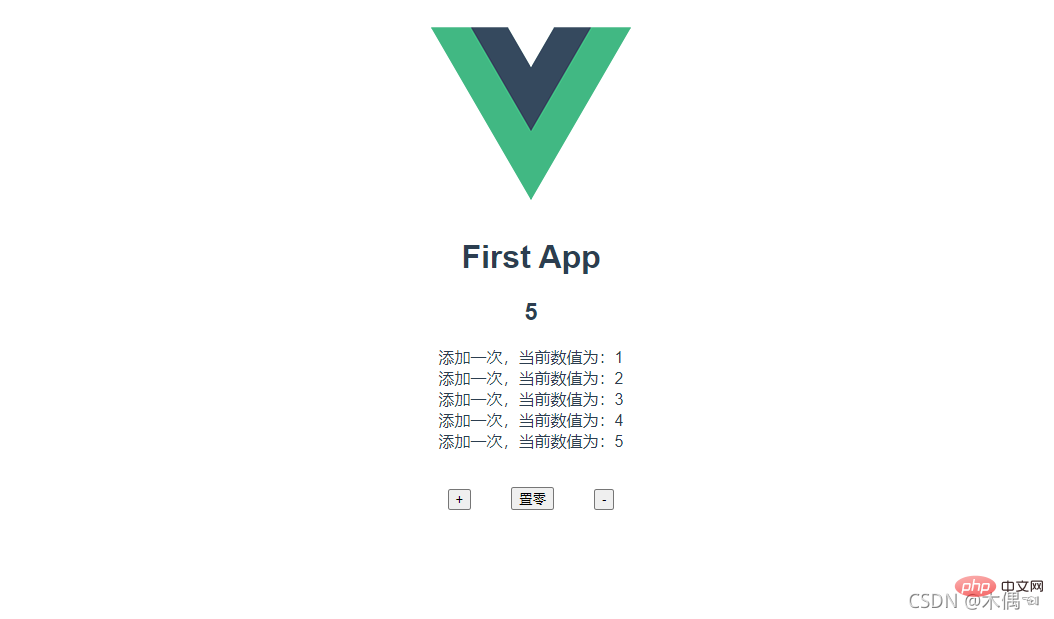
那麼在頁面上效果就是:
當然我們也可以寫一些事件來進行動態的資料互動,例如:
二.子元件向父元件傳值
在子元件傳值時會用到$emit,值得注意的是:在子元件傳值時候的方法要與父元件中監聽的方法名稱相同,也就是範例中的 listenToChild。 【相關推薦:、】
Helloworld.vue子元件:
<template>
  <div class="hello">
    <!-- 文字資訊 -->
    <h1 >{{ msg }}</h1>
    <!-- 數位資訊 -->
    <h2>{{count}}</h2>
    <!-- 渲染陣列資訊 -->
    <ul>
      <li v-for="(item,index) in options" :key="index">{{item}}</li>
    </ul>
    <!-- 進行傳值 -->
    <button @click="SendMsg">點選</button>
  </div></template><script>export default {
  name: 'HelloWorld',
  props: {
    msg: String,
    count:Number,
    options:[]
  },
  data(){
    return{

    }
  },
  methods:{
    SendMsg(){
      // listenToChild  注意
      this.$emit('listenToChild',this.options)
    }
  }}</script><!-- Add "scoped" attribute to limit CSS to this component only --><style scoped>h3 {
  margin: 40px 0 0;}ul {
  list-style-type: none;
  padding: 0;}/* li {
  display: inline-block;
  margin: 0 10px;
} */a {
  color: #42b983;}</style>登入後複製
App.vue父元件:
<template>
  <div id="app">
    <img alt="Vue logo" src="./assets/logo.png">
    <!-- listenToChild 為子元件傳來的方法 -->
    <HelloWorld msg="First App" :count='count' :options="options" @listenToChild="show"/>
    <button @click="Add">+</button>
    <button @click="restart">置零</button>
    <button @click="Sub">-</button>
    <ul>
      <li v-for="(item,index) in data" :key="index">{{index}},{{item}}</li>
    </ul>
  </div></template><script>import HelloWorld from './components/HelloWorld.vue'export default {
  name: 'App',
  components: {
    HelloWorld  },
  data(){
    return{
      // 要傳去子元件的引數
      count:0,
      options:[],
      // 子元件傳來的引數
      data:[]
    }
  },
  methods:{
    Add(){
      this.count=Number(this.count)+1
      this.options.push('新增一次,當前數值為:'+this.count)
    },
    Sub(){

      if(this.count<=0){
        this.options.push('當前數值不能變化了'+this.count)
      }else{
        this.count=Number(this.count)-1
       this.options.pop()
      }

    },
    show(data){
      console.log(data)
      this.data=data    },
    restart(){
      this.count=0
      this.options=[]
    }
  }}</script><style>#app {
  font-family: Avenir, Helvetica, Arial, sans-serif;
  -webkit-font-smoothing: antialiased;
  -moz-osx-font-smoothing: grayscale;
  text-align: center;
  color: #2c3e50;
  margin-top: 60px;}button{
  margin: 20px;}ul {
  list-style-type: none;
  padding: 0;}</style>登入後複製
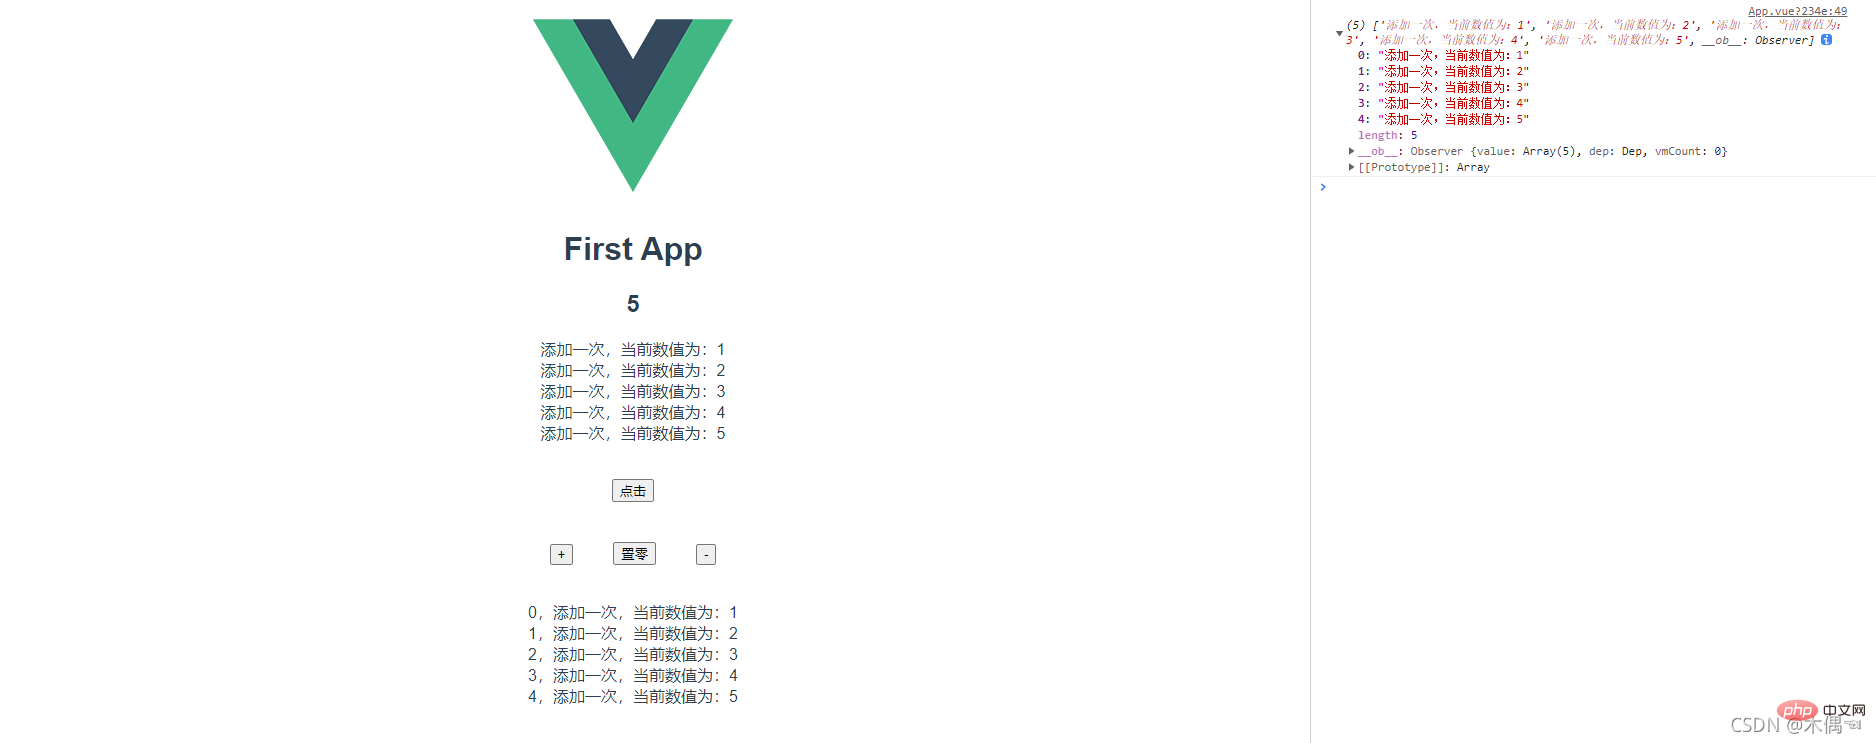
效果:
(學習視訊分享:、)
以上就是一文淺析Vue中父子元件間傳值問題的詳細內容,更多請關注TW511.COM其它相關文章!