Azure Terraform(十二)利用 Terraform 將檔案上傳到 Azure Blob Storage
一,引言
本篇文章中,我門將學習如何利用 Terraform 將 檔案以及資料夾上傳到 Azure Blob Storage,這個對於我們來說很方便,可以將一些不重要的內容也儲存在原始碼管理工具中!
開始今天的內容之前,我們先來看看今天的主角 Terraform ----- fileset Function
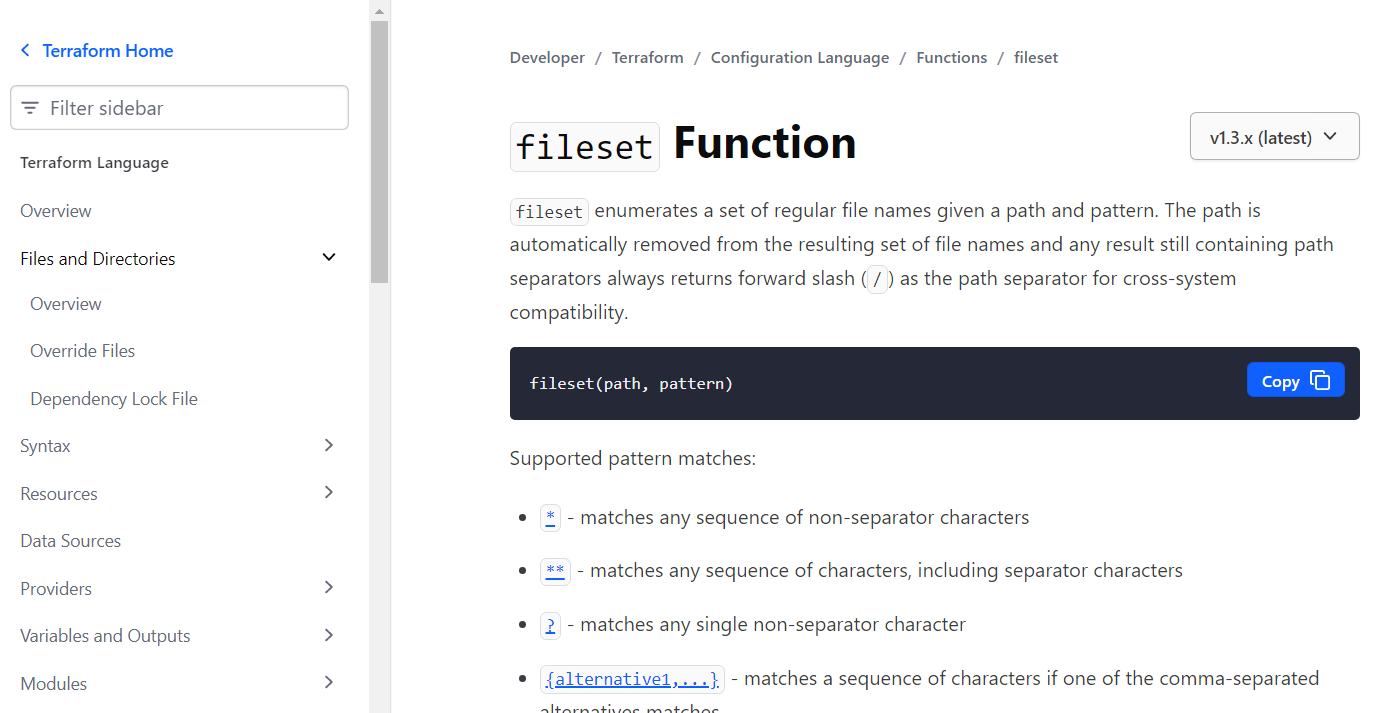
根據官方的介紹,我們可以看到 fileset 列舉一組給定路徑和模式的常規檔名。該路徑會自動從生成的檔名集中刪除,任何仍包含路徑分隔符的結果始終返回正斜槓 ( /) 作為路徑分隔符以實現跨系統相容性。
--------------------Azure Terraform 系列--------------------
1,Azure Terraform(一)入門簡介
2,Azure Terraform(二)語法詳解
3,Azure Terraform(三)部署 Web 應用程式
4,Azure Terraform(四)狀態檔案儲存
5,Azure Terraform(五)利用Azure DevOps 實現自動化部署基礎資源
6,Azure Terraform(六)Common Module
7,Azure Terraform(七)利用Azure DevOps 實現自動化部署基礎資源(補充)
8,Azure Terraform(八)利用Azure DevOps 實現Infra資源和.NET CORE Web 應用程式的持續整合、持續部署
9,Azure Terraform(九)利用 Azure DevOps Pipeline 的審批來控制流程釋出
10,Azure Terraform(十)利用 Azure DevOps 的條件語句選擇釋出環境
11,Azure Terraform(十一)Azure DevOps Pipeline 內的動態臨時變數的使用
12,Azure Terraform(十二)利用 Terraform 將檔案上傳到 Azure Blob Storage
二,正文
Terraform 程式碼
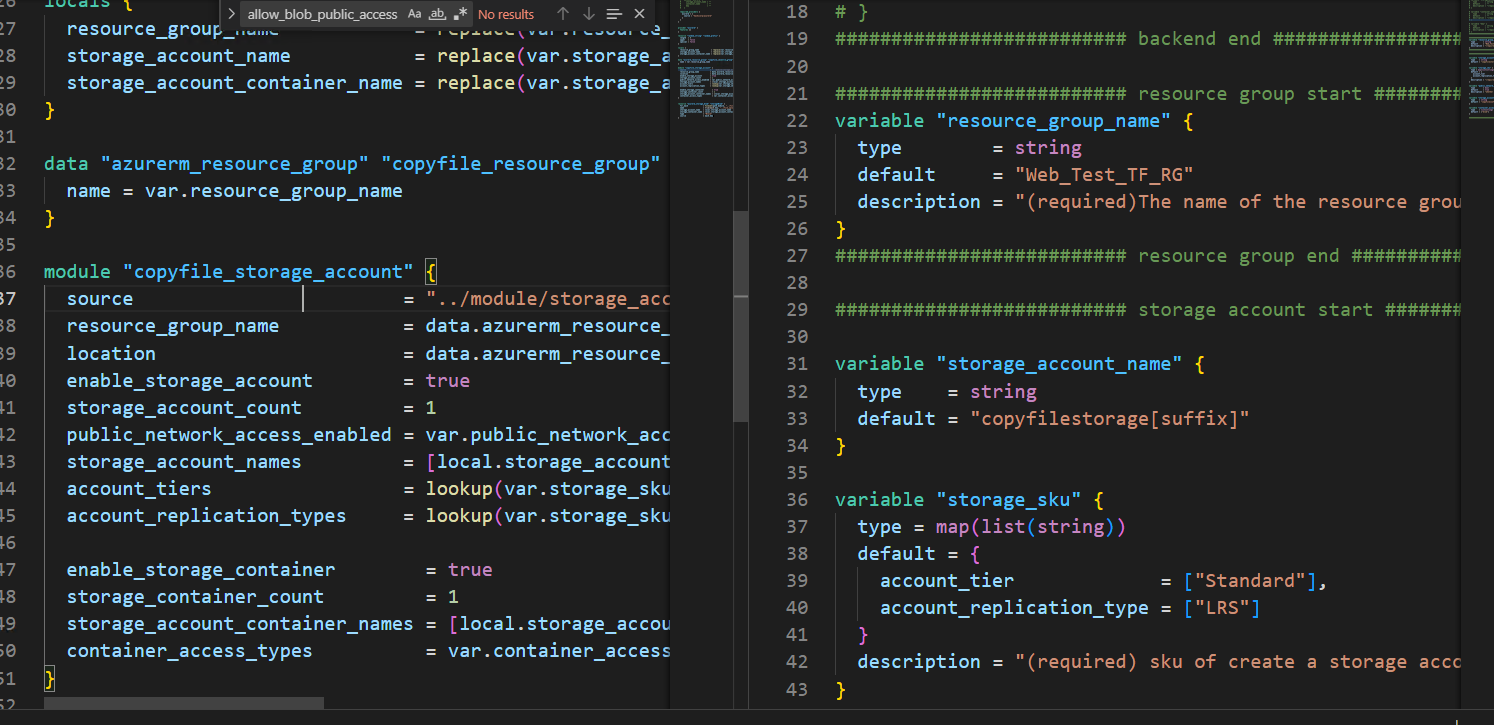
建立資源組,儲存賬戶,具體的 TF 程式碼這裡就不列出了!
我們利用 azurerm_storage_blob 將用於將根目錄下的 file_uploads 資料夾中的內容上傳到 Azure Blob Storage 。然後就可以使用 for_each + fileset 組合函數來遍歷特定資料夾的所有內容。
resource "azurerm_storage_blob" "storageBlob" {
  for_each               = fileset(path.module, "../file_uploads/*")
  name                   = trim(each.key, "../file_uploads/")
  storage_account_name   = local.storage_account_name
  storage_container_name = local.storage_account_container_name
  type                   = "Block"
  source                 = each.key
}
根目錄待上傳的檔案

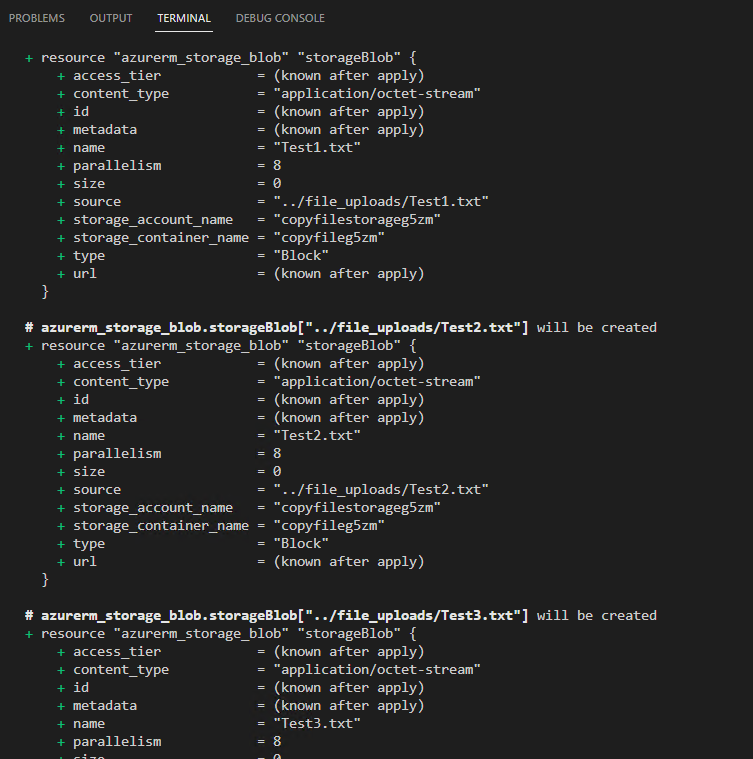
Terraform Apply 執行部署計劃
登入 Azure Portal ,找到 「」 的 Storage Account,選擇 「 Data storage =》Containers」
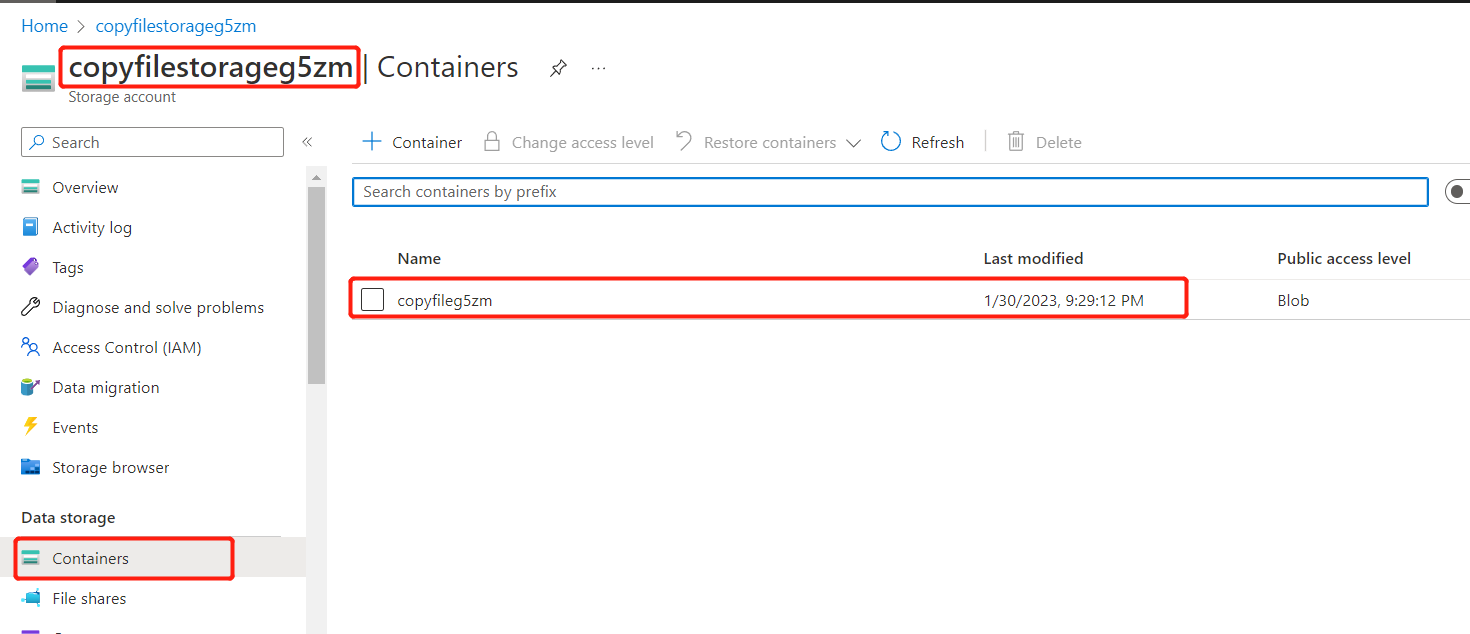
檢視紅色圈中的 Container 裡是否有 Terraform 上傳的檔案
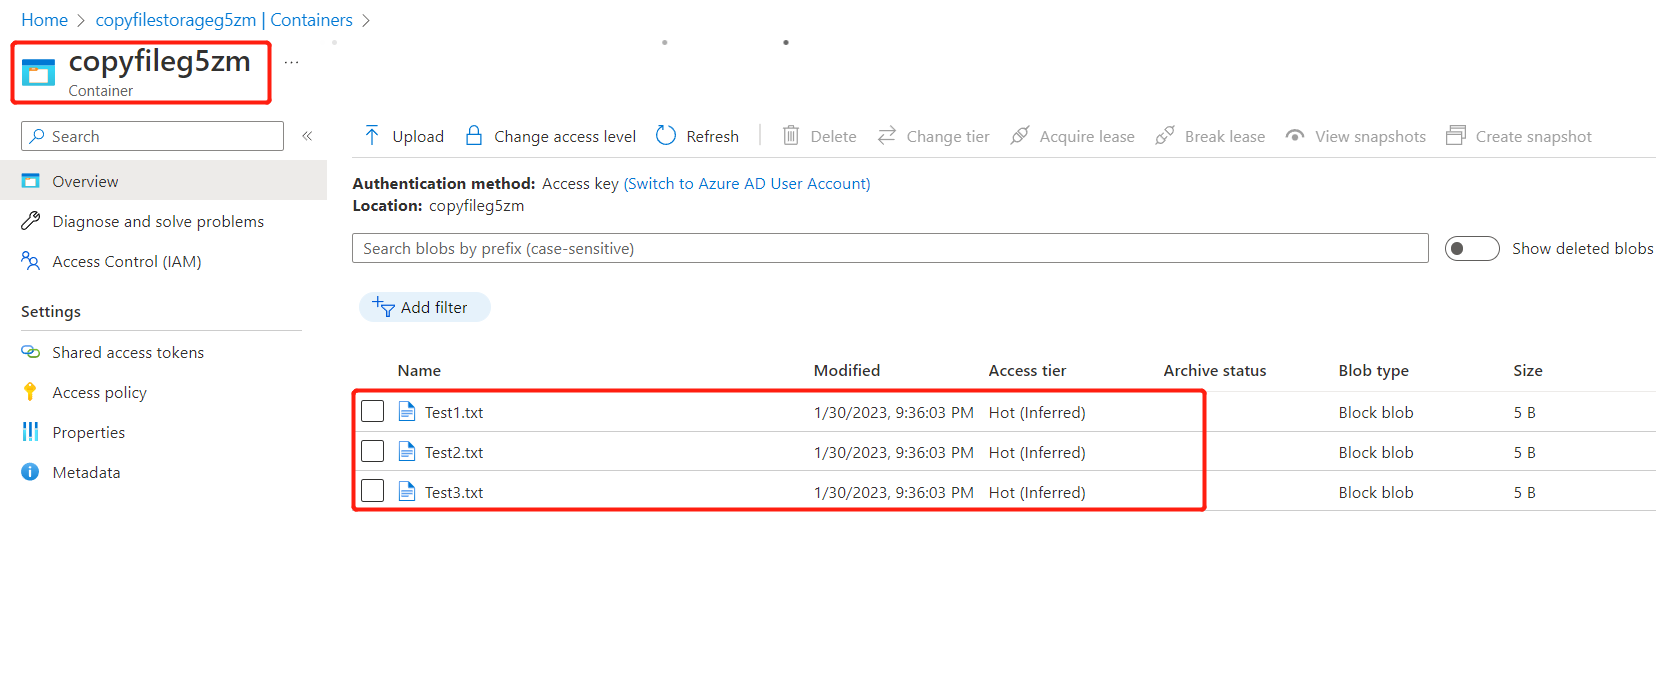
如果想知道更改檔名或刪除/新增檔案是否有效呢?測試更改檔案中的內容是否有效?這也可以實現!只需要新增 content_md5 語法,它還會每次檢查檔案的 MD5 總和。
resource "azurerm_storage_blob" "storageBlob" {
  for_each               = fileset(path.module, "../file_uploads/*")
  name                   = trim(each.key, "../file_uploads/")
  storage_account_name   = local.storage_account_name
  storage_container_name = local.storage_account_container_name
  type                   = "Block"
  content_md5            = filemd5(each.key)
  source                 = each.key
}

Bingo!!! 成功。
溫馨提示:做完實驗,記得 "terraform destroy" 銷燬資源
三,結尾
今天我們算是溫習了一下 Terraform 建立 Storage Account,Blob Storage 等語法,同時也學習了新的語法 "fileset" 上傳檔案,這樣是得我們以後可以將一些非重要的檔案通過程式碼管理工具控制起來,極大的方便了整個專案開發過程中檔案管理的問題。本文所分享的內容也存在著很多我自己的一些理解,有理解不到位的,望包含,並且指出不足之處!!!!!
參考連結:Terraform Function ----- fileset
github:https://github.com/yunqian44/Azure.CopyFile.TF
作者:Allen
版權:轉載請在文章明顯位置註明作者及出處。如發現錯誤,歡迎批評指正。