ChatGPT開發實戰
1.概述
前段時間使用體驗了ChatGPT的用法,感受到ChatGPT的強大,通過搜尋鍵碼或者輸入自己的意圖,能夠快速得到自己想要的資訊和結果。今天筆者將深挖一下ChatGPT,給大家介紹如何使用ChatGPT的API來實戰開發一些例子。
2.內容
2.1 ChatGPT起源
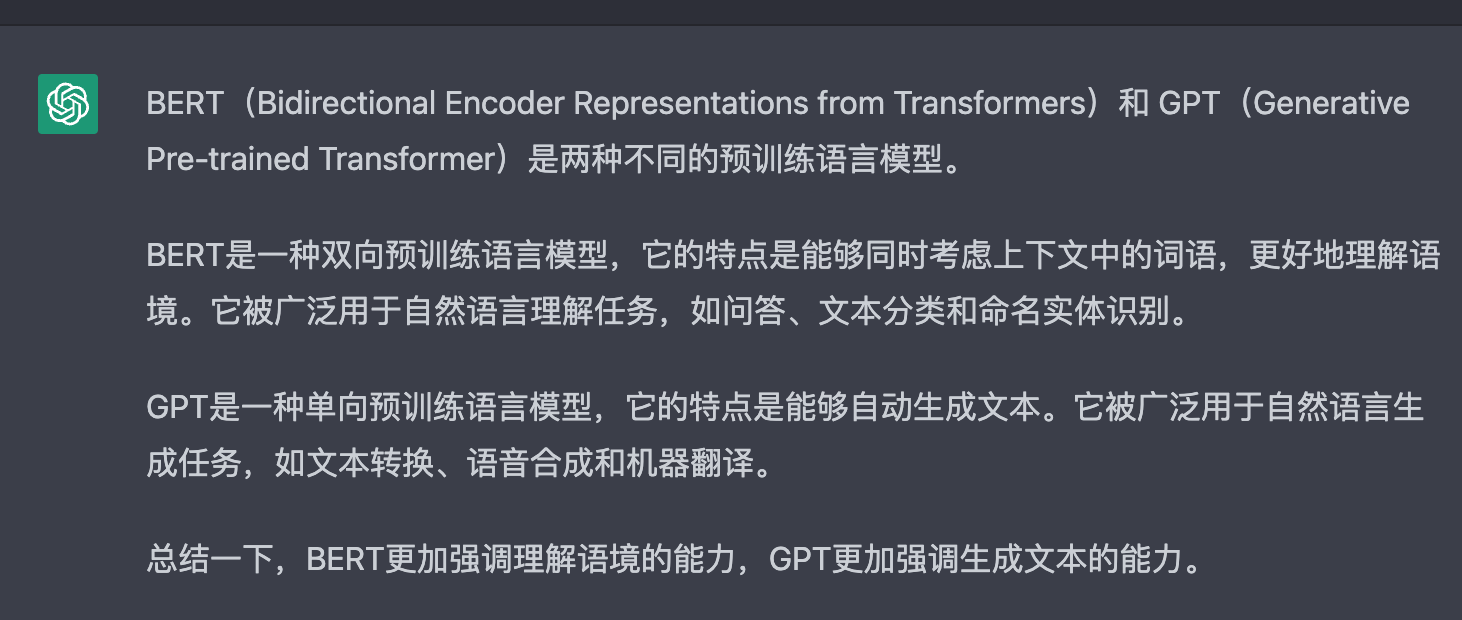
這個還得從谷歌釋出BERT模型開始瞭解。BERT 是預訓練語言表示法的一種方法。預訓練涉及 BERT 如何首先針對大量文字進行訓練,例如維基百科。然後,您可以將訓練結果應用於其他自然語言處理 (NLP) 任務,例如問答系統和情感分析。藉助 BERT 和 AI Platform Training,您可以在大約 30 分鐘內訓練各種 NLP 模型。
而OpenAI與BERT類似,做出了初代的GPT模型。它們的思想都是類似的,都是預計Transformer這種雙向編碼器,來獲取文字內部的一些聯絡。
2.2 如何註冊ChatGPT
由於OpenAI不允許國內手機註冊申請賬號,這裡我們需要使用到虛擬手機號來註冊接收資訊(一次性購買使用),關於如果使用虛擬手機號,網上有很多資料和流程,這裡就不細說了。大致流程如下:
- 準備一個郵箱,比如QQ郵箱、GMAIL等
- 存取OpenAI的官網地址
- 存取虛擬手機號網站,然後選擇OpenAI購買虛擬機器器手機號(大概1塊錢)
然後,註冊成功後,我們就可以使用OpenAI的一些介面資訊了。體驗結果如下:

3.實戰應用
3.1 資料集準備
在實戰應用之前,我們需要準備好需要的資料集,我們可以從OpenAI的官網中通過Python API來生成模擬資料。具體安裝命令如下所示:
pip install --upgrade openai
然後,我登入到OpenAI官網,申請一個金鑰,用來獲取一些訓練所需要的資料。比如我們獲取一個差評的程式碼實現如下:
import openai
import time
import pandas as pd
import numpy as np
openai.api_key = "<填寫自己申請到的金鑰地址>"

completion = openai.Completion.create(engine="davinci", prompt="This hotel was terrible.",max_tokens=120)
print("Terrible Comment:")
print(completion.choices[0]['text'])
執行結果如下:

接著,我們來獲取一個好評的程式碼例子,具體實現如下:
completion = openai.Completion.create(engine="davinci", prompt="This hotel was great.",max_tokens=120)
print("Great Comment:")
print(completion.choices[0]['text'])
執行結果如下:

現在,我們來獲取所需要的資料集程式碼,具體實現如下所示:
print("Generating 500 good and bad reviews")
good_reviews = []
bad_reviews = []
for i in range(0,500):
  completion = openai.Completion.create(engine="davinci", prompt="This hotel was great.",max_tokens=120)
  good_reviews.append(completion.choices[0]['text'])
  print('Generating good review number %i'%(i))
  completion = openai.Completion.create(engine="davinci", prompt="This hotel was terrible.",max_tokens=120)
  bad_reviews.append(completion.choices[0]['text'])
  print('Generating bad review number %i'%(i))
  display = np.random.choice([0,1],p=[0.7,0.3])
 # 這裡由於OpenAI的介面呼叫限制,控制一下回圈呼叫頻率
  time.sleep(3)
  if display ==1:
    display_good = np.random.choice([0,1],p=[0.5,0.5])
    if display_good ==1:
      print('Printing random good review')
      print(good_reviews[-1])
    if display_good ==0:
      print('Printing random bad review')
      print(bad_reviews[-1])

# Create a dataframe with the reviews and sentiment
df = pd.DataFrame(np.zeros((1000,2)))

# Set the first 500 rows to good reviews
df.columns = ['Reviews','Sentiment']
df['Sentiment'].loc[0:499] = 1
df['Reviews'] = good_reviews+bad_reviews
# Export the dataframe to a csv file
df.to_csv('generated_reviews.csv')
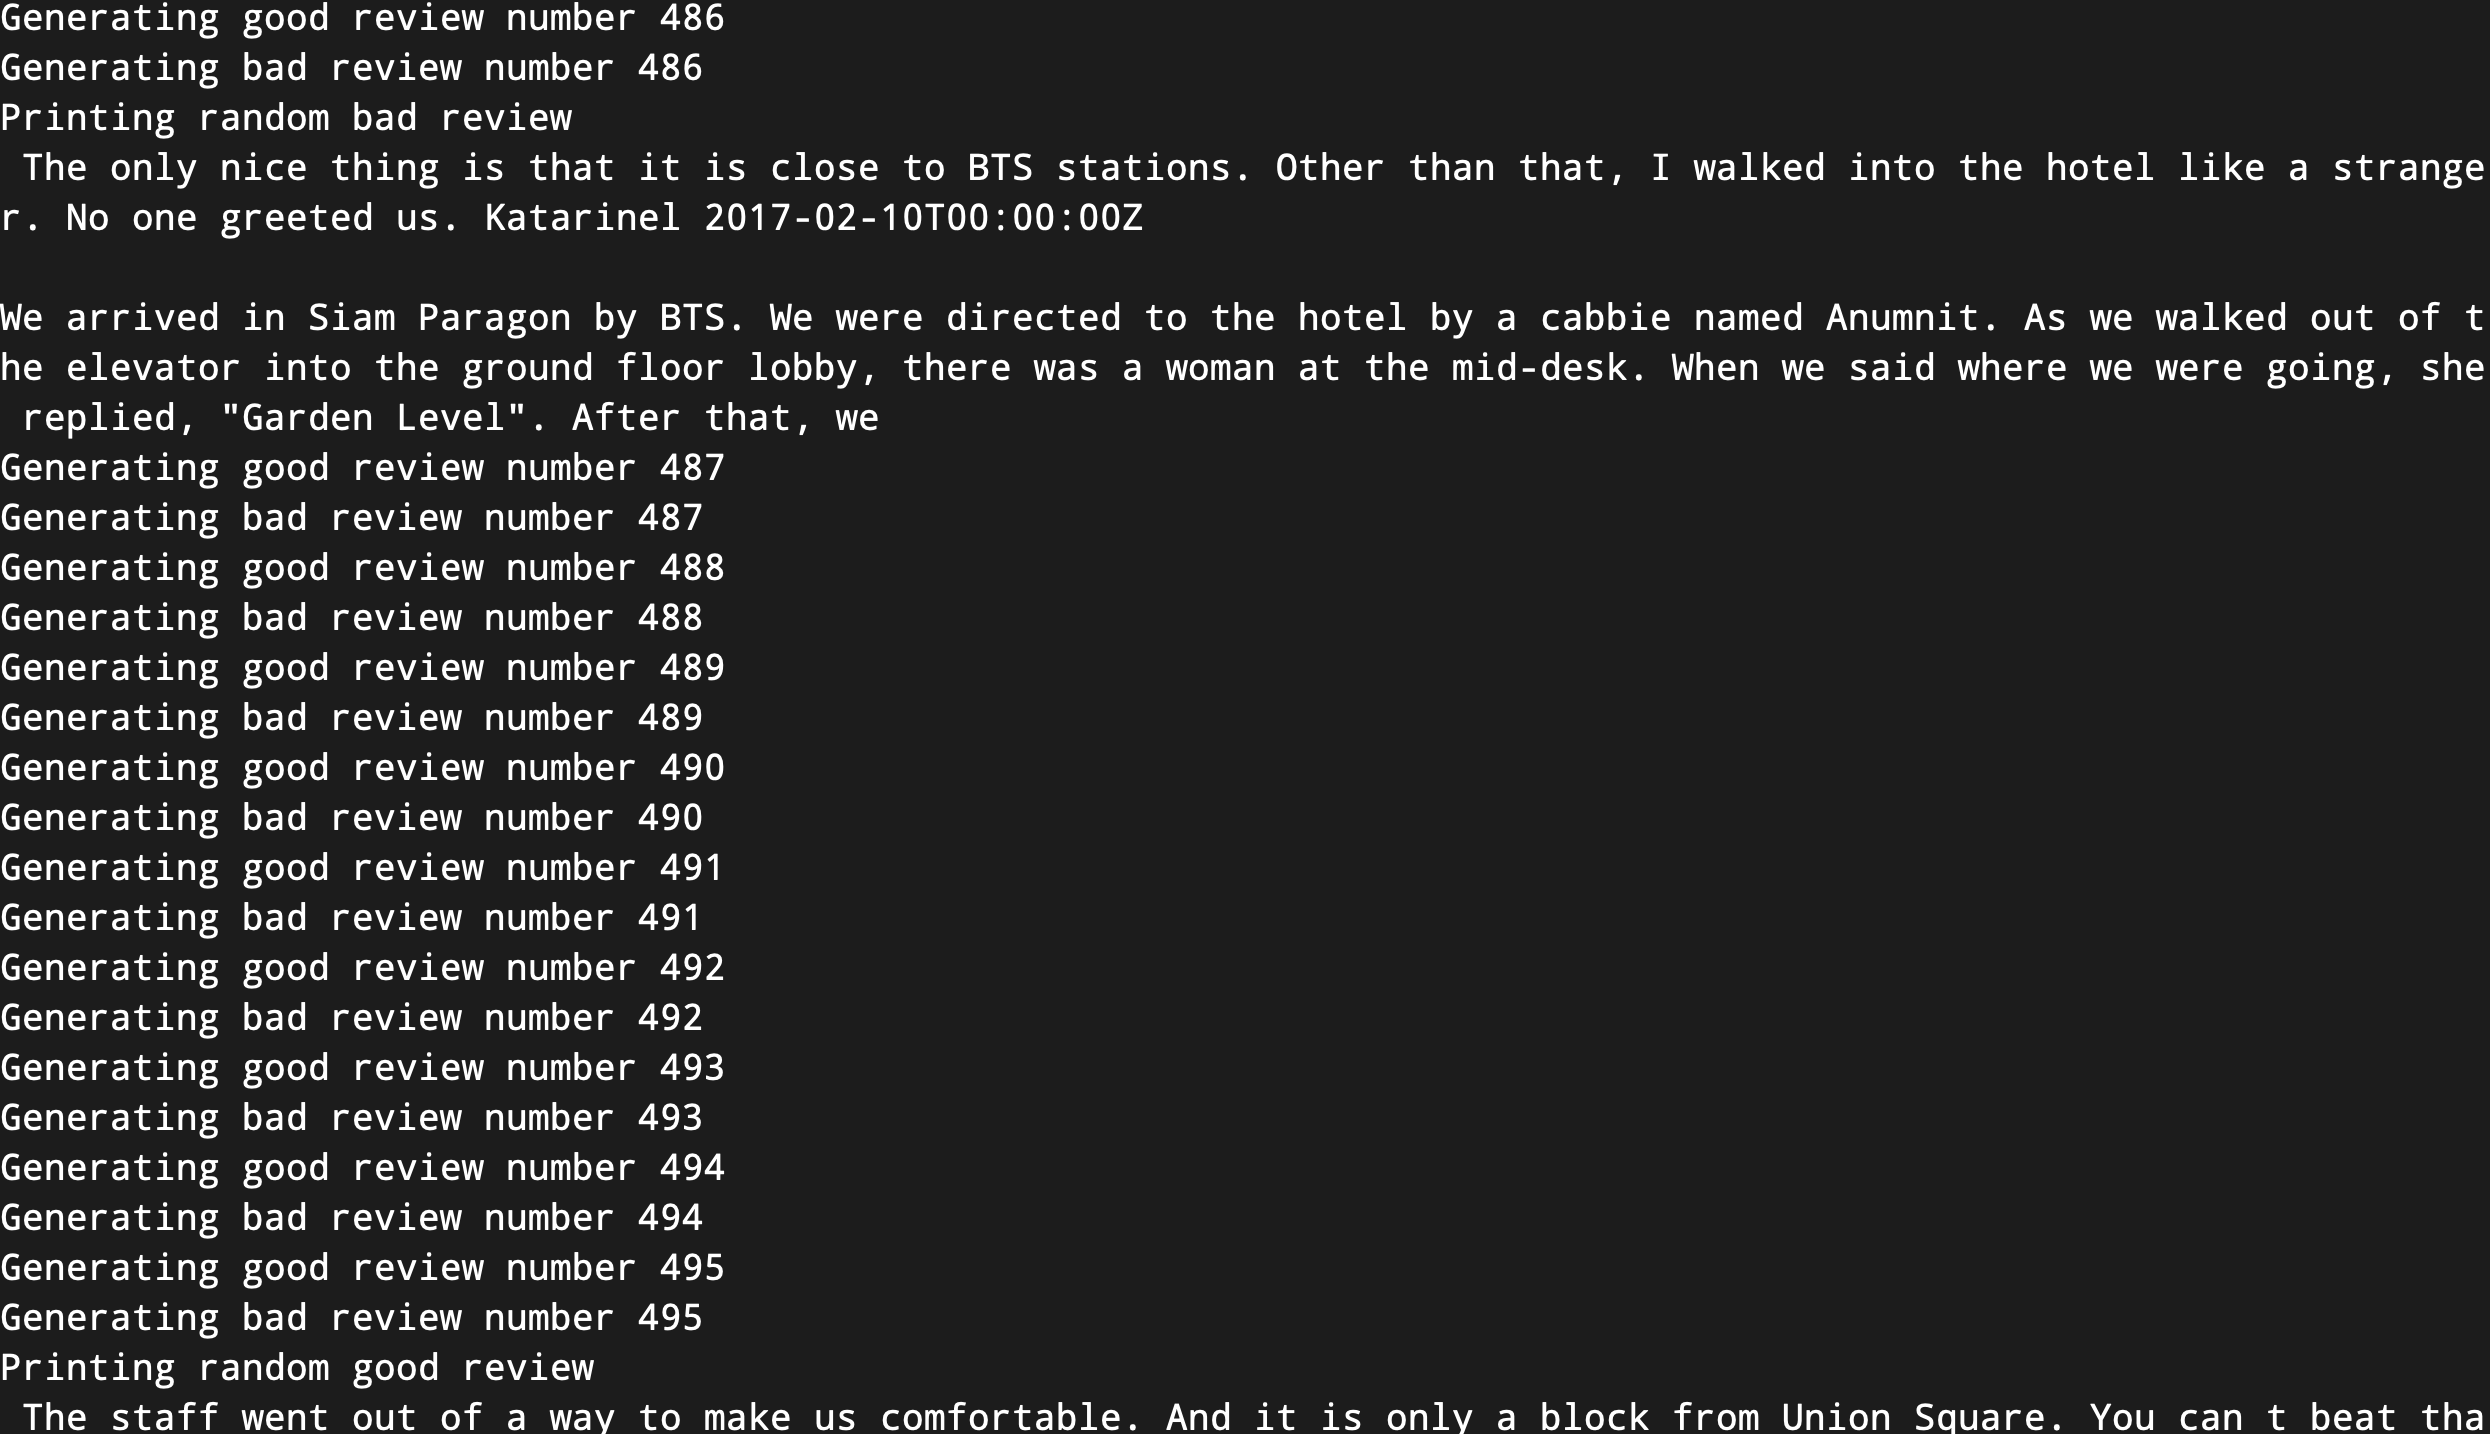
執行結果如下:

3.2 開始進行演演算法訓練
有了資料之後,我們可以建立和訓練一種機器學習演演算法,當我們處理文字的時候,首先需要做的是使用向量器,向量器是將文字轉換為向量的東西。相似的的文字有著相似的向量,不同的文字具有不相似的向量。
而向量化的步驟有很多方法可以實現,為了實現文字中的功能,我們藉助Python的TFIDF向量器的庫來實現。
具體實現程式碼如下所示:
import pandas as pd
import numpy as np
import matplotlib.pyplot as plt
from sklearn.ensemble import RandomForestClassifier
from sklearn.model_selection import train_test_split
from sklearn.metrics import confusion_matrix,plot_confusion_matrix
from sklearn.feature_extraction.text import TfidfVectorizer

# Split the data into training and testing
labeled_data = pd.read_csv('generated_reviews.csv').drop(columns=['Unnamed: 0'])
labeled_data.Sentiment = labeled_data.Sentiment.astype(int)
labeled_data = labeled_data.dropna().reset_index()

# print head of the data
print(labeled_data.head())
頭部資料結果如下所示:

接著,我們對資料進行向量化,具體實現程式碼如下所示:
dataset = labeled_data

vectorizer = TfidfVectorizer (max_features=2500, min_df=7, max_df=0.8)
tokenized_data = vectorizer.fit_transform(dataset['Reviews']).toarray()

labels = np.array(dataset["Sentiment"])  # Label is already an array of 0 and 1

rf = RandomForestClassifier(n_estimators=100)

X = tokenized_data
y = labels
X_train, X_test,y_train, y_test = train_test_split(X,y,test_size=0.2)

rf.fit(X_train,y_train)

plot_confusion_matrix(rf,X_test,y_test)

# save the result to disk
plt.title('Confusion Matrix')
plt.savefig('result.png')
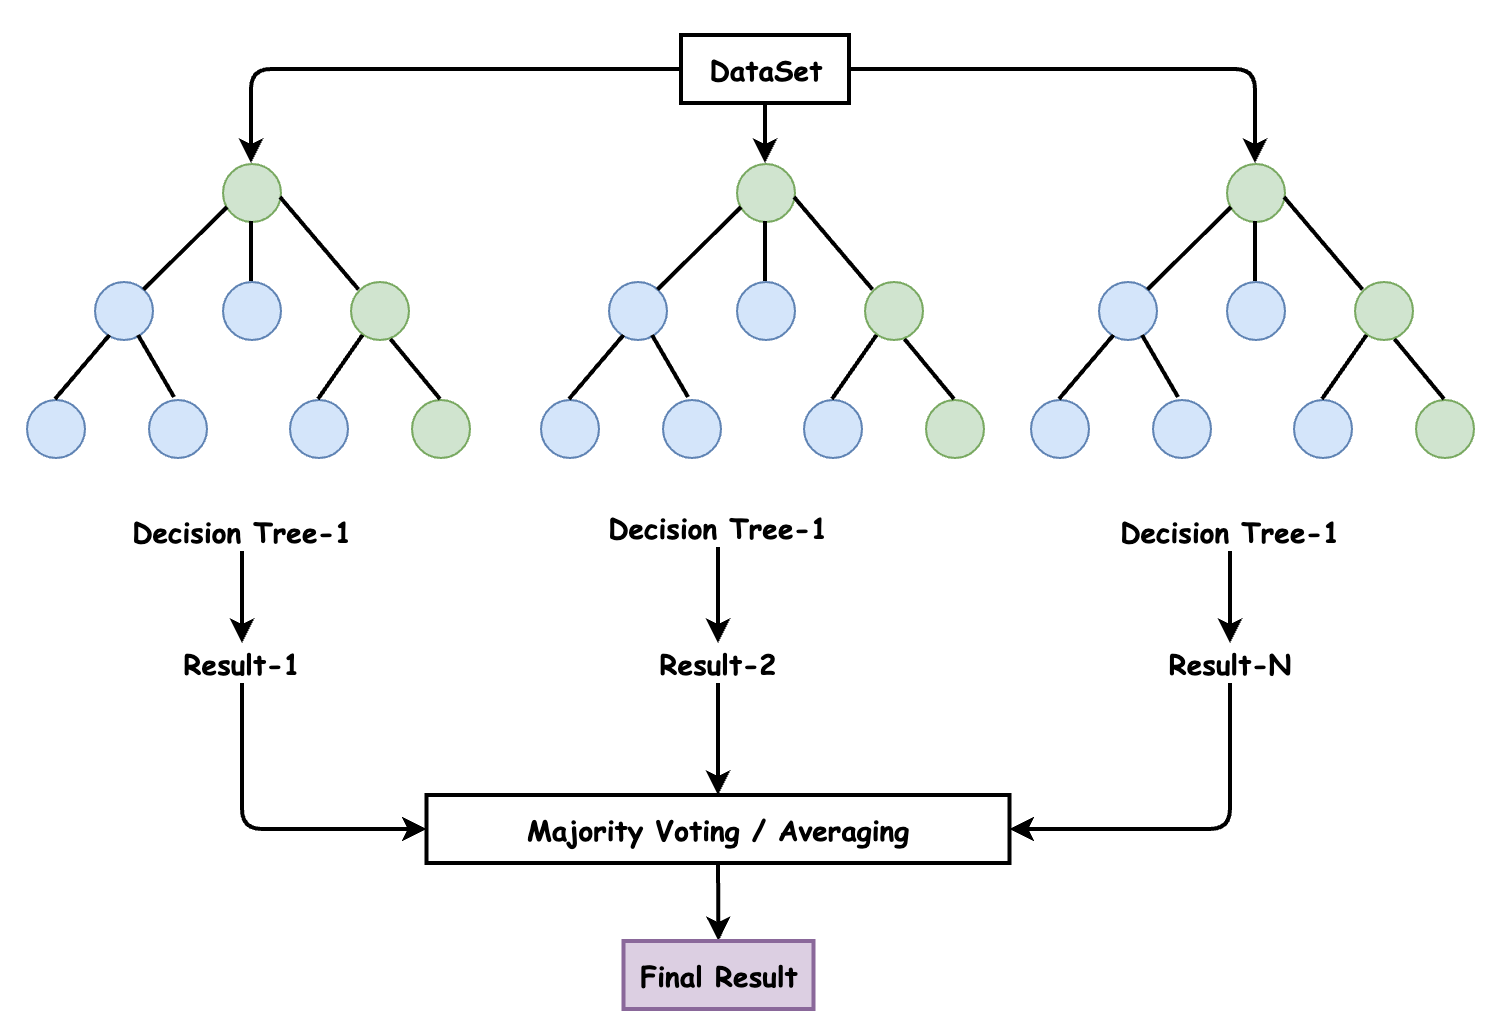
這裡涉及到使用隨機森林的模型,隨機森林是一種有監督的機器學習演演算法。由於其準確性,簡單性和靈活性,它已成為最常用的一種演演算法。事實上,它可以用於分類和迴歸任務,再加上其非線性特性,使其能夠高度適應各種資料和情況。

它之所以被稱為 「森林」,是因為它生成了決策樹森林。然後,來自這些樹的資料合併在一起,以確保最準確的預測。雖然單獨的決策樹只有一個結果和範圍狹窄的群組,但森林可以確保有更多的小組和決策,從而獲得更準確的結果。它還有一個好處,那就是通過在隨機特徵子集中找到最佳特徵來為模型新增隨機性。總體而言,這些優勢創造了一個具有廣泛多樣性的模型。
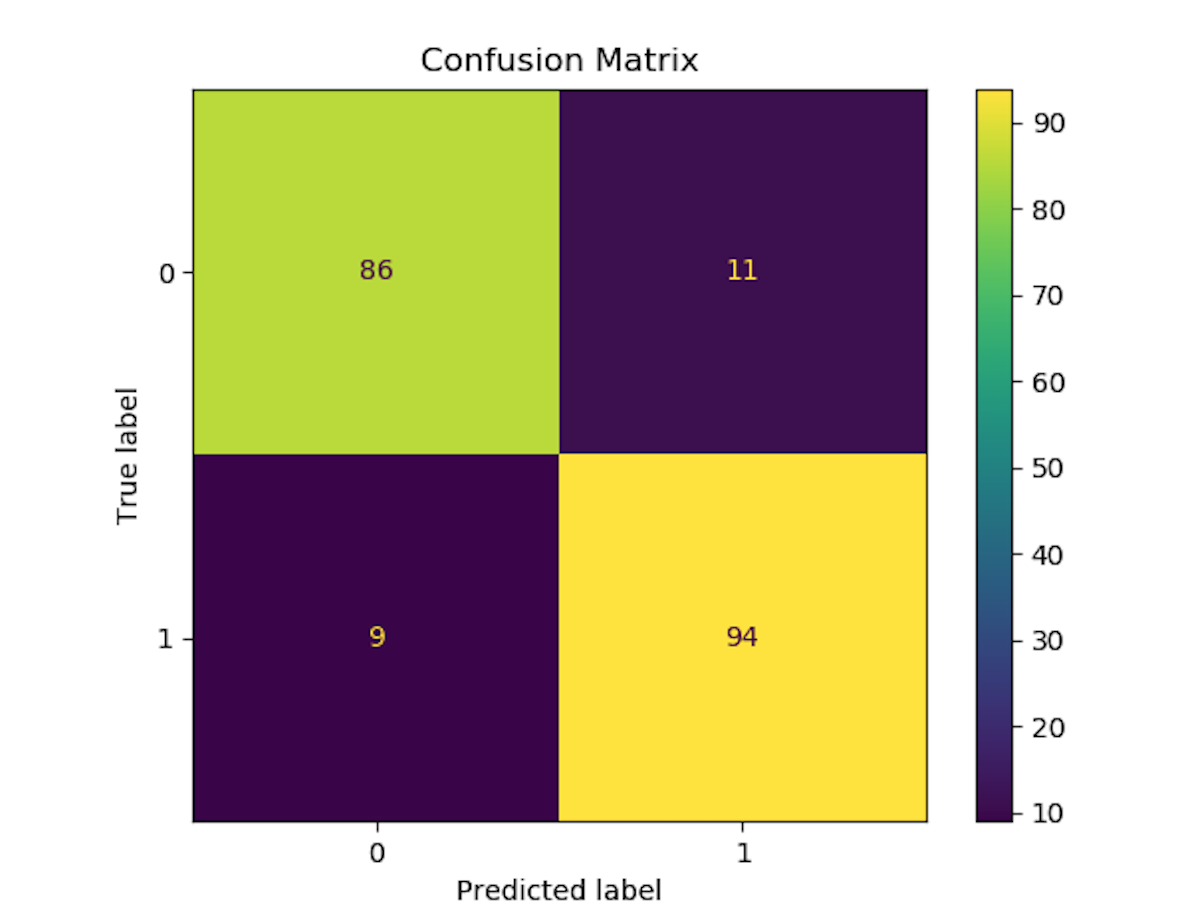
我們執行這個模型,然後輸出結果如下圖所示:

4.總結
OpenAI API 幾乎可以應用於任何涉及理解或生成自然語言或程式碼的任務。它提供一系列具有不同功率級別的模型,適用於不同的任務,並且能夠微調您自己的自定義模型。這些模型可用於從內容生成到語意搜尋和分類的所有領域。
郵箱:[email protected]
Twitter:https://twitter.com/smartloli
QQ群(Hadoop - 交流社群1):424769183
QQ群(Kafka並不難學): 825943084
溫馨提示:請大家加群的時候寫上加群理由(姓名+公司/學校),方便管理員稽核,謝謝!
