學習ASP.NET Core Blazor程式設計系列十八——檔案上傳(中)
2023-01-01 15:00:39
上篇學習ASP.NET Core Blazor程式設計系列十七——檔案上傳(上)文章我們學習瞭如何將檔案上傳至伺服器,但是我們並沒有將檔案的一些資訊儲存下來,無法進行查詢,無法得知我們上傳了一些什麼檔案。本篇文章演示如何將上傳檔案的一些基本資訊儲存到資料庫,從而可以對上傳檔案進行簡單管理。
三、新增FileDescribe類
在Visual Studio 2022的解決方案資源管理器中,滑鼠左鍵選中「Models」資料夾,右鍵單擊,在彈出選單中選擇「新增—>類」。 將類命名為「FileDescribe」,並新增以下屬性,程式碼如下:
using System.ComponentModel.DataAnnotations;
using System.ComponentModel.DataAnnotations.Schema;
using System.Xml.Linq;

namespace BlazorAppDemo.Models
{
    public class FileDescribe

    {
        [DatabaseGenerated(DatabaseGeneratedOption.Identity)]
        [Required]

        [Key]
        public int ID { get; set; }


        [Display(Name = "檔名稱")]

        [Required]
        [StringLength(100)]

        public string Name { get; set; }
        [Display(Name = "上傳後檔名稱")]
        [StringLength(100)]
        public string NewName { get; set; }


        [Display(Name = "檔案大小(bytes)")]
        [DisplayFormat(DataFormatString = "{0:N1}")]
        public long FileSize { get; set; }


        [Display(Name = "檔案描述")]
        public string PubliceDescribe { get; set; }


        [Display(Name = "檔案路徑")]
        [StringLength(300)]
        public string FullName { get; set; }

        [Display(Name = "上傳時間(UTC)")]
        [DisplayFormat(DataFormatString = "{0:F}")]
        [Required]
        public DateTime UploadDateTime { get; set; }


    }
}
此類使用 Display 和 DisplayFormat 特性,有前端顯示時,這些特性會生成友好的標題和格式。
四、修改BookContext
在Visual Studio 2022的解決方案資源管理器中找到BookContext (Models/BookContext.cs) 檔案,使用滑鼠左鍵雙擊在文字編輯器中開啟,並修改程式碼如下:
using System;
using System.Collections.Generic;
using System.Linq;
using System.Threading.Tasks;
using Microsoft.EntityFrameworkCore;


namespace BlazorAppDemo.Models
{
    public class BookContext:DbContext
    {
        public BookContext(DbContextOptions<BookContext> options)

              : base(options)
        {

       }


        public DbSet<Book> Book { get; set; }
        public DbSet<FileDescribe> FileDescribe { get; set; }


    }

}
五、將 「FileDescribe」 類生成資料庫表
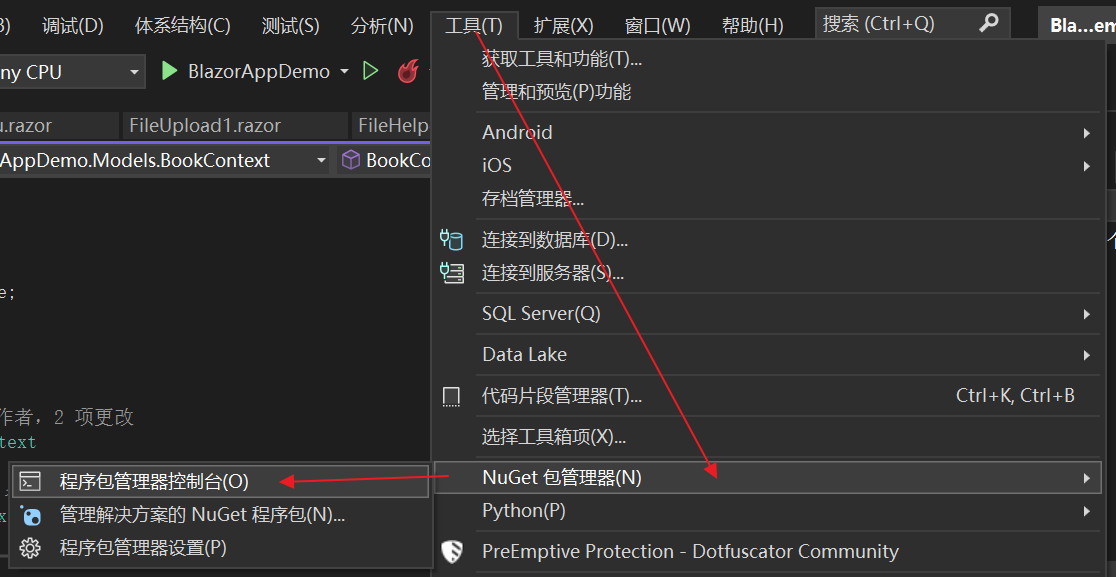
1.在Visual Studio 2022中開啟程式包管理器控制檯 (PMC),「選單欄>工具> NuGet 包管理器 > 程式包管理器控制檯」。 
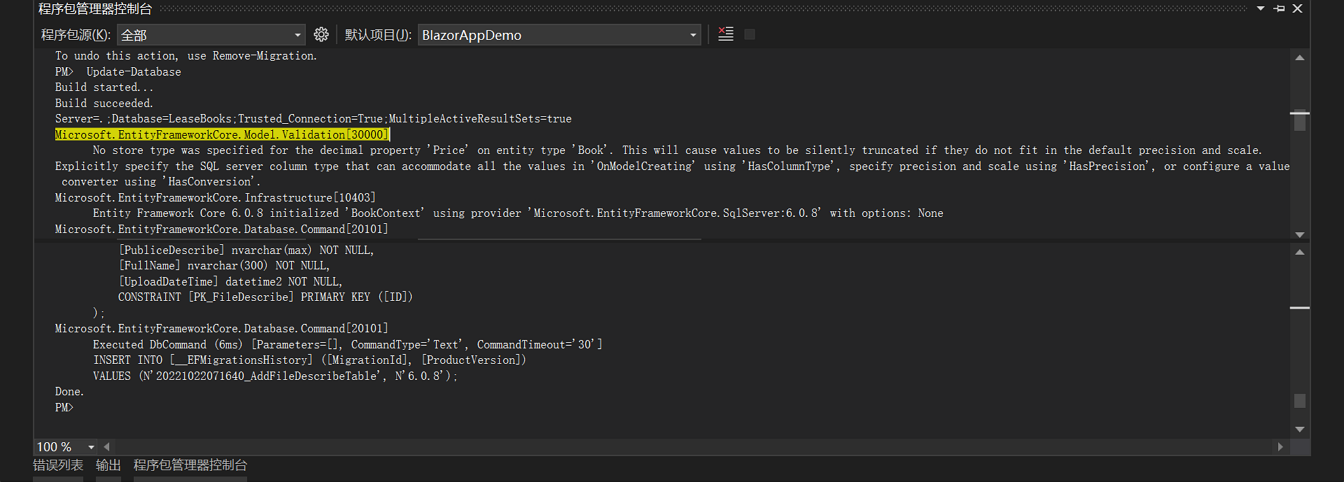
2.在 PMC 中分別執行以下兩條命令。這兩條命令將實現向資料庫中新增 FileDescribe表,執行結果發下圖1、與圖2。
Add-Migration AddFileDescribeTable
Update-Database

圖1

圖2
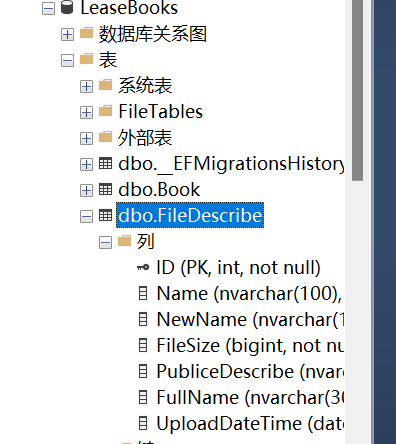
3.在執行以上指令之後,會在資料庫中新增FileDescribe表,結果如下圖。
