react 高效高質量搭建後臺系統 系列 —— 腳手架搭建
其他章節請看:
腳手架搭建
本篇主要建立新專案 myspug,以及準備好環境(例如:安裝 spug 中用到的包、本地開發和部署、自定義設定 react-app-rewired、代理 http-proxy-middleware、babel),為後續搭建真正的框架打好基石。
注:許多細節前面我們已經研究過,這部分就不在冗餘介紹,請看相關連結。
建立新專案
詳情請看 這裡
Create React App 是一個用於學習 React 的舒適環境,也是用 React 建立新的單頁應用的最佳方式。
$ npx create-react-app myspug
$ cd myspug/
$ npm start
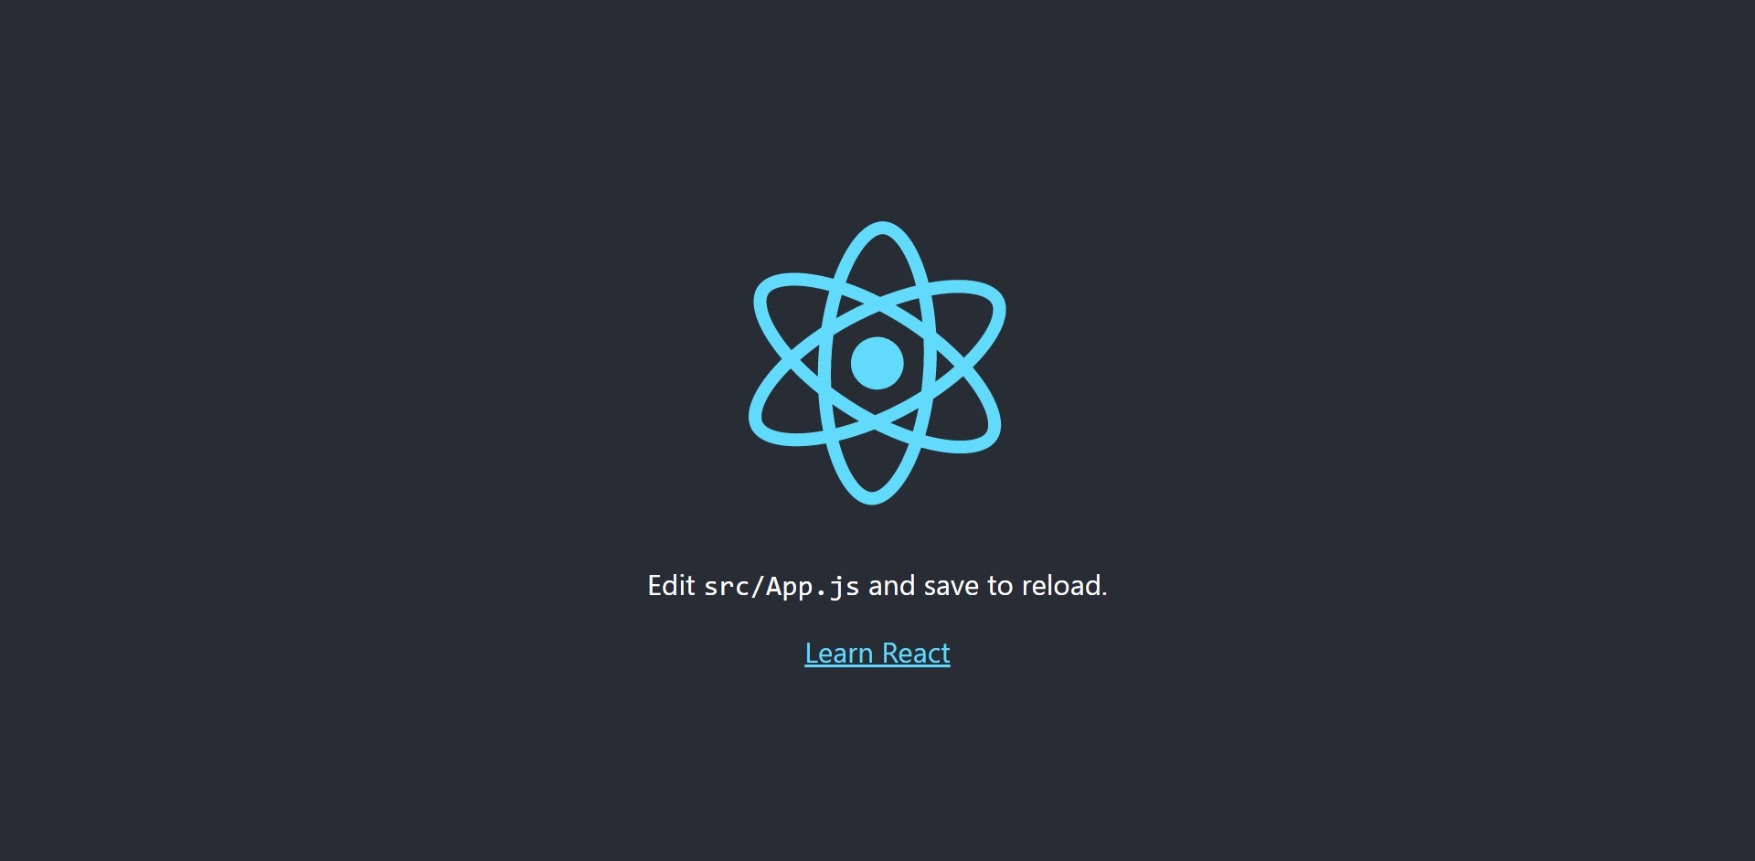
存取 http://localhost:3000 即可看到 react 的頁面。就像這樣:

myspug 目錄結構如下:
Mode                 LastWriteTime         Length Name
----                 -------------         ------ ----
d-----          2022/3/3     17:50                node_modules
d-----          2022/3/3     17:48                public
d-----         2022/3/18     19:22                src
-a----        1985/10/26     16:15            310 .gitignore
-a----          2022/3/3     17:49        1120931 package-lock.json
-a----          2022/3/3     17:49            817 package.json
-a----        1985/10/26     16:15           3359 README.md
- public 中最重要的是
index.html,即單頁面 src/index.js是入口檔案,裡面參照著src/App.js元件。
安裝依賴包
我們根據 spug/packages.json 的內容,選擇性的安裝自己所需要的軟體包。
// spug/packages.json
{
  "name": "spug_web",
  "version": "3.0.0",
  "private": true,
  "dependencies": {
    // icon
    "@ant-design/icons": "^4.3.0",
    // 圖表相關
    "@antv/data-set": "^0.11.8",
    // Ace 是一個用 JavaScript 編寫的程式碼編輯器。 (不用)
    "ace-builds": "^1.4.13",
    // ui
    "antd": "^4.19.2",
    // http
    "axios": "^0.21.0",
    // 圖表
    "bizcharts": "^3.5.9",
    // 小型功能路由器,通過搜尋 `Enroute({` 發現只在 Test.js 中使用,應該是用於測試(不用)
    "enroute": "^1.0.1",
    // 路由相關
    "history": "^4.10.1",
    // jquery (不用)
    "jquery": "^3.6.0",
    "lodash": "^4.17.19",
    // 狀態
    "mobx": "^5.15.6",
    "mobx-react": "^6.3.0",
    // 日期庫
    "moment": "^2.24.0",
    // 數位
    "numeral": "^2.0.6",
    "react": "^16.13.1",
    // 與 ace Editor 相關(不用)
    "react-ace": "^9.5.0",
    // react
    "react-dom": "^16.13.1",
    // 路由
    "react-router-dom": "^5.2.0",
    "react-scripts": "3.4.3",
    // 瀏覽器中使用終端(不用)
    "xterm": "^4.6.0",
    "xterm-addon-fit": "^0.5.0"
  },
  // 本地啟動、打包
  "scripts": {
    "start": "react-app-rewired start",
    "build": "react-app-rewired build",
    "test": "react-app-rewired test",
    "eject": "react-scripts eject"
  },
  // eslint 相關。查詢並修復JavaScript程式碼中的問題。
  "eslintConfig": {
    "extends": "react-app"
  },
  // 編譯後的原始碼支援的瀏覽器。不用動
  "browserslist": {
    "production": [
      ">0.2%",
      "not dead",
      "not op_mini all"
    ],
    "development": [
      "last 1 chrome version",
      "last 1 firefox version",
      "last 1 safari version"
    ]
  },

  "devDependencies": {
    // 用於支援 es6 中裝飾器的語法
    "@babel/plugin-proposal-decorators": "^7.10.5",
    "anywhere": "^1.5.0",
    "bx-tooltip": "^0.1.6",
    // 新的 [email protected] 版本的關係,你還需要安裝 customize-cra
    "customize-cra": "^1.0.0",
    // http 代理中介軟體
    "http-proxy-middleware": "0.19.2",
    "less": "^3.12.2",
    "less-loader": "^7.1.0",
    "mockjs": "^1.1.0",
    // 一個對 create-react-app 進行自定義設定的社群解決方案
    "react-app-rewired": "^2.1.6"
  }
}
筆者安裝如下軟體包:
// ui
$ npm i antd
// 狀態管理
$ npm i mobx mobx-react
// http
$ npm i axios
// 路由
$ npm i react-router-dom@5
// icon
$ npm i @ant-design/icons
// 修改組態檔
$ npm i -D react-app-rewired customize-cra
// css 預編譯
$ npm i -D less less-loader
// bebel 相關
$ npm i -D @babel/plugin-proposal-decorators@7
// mock 資料
$ npm i -D mockjs@1
// 圖表
$ npm i bizcharts@3
$ npm i @antv/data-set
// 路由相關
$ npm i history@4
// js 工具庫
$ npm i lodash
// 日期
$ npm i moment
// 數位
$ npm i numeral
Tip:如果安裝失敗可以這樣:
- 每次安裝一個包
- 切換安裝包的版本
- 再次嘗試,有時候第二遍就成功
- 回家嘗試,公司安裝失敗,家裡可能安裝成功
至此,對比 spug 和 myspug 的 package.json,有如下差異以及一些未完成項:
- myspug 沒有jquery、ace-builds、react-ace、enroute、xterm、xterm-addon-fit,因為筆者不需要。
- bx-tooltip 視後面需求是否安裝
scripts,用於啟動專案或編譯專案。spug 中使用的是 react-app-rewired,而 myspug 使用的是 react-scripts。下文設定。http-proxy-middleware未安裝,代理相關。下文安裝並設定- eslintConfig 設定,eslint 相關。兩者幾乎相同,不管它。
- browserslist 設定,編譯後的原始碼支援的瀏覽器。兩者相同,不管它。
antd 按需引入 css
詳情請看 這裡
spug 中使用的是 react-app-rewired,而 myspug 使用的是 react-scripts。
react-app-rewired 是一個對 create-react-app 進行自定義設定的社群解決方案。
react-app-rewired 的引入是作為 antd 按需引入 css 解決方案的一部分。
步驟如下:
- 安裝 react-app-rewired 和 customize-cra(上文已安裝)
- 安裝 babel-plugin-import
- 修改 package.json,通過
react-app-rewired來啟動、打包和測試
/* package.json */
"scripts": {
-   "start": "react-scripts start",
+   "start": "react-app-rewired start",
-   "build": "react-scripts build",
+   "build": "react-app-rewired build",
-   "test": "react-scripts test",
+   "test": "react-app-rewired test",
}
- 專案根目錄建立一個
config-overrides.js(內容請看連結) 用於修改預設設定 - 修改 App.js 用於驗證 antd 樣式按需引入是否生效
// E:\myspug\src\App.js
import { Button } from 'antd';

export default function App() {
    return (
        <div className="App">
            <Button type="primary">Primary Button</Button>
        </div >
    );
}
- 最後啟動服務
npm run start,瀏覽器存取http://localhost:3000/,看見一個藍色按鈕說明成功。
Tip: 筆者遇到如下報錯,經嘗試發現點選antd.css(@import '~antd/dist/antd.css';)報錯,懷疑包下載有問題,最後解除安裝 antd,再次安裝 antd@4即可。
Compiled with problems:X

ERROR in ./src/App.js 3:0-34

Module not found: Error: Can't resolve 'antd/es/button/style/css' in 'E:\myspug\src'
代理
詳細介紹 這裡
代理後續或許會用得到,我們先設定它。
Tip:筆者這版的react腳手架預設已有 http-proxy-middleware(http 代理中介軟體),所以我們無需重複下載
步驟如下:
- 新建
setupProxy.js用於設定
// src/setupProxy.js

const { createProxyMiddleware } = require('http-proxy-middleware');

module.exports = function (app) {
  app.use(
    // 將原來的 proxy 改為 createProxyMiddleware
    createProxyMiddleware(
      '/pengjiali',
      {
        target: 'https://www.cnblogs.com/',
        changeOrigin: true
      }
    )
  )
}
- 建立一個元件(HelloWorld.js)並在 App.js 中引入
const axios = require('axios');

export default function HelloWorld() {
    axios.get('/pengjiali/p/14561119.html')
        .then(function (response) {
            // handle success
            console.log(response.data);
        }).catch(function (error) {
            // handle error
            console.log(error);
        })

    return <div>hello world2!</div>
}
- 重啟服務,控制檯輸出博文內容,說明代理生效。
Tip:初次執行 require('axios') 報錯,將 axios 解除安裝,安裝和 spug 中相同的版本 npm i axios@0 即可。
babel
例如 es11 中有 BigInt、可選鏈操作符( ?. )、空值合併操作符(??),spug 是否會將 ?. 編譯,在低版本瀏覽器中執行呢?
在 spug 中 package.json 中與 babel 相關的單詞只有 @babel/plugin-proposal-decorators(後續講狀態管理 mobx 時一起介紹),也就是用於支援裝飾器。
由於後臺系統通常可以指定瀏覽器版本,筆者就不展開。
Tip:感興趣的朋友可以自行提取 spug 專案的 webapck 設定檢視。這個過程是不可逆的。
其他章節請看:
出處:https://www.cnblogs.com/pengjiali/p/16999119.html
本文版權歸作者和部落格園共有,歡迎轉載,但未經作者同意必須保留此段宣告,且在文章頁面明顯位置給出原文連線。