帶你吃透CSS3屬性:transition 與 transform

前端(vue)入門到精通課程:進入學習
Apipost = Postman + Swagger + Mock + Jmeter 超好用的API偵錯工具:
一:transition 過渡
transition 可以做出 CSS 的過渡效果,例如要過渡的屬性名稱,要過渡的時間,過渡的延遲等待時間,過渡的速度變化(過渡型別)......等等
transition 常用屬性:
- transition-property:用於指定要參與過渡的屬性名稱
- transition-duration:用於指定過渡的持續時間
- transition-delay:用於指定過渡的延遲等待時間
- transition-timing-function:用於指定過渡的型別
下面會對這四個常用屬性做出逐個講解,大家記住一句話 ------- 誰做過渡給誰加過渡屬性
1.1 transition-property 指定過渡屬性
transition-property 用於指定要參與過渡的屬性名稱,例如你想要長寬過渡,那麼在後面寫 width,height 即可,如果想省事可以寫成 all,即全屬性都變化。
<style>
        div{
            width: 200px;
            height: 200px;
            background-color: rgb(255, 156, 156);
            transition-property: width,height;  //設定要過渡的屬性為寬高
        }
        div:hover{
            width: 300px;
            height: 300px;
        }
</style>登入後複製
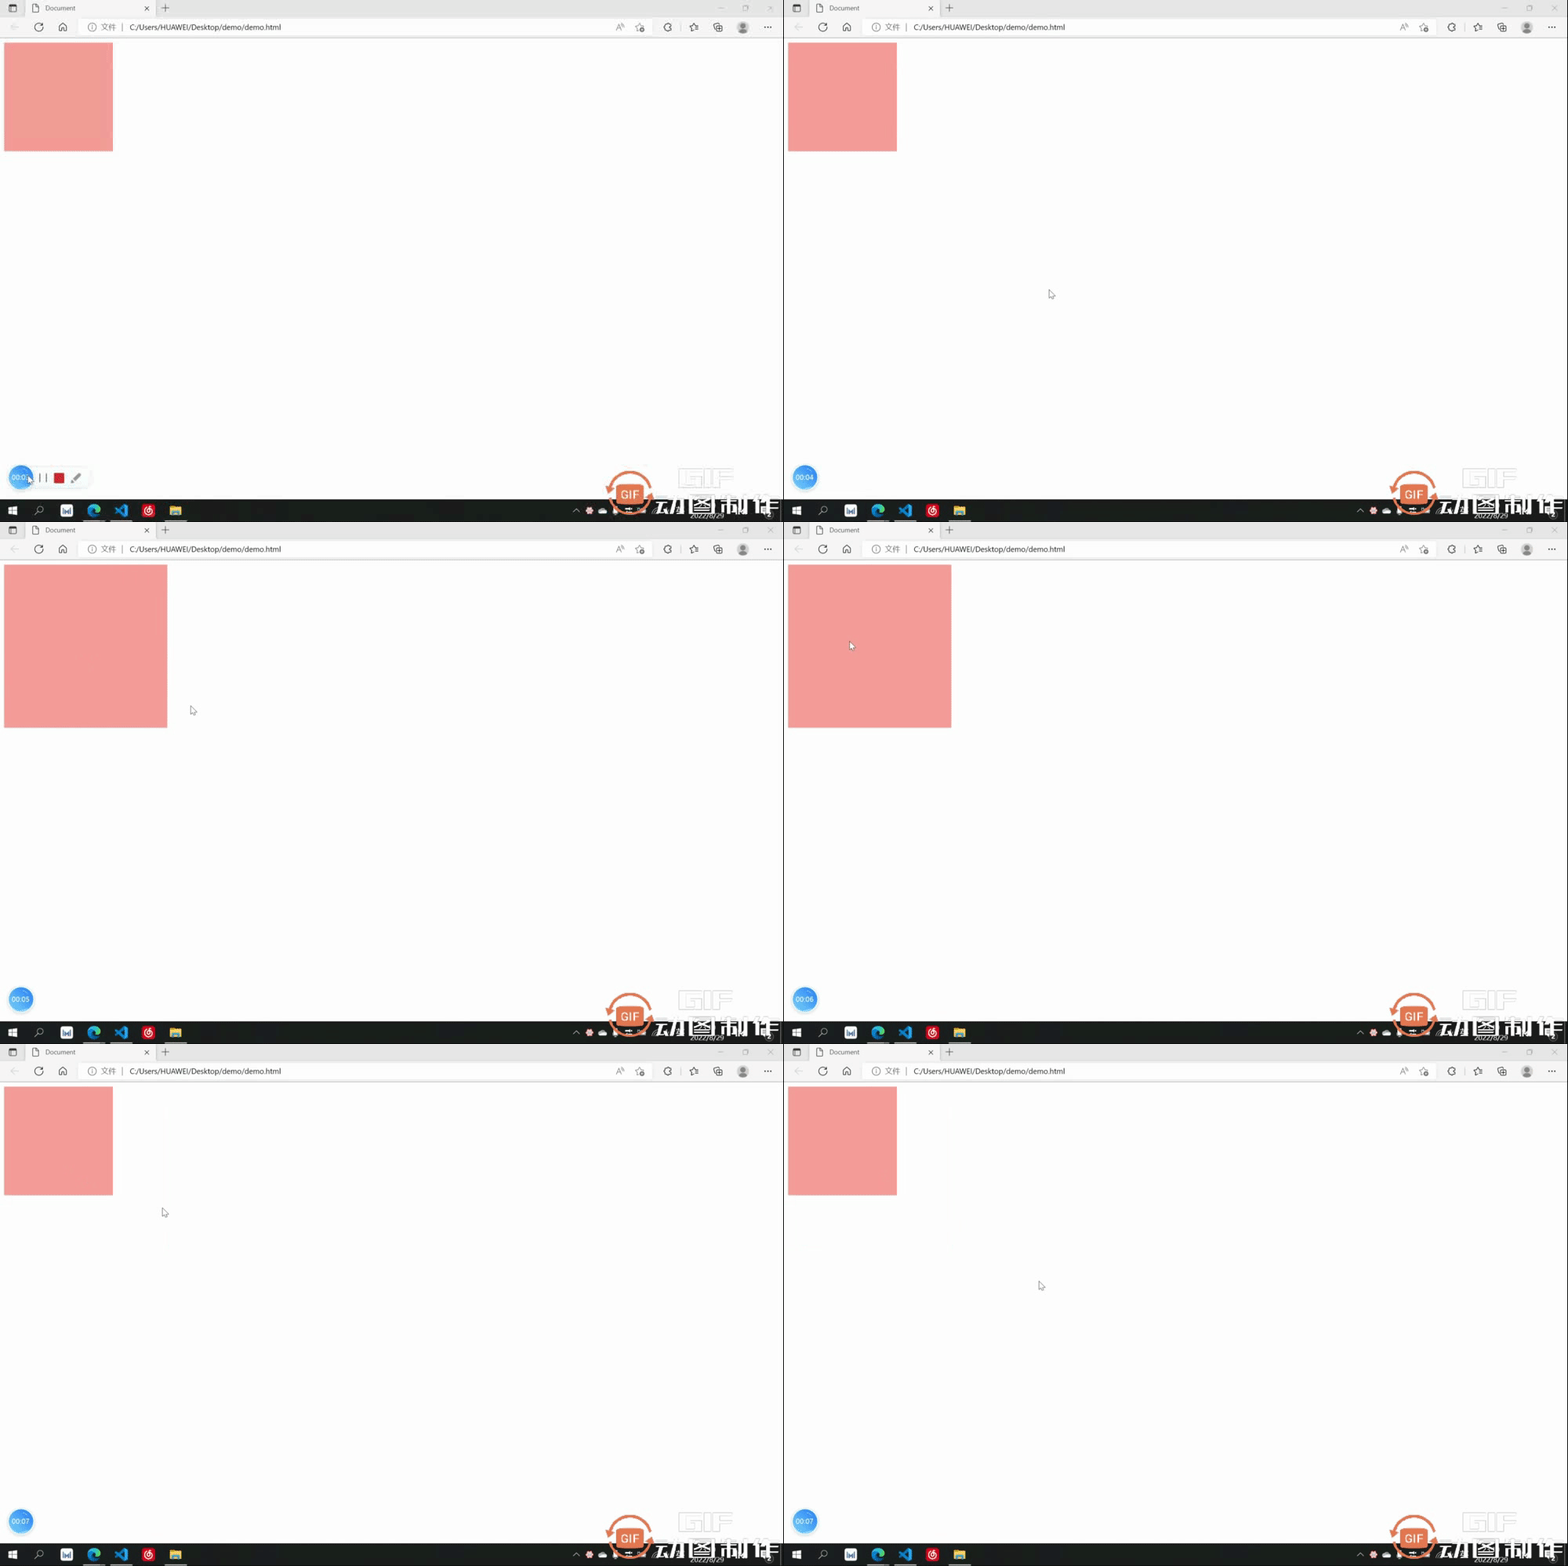
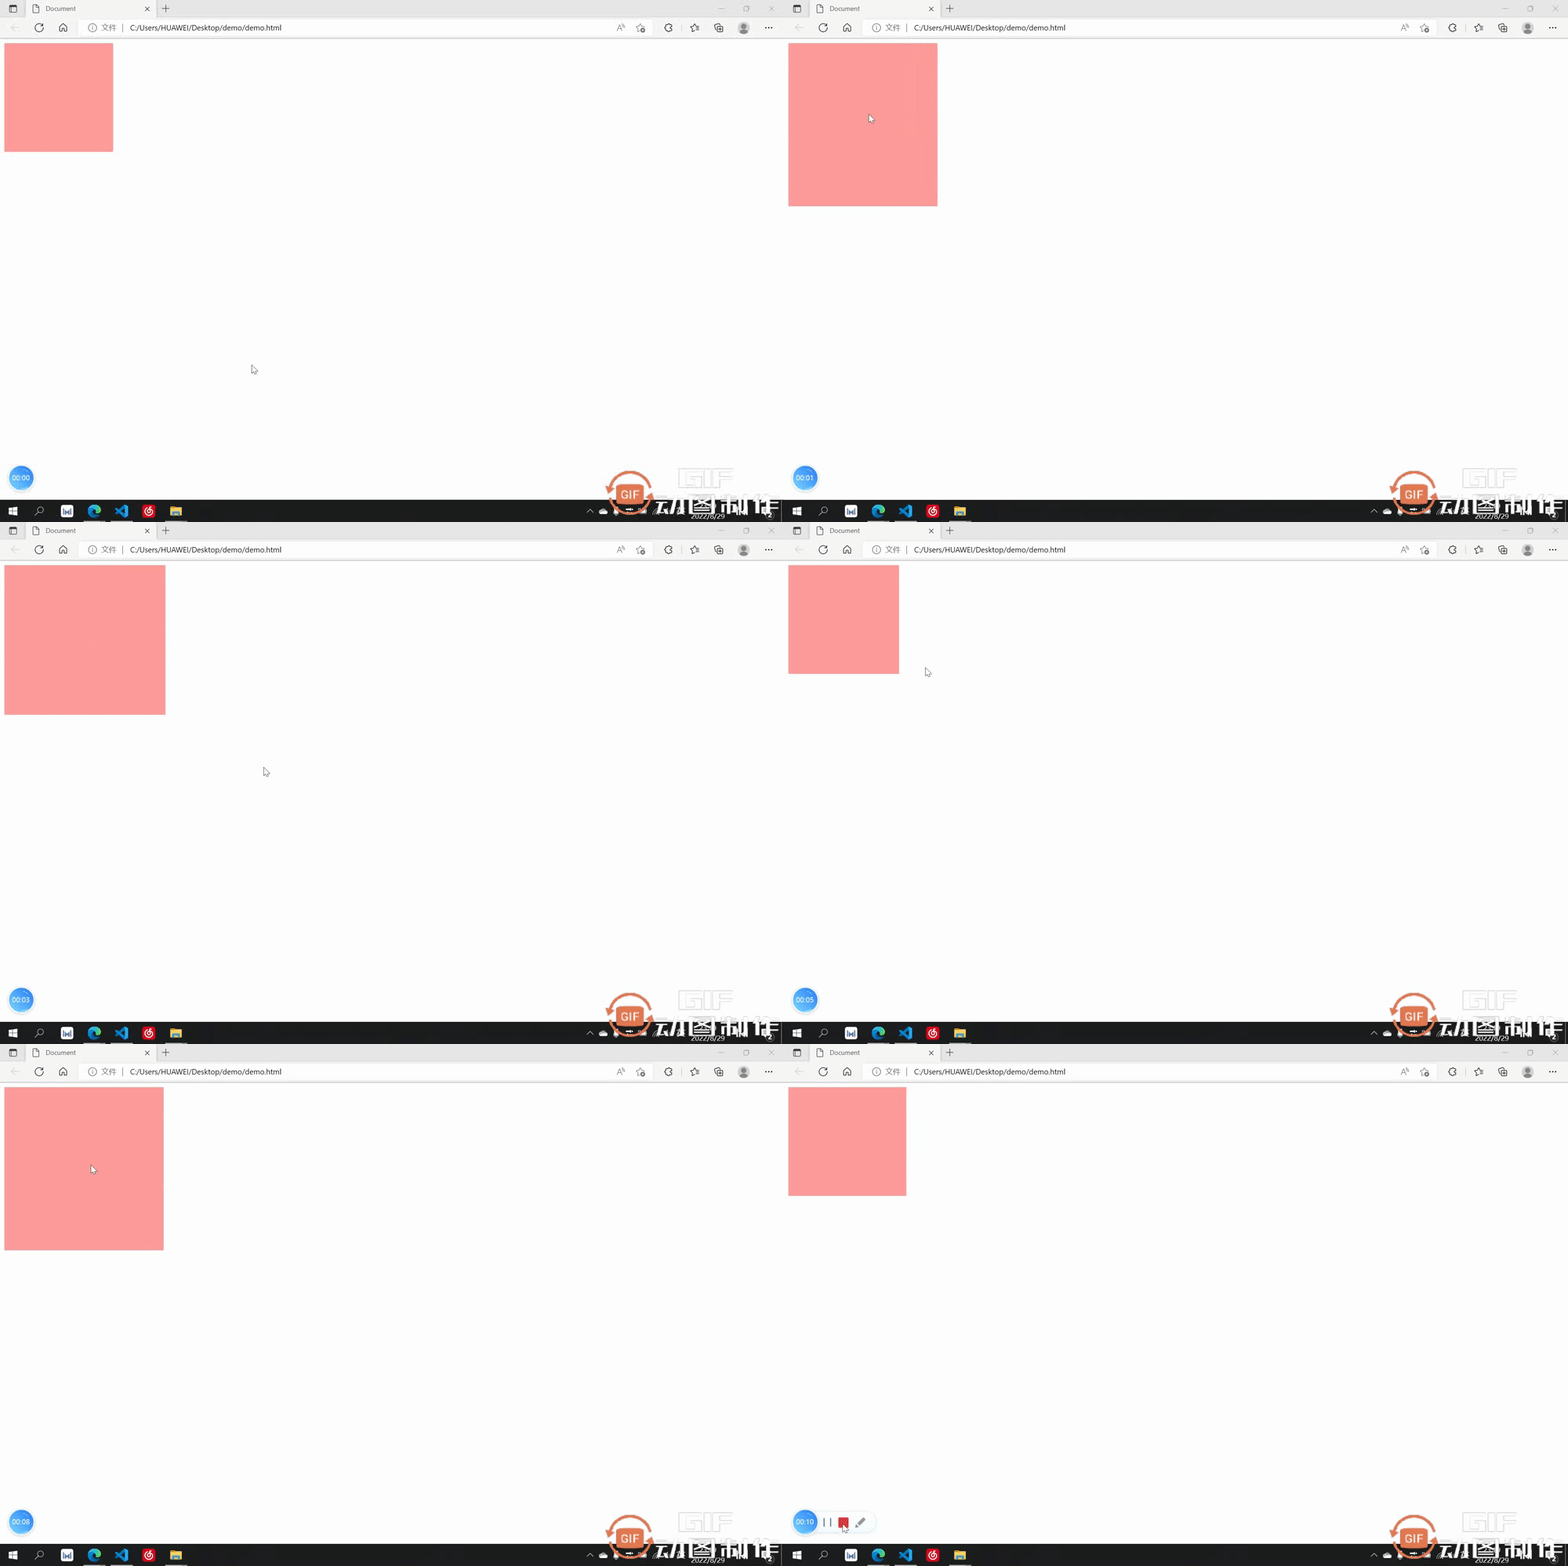
過渡效果:長寬過渡前均為 200,過渡後變成了 300
1.2 transition-duration 過渡時間
transition-duration 用於指定過渡的時間,只需要在後面加上想要過渡的時間即可,可以分別設定與 property 相對應的過渡時間,也可以只設定一個應用於全部
    <style>
        div{
            width: 200px;
            height: 200px;
            background-color: rgb(255, 156, 156);
            transition-property: width,height;
            transition-duration: 3s,1s;
        }
        div:hover{
            width: 300px;
            height: 300px;
        }
    </style>登入後複製
過渡效果:長寬過渡前均為 200,在經歷了長為3s,寬為1s的過渡後長寬均變成了 300
1.3 transition-delay 過渡延遲
transition-delay 用於指定過渡的延遲等待時間,即多少秒後開始過渡,只需要在後面加上想要等待的時間即可,可以分別設定與 property 相對應的等待時間,也可以只設定一個應用於全部
    <style>
        div{
            width: 200px;
            height: 200px;
            background-color: rgb(255, 156, 156);
            transition-property: width,height;
            transition-duration: 3s;
            transition-delay: 2s;
        }
        div:hover{
            width: 300px;
            height: 300px;
        }
    </style>登入後複製
過渡效果:遊標放上去後等待了2s才開始過渡

1.4 transition-timing-function 過渡型別
transition-timing-function 可以用來設定過渡時的型別,其有以下常用型別:
- ease:先加速後減速
- linear:勻速
- ease-in:加速
- ease-out:減速
- ease-in-out:先加速後減速(較ease速度變化效果明顯)
- cubic-bezier:貝塞爾曲線
速度變化大同小異只是變化速度不同,此處只舉一個 ease-in 的例子
    <style>
        div{
            width: 200px;
            height: 200px;
            background-color: rgb(255, 156, 156);
            transition-property: width,height;
            transition-duration: 3s;
            transition-timing-function: ease-in;
        }
        div:hover{
            width: 300px;
            height: 300px;
        }
    </style>登入後複製
過渡效果:過渡型別為 ease-in 逐漸加速
1.5 過渡的連寫形式
我們過渡中最常用的還是連寫形式,連寫形式過渡屬性我們方便起見寫作 all 即可,然後別的過渡屬性跟在後面空格隔開即可,哪個元素要做過渡就把過渡加給哪個元素,此處是div滑鼠放上後擴大,但是是div做過渡,所以過渡屬性加給div
    <style>
        div{
            width: 200px;
            height: 200px;
            background-color: rgb(229, 171, 171);
            transition: all 2s linear;
        }
        div:hover{
            width: 300px;
            height: 300px;
        }
    </style>登入後複製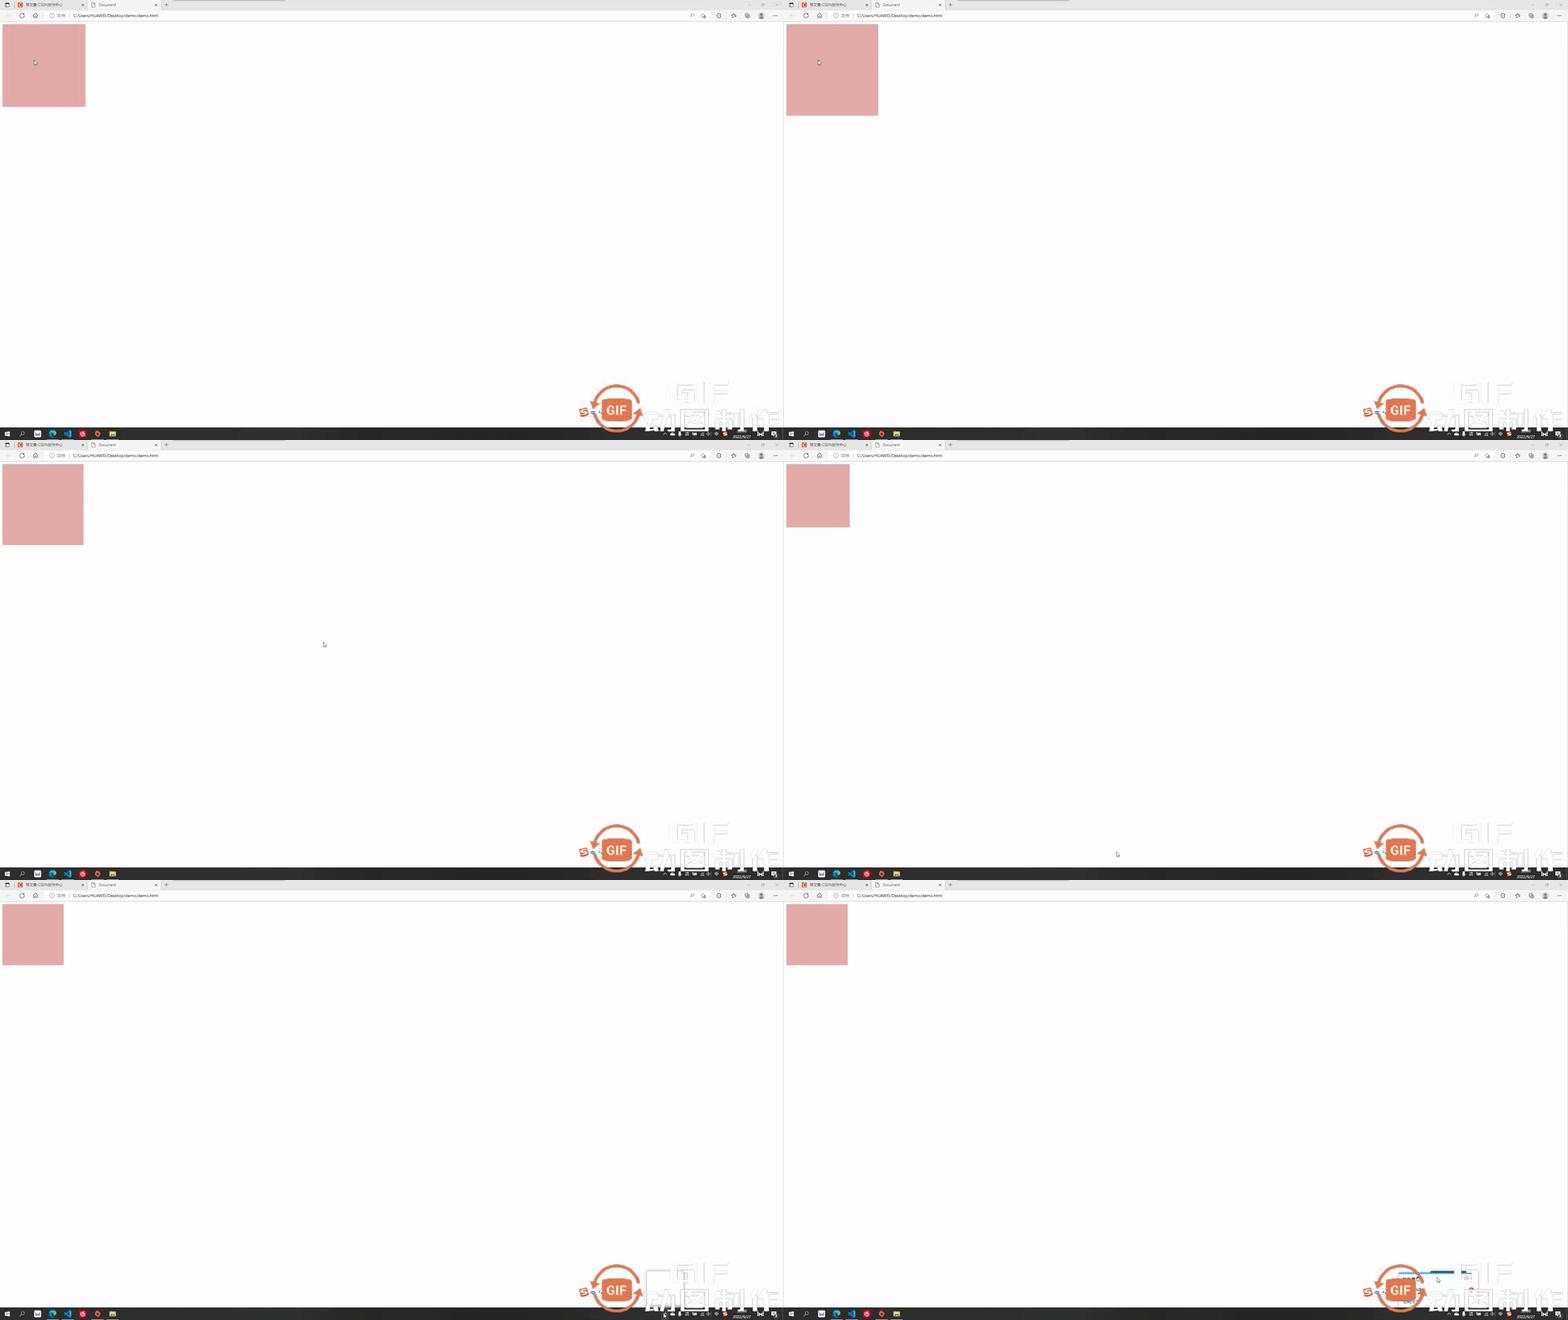
二:transform 2D動畫效果
transform 可以讓過渡元素產生一些常規的 2D 動畫效果,例如旋轉,位移,縮放,扭曲......等等,以及 3D 的立體效果。
transform 2D/3D中常用屬性:
- transform-origin:基點
- transform:translate:平移效果
- transform-rotate:旋轉效果
- transform-scale:縮放效果
下面會對這六個常用屬性做出逐個講解,有個注意點要提醒:大多數情況下,如果既有旋轉也有移動,要先寫移動再寫旋轉
2.1 transform-origin 基點
基點就是位移或者旋轉等變形圍繞的中心,預設都是中心點,例如先舉個旋轉的例子(旋轉後面會講到)大家體會一下基點的概念。切記:基點設定給要過渡的元素
基點的值:
基點的值可以是具體數值例如 transform-origin:20px 30px; 第一個為x方向,第二個為y方向,也可以是方位名詞 transform-origin:top left; 此處先寫x或先寫y方向都可以,此處 top left 表示基點為左上角,bottom right 表示右下角......
2.1.1 預設的基點
預設基點為元素正中心
<style>
div{
width: 200px;
height: 200px;
background-color: rgb(229, 171, 171);
margin: 100px auto;
transition: all 2s linear;
}
div:hover{
transform: rotateZ(90deg);
}
</style>登入後複製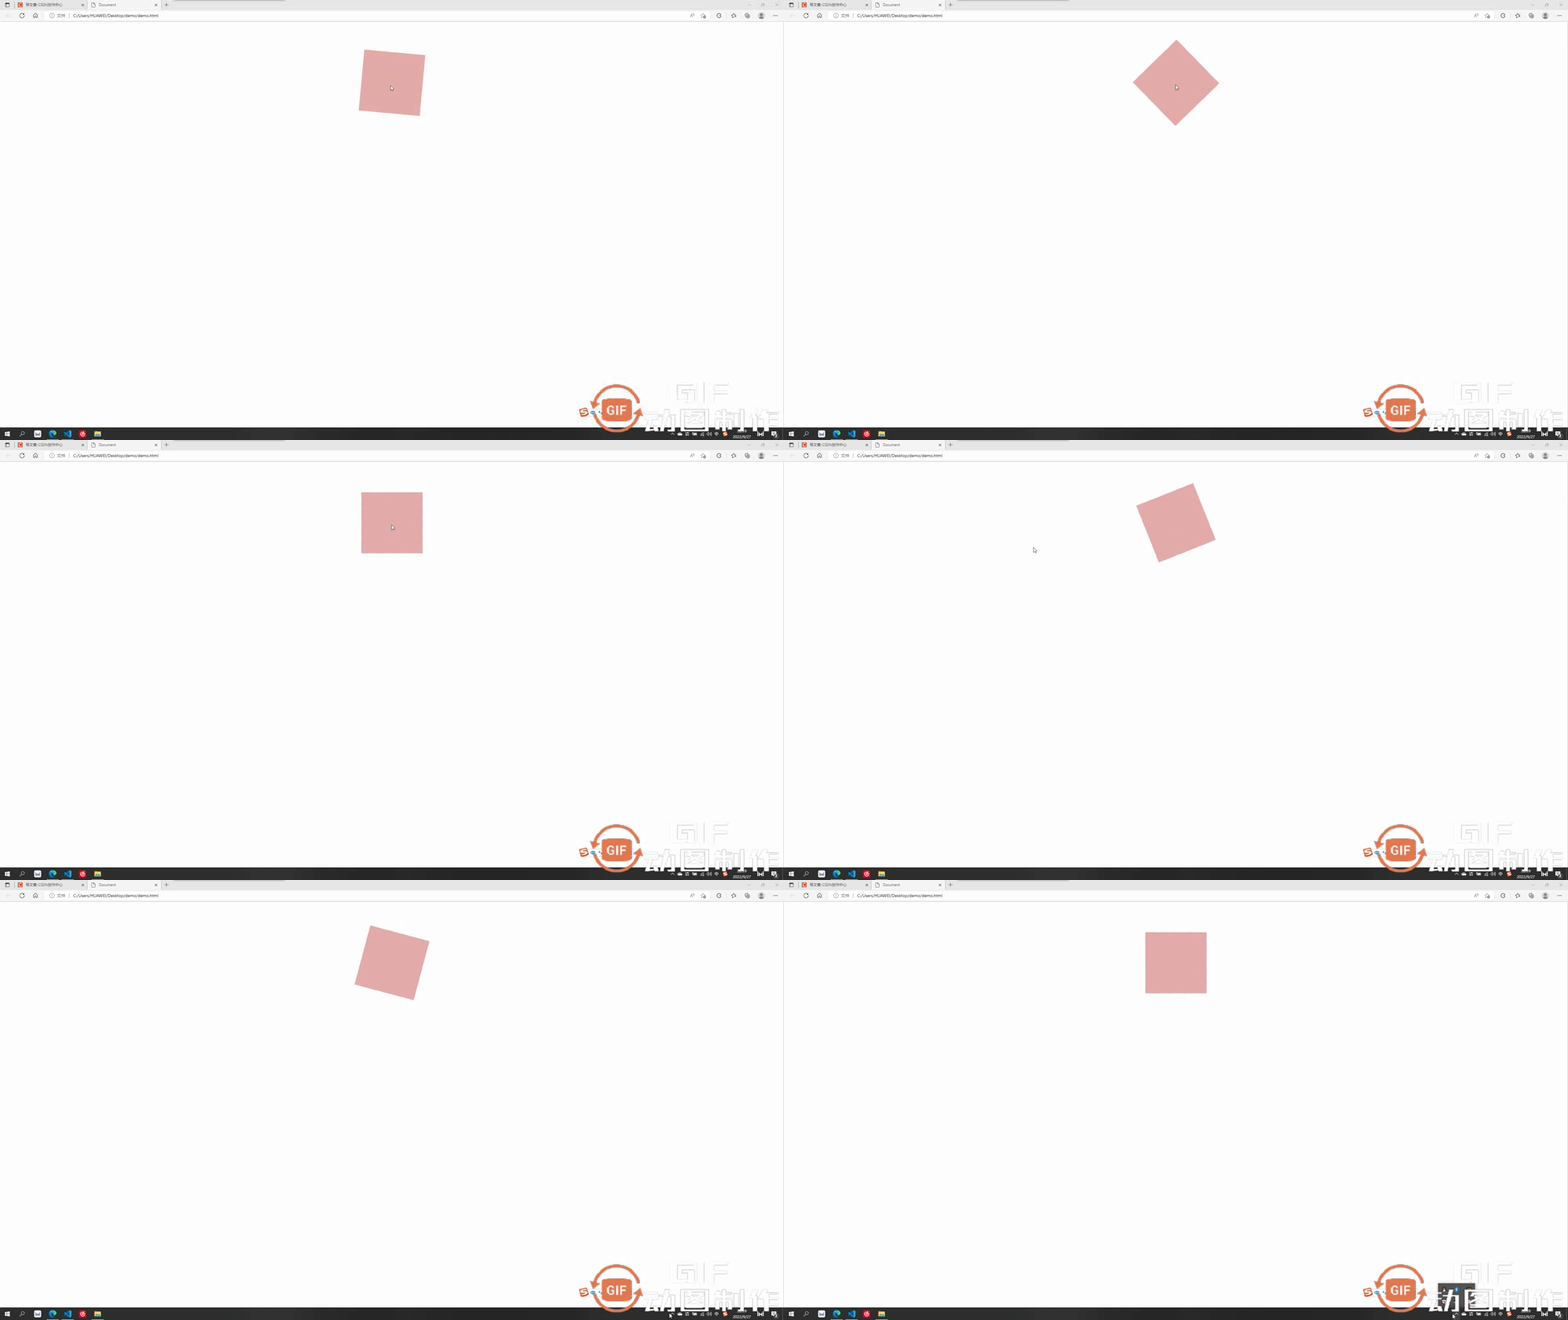
2.1.2 設定後的基點
設定基點為 transform-origin:bottom left; (左下角)
    <style>
        div{
            width: 200px;
            height: 200px;
            background-color: rgb(229, 171, 171);
            margin: 100px auto;
            transition: all 2s linear;
            transform-origin: left bottom;
        }
        div:hover{
            transform: rotateZ(90deg);
        }
    </style>登入後複製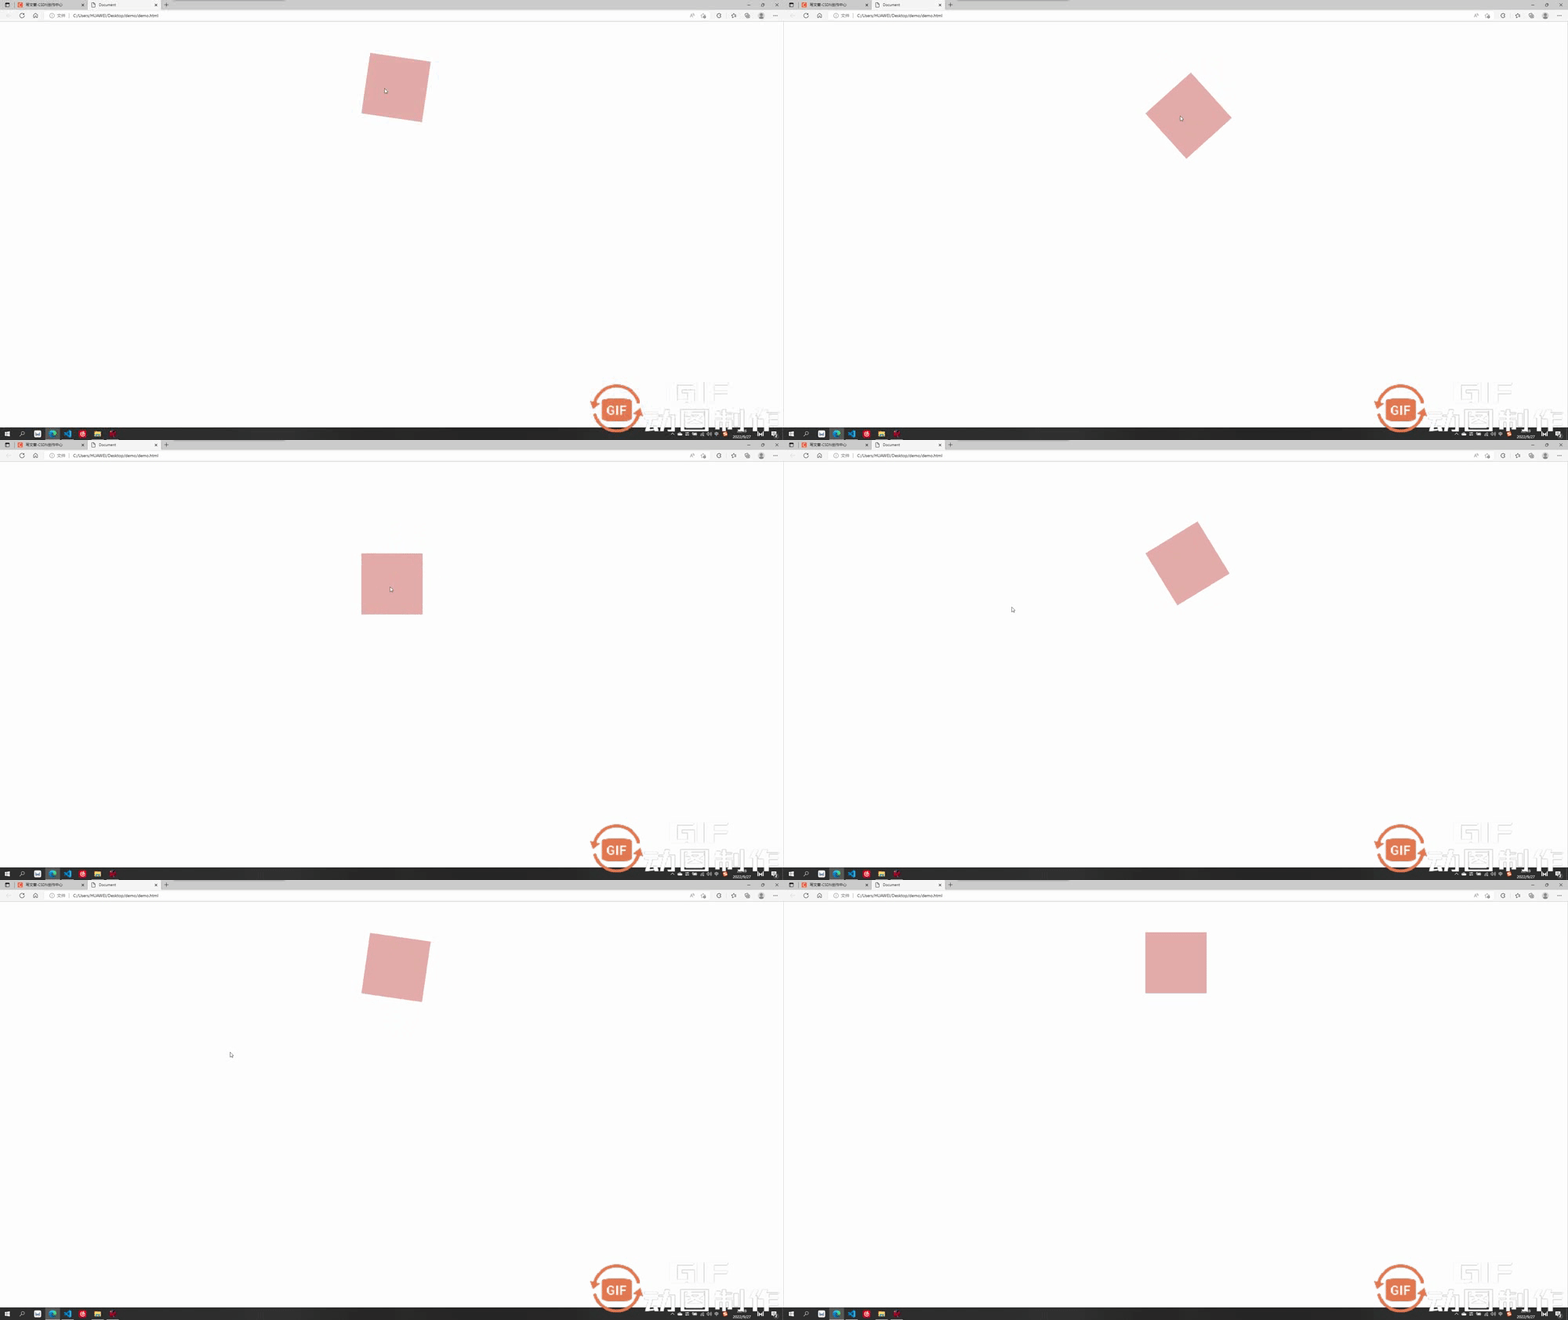
2.2 transform:translate 平移
平移可分為以下幾種:
- transform:translateX 沿水平方向平移
- transform: translateY 沿豎直方向平移
- transform: translateZ 沿Z方向移動的距離,不加透視的話看不出來效果,這個放在後面3D板塊講解
- transform:translate(x, y, z) 沿和向量方向平移,第一個為x方向移動距離,第二個為y方向移動的距離,第三個為z軸移動的距離,中間要求逗號隔開
案例中我們只舉例第最後一個組合寫法,其它都是單獨的朝某個方向移動較為簡單
    <style>
        div{
            width: 200px;
            height: 200px;
            background-color: rgb(229, 171, 171);
            transition: all 2s linear;
        }
        div:hover{
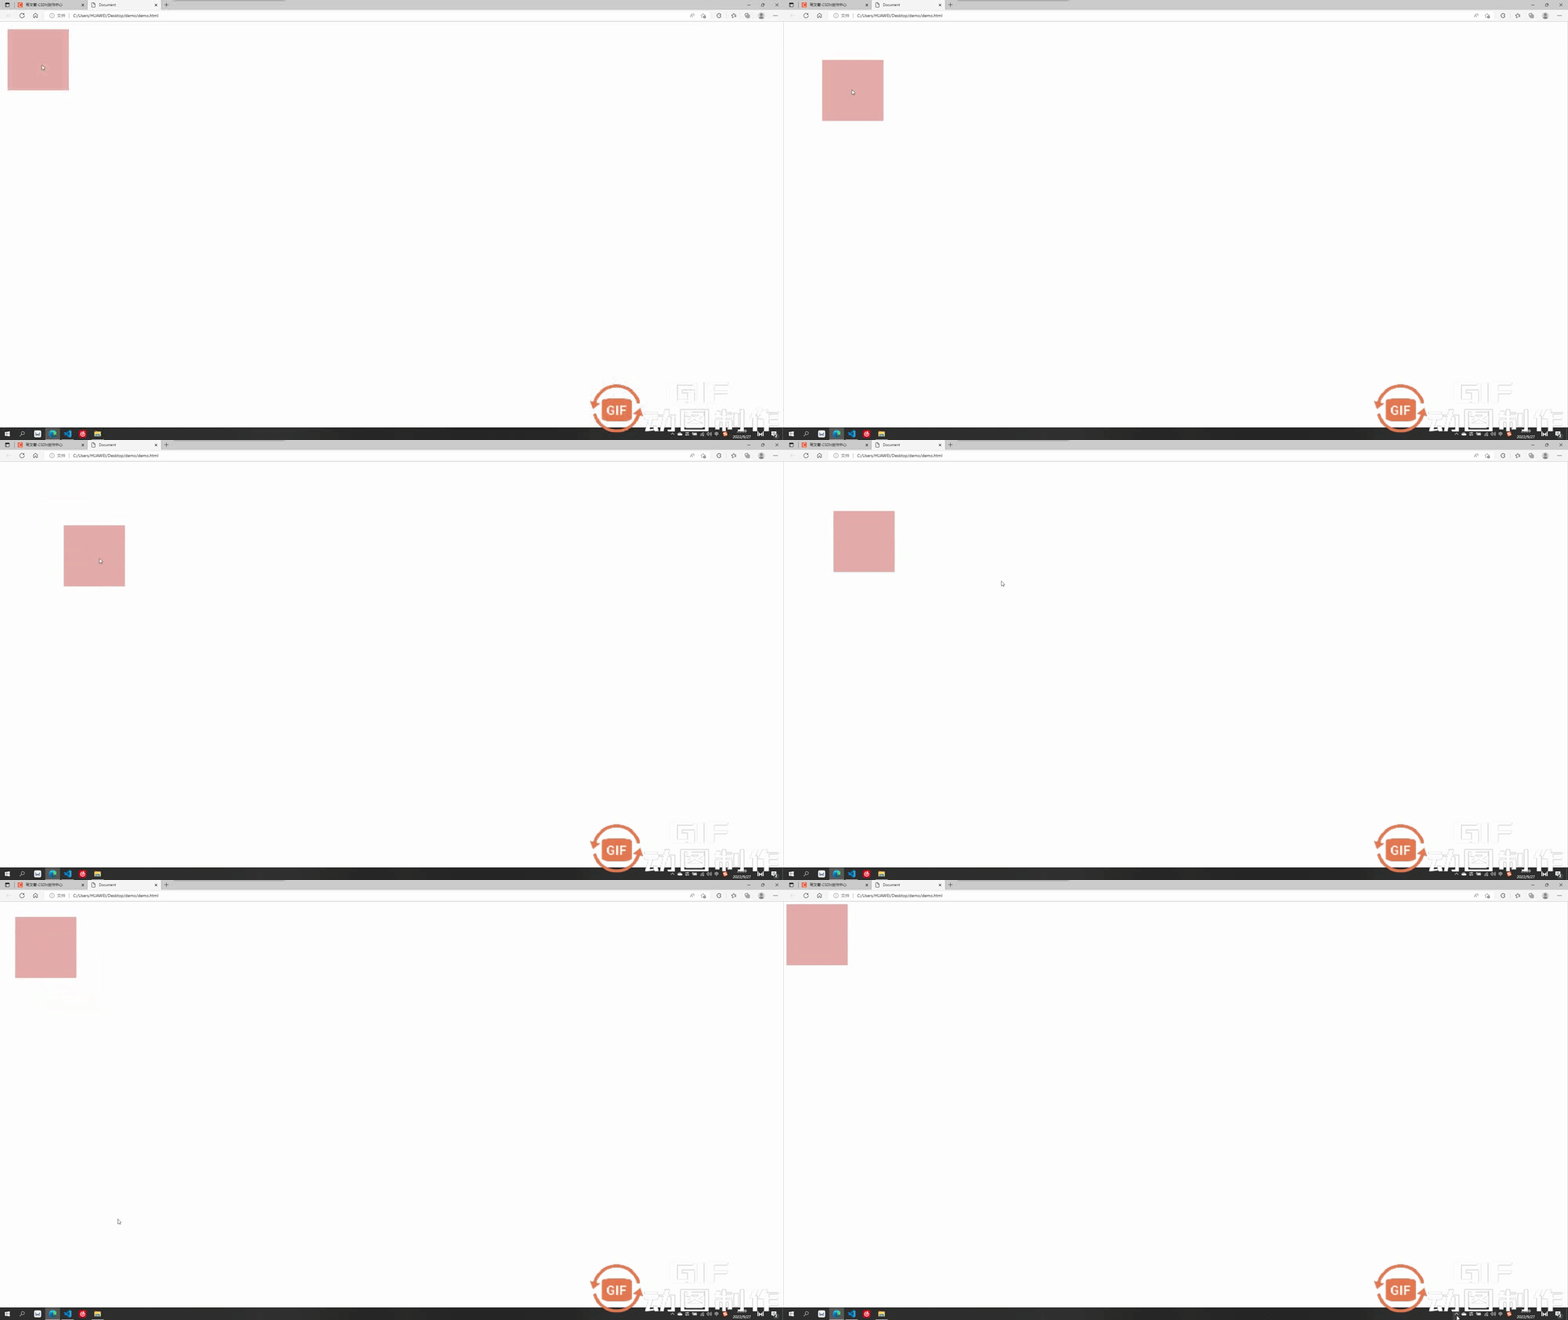
            transform:translate(200px,200px)
        }
    </style>登入後複製
效果為水平走200px,豎直走200px
2.3 transform:rotate 旋轉
旋轉的角度單位為 deg,要旋轉360度即為 360deg
旋轉可分為以下幾種:
- transform:rotateX 以x為軸旋轉,不加3D透視看不出立體3D效果,後面講到3D再講解
- transform: translateY 以y為軸旋轉,不加3D透視看不出立體3D效果,後面講到3D再講解
- transform: translateZ 沿Z為軸旋轉,為2D平面旋轉,可以設定基點
此處先講第三個不需要加3D透視的沿z軸旋轉
<style>
div{
width: 200px;
height: 200px;
background-color: rgb(229, 171, 171);
margin: 100px auto;
transition: all 2s linear;
}
div:hover{
transform: rotateZ(90deg);
}
</style>登入後複製效果為繞z軸旋轉了90度

2.4 transform:scale 放縮
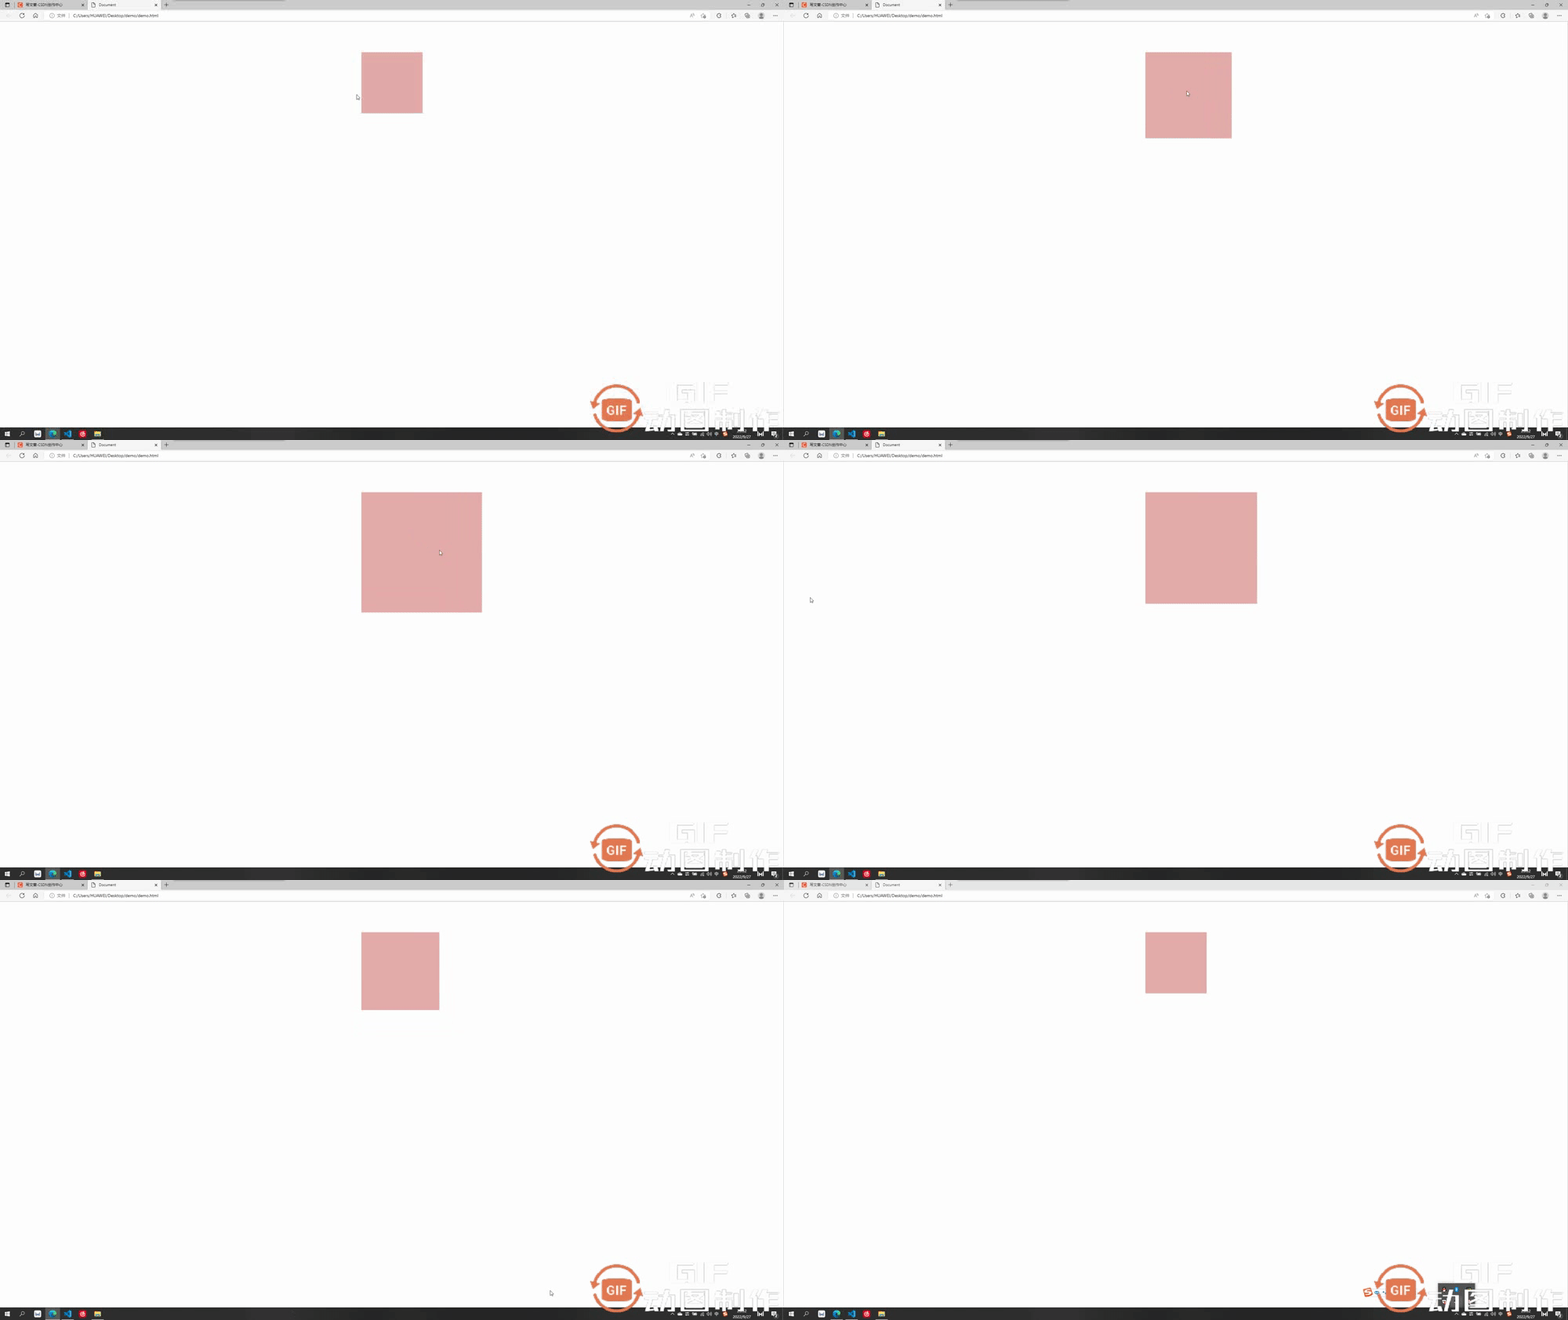
此處放縮的優點在於其是不影響其他頁面佈局的位置的,並且可以設定基點,預設基點為中心,放縮預設為圍繞中心向外擴大或向內縮小,引數直接填寫 要放縮的倍數即可,例如要放縮2倍: transform:scale(2)
    <style>
        div{
            width: 200px;
            height: 200px;
            background-color: rgb(229, 171, 171);
            transition: all 2s linear;
            margin: 100px auto;
            transform-origin: top left;
        }
        div:hover{
            transform:scale(2)
        }
    </style>登入後複製
效果為以左上角為基點擴大了兩倍
三:transform 3D動畫效果
這一板塊就要開始我們的3D效果了,上述案例中的沿z位移,繞x/y旋轉等等,其實都是3D的動畫效果,我們需要加上透視屬性才能有用:perspective: 1000px; 數值是視距可以自己設定,這個值大小可以根據自己的視覺感受調整滿意即可。
注意:透視要加給需要3D效果的元素的父元素
舉個例子感受下透視perspective的重要性:
3.1 不加透視的繞x軸旋轉
    <style>
        div{
            width: 200px;
            height: 200px;
            background-color: rgb(229, 171, 171);
            transition: all 2s linear;
            margin: 100px auto;
        }
        div:hover{
            transform:rotateX(360deg)
        }
    </style>登入後複製
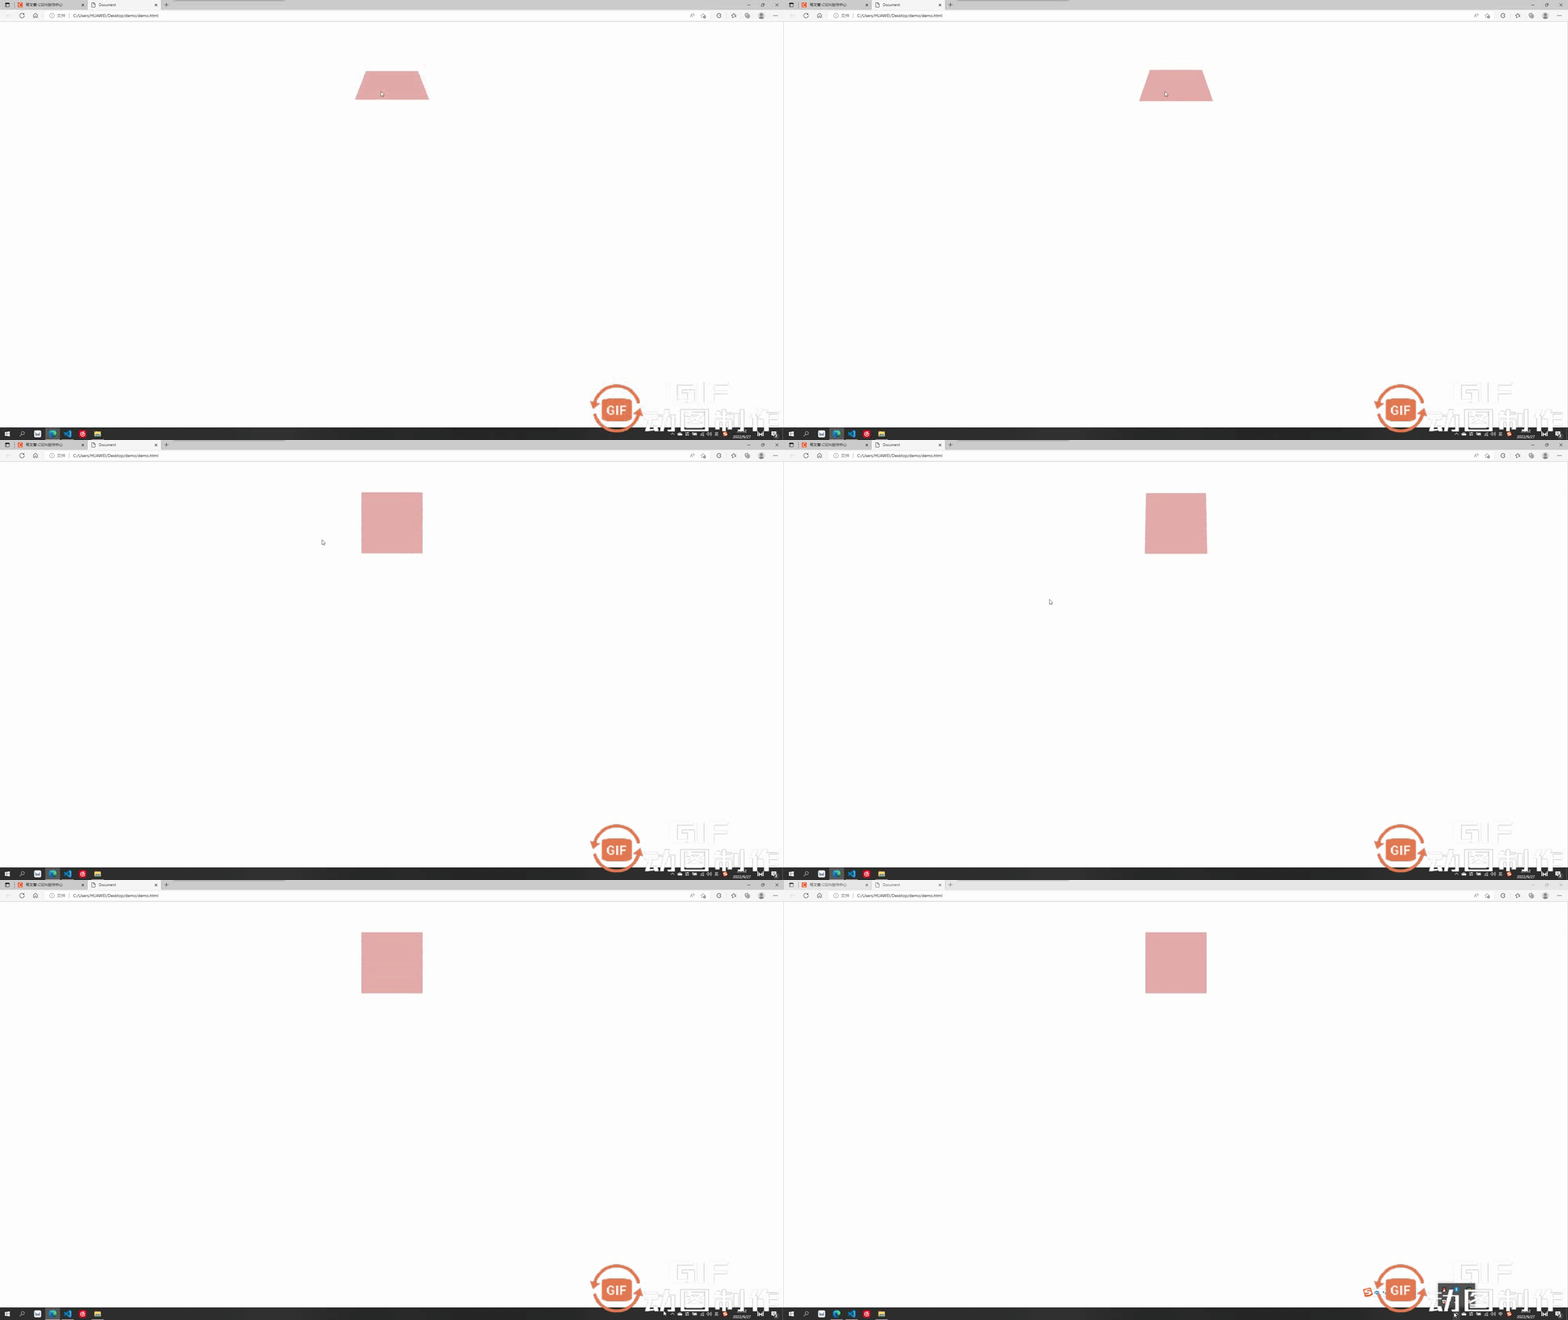
不加透視視覺效果毫無立體感

3.2 加透視的繞x軸旋轉
透視要加給需要3D效果的元素的父元素,此處div的父元素為body,所以給body加透視
    <style>
        body{
            perspective: 500px;  //透視
        }
        div{
            width: 200px;
            height: 200px;
            background-color: rgb(229, 171, 171);
            transition: all 2s linear;
            margin: 100px auto;
        }
        div:hover{
            transform:rotateX(360deg)
        }
    </style>登入後複製
加上透視後有了近大遠小的立體呈現感,不同的透視值對應的效果也不同,自己覺得合適即可,繞 y 旋轉同理。
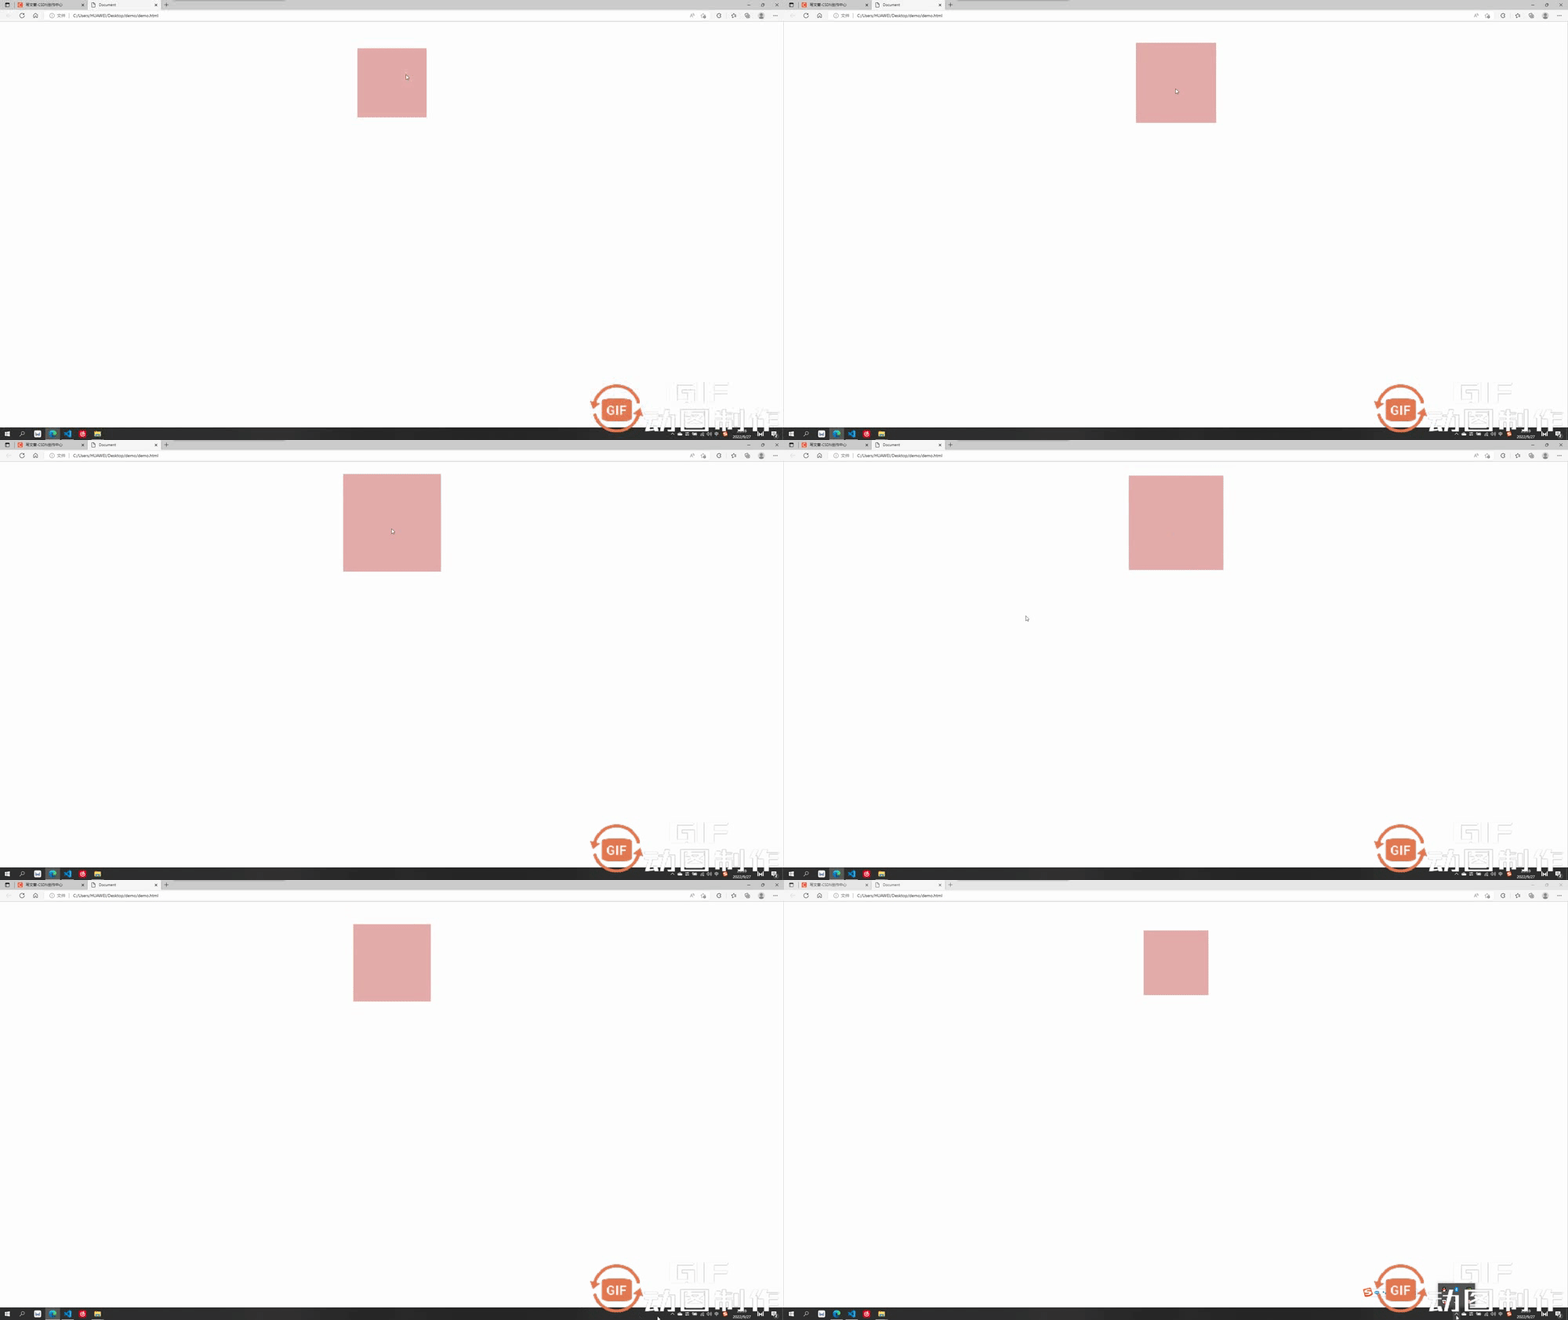
3.3 加透視的沿z軸平移
加上透視後沿z軸移動,我們想想是不是效果應該是慢慢變大或變小
    <style>
        body{
            perspective: 500px;
        }
        div{
            width: 200px;
            height: 200px;
            background-color: rgb(229, 171, 171);
            transition: all 2s linear;
            margin: 100px auto;
        }
        div:hover{
            transform:translateZ(200px)
        }
    </style>登入後複製
沿z平移200px,視覺上立體感為盒子放大了
3.4 重要屬性:是否開啟3D效果呈現
這個屬性為 transform-style,預設值為 flat ,即不開啟子盒子3D效果保持呈現,如果值改為 preserve-3d,則開啟子盒子3D效果保持呈現,這個屬性和透視一樣也是 寫給父級,但是影響的是子盒子3D效果是否保持呈現
- transform-style:flat 預設值,代表不開啟保持子盒子3D效果
- transform-style:preserve-3d 代表開啟保持子盒子3D效果
舉例子說明一下 :
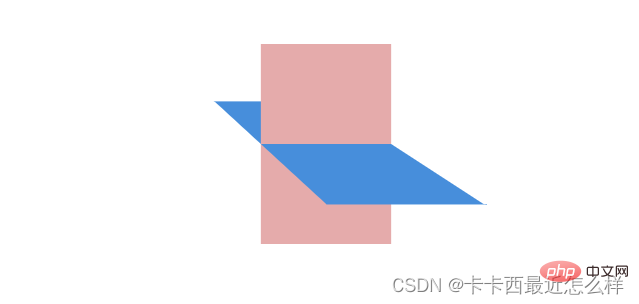
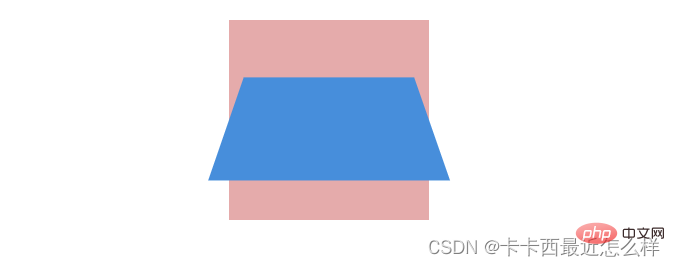
例如我們想做出這個效果,理論上只需要讓藍色的子盒子繞x旋轉一定角度,再讓外部粉色大盒子繞y旋轉一定角度即可呈現
第一步:
讓藍色子盒子繞x旋轉一定角度,並且記得父盒子新增透視
        .out{
            width: 200px;
            height: 200px;
            background-color: rgb(229, 171, 171);
            margin: 100px auto;
            perspective: 500px;
        }
        .inner{
            width: 200px;
            height: 200px;
            background-color: rgb(71, 142, 219);
            transform: rotateX(60deg);
        }登入後複製
成功呈現出以下效果:
第二步:
讓外部粉色父盒子繞y旋轉一定角度即可,由於外部大盒子也需要透視效果,所以給其父元素body也要加上透視
    <style>
        body{
            perspective: 500px;
        }
        .out{
            width: 200px;
            height: 200px;
            background-color: rgb(229, 171, 171);
            margin: 100px auto;
            transition: all 2s;
            perspective: 500px;
        }
        .inner{
            width: 200px;
            height: 200px;
            background-color: rgb(71, 142, 219);
            transform: rotateX(60deg);
        }
        .out:hover{
            transform: rotateY(50deg);
        }
    </style>登入後複製
出現了很嚴重的問題,藍色子盒子的透視效果沒有呈現出來
這時候就需要我們這個很重要的屬性了 transform-style:preserve-3d 開啟子元素的3D效果保持
第三步:
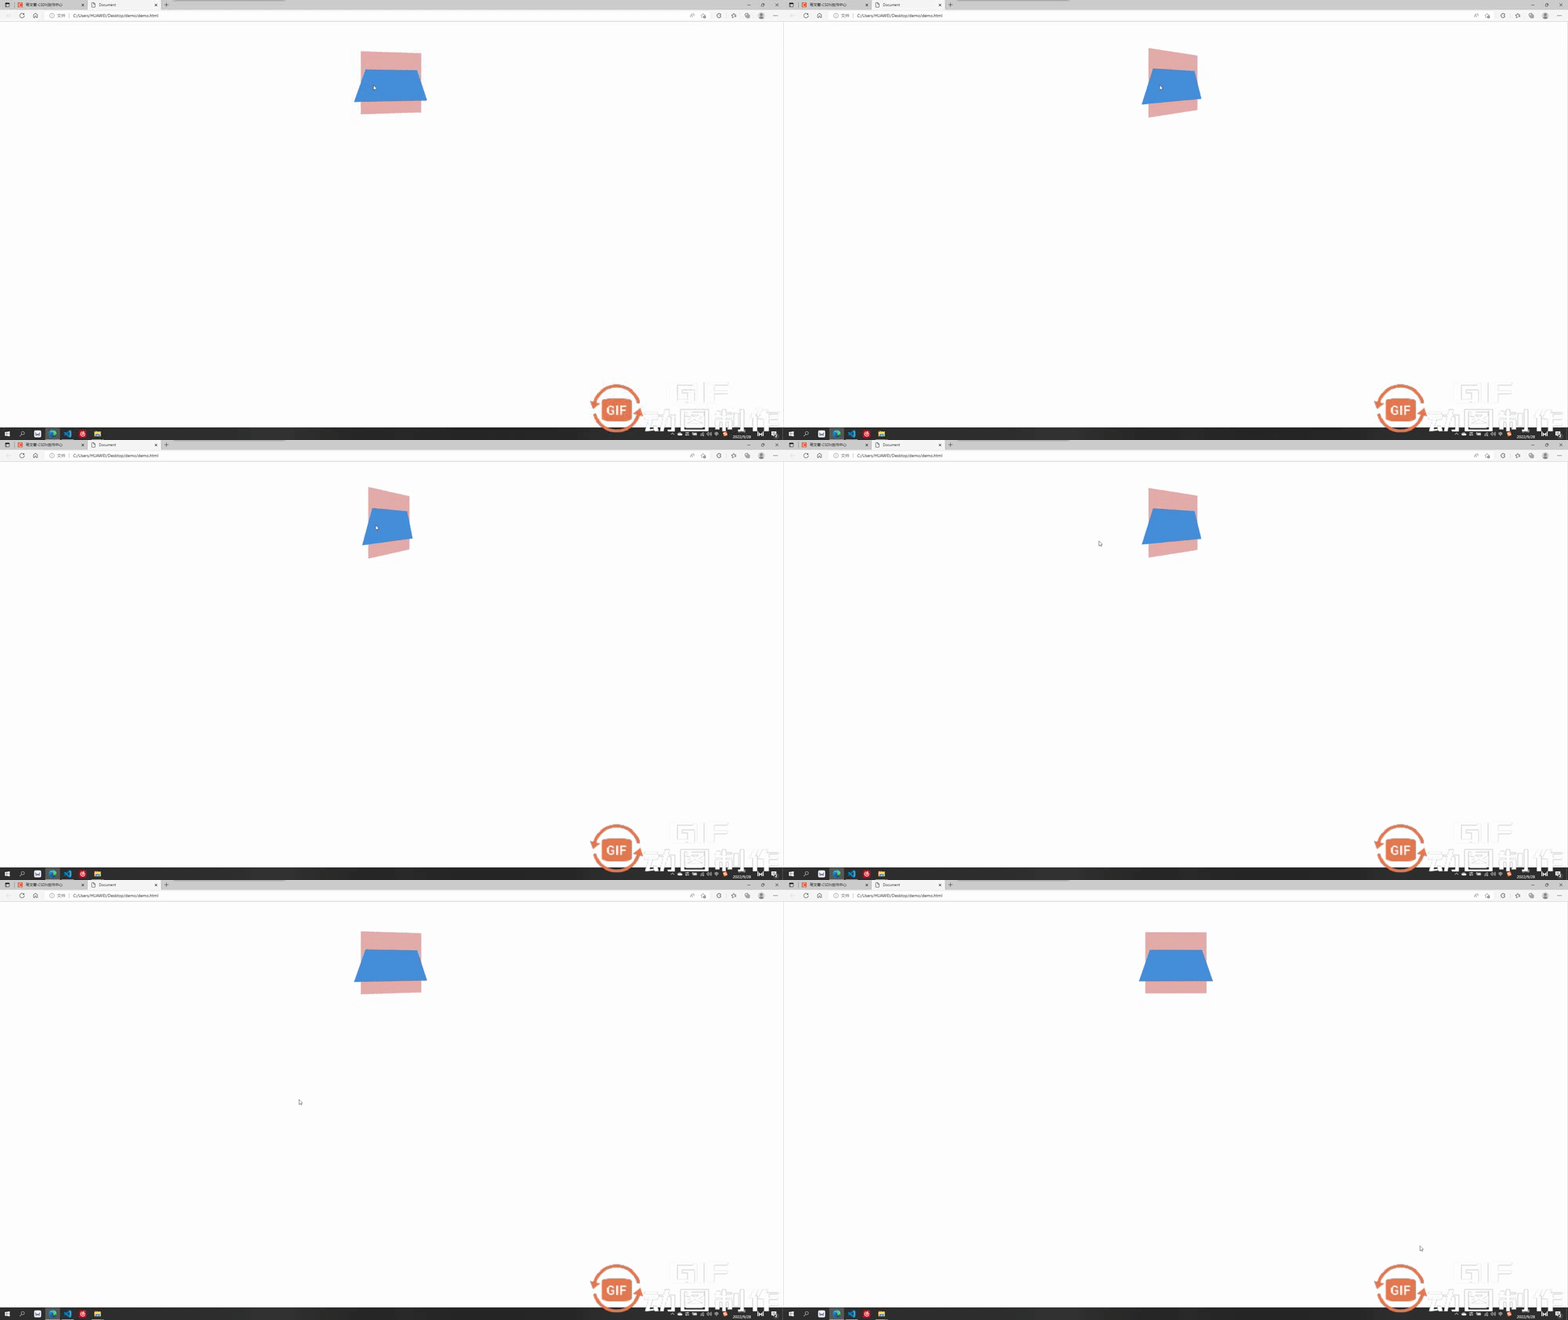
開啟內部藍色盒子的3D效果保持 transform-style:preserve-3d,注意要寫給父級。另外我們的透視可以寫給父親的父親,所以此處當父子兩個盒子都需要透視時,只需要給父親的父親body加上透視即可,父親不需要再加透視。
    <style>
        body{
            perspective: 500px;
        }
        .out{
            width: 200px;
            height: 200px;
            background-color: rgb(229, 171, 171);
            margin: 100px auto;
            transition: all 2s;
            transform-style: preserve-3d;  //開啟子元素3D保持
        }
        .inner{
            width: 200px;
            height: 200px;
            background-color: rgb(71, 142, 219);
            transform: rotateX(60deg);
        }
        .out:hover{
            transform: rotateY(50deg);
        }
    </style>登入後複製
更多程式設計相關知識,請存取:!!
以上就是帶你吃透CSS3屬性:transition 與 transform的詳細內容,更多請關注TW511.COM其它相關文章!

