從0搭建vue3元件庫:Shake抖動元件
2022-10-19 12:01:17
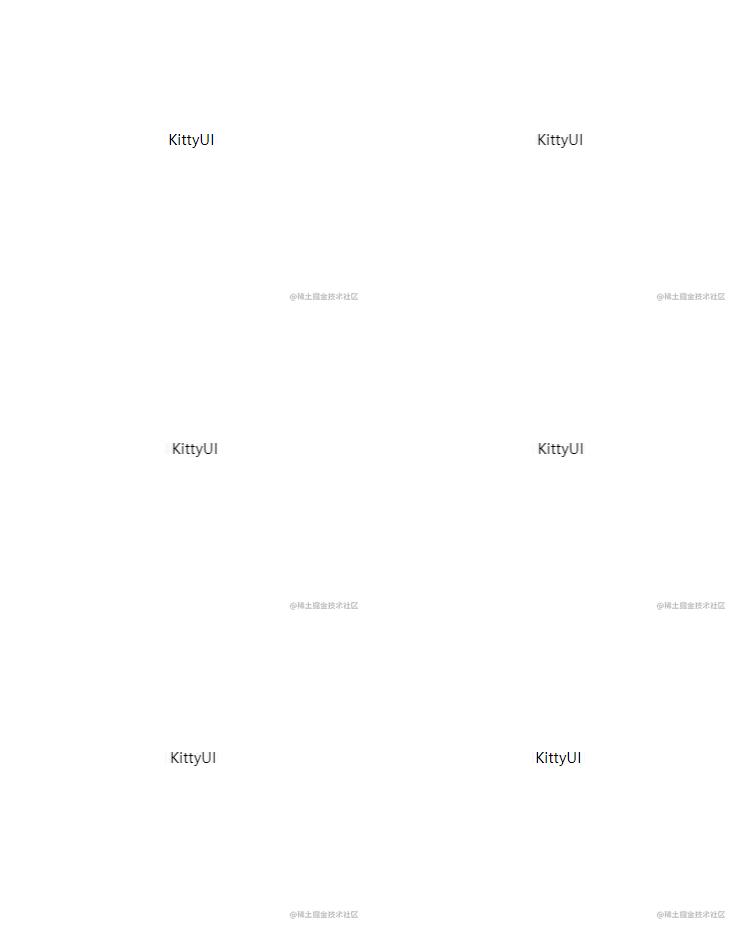
先看下效果

其實就是個抖動效果元件,實現起來也非常簡單。之所以做這樣一個元件是為了後面寫Form表單的時候會用到它做一個規則校驗,比如下面一個簡單的登入頁面,當點選登入會提示使用者哪個資訊沒輸入,當然這只是一個簡陋的demo

接下來就開始我們的Shake元件實現
CSS樣式
當你需要抖動的時候就給它新增個抖動的類名,不需要就移除這個類名即可。抖動效果就用CSS3中的transform的平移屬性加動畫實現
@keyframes shake {

    10%,
    90% {
        transform: translate3d(-1px, 0, 0);
    }

    20%,
    80% {
        transform: translate3d(2px, 0, 0);
    }

    30%,
    70% {
        transform: translate3d(-4px, 0, 0);
    }

    40%,
    60% {
        transform: translate3d(4px, 0, 0);
    }

    50%,
    50% {
        transform: translate3d(-4px, 0, 0);
    }
}

.k-shake.k-shakeactive {
    animation: shake 1s linear;
}
元件邏輯
根據上面效果,很顯然是需要用到插槽slot的,做到使用者傳什麼我們就抖什麼,做到萬物皆可抖。

這裡使用vue3中的v-model指令會更方便,如下,當我們使用Shake元件時,trigger為true即開始抖動
        <Shake v-model="trigger">
            抖動
        </Shake>
元件具體實現程式碼,同樣的這次還是使用setup語法糖形式實現
<template>
    <div class="k-shake" :class="{['k-shakeactive']:props.modelValue}">
        <slot />
    </div>
</template>
<script lang="ts">
import { defineComponent } from 'vue'
import './style/index.less'
export default defineComponent({
    name: 'k-shake'
});
</script>
<script lang='ts' setup>
import { watch } from 'vue'
//v-model傳來的值即為modelValue
type ShakeProps = {
    modelValue?: boolean
}
//傳送update:modelValue來配合v-model語法糖
type Emits = {
    (e: 'update:modelValue', value: boolean): void
}

//獲取props屬性並且設定預設值
const props = withDefaults(defineProps<ShakeProps>(), {
    modelValue: false
})
const emits = defineEmits<Emits>()

//監聽modelValue,為true的話,1s後置為false
watch(() => props.modelValue, (newVal) => {
    if (newVal) {
        setTimeout(() => {
            emits("update:modelValue", false)
        }, 1000);
    }

}, { immediate: true })


</script>
說明
這裡接收引數props以及事件emits使用了以泛型的形式定義,不瞭解的可以看下這個傳送門。watch加了立即監聽為了防止使用者上來就賦值為true導致下次不觸發。
單元測試
新建shake.test.ts
import { describe, expect, it } from "vitest";
import { mount } from '@vue/test-utils'
import shake from '../shake.vue'
// The component to test


describe('test shake', () => {
    it("should render slot", () => {
        const wrapper = mount(shake, {
            slots: {
                default: 'Hello world'
            }
        })

        // Assert the rendered text of the component
        expect(wrapper.text()).toContain('Hello world')
    })
    it("should have class", () => {
        const wrapper = mount(shake, {
            props: {
                modelValue: true
            }
        })
        expect(wrapper.classes()).toContain('k-shakeactive')
    })
})
這個單元測試的意思其實就是
slot傳入Hello world,期望頁面就會出現Hello worldprops傳入modelValue為true,那麼元件就包含樣式k-shakeactive
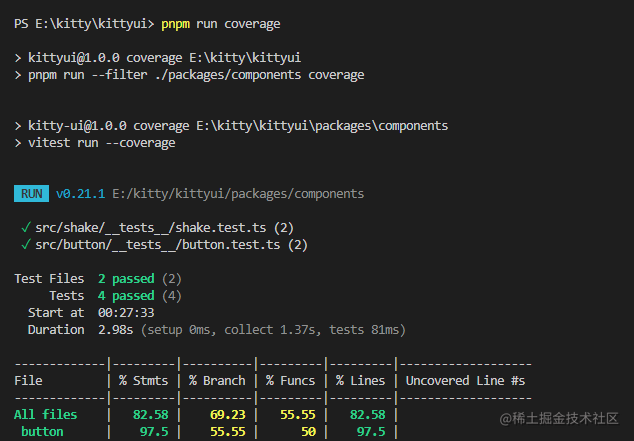
最後執行pnpm run coverage命令就會放下shake測試程式碼通過了

匯出打包釋出
這裡和以往元件實現基本一樣了,這裡直接貼程式碼
- shake/index.ts
import shake from './shake.vue'
import { withInstall } from '@kitty-ui/utils'
const Shake = withInstall(shake)
export default Shake
- src/index.ts
export { default as Button } from './button'
export { default as Icon } from './icon'
export { default as Link } from './link'
export { default as Upload } from './upload'
export { default as Shake } from './shake'
最後執行
pnpm run build:kitty
pnpm run pnpm run build:kitty
即可完成釋出
寫在最後
元件庫的所有實現細節可以關注公眾號 web前端進階 獲取,包括環境搭建,自動打包釋出,檔案搭建,vitest單元測試等等。
如果這篇文章對你有所幫助動動指頭點個贊