webpack怎麼將es6轉成es5的模組
2022-10-18 18:01:57
設定方法:1、用匯入的方法把ES6程式碼放到打包的js程式碼檔案中;2、利用npm工具安裝babel-loader工具,語法「npm install -D babel-loader @babel/core @babel/preset-env」;3、建立babel工具的組態檔「.babelrc」並設定轉碼規則;4、在webpack.config.js檔案中設定打包規則即可。
前端(vue)入門到精通課程:進入學習
Apipost = Postman + Swagger + Mock + Jmeter 超好用的API偵錯工具:
本教學操作環境:windows7系統、ECMAScript 6版、Dell G3電腦。
萬惡的IE遺臭萬年仍然需要填坑
- ie標準對html/css甚至js的規範簡直相差甚遠,所以,一般要解決的相容問題很大一部分是為了解決ie的不相容,雖然目前流行的ES6語法及規範將IE的考慮拋棄掉,預設放棄對IE的治療,但是IE的相容仍然是個問題!即使IE的使用率已經不到1%的市場佔比。
- 我們使用著舒服的ES6規範但是為IE又很頭疼怎麼辦呢?Webpack開發了非常厲害的打包轉換功能:轉ES5!
隨便來個ES6程式碼
- 就寫個let宣告和遍歷:
console.log("webpack 1");
let date = ["hello", "world", "this", "is", "es6", "code"];

((theDate) => {
    theDate.forEach(item => console.log(item));
})(date)登入後複製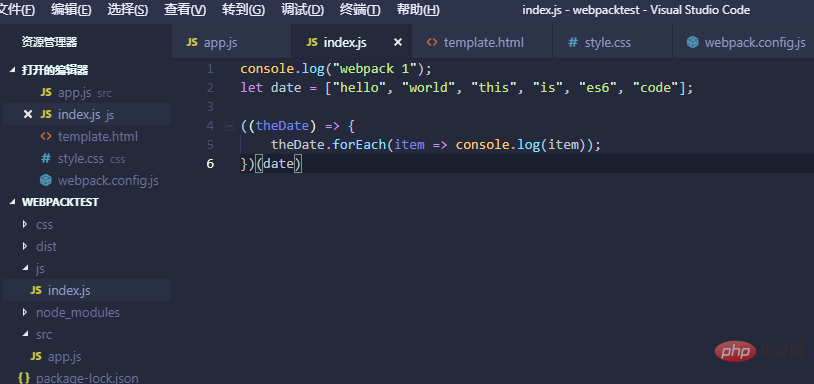
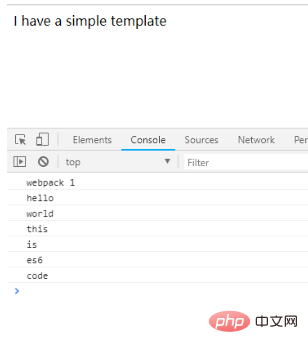
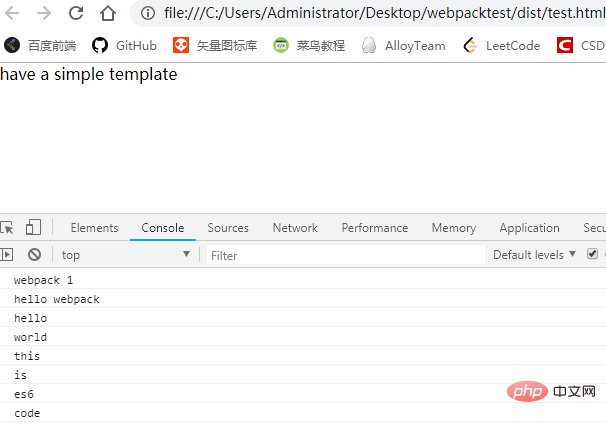
這是在Chrome瀏覽器裡的結果
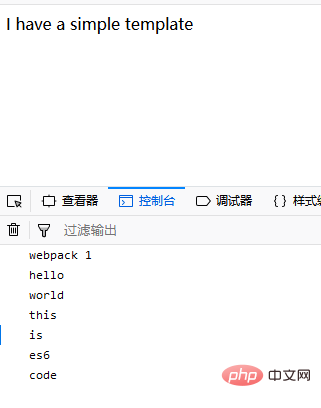
這是在火狐瀏覽器的結果:
這是ie11瀏覽器的結果: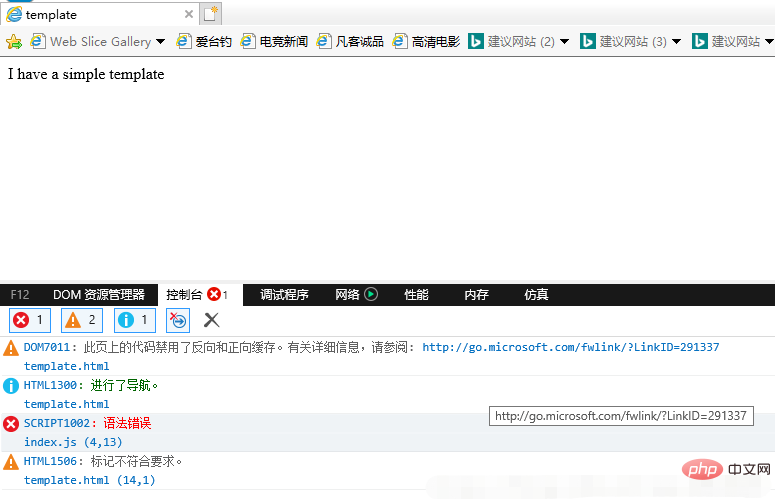
完全不出意料哈!我們來轉一轉。
- 這裡我們先做一個修改,用匯入的辦法把ES6程式碼挪到打包的js程式碼檔案中:
原index.js:
console.log("webpack 1");
let fun = () => {
    let date = ["hello", "world", "this", "is", "es6", "code"];
    date.forEach(item => console.log(item));
}
//fun() //結果依然剛才一樣
export default fun;//es6匯出函數,es6模組化知識登入後複製
Can’t find @babel/core 問題
- 以前安裝打包需要的外掛或者說是工具包:
npm install babel-core babel-loader babel-preset-es2015 --save-dev
#因為是開發測試環境,就加了dev,各自根據需要更改儲存引數
登入後複製- 沒錯,因為版本相容問題,最新的8.x版本babel-loader讀取babel-core發生了改變,因此我們要安裝對應匹配的版本:
#webpack 4.x | babel-loader 8.x | babel 7.x 最新版本
npm install -D babel-loader @babel/core @babel/preset-env
#webpack 4.x | babel-loader 7.x | babel 6.x 版本
npm install -D babel-loader@7 babel-core babel-preset-env webpack
登入後複製- 我這裡使用的是7.x版本:
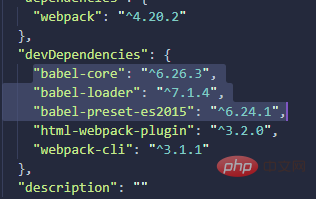
- 建立babel工具的組態檔:
.babelrc,設定轉碼規則
{
    "presets": [
        "es2015"
    ],
    "plugins": []
}登入後複製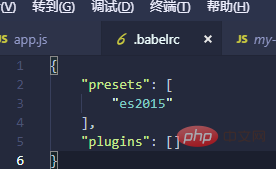
- webpack.config.js設定打包規則:
module: {
    rules: [{
        test: /\.js$/,
        use: 'babel-loader',
        exclude: /node_modules/
    }]
}登入後複製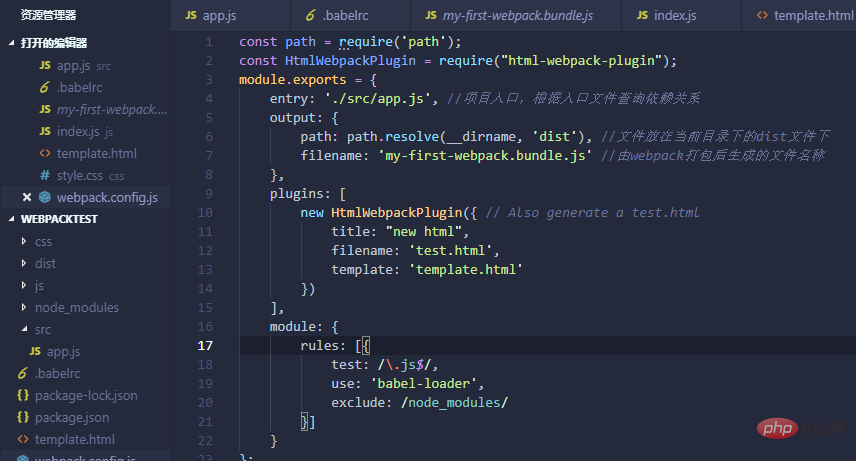
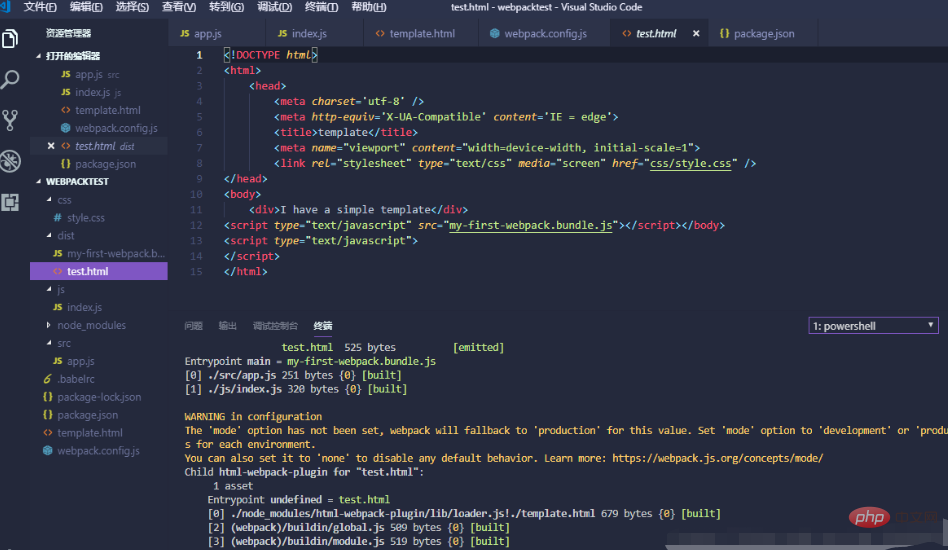
- webpack執行,生成test.html
瀏覽器的效果:
Chrome
IE
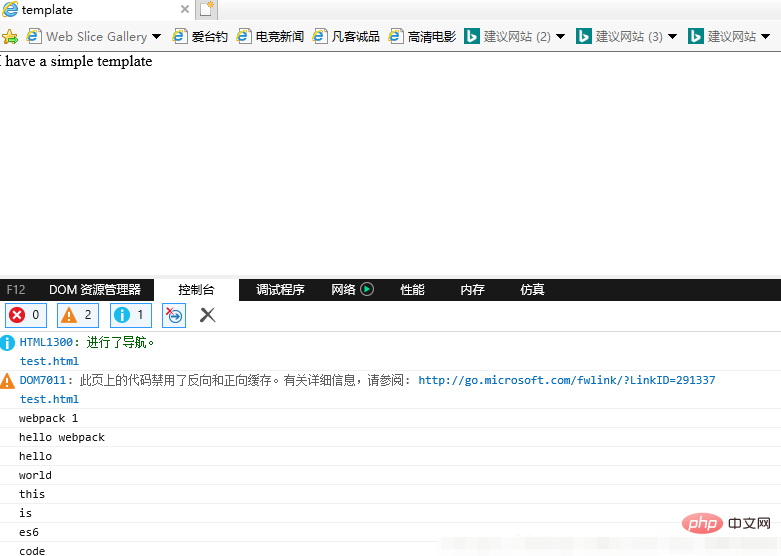
程式碼成功在IE上執行了
我們再看看打包轉換成的es5長啥樣
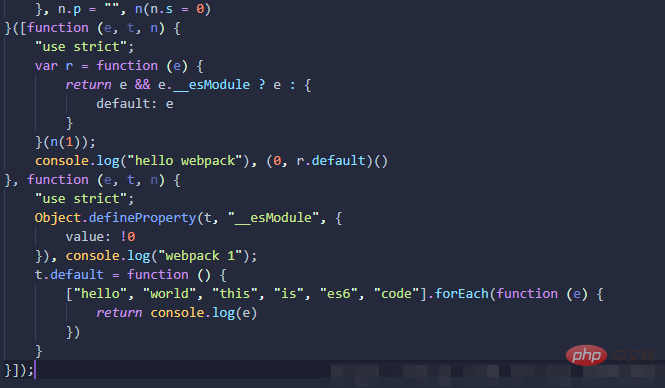
es6轉es5到此結束。
【相關推薦:、】
以上就是webpack怎麼將es6轉成es5的模組的詳細內容,更多請關注TW511.COM其它相關文章!
