.NET 部署Https(SSL)通過程式碼方式
在上一個文章中,傳送門,給大家介紹了怎麼在組態檔中使用 Kestrel 部署 Https,正好今天有小夥伴穩問到:可以通過程式碼的方式實現 Kestrel 的 Https 的部署嗎?答案是肯定的,我們這次一樣去不是多個域名。
在使用程式碼實現中,我是主要使用到 ListenOptions.UseHttps,我們先看看官方檔案怎麼說吧,不想看我的可以直接跳轉到官方檔案,傳送門
ListenOptions.UseHttps
將 Kestrel 設定為使用 HTTPS。
ListenOptions.UseHttps 擴充套件:
UseHttps:將 Kestrel 設定為使用 HTTPS,採用預設證書。 如果沒有設定預設證書,則會引發異常。UseHttps(string fileName)UseHttps(string fileName, string password)UseHttps(string fileName, string password, Action<HttpsConnectionAdapterOptions> configureOptions)UseHttps(StoreName storeName, string subject)UseHttps(StoreName storeName, string subject, bool allowInvalid)UseHttps(StoreName storeName, string subject, bool allowInvalid, StoreLocation location)UseHttps(StoreName storeName, string subject, bool allowInvalid, StoreLocation location, Action<HttpsConnectionAdapterOptions> configureOptions)UseHttps(X509Certificate2 serverCertificate)UseHttps(X509Certificate2 serverCertificate, Action<HttpsConnectionAdapterOptions> configureOptions)UseHttps(Action<HttpsConnectionAdapterOptions> configureOptions)
ListenOptions.UseHttps 引數:
filename是證書檔案的路徑和檔名,關聯包含應用內容檔案的目錄。password是存取 X.509 證書資料所需的密碼。configureOptions是設定HttpsConnectionAdapterOptions的Action。 返回ListenOptions。storeName是從中載入證書的證書儲存。subject是證書的主題名稱。allowInvalid指示是否存在需要留意的無效證書,例如自簽名證書。location是從中載入證書的儲存位置。serverCertificate是 X.509 證書。
在生產中,必須顯式設定 HTTPS。 至少必須提供預設證書。
下面要描述的支援的設定:
- 無設定
- 從設定中替換預設證書
- 更改程式碼中的預設值
無設定
Kestrel 在 http://localhost:5000 和 https://localhost:5001 上進行偵聽(如果預設證書可用)。
從設定中替換預設證書
Kestrel 可以使用預設 HTTPS 應用設定設定架構。 從磁碟上的檔案或從證書儲存中設定多個終結點,包括要使用的 URL 和證書。
架構的注意事項:
- 終結點的名稱不區分大小寫。 例如,由於再也無法解析識別符號「Families」,因此
HTTPSandHttps是等效的。 - 每個終結點都要具備
Url引數。 此引數的格式和頂層Urls設定引數一樣,只不過它只能有單個值。 - 這些終結點不會新增進頂層
Urls設定中定義的終結點,而是替換它們。 通過Listen在程式碼中定義的終結點與在設定節中定義的終結點相累積。 Certificate部分是可選的。 如果未指定Certificate部分,則使用Certificates:Default中定義的預設值。 如果沒有可用的預設值,則使用開發證書。 如果沒有預設值,且開發證書不存在,則伺服器將引發異常,並且無法啟動。Certificate部分支援多個證書源。- 只要不會導致埠衝突,就能在設定中定義任何數量的終結點。
證書源
可以將證書節點設定為從多個源載入證書:
Path和Password用於載入 .pfx 檔案。Path、KeyPath和Password用於載入 .pem/.crt 和 .key 檔案。Subject和Store用於從證書儲存中載入。
好了,羅嗦話說完了,我們抽取檔案的一部分進行實踐
var builder = WebApplication.CreateBuilder(args);

builder.WebHost.ConfigureKestrel(serverOptions =>
{
    serverOptions.ListenAnyIP(5005, listenOptions =>
    {
        listenOptions.UseHttps(httpsOptions =>
        {
            var localhostCert = CertificateLoader.LoadFromStoreCert(
                "localhost", "My", StoreLocation.CurrentUser,
                allowInvalid: true);
            var exampleCert = CertificateLoader.LoadFromStoreCert(
                "example.com", "My", StoreLocation.CurrentUser,
                allowInvalid: true);
            var subExampleCert = CertificateLoader.LoadFromStoreCert(
                "sub.example.com", "My", StoreLocation.CurrentUser,
                allowInvalid: true);
            var certs = new Dictionary<string, X509Certificate2>(
                StringComparer.OrdinalIgnoreCase)
            {
                ["localhost"] = localhostCert,
                ["example.com"] = exampleCert,
                ["sub.example.com"] = subExampleCert
            };

            httpsOptions.ServerCertificateSelector = (connectionContext, name) =>
            {
                if (name is not null && certs.TryGetValue(name, out var cert))
                {
                    return cert;
                }

                return exampleCert;
            };
        });
    });
});
上面的程式碼一看就能懂,比較無奈的是官方檔案的 SSL 證書是從 證書儲存區 裡獲取的,在實際應用中,明顯是不夠方便,最好是那種直接寫 證書路徑 和 密碼的,這樣才能一目瞭然嘛,而這裡的關鍵就是 X509Certificate2 這個類了,可以看到,最終是通過檢索一個字典返回的,接受的就是這個 X509Certificate2 類,所以我們看看這個類到底是個什麼東西,傳送門;
這裡我們只關注建構函式,下面是官方檔案,或者直接 F12 進去看更為直接
建構函式
直接 F12 也貼出來吧,方便大夥檢視

帥氣的小夥伴可能已經發現了,裡面就存在了一個 直接傳入 檔案路徑 和 密碼 作為引數的建構函式,毫無疑問,它就是我們要找的!!!下面我們直接看程式碼:
Program.cs
builder.WebHost.ConfigureKestrel(serverOptions =>
{
    serverOptions.ConfigureHttpsDefaults(listenOptions =>
    {
        listenOptions.SslProtocols = SslProtocols.Tls13;
    });
    serverOptions.ListenAnyIP(5209, listenOptions =>
    {
        listenOptions.UseHttps(httpsOptions =>
        {
            var test1 = new X509Certificate2("cer\\test1.ysmc.net.cn_server.pfx", "密碼1");
            var test2 = new X509Certificate2("cer\\test2.ysmc.net.cn_server.pfx", "密碼2");
            var certs = new Dictionary<string, X509Certificate2>(
                StringComparer.OrdinalIgnoreCase)
            {
                ["test1.ysmc.net.cn"] = test1,
                ["test2.ysmc.net.cn"] = test2
            };

            httpsOptions.ServerCertificateSelector = (connectionContext, name) =>
            {
                if (name is not null && certs.TryGetValue(name, out var cert))
                {
                    return cert;
                }

                return test1;
            };
        });
    });
});

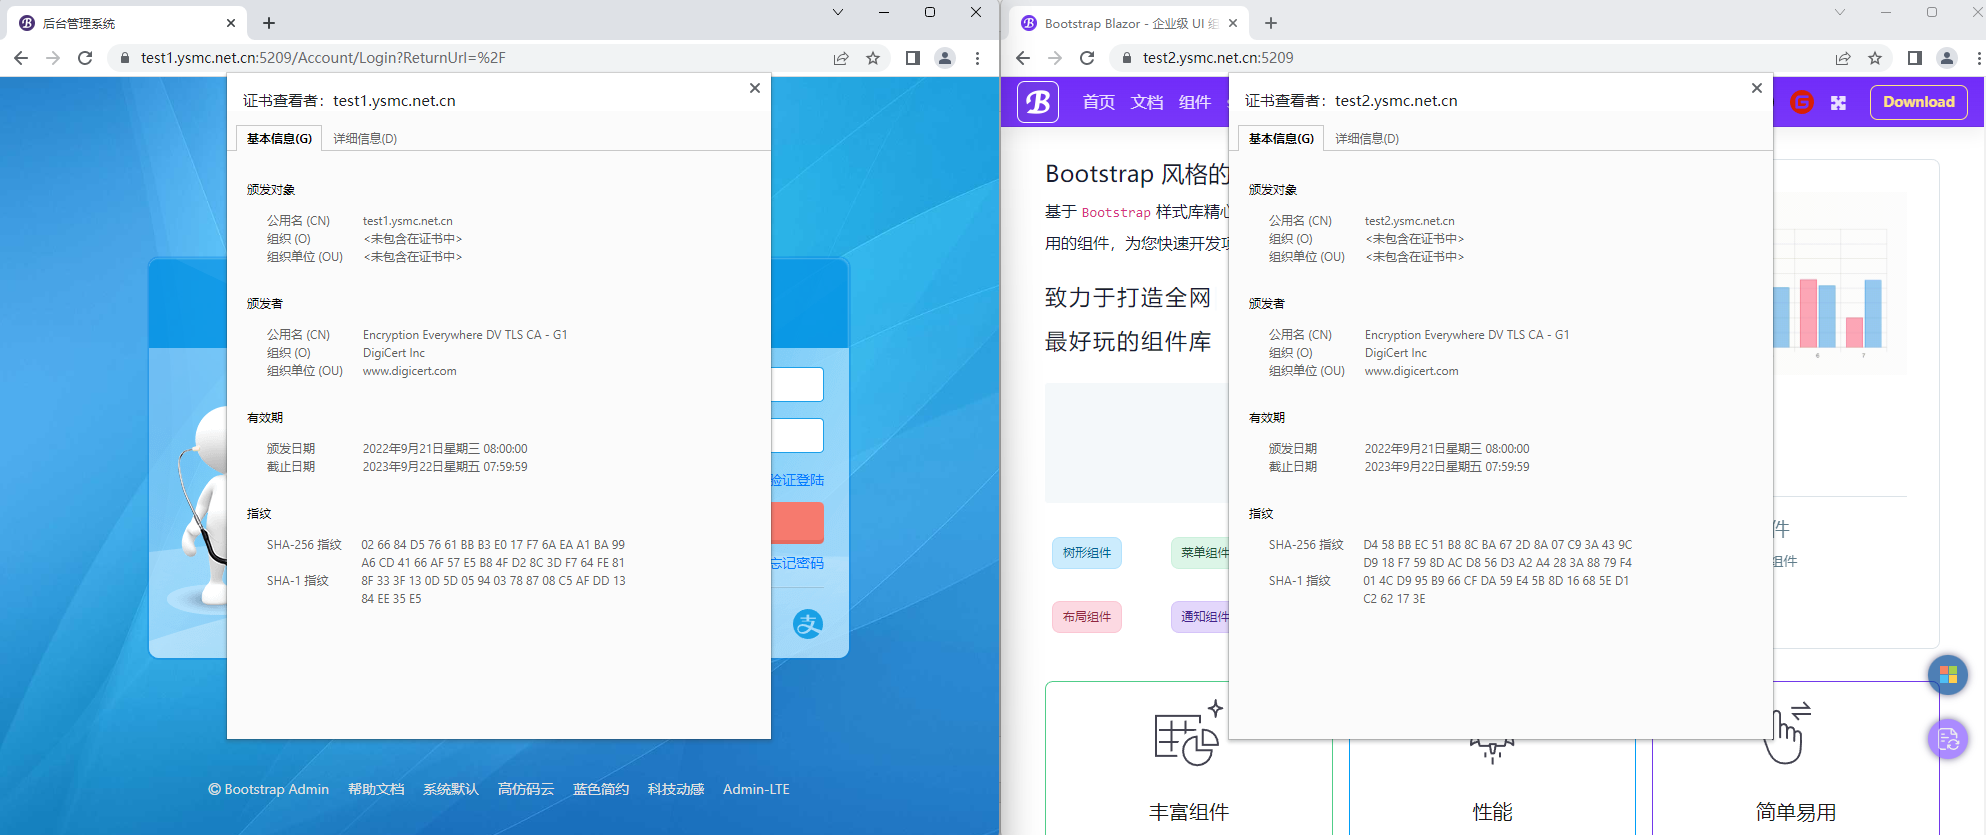
因為是配合了 YARP 食用的,詳情可以檢視我前面的文章,傳送門,所以不同的域名會反向代理到不同的網站上面,好了,文章到此結束,感謝大佬們的閱讀,謝謝!
原文連結:https://www.cnblogs.com/ysmc/p/16721268.html