基於webgl(threejs)的路面編輯
2022-08-11 18:00:08
楔子
在很多應用中,特別是一些園區類的應用。 都需要對園區的地面 環境進行展示,路面就是地面的一部分。
通常的做法是,都是建模的時候把相關的元素都建好,然後匯入到展示系統中進行展示。
不過有些情況下,可能建模並不太方便,所以三維編輯器可以直接進行簡單的路面編輯顯得挺有必要。
路面物件擴充套件
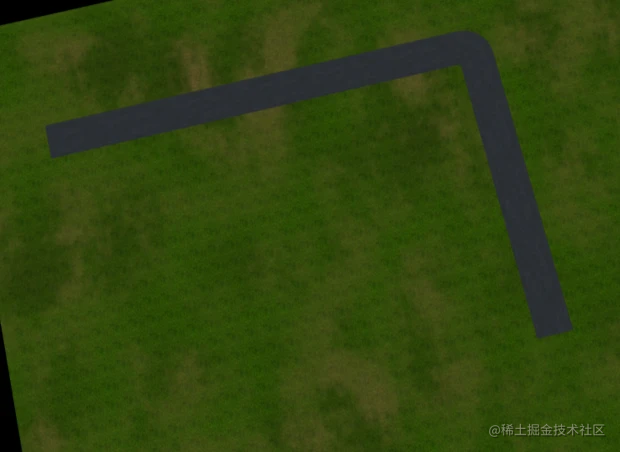
簡單的路面希望能夠通過一個路徑來生成。 我們知道在threejs中有通過路徑生成管路的物件,參考文章 WebGL管網展示(及TubeGeometry優化) 管路的橫截面是一個圓形。 道路的橫截面期望是一個矩形,因此,我們可以仿照管路的思路製作一個類似的物件PathRectGeometry,只是計算頂點的時候,橫截面不再使用圓形,而是使用一個矩形,程式碼如下:
 let points = [new Vec3(-width/2,-height/2,0),new Vec3(-width/2,height/2,0),
        new Vec3(width/2,height/2,0),new Vec3(width/2,-height/2,0)]
			if(!scope.clockwise) {
				points = [new Vec3(-width/2,-height/2,0),new Vec3(width/2,-height/2,0),
					new Vec3(width/2,height/2,0),new Vec3(-width/2,height/2,0)];
			}
      for( let j = 0;j <= points.length;j ++) {
        let jj = j == points.length ? 0 : j;
        let point = points[jj];
        let radius = Math.hypot(point.x,point.y);
        const sin = point.y / radius;
        const cos = point.x / radius;

      	normal.x = ( cos * N.x + sin * B.x );
				normal.y = ( cos * N.y + sin * B.y );
				normal.z = ( cos * N.z + sin * B.z );
				normal.normalize();

				normals.push( 0,1,0 );
			// vertex
				vertex.x = P.x + radius * normal.x;
				vertex.y = P.y + radius * normal.y;
				vertex.z = P.z + radius * normal.z;

				vertices.push( vertex.x, vertex.y, vertex.z );
      }
通過PathRectGeometry建立物件的效果如下圖所示:

路面編輯
通過在平面上面打點來構建直線和貝塞爾曲線,然後通過構建得線條了生成路徑,通過路徑就可以生成路面效果,
 graph.getView().addEventListener("click", (event) => {
        let now = new Date().getTime();
        if (t != 0 && now - t < 500) {
          return;
        }
        t = now;
        if (path) {
          let pos = graph.getPositionOnPlaneByEvent(event, plane);
          constraintsHorizontalOrVertical(path, pos);
          path.lineTo(pos.x, pos.y, pos.z);
          tempPath = path.clone(tempPath);
          tempRoad.geometry.path = tempPath;
        }
      })
大概得過程如下所示:

在生成得路徑上,會有很多控制點,拖動控制點可以二次修改路徑:

生成連線處
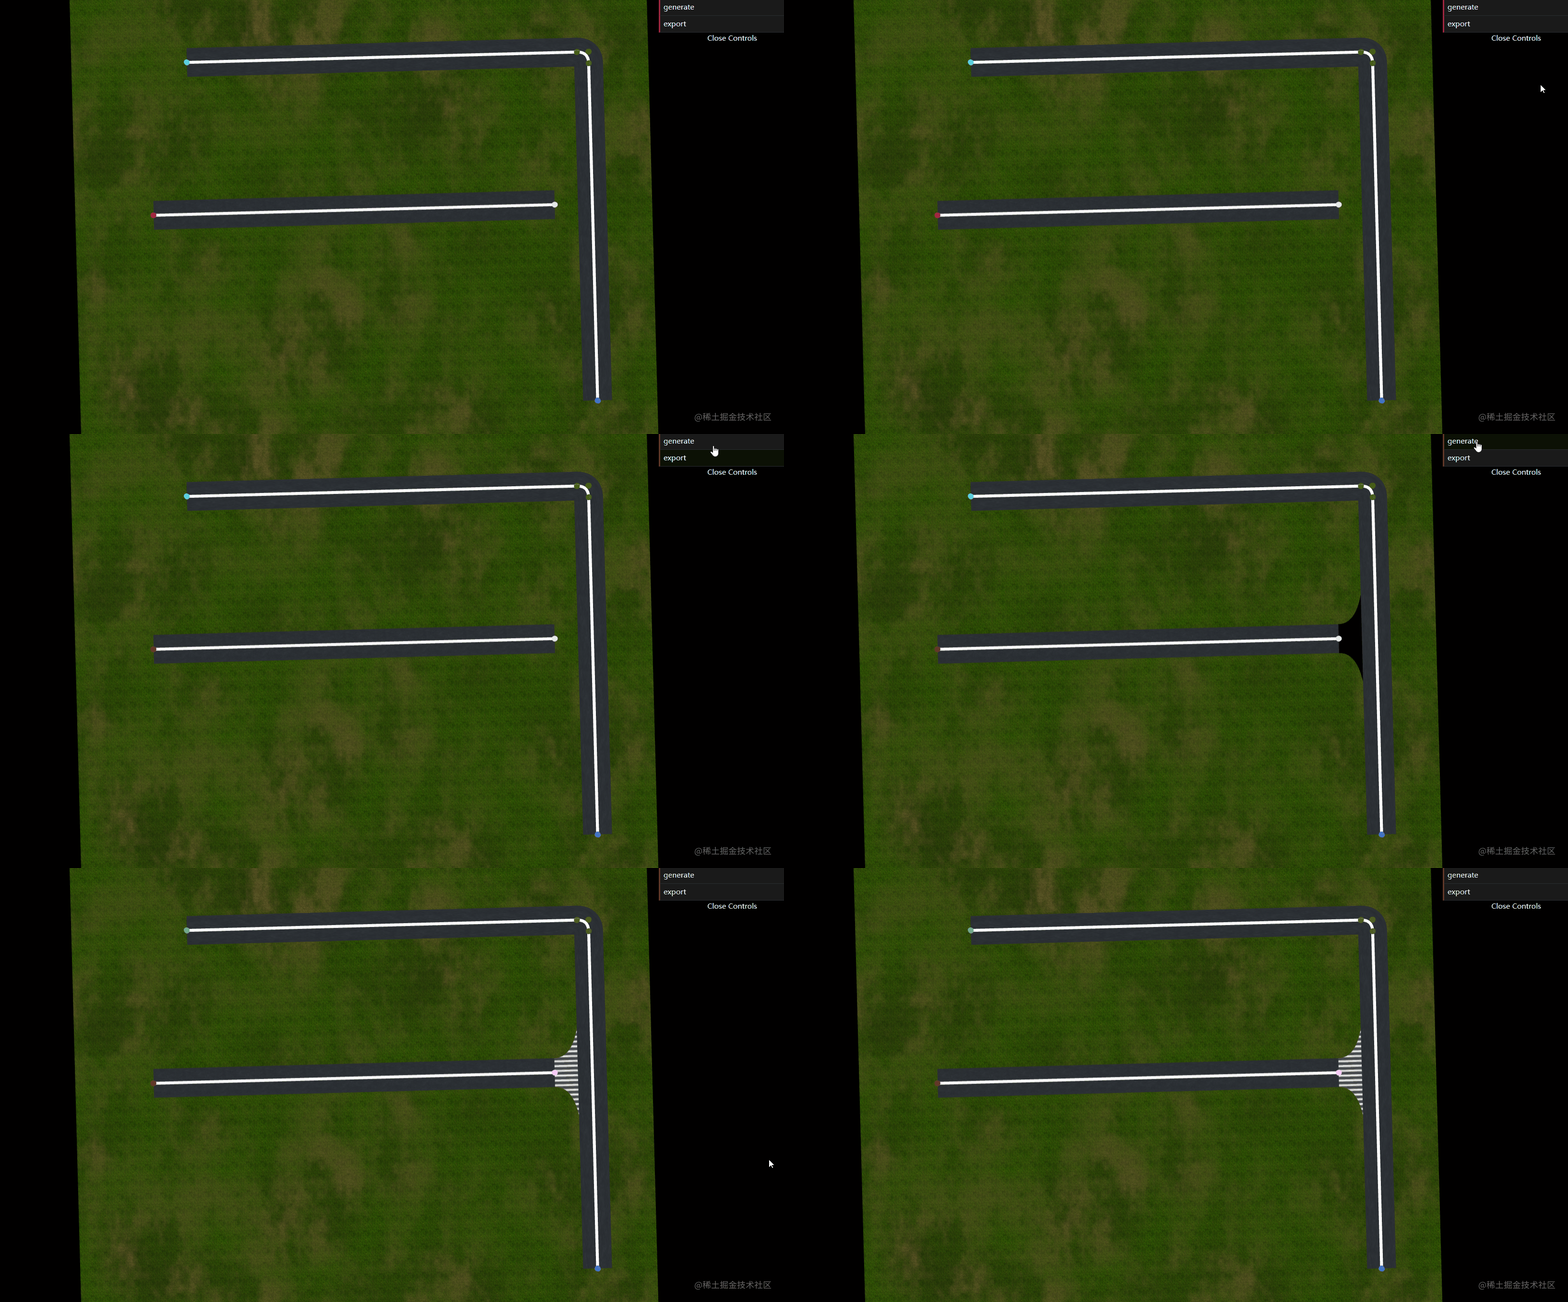
兩條路得連線處會有斑馬線之類得,點選生成斑馬線,可以通過演演算法自動計算斑馬線,
// 找到road1 到road2的joint
    function createJointShape(road1, road2) {
      let path = road1.geometry.path;
      let path2 = road2.geometry.path;
      let lastPoint = path.points.at(-1);
      let lastCurve = path.curves.at(-1);
      let curves = path2.curves;
      console.log(curves);
      let minCurve, minDist = Infinity,
        minPoint
      for (let i = 0; i < curves.length; i++) {
        let curve = curves[i];
        if (curve.type == "LineCurve3") {
          let {
            dist,
            point
          } = findClosestPoint(lastPoint, curve.v1, curve.v2);
          if (dist < minDist) {
            minDist = dist;
            minPoint = point;
            minCurve = curve;
          }
        }
      }
      console.log(minCurve, minDist, minPoint);

      let v1 = lastCurve.v1,
        v2 = lastCurve.v2;
      let tagent = new dt.Vec3().subVectors(v2, v1);
      let up = new dt.Vec3(0, 1, 0);
      let cross = new dt.Vec3().cross(up, tagent);
      cross.normalize();
      let halfRoadWidth = 50;
      cross.multiplyScalar(halfRoadWidth);
      let cross2 = cross.clone().multiplyScalar(3.0);

      let p1 = lastPoint.clone().add(cross),
        p2 = lastPoint.clone().sub(cross);

      let sub = new dt.Vec3().subVectors(minPoint, lastPoint);
      console.log(sub.length(), minDist, halfRoadWidth)
      sub.setLength(minDist - halfRoadWidth);

      let joinPoint = new dt.Vec3().addVectors(lastPoint, sub);

      let halfSub = sub.clone().multiplyScalar(0.75);
      let p3Center = p1.clone().add(halfSub);
      let p4Center = p2.clone().add(halfSub);

      let p3 = joinPoint.clone().add(cross2);
      let p4 = joinPoint.clone().sub(cross2)

      let newPath = new dt.ShapePath();

      newPath.moveTo(p2.x, p2.z);
      newPath.quadraticCurveTo(p4Center.x, p4Center.z, p4.x, p4.z);
      newPath.lineTo(p3.x, p3.z);
      newPath.quadraticCurveTo(p3Center.x, p3Center.z, p1.x, p1.z);
      // newPath.closePath();
      // let geo = new dt.PathTubeGeometry(newPath, 64, 2);
      // let tube = new dt.Mesh(geo);

      let shapePath = newPath;

      const simpleShapes = shapePath.toShapes(true);

      var texture = graph.loadTexture("./road/001.jpg", {
        wrapT: dt.RepeatWrapping,
        wrapS: dt.RepeatWrapping,
      });
      texture.repeat.set(1 / 100, 1 / 100);
      texture.anisotropy = 16;

      let m1 = new dt.BasicMaterial({
        //  flatShading:true,
        map: texture,
        // envMap:envMap,
        // reflectivity:0.4,
        color: 0xffffff,
        toneMapped: false,
      });

      var geometry = new dt.ExtrudeGeometry(simpleShapes, {
        depth: 1,
        bevelEnabled: false,
        vertical: true,
      });
      var mesh = new dt.Mesh(geometry, m1);
      window.graph.getDataManager().add(mesh);

      road1.add(mesh);
    }
如下圖所示:

結語
本文所示只是一個demo級別得嘗試,如果要做一個強度得路面編輯器系統,可能要考慮得還有很多,比如多車道效果,更重得銜接形狀等等。這在後續得產品中會持續強化相關功能。
如果你有好的思路,也歡迎和我交流。關注公號「ITMan彪叔」 可以新增作者微信進行交流,及時收到更多有價值的文章。