十分鐘教會你如何使用VitePress搭建及部署個人部落格站點
使用VitePress可以讓我們快速搭建一個靜態部落格網站,這篇文章將帶領大家搭建一個基於VitePress的靜態部落格網站並且部署到GitHub Pages(github提供的靜態網頁服務)
快速上手
- 新建目錄並初始化(我的目錄名為kittydocs)
這裡我們使用pnpm式,當然yarn,npm都是可以的,如果你沒有安裝pnpm可以全域性安裝
npm i pnpm -g
然後初始化
pnpm init
- 安裝vitepress
pnpm i vitepress
- package.json新增script
 "scripts": {
    "docs:dev": "vitepress dev docs",
    "docs:build": "vitepress build docs",
    "docs:serve": "vitepress serve docs"
  }
這三個指令碼分別代表啟動本地檔案服務,打包檔案,啟動打包後(dist)服務
- 建立檔案
檔案放在docs目錄下,新建docs/index.md
## hello juejin
此時我們的檔案結構為
.
├─ docs
│  └─ index.md
└─ package.json
- 啟動本地服務檔案站點
pnpm run docs:dev
此時便會啟動一個http://localhost:3000/ 的服務,預設載入docs/index.md
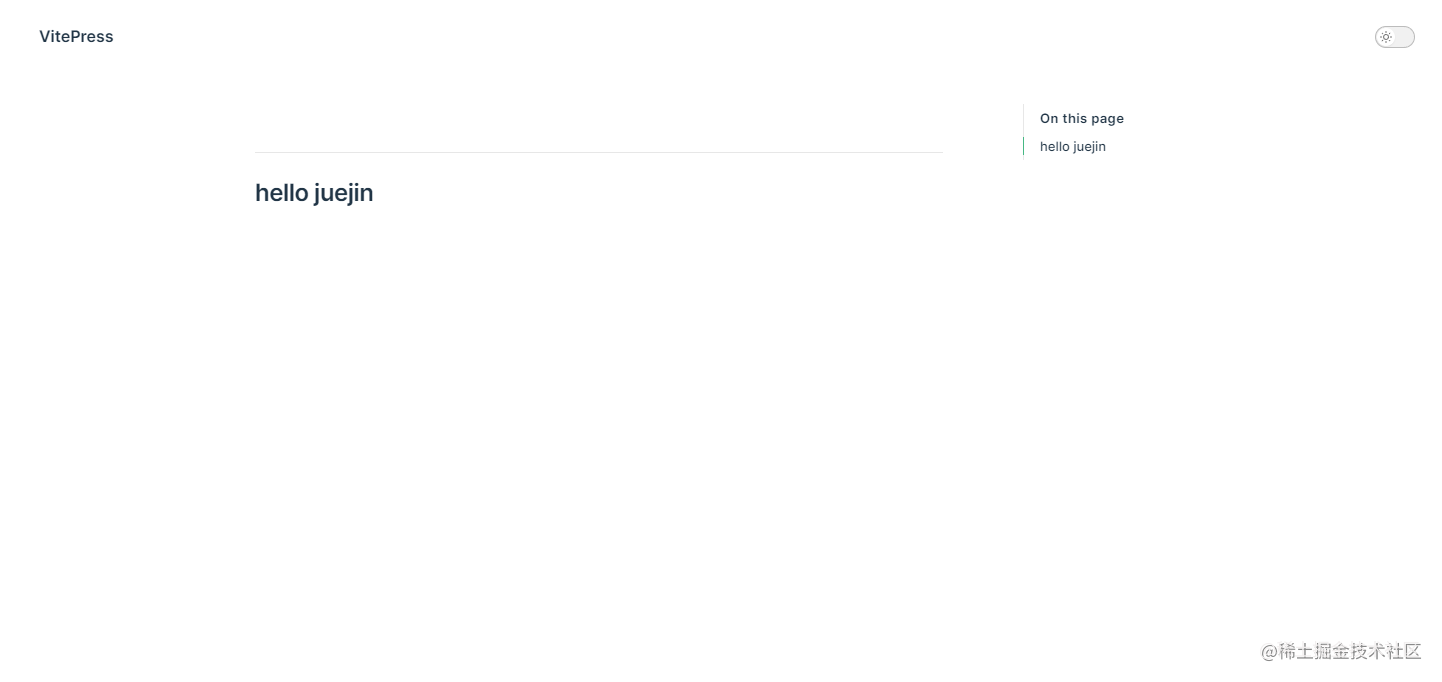
到這裡一個簡單的站點就完成了,當然這肯定是不夠的,接下來我們看vitepress的設定
組態檔
在docs目錄下建立一個 .vuepress目錄,如下結構
.
├─ docs
│  ├─ .vitepress
│  │  └─ config.js
│  └─ index.md
└─ package.json
config.js匯出一個js物件
export default {
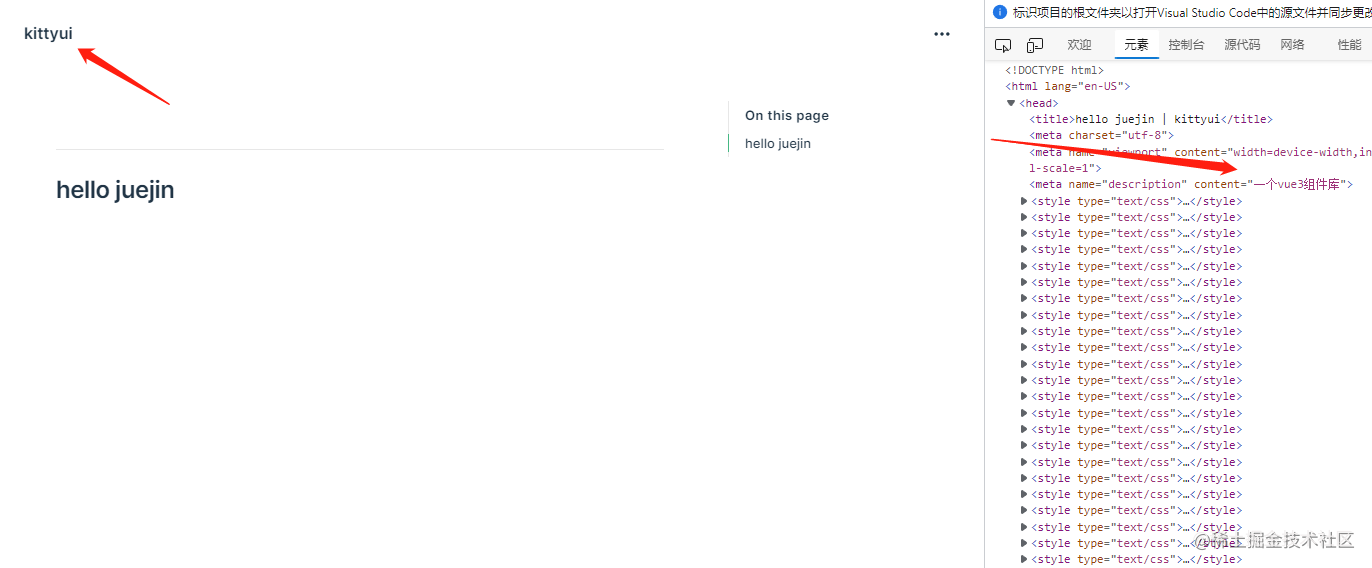
    title: 'kittyui', //站點標題
    description: '一個vue3元件庫',//mate標籤description,多用於搜尋引擎抓取摘要
  }
此時我們重啟服務便可看到
導航欄
- title和logo
首先看一下title和logo的設定
export default {
  themeConfig: {
    siteTitle: "Kitty",
    logo: "/logo.png",
  },
};
其中logo的地址對應的是public下的圖片,目錄結構如下所示
.
├─ docs
│  ├─ .vitepress
│  │  └─ config.js
│  ├─ public
│  │   └─ logo.png
│  └─ index.md
└─ package.json
這裡logo我是用了vue的圖示,此時頁面效果為

- 右側導航
我們可以在themeConfig.nav設定右側導航,並且點選可以跳轉我們指定頁面。
  themeConfig: {
    siteTitle: "Kitty",
    logo: "/logo.png",
    nav: [
      { text: "Guide", link: "/guide/" },
      { text: "GuideTest", link: "/guide/test" },
      { text: "gitee", link: "https://gitee.com/geeksdidi" },
    ],
  }
同時我們在docs下新建guide/index.md和test.md
# guild
# test
此時我們頁面即可展示我們打nva並且支援了跳轉本地markdown檔案以及外部連結

我們還可以這樣巢狀設定,使得導航欄出現下拉選項
themeConfig: {
    siteTitle: "Kitty",
    logo: "/logo.png",
    nav: [
      { text: "Guide", link: "/guide/" },
      { text: "GuideTest", link: "/guide/test" },
      { text: "gitee", link: "https://gitee.com/geeksdidi" },
      {
        text: "Drop Menu",
        items: [
          { text: 'Item A', link: '/item-1' },
          { text: 'Item B', link: '/item-2' },
          { text: 'Item C', link: '/item-3' }
        ]
      }
    ]
  }
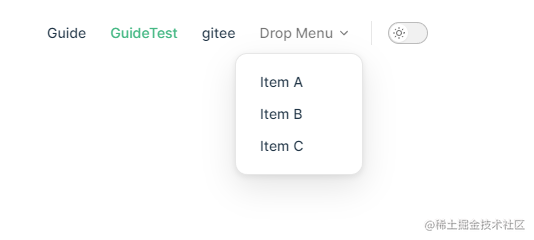
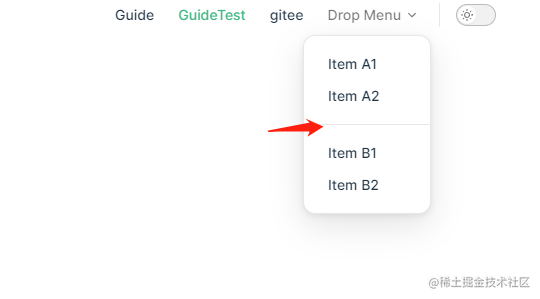
如果我們想要讓下拉選項分組,即中間有條分割線,我們的nav可以這樣寫
 nav: [
      { text: "Guide", link: "/guide/" },
      { text: "GuideTest", link: "/guide/test" },
      { text: "gitee", link: "https://gitee.com/geeksdidi" },
      {
        text: "Drop Menu",
        items: [
          {
            items: [
              { text: "Item A1", link: "/item-A1" },
              { text: "Item A2", link: "/item-A2" },
            ],
          },
          {
            items: [
              { text: "Item B1", link: "/item-B1" },
              { text: "Item B2", link: "/item-B2" },
            ],
          },
        ],
      },
    ]
此時效果為
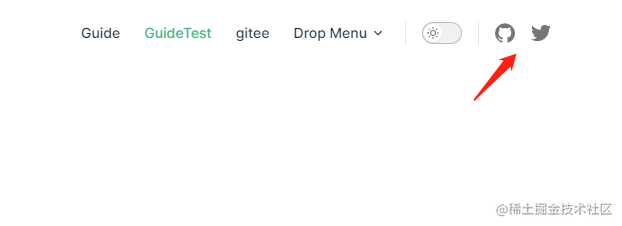
設定社交連結socialLinks
使用themeConfig.socialLinks可以設定我們的社交連結,目前支援的有
type SocialLinkIcon =
  | 'discord'
  | 'facebook'
  | 'github'
  | 'instagram'
  | 'linkedin'
  | 'slack'
  | 'twitter'
  | 'youtube'
  | { svg: string }
,設定如下
socialLinks: [
      { icon: "github", link: "https://gitee.com/geeksdidi" },
      { icon: "twitter", link: "..." },
      // You can also add custom icons by passing SVG as string:
      {
        icon: {
          svg: '<svg role="img" viewBox="0 0 24 24" xmlns="http://www.w3.org/2000/svg"><title>Dribbble</title><path d="M12...6.38z"/></svg>',
        },
        link: "...",
      },
    ],
側邊欄Sidebar
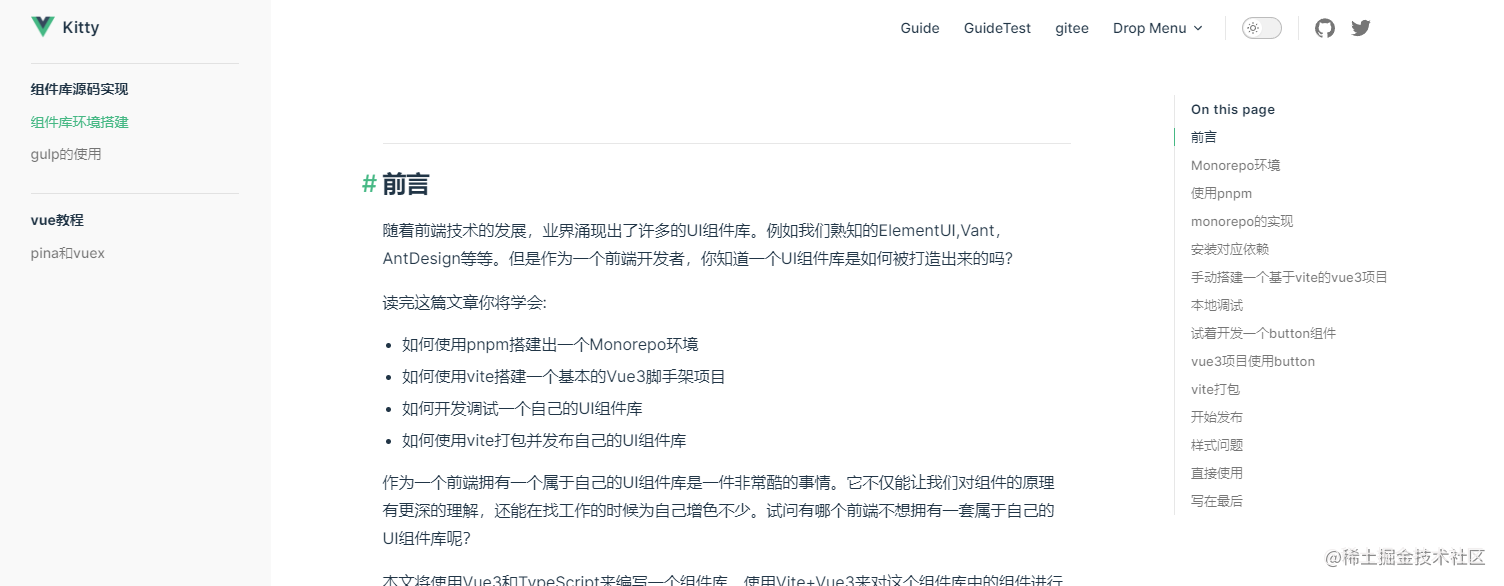
側邊欄可以在themeConfig.Sidebar中設定,其實和nav設定差不多
    sidebar: [
      {
        text: "元件庫原始碼實現",
        items: [
          {
            text: "元件庫環境搭建",
            link: "/articles/元件庫環境搭建",
          },
          { text: "gulp的使用", link: "/articles/gulp的使用" },
        ],
      },
      {
        text: "vue教學",
        items: [
          {
            text: "pina和vuex",
            link: "/articles/pina和vuex",
          },
        ],
      },
    ],
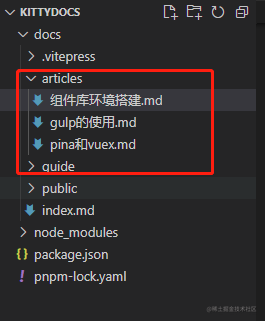
這裡我搬運了我掘金上的一些文章放了進去,目錄結構如下圖
頁面展示效果如下
不過我們一般不會使用這種方式設定側邊欄,因為這樣每個頁面都會有側邊欄。我們需要做到僅某些頁面才會出現側邊欄。所以我們可以這樣設定
    sidebar: {
      "/articles/": [
        {
          text: "元件庫原始碼實現",
          items: [
            {
              text: "元件庫環境搭建",
              link: "/articles/元件庫環境搭建",
            },
            { text: "gulp的使用", link: "/articles/gulp的使用" },
          ],
        },
        {
          text: "vue教學",
          items: [
            {
              text: "pina和vuex",
              link: "/articles/pina和vuex",
            },
          ],
        },
      ],
    },
sideBar值改成一個物件,物件的key是一個路徑,只有包含這個路徑的才會出現側邊欄。所以我們將nav的設定中的guild改成部落格,同時路徑指向我們的articles下的markdown檔案
nav: [
      { text: "部落格", link: "/articles/元件庫環境搭建" },
     ]
此時你會發現進入首頁並不會出現sideBar,只有點選部落格才會出現側邊欄

設定可摺疊側邊欄
設定可摺疊側邊欄只需將collapsible設定為true即可,預設初始頁面是全部展開頁面,如果你需要關閉狀態只需要將collapsed設定為true
...
        {
          text: "vue教學",
          collapsible: true,
          collapsed:true,
          items: [
            {
              text: "pina和vuex",
              link: "/articles/pina和vuex",
            },
          ],
        },
...
首頁佈局
首頁就是進入我們部落格會載入docs/index.md,所以我們需要對其進行一個美化,我們VitePress預設主題提供了一個主頁佈局
---
layout: home
hero:
name: 東方小月的部落格
text: 隨便寫點啥.
tagline: 帥氣又迷人的小月
image:
src: /logo.png
alt: Kitty
actions:
- theme: brand
text: 快來快來
link: /articles/元件庫環境搭建
- theme: alt
text: View on Gitee
link: https://gitee.com/geeksdidi
features:
- icon: ⚡️
title: 這是一個閃電圖示
details: wawawa
- icon: