WPF 截圖控制元件之繪製方框與橢圓(四) 「仿微信」
2022-07-29 12:01:13
前言
接著上週寫的截圖控制元件繼續更新 繪製方框與橢圓。
1.WPF實現截圖「仿微信」
2.WPF 實現截圖控制元件之移動(二)「仿微信」
3.WPF 截圖控制元件之伸縮(三) 「仿微信」
正文
有開發者在B站反饋第三篇有Issues已修復。

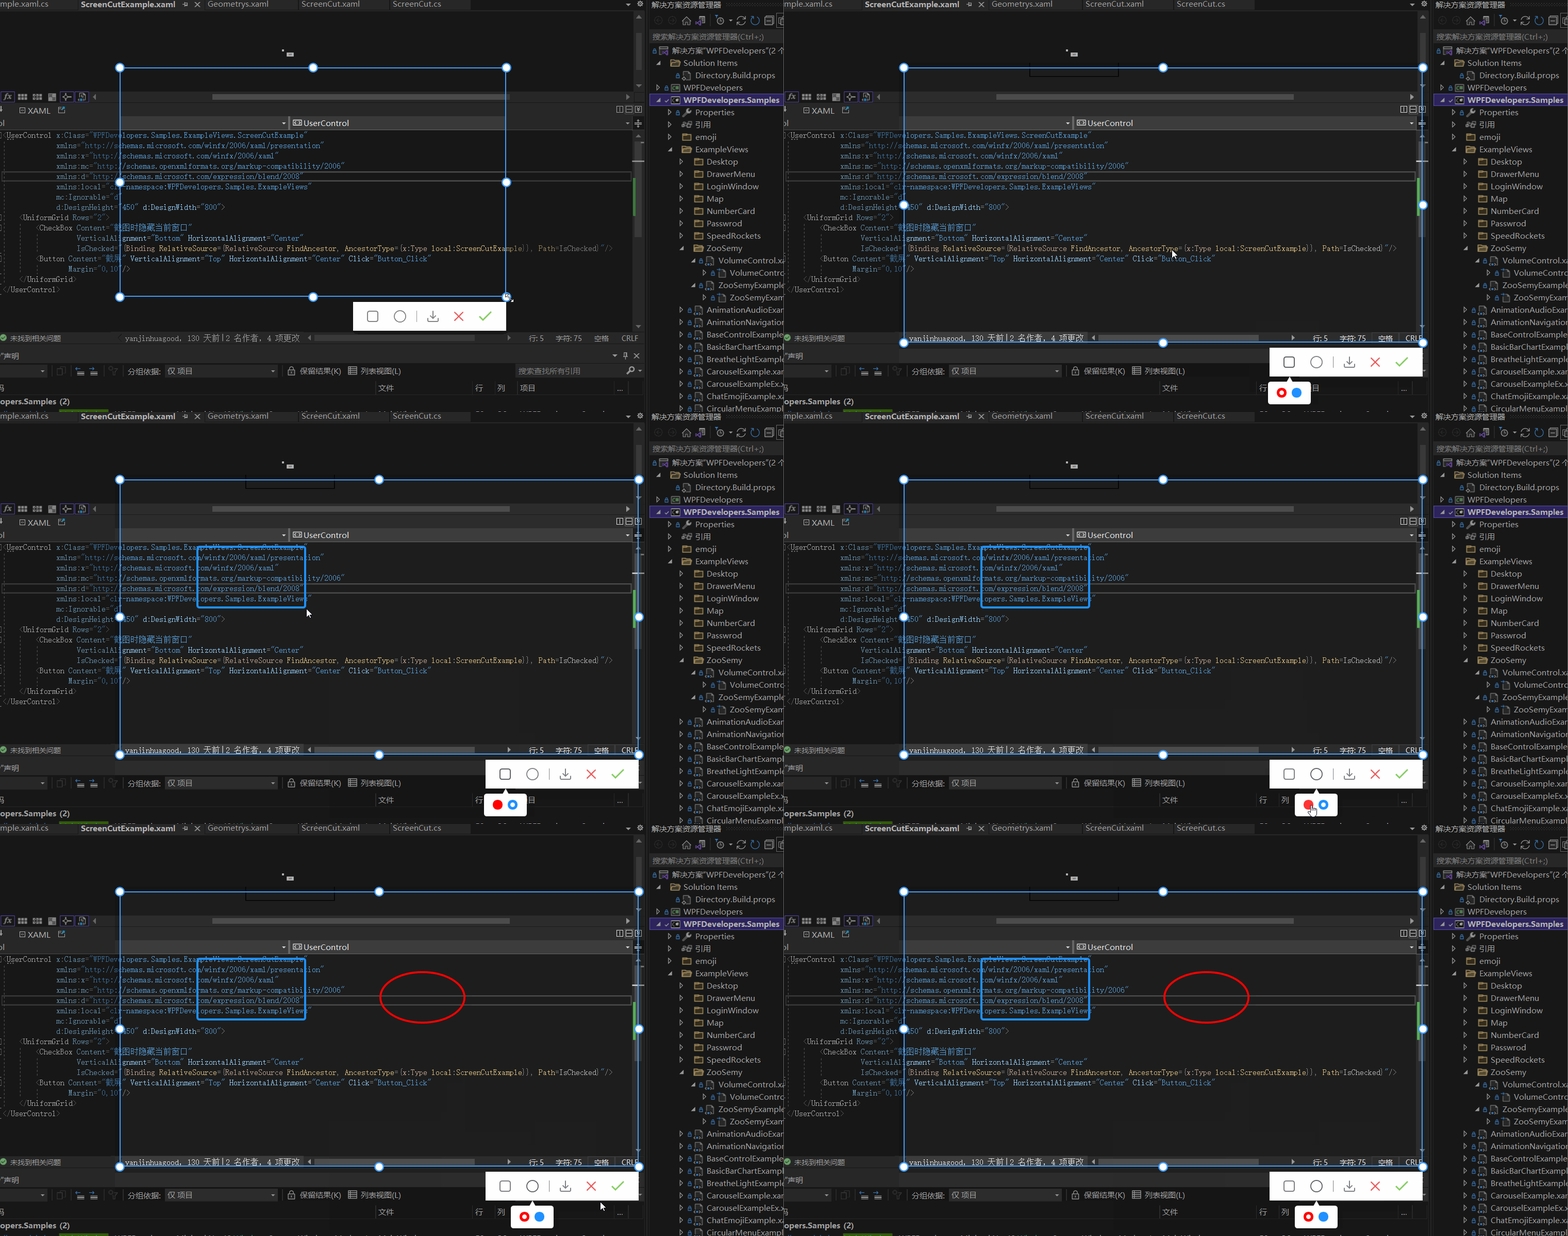
實現在截圖區域內繪製 方框與橢圓 有兩種方式
1)可以在截圖的區域內部新增一個Canvas寬高填充至區域內,在進行繪製方框或橢圓。
2)直接在外層的Canvas中新增,這樣需要判斷滑鼠按下的位置和移動的位置必須在已截圖區域內,如超出範圍也不繪製到區域外。
本章使用了第二種方式
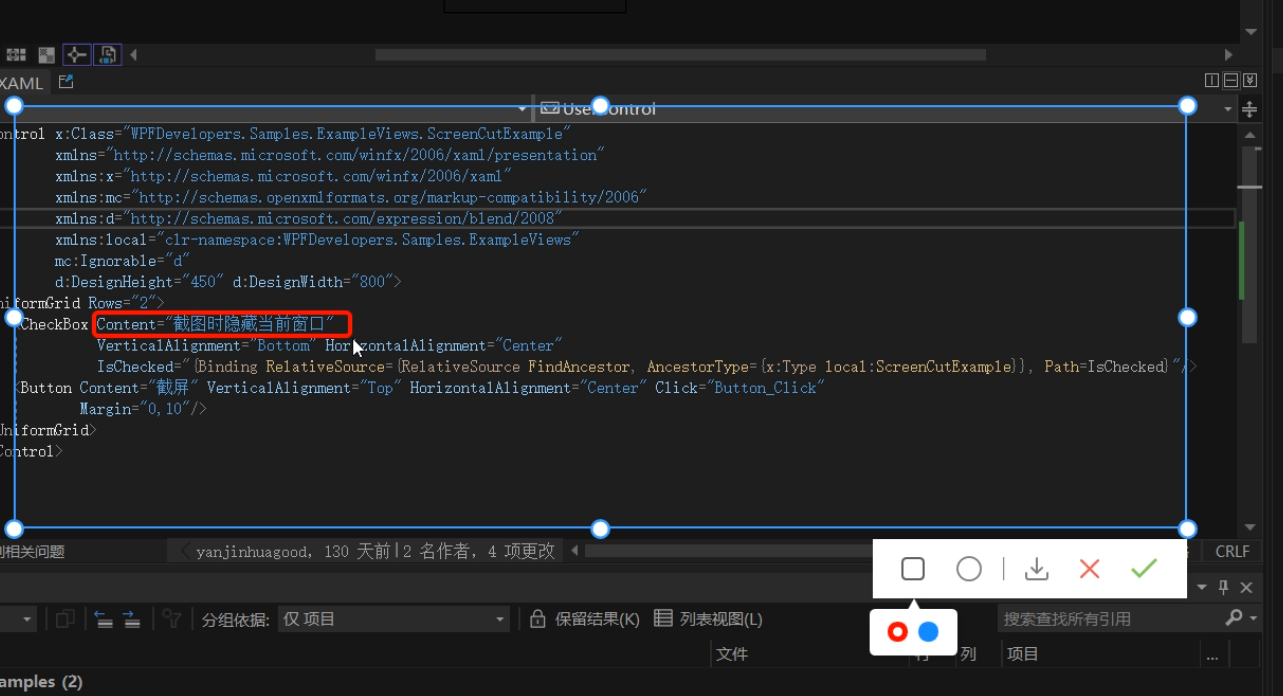
此篇更新截圖時隱藏當前視窗
一、首先接著ScreenCut繼續發電。
1.1
新增定義 畫方框、橢圓、顏色選擇框Popup、Popup內部Border、Border內部RadioButton的父容器
     [TemplatePart(Name = RadioButtonRectangleTemplateName, Type = typeof(RadioButton))]
  [TemplatePart(Name = RadioButtonEllipseTemplateName, Type = typeof(RadioButton))]
  [TemplatePart(Name = PopupTemplateName, Type = typeof(Popup))]
  [TemplatePart(Name = PopupBorderTemplateName, Type = typeof(Border))]
  [TemplatePart(Name = WrapPanelColorTemplateName, Type = typeof(WrapPanel))]

     private const string RadioButtonRectangleTemplateName = "PART_RadioButtonRectangle";
      private const string RadioButtonEllipseTemplateName = "PART_RadioButtonEllipse";
      private const string PopupTemplateName = "PART_Popup";
      private const string PopupBorderTemplateName = "PART_PopupBorder";
      private const string WrapPanelColorTemplateName = "PART_WrapPanelColor";
      private Popup _popup;
      private WrapPanel _wrapPanel;

      /// <summary>
      /// 當前繪製矩形
      /// </summary>
      private Border borderRectangle;
      /// <summary>
      /// 繪製當前橢圓
      /// </summary>
      private Ellipse drawEllipse;
      /// <summary>
      /// 當前選擇顏色
      /// </summary>
      private Brush _currentBrush;
1.2
新增RadioButtonStyles為了選擇方框、橢圓、顏色
<ResourceDictionary xmlns="http://schemas.microsoft.com/winfx/2006/xaml/presentation"
                   xmlns:x="http://schemas.microsoft.com/winfx/2006/xaml">

   <ResourceDictionary.MergedDictionaries>
       <ResourceDictionary Source="Basic/ControlBasic.xaml"/>
   </ResourceDictionary.MergedDictionaries>

   <Style x:Key="PathRadioButton" TargetType="{x:Type RadioButton}" BasedOn="{StaticResource ControlBasicStyle}">
       <Setter Property="FocusVisualStyle" Value="{x:Null}"/>
       <Setter Property="FrameworkElement.OverridesDefaultStyle" Value="True" />
       <Setter Property="HorizontalContentAlignment" Value="Center" />
       <Setter Property="VerticalContentAlignment" Value="Center" />
       <Setter Property="BorderThickness" Value="1" />
       <Setter Property="Padding" Value="8" />
       <Setter Property="Cursor" Value="Hand"/>
       <Setter Property="Template">
           <Setter.Value>
               <ControlTemplate TargetType="{x:Type RadioButton}">
                   <Border Background="Transparent">
                       <ContentPresenter HorizontalAlignment="{TemplateBinding HorizontalContentAlignment}"
                                         Margin="{TemplateBinding Padding}"
                                         VerticalAlignment="{TemplateBinding VerticalContentAlignment}"
                                         x:Name="PART_ContentPresenter" Opacity=".8"/>
                   </Border>
                   <ControlTemplate.Triggers>
                       <Trigger Property="IsChecked" Value="True">
                           <Setter Property="Opacity" TargetName="PART_ContentPresenter" Value="1"/>
                       </Trigger>
                       <Trigger Property="IsMouseOver" Value="True">
                           <Setter Property="Opacity" TargetName="PART_ContentPresenter" Value="1"/>
                       </Trigger>
                   </ControlTemplate.Triggers>
               </ControlTemplate>
           </Setter.Value>
       </Setter>
   </Style>

   <Style x:Key="ColorRadioButton" TargetType="{x:Type RadioButton}" BasedOn="{StaticResource ControlBasicStyle}">
       <Setter Property="FocusVisualStyle" Value="{x:Null}"/>
       <Setter Property="FrameworkElement.OverridesDefaultStyle" Value="True" />
       <Setter Property="HorizontalContentAlignment" Value="Center" />
       <Setter Property="VerticalContentAlignment" Value="Center" />
       <Setter Property="Padding" Value="8" />
       <Setter Property="Width" Value="15"/>
       <Setter Property="Height" Value="15"/>
       <Setter Property="Cursor" Value="Hand"/>
       <Setter Property="Template">
           <Setter.Value>
               <ControlTemplate TargetType="{x:Type RadioButton}">
                   <Border Background="{TemplateBinding Background}"
                           BorderThickness="0"
                           x:Name="PART_Border"
                           CornerRadius="7"
                           Width="{TemplateBinding Width}"
                           Height="{TemplateBinding Height}">
                       <VisualStateManager.VisualStateGroups>
                           <VisualStateGroup x:Name="CheckStates">
                               <VisualState x:Name="Checked">
                                   <Storyboard>
                                       <ObjectAnimationUsingKeyFrames Storyboard.TargetProperty="(UIElement.Visibility)"
                                                Storyboard.TargetName="PART_Ellipse">
                                           <DiscreteObjectKeyFrame KeyTime="0"
                                           Value="{x:Static Visibility.Visible}" />
                                       </ObjectAnimationUsingKeyFrames>
                                   </Storyboard>
                               </VisualState>
                               <VisualState x:Name="Unchecked" />
                               <VisualState x:Name="Indeterminate" />
                           </VisualStateGroup>
                       </VisualStateManager.VisualStateGroups>
                       <Ellipse x:Name="PART_Ellipse"
                                Width="7"
                                Height="7"
                                Fill="{DynamicResource WhiteSolidColorBrush}"
                                Visibility="Collapsed"/>
                   </Border>
                   <ControlTemplate.Triggers>
                       <Trigger Property="IsMouseOver" Value="True">
                           <Setter Property="Opacity" Value=".8"/>
                       </Trigger>
                   </ControlTemplate.Triggers>
               </ControlTemplate>
           </Setter.Value>
       </Setter>
   </Style>

</ResourceDictionary>
1.3
ScreenCut.xaml增加程式碼如下
<RadioButton x:Name="PART_RadioButtonRectangle"
                                                Style="{DynamicResource PathRadioButton}"
                                                ToolTip="方框"
                                               Margin="4,0">
                                      <RadioButton.Content>
                                          <Path Fill="{DynamicResource RegularTextSolidColorBrush}"
                                        Width="18" Height="18" Stretch="Fill"
                                        Data="{StaticResource PathRectangle}"/>
                                      </RadioButton.Content>
                                  </RadioButton>
                                  <RadioButton x:Name="PART_RadioButtonEllipse"
                                                Style="{DynamicResource PathRadioButton}"
                                                ToolTip="橢圓"
                                               Margin="4,0">
                                      <ToggleButton.Content>
                                          <Ellipse Width="19" Height="19"
                                                   StrokeThickness="1.5"
                                                   SnapsToDevicePixels="True"
                                                   UseLayoutRounding="True"
                                                   Stroke="{DynamicResource RegularTextSolidColorBrush}"/>
                                      </ToggleButton.Content>
                                  </RadioButton>

<Popup x:Name="PART_Popup"
                                 AllowsTransparency="True"
                                 Placement="Bottom"
                                 VerticalOffset="13">
                              <Border Effect="{DynamicResource PopupShadowDepth}"
                                      Background="{DynamicResource WhiteSolidColorBrush}"
                                      Margin="10,30,10,10"
                                      CornerRadius="{Binding Path=(helpers:ControlsHelper.CornerRadius),RelativeSource={RelativeSource TemplatedParent}}"
                                      x:Name="PART_PopupBorder">
                                  <Grid>
                                      <Path Data="{StaticResource PathUpperTriangle}"
                                        Fill="{DynamicResource WhiteSolidColorBrush}"
                                        Stretch="Uniform"
                                        Width="10" VerticalAlignment="Top"
                                        Margin="0,-8,0,0"
                                        SnapsToDevicePixels="True"
                                        UseLayoutRounding="True"/>
                                      <WrapPanel Margin="10"
                                                 VerticalAlignment="Center"
                                                 x:Name="PART_WrapPanelColor">
                                          <RadioButton Style="{DynamicResource ColorRadioButton}"
                                                       Margin="4,0" Background="Red"
                                                       IsChecked="True">
                                          </RadioButton>
                                          <RadioButton Style="{DynamicResource ColorRadioButton}"
                                                       Margin="4,0"
                                                       Background="DodgerBlue">
                                          </RadioButton>
                                      </WrapPanel>
                                  </Grid>
                              </Border>
                          </Popup>
二、ScreenCut.cs 增加的後臺邏輯如下
2.1 RadioButton選中方框和橢圓的切換Popup並設定ScreenCutMouseType列舉和滑鼠:
    _radioButtonRectangle = GetTemplateChild(RadioButtonRectangleTemplateName) as RadioButton;
         if (_radioButtonRectangle != null)
             _radioButtonRectangle.Click += _radioButtonRectangle_Click;
         _radioButtonEllipse = GetTemplateChild(RadioButtonEllipseTemplateName) as RadioButton;
         if (_radioButtonEllipse != null)
             _radioButtonEllipse.Click += _radioButtonEllipse_Click;
             private void _radioButtonRectangle_Click(object sender, RoutedEventArgs e)
     {
         RadioButtonChecked(_radioButtonRectangle, ScreenCutMouseType.DrawRectangle);
     }
     private void _radioButtonEllipse_Click(object sender, RoutedEventArgs e)
     {
         RadioButtonChecked(_radioButtonEllipse, ScreenCutMouseType.DrawEllipse);
     }
     void RadioButtonChecked(RadioButton radioButton, ScreenCutMouseType screenCutMouseTypeRadio)
     {
         if (radioButton.IsChecked == true)
         {
             screenCutMouseType = screenCutMouseTypeRadio;
             _border.Cursor = Cursors.Arrow;
             if (_popup.PlacementTarget != null && _popup.IsOpen)
                 _popup.IsOpen = false;
             _popup.PlacementTarget = radioButton;
             _popup.IsOpen = true;
         }
         else
         {
             if (screenCutMouseType == screenCutMouseTypeRadio)
                 Restore();

         }
     }
     void Restore()
     {
         _border.Cursor = Cursors.SizeAll;
         if (screenCutMouseType == ScreenCutMouseType.Default) return;
         screenCutMouseType = ScreenCutMouseType.Default;
     }
2.2 ScreenCut繪製方框和橢圓程式碼如下:
void DrawMultipleControl(Point current)
        {
            if (current == pointStart) return;

            if (current.X > rect.BottomRight.X
                ||
                current.Y > rect.BottomRight.Y)
                return;
            var drawRect = new Rect(pointStart, current);
            switch (screenCutMouseType)
            {
                case ScreenCutMouseType.DrawRectangle:
                    if (borderRectangle == null)
                    {
                        borderRectangle = new Border()
                        {
                            BorderBrush = _currentBrush == null ? Brushes.Red : _currentBrush,
                            BorderThickness = new Thickness(3),
                            CornerRadius = new CornerRadius(3),
                        };
                        _canvas.Children.Add(borderRectangle);
                    }
                    break;
                case ScreenCutMouseType.DrawEllipse:
                    if (drawEllipse == null)
                    {
                        drawEllipse = new Ellipse()
                        {
                            Stroke = _currentBrush == null ? Brushes.Red : _currentBrush,
                            StrokeThickness = 3,
                        };
                        _canvas.Children.Add(drawEllipse);
                    }
                    break;

            }

            var _borderLeft = drawRect.Left - Canvas.GetLeft(_border);

            if (_borderLeft < 0)
                _borderLeft = Math.Abs(_borderLeft);
            if (drawRect.Width + _borderLeft < _border.ActualWidth)
            {
                var wLeft = Canvas.GetLeft(_border) + _border.ActualWidth;
                var left = drawRect.Left < Canvas.GetLeft(_border) ? Canvas.GetLeft(_border) : drawRect.Left > wLeft ? wLeft : drawRect.Left;
                if (borderRectangle != null)
                {
                    borderRectangle.Width = drawRect.Width;
                    Canvas.SetLeft(borderRectangle, left);
                }
                if (drawEllipse != null)
                {
                    drawEllipse.Width = drawRect.Width;
                    Canvas.SetLeft(drawEllipse, left);
                }


            }

            var _borderTop = drawRect.Top - Canvas.GetTop(_border);
            if(_borderTop < 0)
                _borderTop = Math.Abs(_borderTop);
            if (drawRect.Height + _borderTop < _border.ActualHeight)
            {
                var hTop = Canvas.GetTop(_border) + _border.Height;
                var top = drawRect.Top < Canvas.GetTop(_border) ? Canvas.GetTop(_border) : drawRect.Top > hTop ? hTop : drawRect.Top;
                if (borderRectangle != null)
                {
                    borderRectangle.Height = drawRect.Height;
                    Canvas.SetTop(borderRectangle, top);
                }

                if (drawEllipse != null)
                {
                    drawEllipse.Height = drawRect.Height;
                    Canvas.SetTop(drawEllipse, top);
                }

            }
        }
2.3 Popup跟隨問題這裡解決辦法是先關閉再開啟程式碼如下:
 if (_popup != null && _popup.IsOpen)
           {
               _popup.IsOpen = false;
               _popup.IsOpen = true;
           }
2.4 ScreenCut使用方式如下:
 public partial class ScreenCutExample : UserControl
   {
       public bool IsChecked
       {
           get { return (bool)GetValue(IsCheckedProperty); }
           set { SetValue(IsCheckedProperty, value); }
       }

       public static readonly DependencyProperty IsCheckedProperty =
           DependencyProperty.Register("IsChecked", typeof(bool), typeof(ScreenCutExample), new PropertyMetadata(false));


       public ScreenCutExample()
       {
           InitializeComponent();
       }

       private void Button_Click(object sender, RoutedEventArgs e)
       {
           var screenCut = new ScreenCut();
           if (IsChecked)
           {
               App.CurrentMainWindow.WindowState = WindowState.Minimized;
               screenCut.Show();
               screenCut.Activate();
           }
           else
               screenCut.ShowDialog();
       }
   }
完整程式碼如下
