微信小程式使用echarts/資料重新整理重新渲染/圖層遮擋問題
2022-07-17 06:00:33
1、微信小程式使用echarts,首先下載echarts並匯入小程式專案中,因小程式後期上線對檔案大小有要求,所以建議進行客製化下載匯入可減少檔案大小佔比,也可以下載以前舊版本檔案比較小的應付使用
下載echarts: https://echarts.apache.org/zh/download.html
客製化下載:https://echarts.apache.org/zh/builder.html
舊版本檢視: https://archive.apache.org/dist/echarts/
下載好後,在使用頁面的json檔案中設定
1 {
2   "component": true,
3   "usingComponents": {
4     "ec-canvas": "../../../ec-canvas/ec-canvas"
5   }
6 }
在需要使用的wxml和wxss中寫好容器的樣式程式碼
1 <view class="echarts1" >
2     <view wx:if="{{canvasIsShow}}" class="container" style="width: 100%; height: 100%;">
3           <ec-canvas id="mychart-dom-bar" canvas-id="mychart-bar" ec="{{ ec }}" force-use-old-canvas="true"></ec-canvas>
4     </view>
5   </view>
最後在js檔案中參照並編寫圖例程式碼及資料即可
 1 import * as echarts from '../../../ec-canvas/echarts'
 2
 3 function initChart(canvas, width, height, dpr) {
 4   const chart = echarts.init(canvas, null, {
 5     width: width,
 6     height: height,
 7     devicePixelRatio: dpr // 畫素
 8   });
 9   canvas.setChart(chart);
10
11   var option = {
12     barWidth: 20,
13     grid:{
14       x:40,    //圖例左邊距
15       y:30,    //圖例上邊距
16       x2:25,   //圖例右邊距
17       y2:20,   //圖例下邊距
18   },
19     xAxis: {
20       type: 'category',
21       data: ['1','2','3','5','6','7','8'],  //x軸資料
22       axisLabel: {
23         interval: 0,
24         textStyle: {
25           show:true,
26           fontSize: '9',
27         },
28     },
29     },
30     yAxis: {
31       type: 'value',
32       axisLabel: {
33         textStyle: {
34           show:true,
35           fontSize: '10',
36         },
37     },
38     },
39     series: [
40       //柱形圖
41       {
42         data: [10,20,30,40,50,60,70],
43         type: 'bar',
44         color: 'rgb(0, 153, 255)',
45       },
46       //線型圖
47       {
48         data: [15,25,35,45,55,65,75],
49         type: 'line',
50         color: 'rgb(255, 136, 0)',
51         itemStyle: {
52           normal: {
53             label: {
54               show: true, //開啟顯示
55               position: 'top', //在上方顯示
56               textStyle: { //數值樣式
57                 color: 'black',
58                 fontSize: '9'
59               }
60             }
61           }
62         },
63       }
64     ]
65   };
66   chart.setOption(option);
67   return chart;
68 }
69
70 Page({
71   data: {
72     ec: {
73       onInit: initChart
74     },
75     canvasIsShow: true, //圖表是否渲染
76   },
77 })
2、圖例重新渲染方法
使用後,如果需要讓圖例隨資料變化而變化或者重新渲染,可直接使用
wx:if="{{ }}"
來進行條件渲染,即可做到重新重新整理
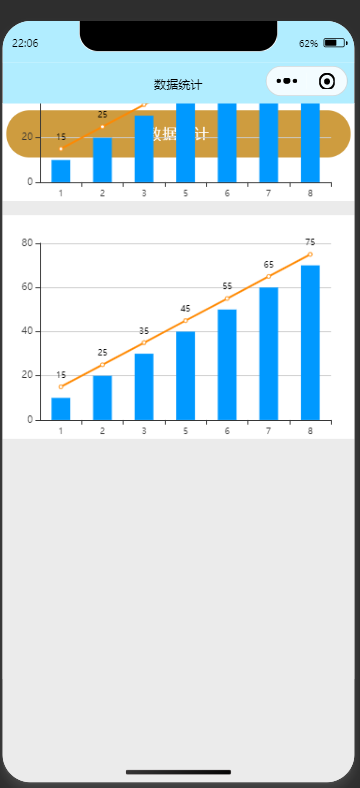
3、圖例圖層太高,可能會導致部分樣式被遮擋,如下圖情況:

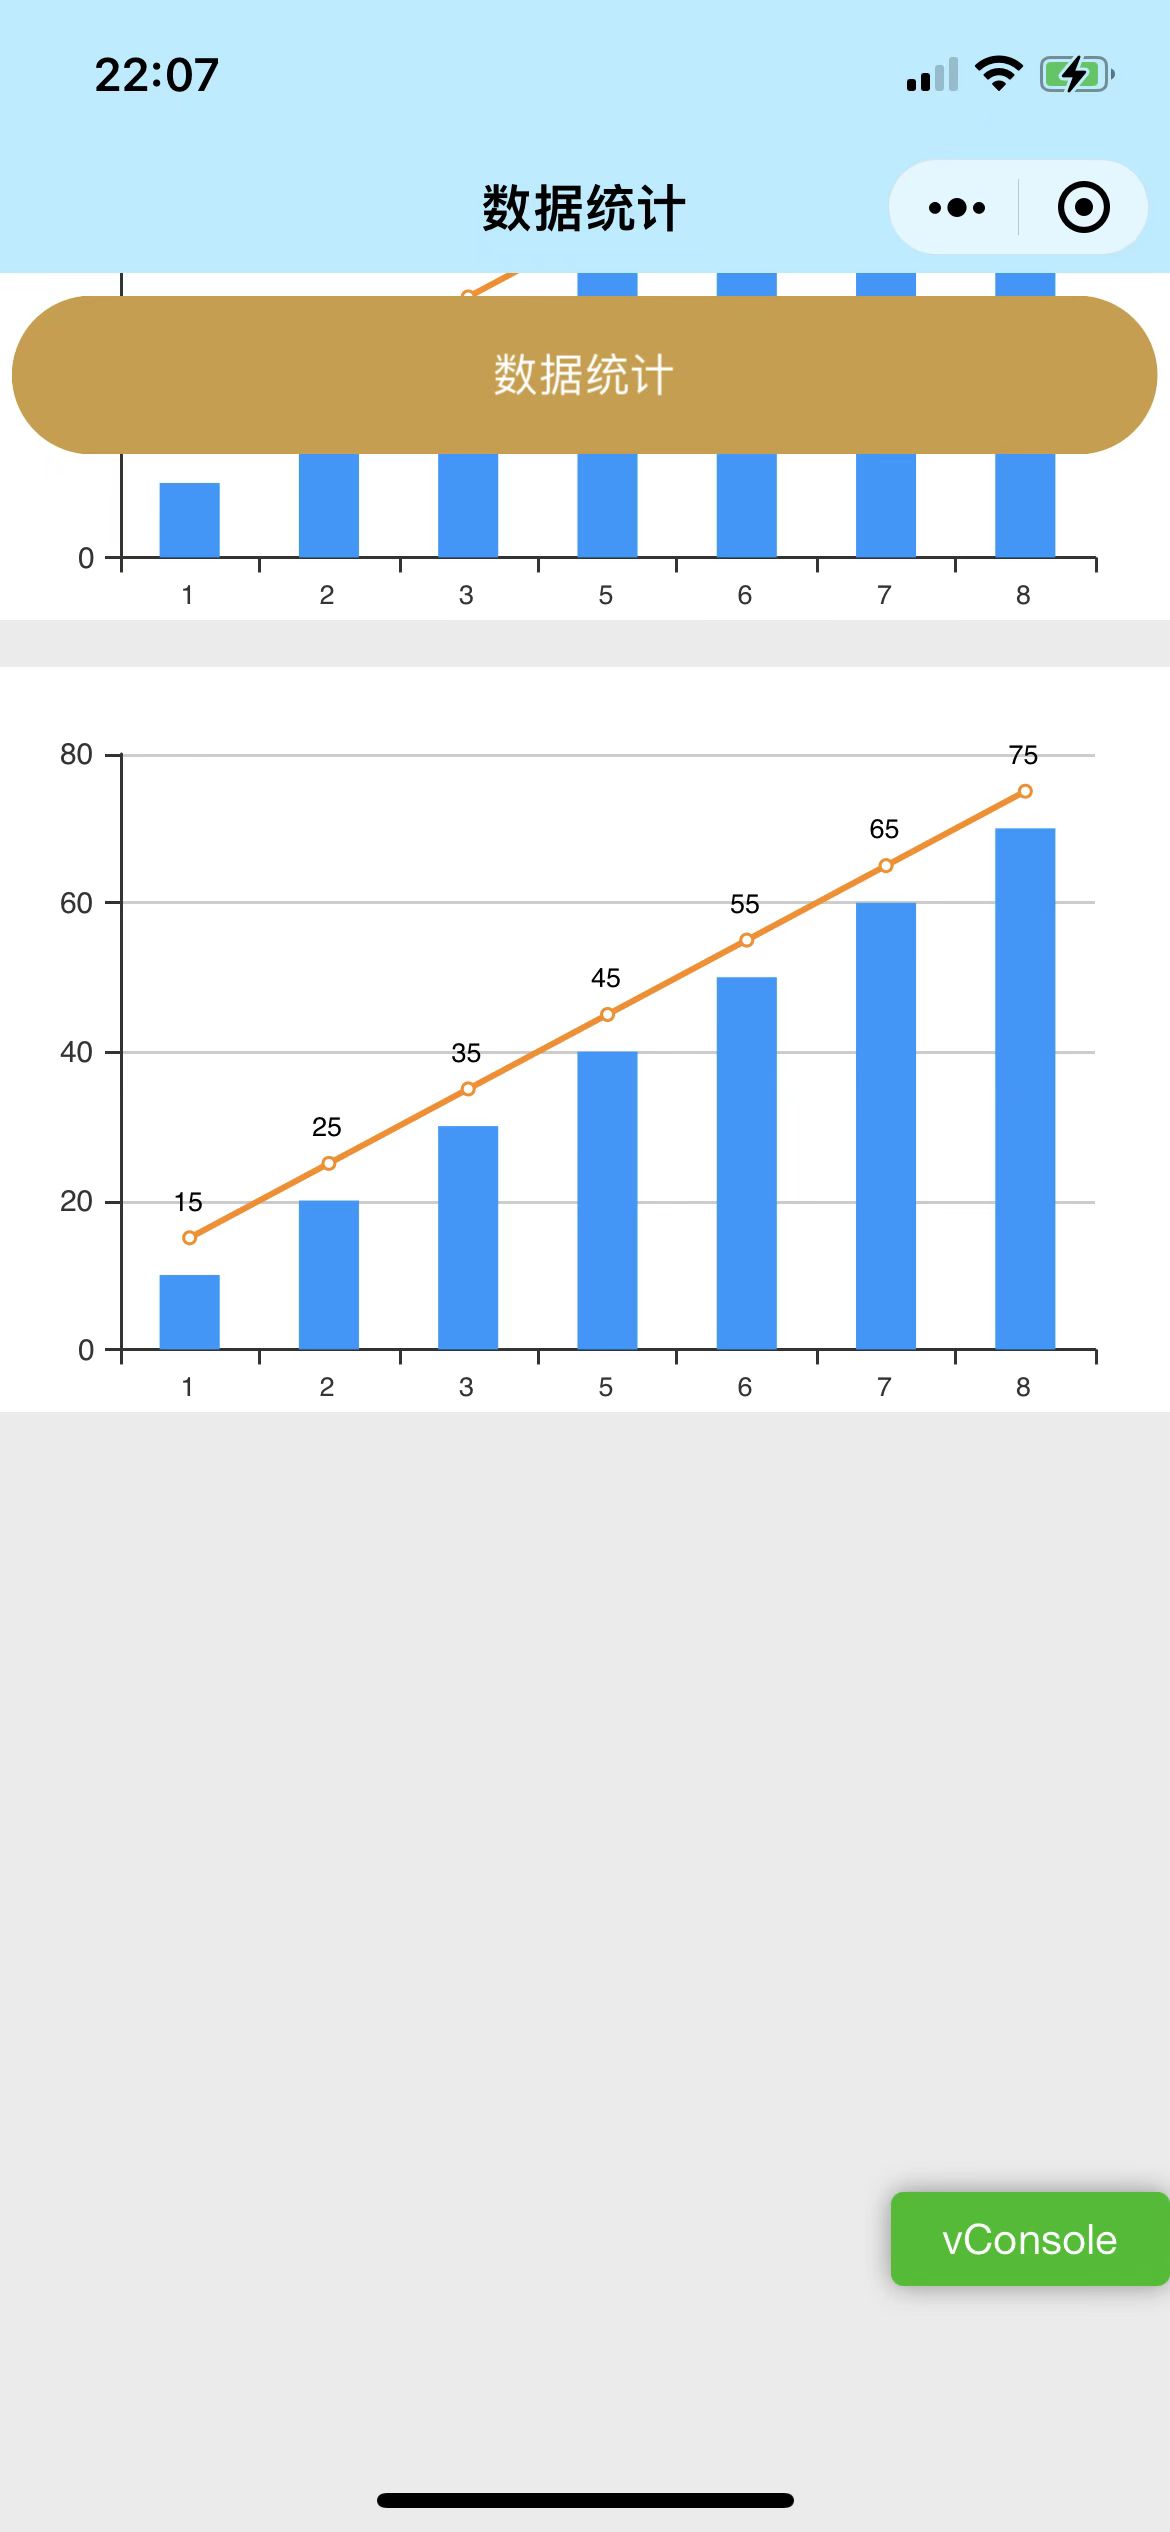
給被遮擋標籤加入position: fixed;z-index: 9999後,在模擬器中顯示正常,但在真機上這個問題依舊存在,把被遮擋的<view>改為<cover-view>就可以解決問題,如下圖

但是在<cover-view>標籤裡,無法使用<input>或者<picker>等標籤,那可以投機取巧靈活使用
1 <picker bindchange="bindCasPickerChange" value="{{casIndex1}}" range="{{casArray}}">
2       <cover-view class="epidemic-header">
3         <cover-view class="cover-input">
4         {{casArray[casIndex]}}
5         </cover-view>
6       </cover-view>
7     </picker>
這樣就可以修改<cover-view>裡的顯示內容啦