ShardingSphere 雲上實踐:開箱即用的 ShardingSphere-Proxy 叢集
本次 Apache ShardingSphere 5.1.2 版本更新為大家帶來了三大全新功能,其中之一即為使用 ShardingSphere-Proxy chart 在雲環境中快速部署一套 ShardingSphere-Proxy 叢集,本篇將帶大家詳細瞭解該項功能。
一、背景和痛點
在雲原生的環境下,一個應用可以在多個不同環境中進行批次的部署,使用原始的 yaml 進行重用,部署到新環境中也是困難重重。
可以看到,在進行 Kubernetes 軟體部署時,我們面臨下述問題:
-
如何管理,編輯和更新這些分散的 Kubernetes 應用組態檔?
-
如何把一套的相關組態檔作為一個應用進行管理?
-
如何分發和複用 Kubernetes 的應用設定?
在遷移 Apache ShardingSphere-Proxy 從 Docker 或者虛擬機器器到 Kubernetes 環境下,也存在上述這些問題。
由於 Apache ShardingSphere-Proxy 的靈活性特點,在一個叢集中可能需要多個 Apache ShardingSphere-Proxy 副本。傳統部署方式下,需要針對每一個副本進行單獨的部署檔案設定。沒有版本化管理的部署方式,在升級過程中,也面臨著不能快速回滾,影響應用穩定性的風險。
在現在的企業中,叢集也不只是只有一個,在多叢集中進行復用設定,並且保證生產和測試叢集的設定保持一致,保證測試的正確性,也是沒有版本化管理的傳統部署方式面臨的另一大難題之一。
二、設計目標
由於 Apache ShardingSphere-Proxy 首次官方正式支援在雲上進行標準化部署,對於部署方式的考慮就變得尤為重要。需要考慮到使用者的易用性,複用的便捷性,對後續版本的相容性,在調研了 Kubernetes 現有的幾種部署方式後,我們最終選擇了使用 Helm 對 Apache ShardingSphere-Proxy 製作一個 chart 提供給使用者,使其能夠對 Apache ShardingSphere-Proxy 部署進行管理,使其能夠版本化,可複用。
三、設計內容
Helm 管理名為 chart 的 Kubernetes 包的工具,Helm 可以做以下的事情:
-
從頭開始建立新的 chart
-
將 chart 打包成歸檔(tgz)檔案
-
與儲存 chart 的倉庫進行互動
-
在現有的 Kubernetes 叢集中安裝和解除安裝 chart
-
管理與 Helm 一起安裝的 chart 的釋出週期
使用 Helm 去構建 Apache ShardingSphere-Proxy 雲上部署 chart,將大大簡化使用者在 Kubernetes 環境下部署的複雜度,並且可以使 Apache ShardingSphere-Proxy 在多個環境之間進行快速複製。
由於現階段,Apache ShardingSphere-Proxy 的部署依賴註冊中心,在 Apache ShardingSphere-Proxy chart 中也同時對 ZooKeeper 叢集的部署進行支援,這樣給使用者提供了一個一站式、開箱即用的體驗。只需要執行一條命令,即可在 Kubernetes 中部署一個帶有治理節點的 Apache ShardingSphere-Proxy 叢集,並且可以依託於 Kubernetes 的功能,對治理節點資料進行持久化。
四、實戰指南
在 5.1.2 檔案中提供了 quick start 使用預設的組態檔進行 Apache ShardingSphere-Proxy 叢集部署,下面我們將使用原始碼進行安裝,詳細地對其中的設定進行說明並實戰在 Kubernetes 叢集中部署一個 Apache ShardingSphere-Proxy 叢集。
環境準備
在部署之前,我們需要準備環境。Apache ShardingSphere-Proxy charts 需要以下環境:
-
Kubernetes 叢集 1.18+
-
kubectl 1.18+
-
Helm 3.8.0+
以上需要在實戰之前進行安裝設定。
charts 原始碼準備
在倉庫中下載 Apache ShardingSphere-Proxy charts:
 helm repo add shardingsphere https://shardingsphere.apache.org/charts
 helm pull shardingsphere/apache-shardingsphere-proxy
 tar -zxvf apache-shardingsphere-proxy-1.1.0-chart.tgz
 cd apache-shardingsphere-proxy
Apache ShardingSphere-Proxy charts 設定
設定 values.yaml 檔案
將:
governance:
   ...
   zookeeper:
     replicaCount: 1
   ...
 compute:
   ...
   serverConfig: ""
改為:
governance:
   ...
   zookeeper:
     replicaCount: 3
   ...
 compute:
   ...
   serverConfig:
     authority:
       privilege:
         type: ALL_PRIVILEGES_PERMITTED
       users:
       - password: root
         user: root@%
     mode:
       overwrite: true
       repository:
         props:
           maxRetries: 3
           namespace: governance_ds
           operationTimeoutMilliseconds: 5000
           retryIntervalMilliseconds: 500
           server-lists: "{{ printf \"%s-zookeeper.%s:2181\" .Release.Name .Release.Namespace }}"
           timeToLiveSeconds: 600
         type: ZooKeeper
       type: Cluster
⚠️:保持縮排
剩餘設定請檢視檔案設定一項
安裝 Apache ShardingSphere-Proxy & ZooKeeper 叢集
現在的資料夾層級為:
helm
 ├── apache-shardingsphere-proxy
 ...
 |   |
 │   └── values.yaml
 └── apache-shardingsphere-proxy-1.1.0-chart.tgz
回到 helm 資料夾,進行安裝 Apache ShardingSphere-Proxy & ZooKeeper 叢集。
helm install shardingsphere-proxy apache-shardingsphere-proxy
在叢集的 default 名稱空間下,部署了 ZooKeeper & Apache ShardingSphere-Proxy 叢集:

簡單功能測試
使用 kubectl forward 進行本地偵錯:
kubectl port-forward service/shardingsphere-proxy-apache-shardingsphere-proxy 3307:3307
建立後端資料庫 Database:

使用 MySQL client 進行連線並使用 DistSQL 新增資料來源:
mysql -h 127.0.0.1 -P 3307 -uroot -proot

建立規則

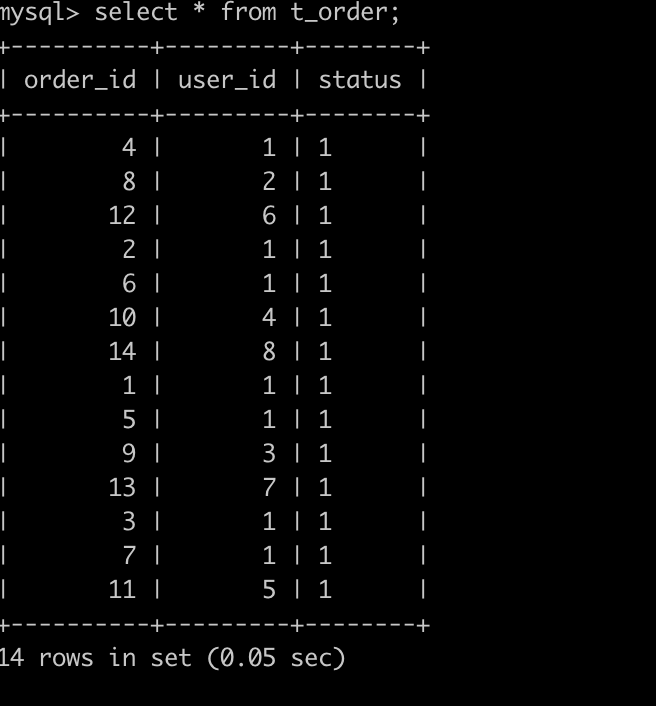
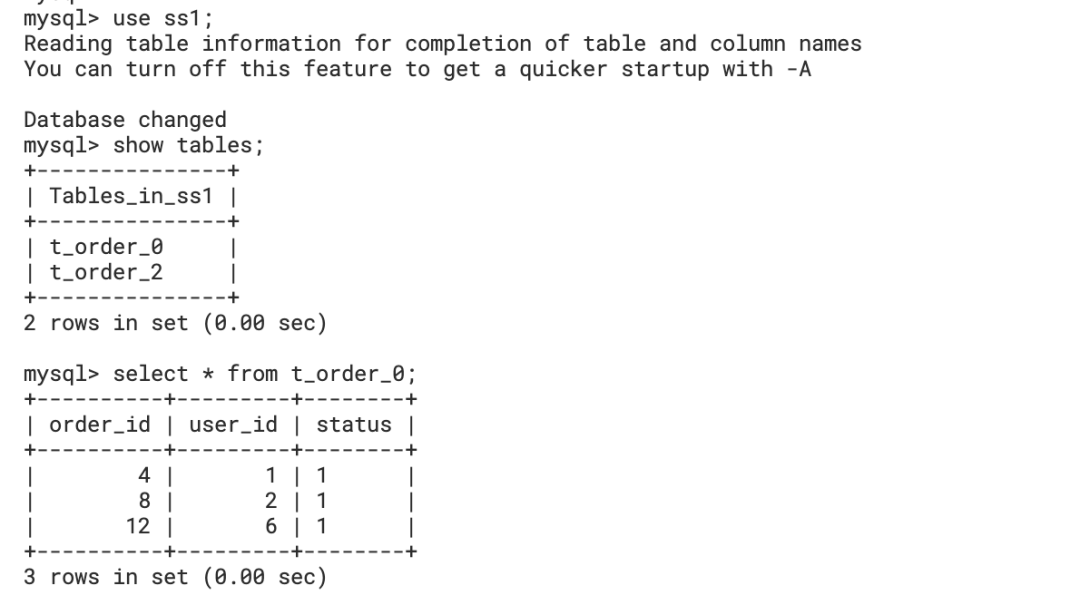
寫入資料,查詢結果


升級
使用 Helm 可以快速對 Apache ShardingSphere-Proxy 進行升級。
helm upgrade shardingsphere-proxy apache-shardingsphere-proxy

回滾
如果升級過程中出錯,可以使用 helm rollback 命令對已經升級的 release 進行快速回滾。
helm rollback shardingsphere-proxy

清理
在體驗完成後,可以使用 helm uninstall 命令對 release 快速進行清理:
helm uninstall shardingsphere-proxy
Helm 安裝的資源將被全部刪除。


五、結語
使用 Apache ShardingSphere-Proxy charts 可以在 Kubernetes 叢集中快速部署一套 Apache ShardingSphere-Proxy 叢集進行使用,簡化了運維人員在遷移 Apache ShardingSphere-Proxy 至 Kubernetes 環境下複雜的設定 yaml 的過程。加上了版本化管理後,可以輕鬆的對 Apache ShardingSphere-Proxy 叢集進行部署、升級、迴歸和清理。未來我們還會對 Apache ShardingSphere-Proxy chart 進行繼續迭代和完善,歡迎大家持續關注。
歡迎點選連結,瞭解更多內容:
Apache ShardingSphere 官網:https://shardingsphere.apache.org/
Apache ShardingSphere GitHub 地址:https://github.com/apache/shardingsphere
SphereEx 官網:https://www.sphere-ex.com
歡迎新增社群經理微信(ss_assistant_1)加入交流群,與眾多 ShardingSphere 愛好者一同交流。