Android shape與selector標籤使用
原文地址:Android shape與selector標籤使用
Android中提供一種xml的方式,讓我們可以自由地定義背景,比較常用的就是shape標籤和selector標籤
shape
shape的翻譯為形狀的意思,一般用來定義背景的形狀,如長方形,線條,圓形
- rectangle 矩形 預設
- oval 橢圓
- line 線條
- ring 環形
簡單使用:
<?xml version="1.0" encoding="utf-8"?>
<shape xmlns:android="http://schemas.android.com/apk/res/android"
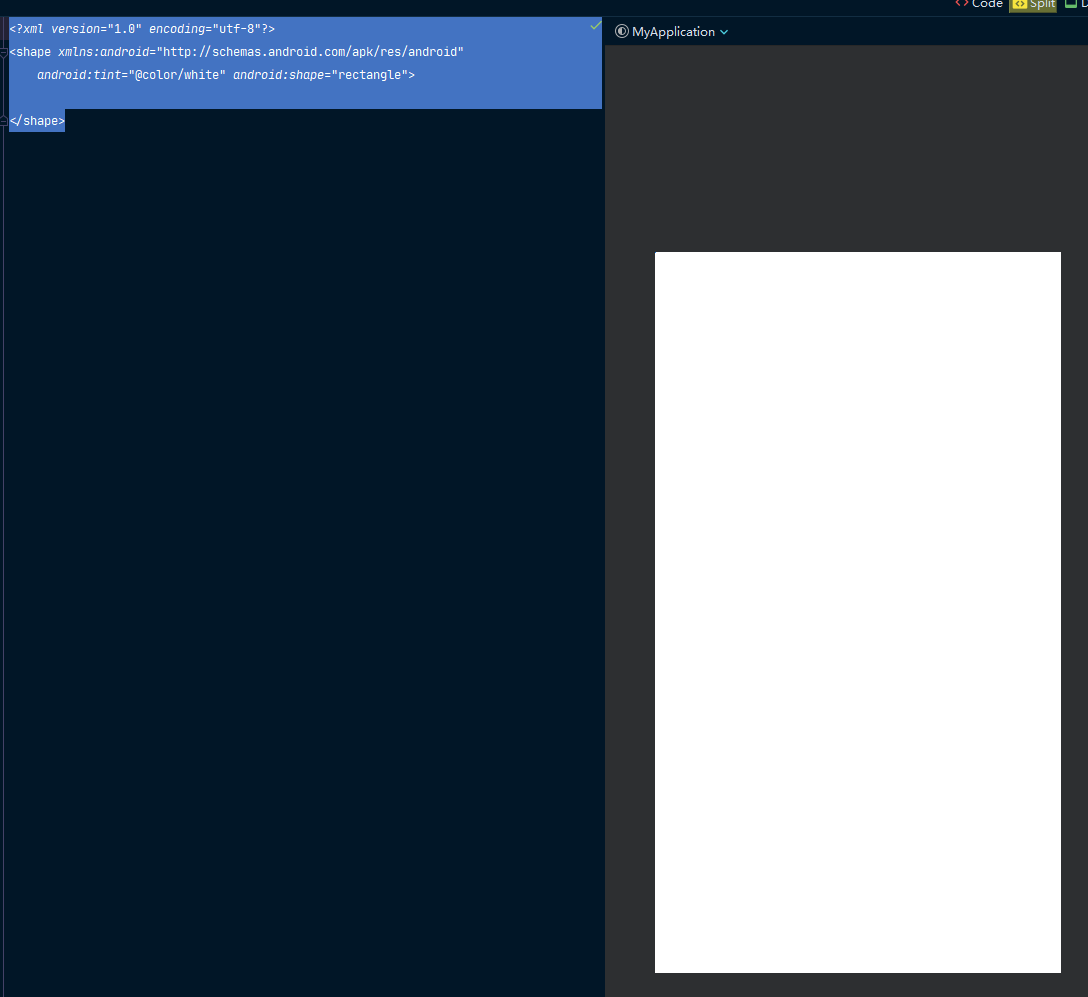
    android:tint="@color/white" android:shape="rectangle">
</shape>
tint是用來設定背景顏色
上述程式碼即為白色的矩形,效果如下圖:
一般我們將shape當做根標籤來使用
corners 圓角
corners標籤,即為圓角的意思,可定義的屬性如下
| 屬性 | 說明 |
|---|---|
| radius | 定義4個方向圓角寬度 |
| topRightRadius | 右上角圓角寬度 |
| bottomLeftRadius | 左下角圓角寬度 |
| bottomRightRadius | 右下角圓角寬度 |
| topLeftRadius | 左上角圓角寬度 |
<?xml version="1.0" encoding="utf-8"?>
<shape xmlns:android="http://schemas.android.com/apk/res/android"
    android:tint="@color/white" android:shape="rectangle">
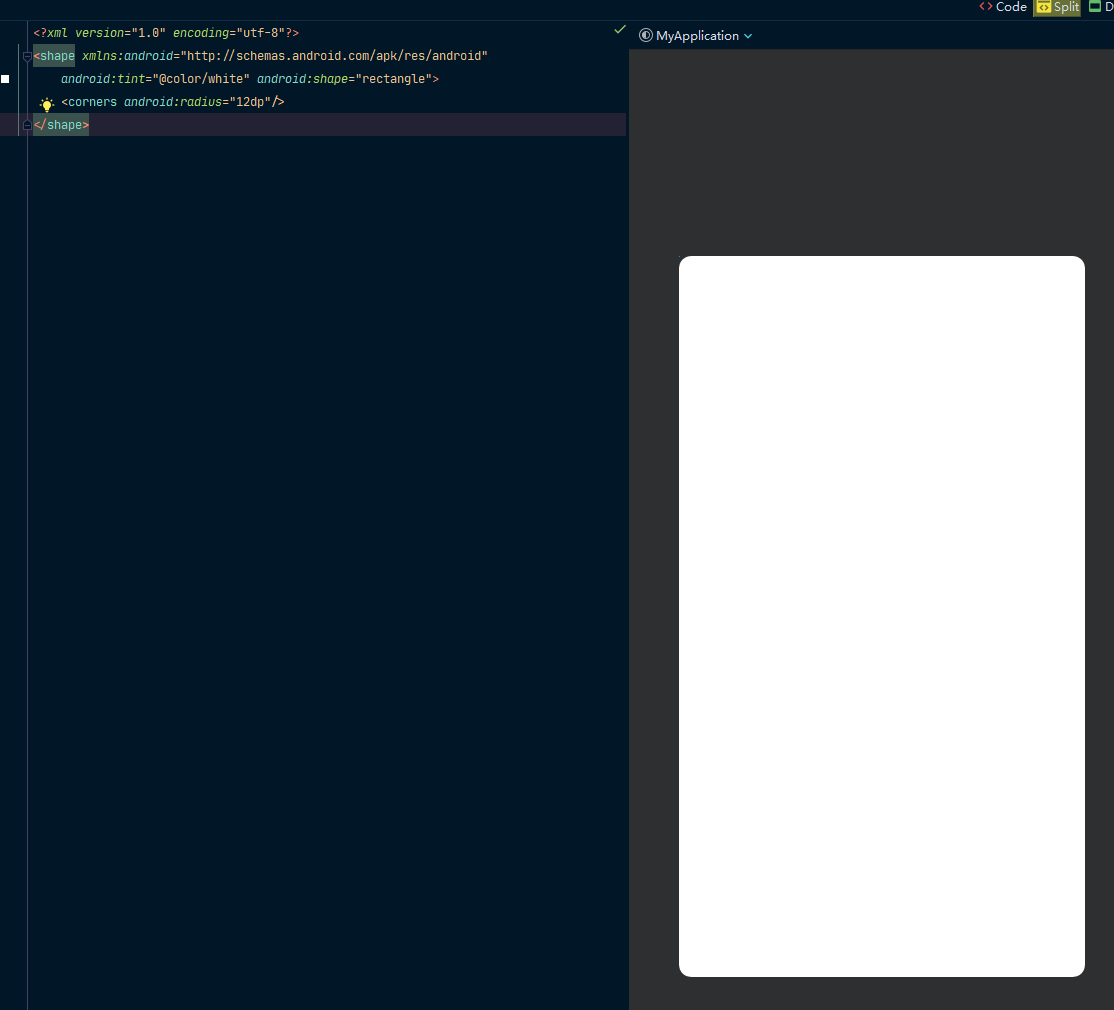
    <corners android:radius="12dp"/>
</shape>
上述程式碼即為圓角矩形的效果:
stroke 邊框
| 屬性 | 說明 |
|---|---|
| color | 邊框顏色 |
| width | 邊框寬度 |
<?xml version="1.0" encoding="utf-8"?>
<shape xmlns:android="http://schemas.android.com/apk/res/android"
    android:shape="rectangle">
    <corners android:radius="12dp"/>
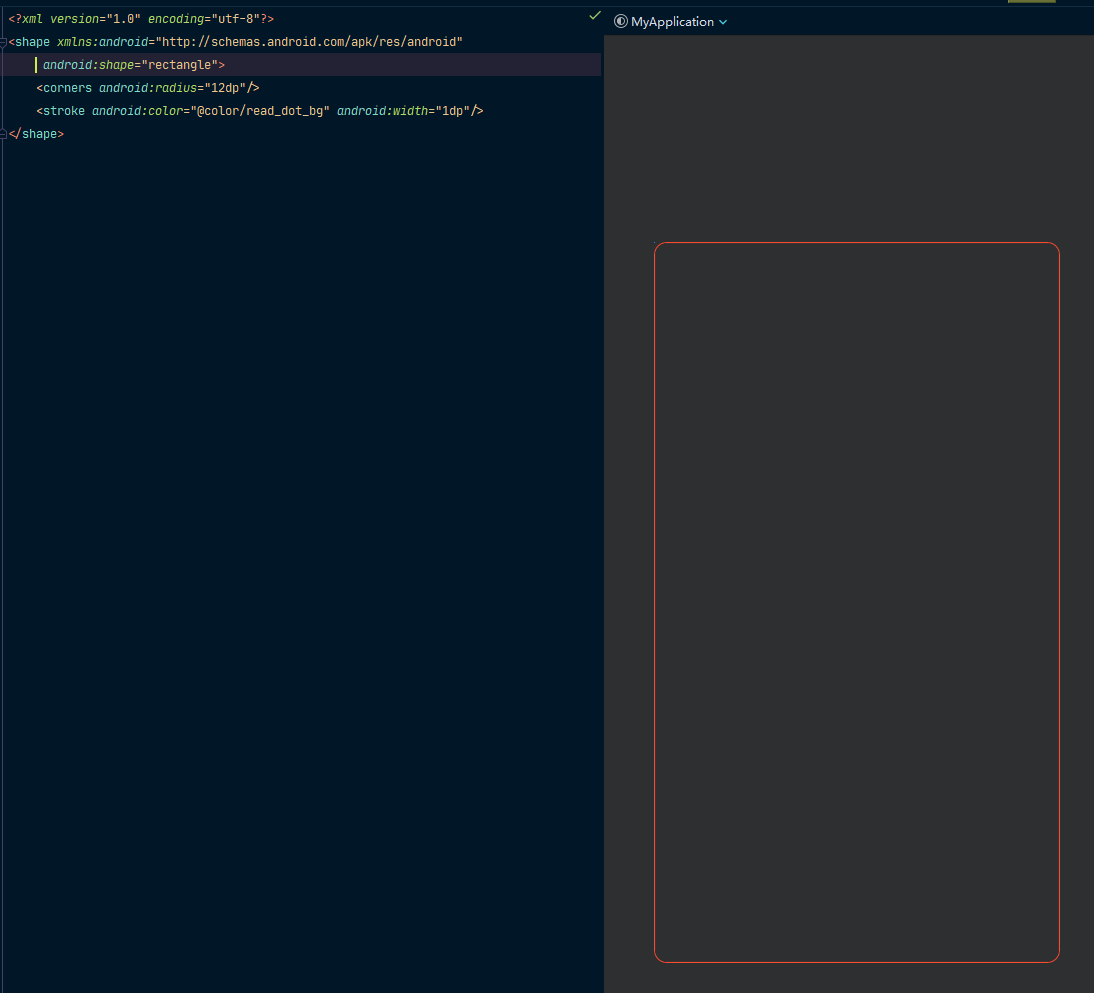
    <stroke android:color="@color/read_dot_bg" android:width="1dp"/>
</shape>
注意: 這裡程式碼中刪除了shape中的tint屬性,因為tint屬性會優先順序較高,導致邊框無法顯示出來!
solid 填充背景色
color 背景顏色
<?xml version="1.0" encoding="utf-8"?>
<shape xmlns:android="http://schemas.android.com/apk/res/android"
     android:shape="rectangle">
    <corners android:radius="12dp"/>
    <stroke android:color="@color/read_dot_bg" android:width="1dp"/>
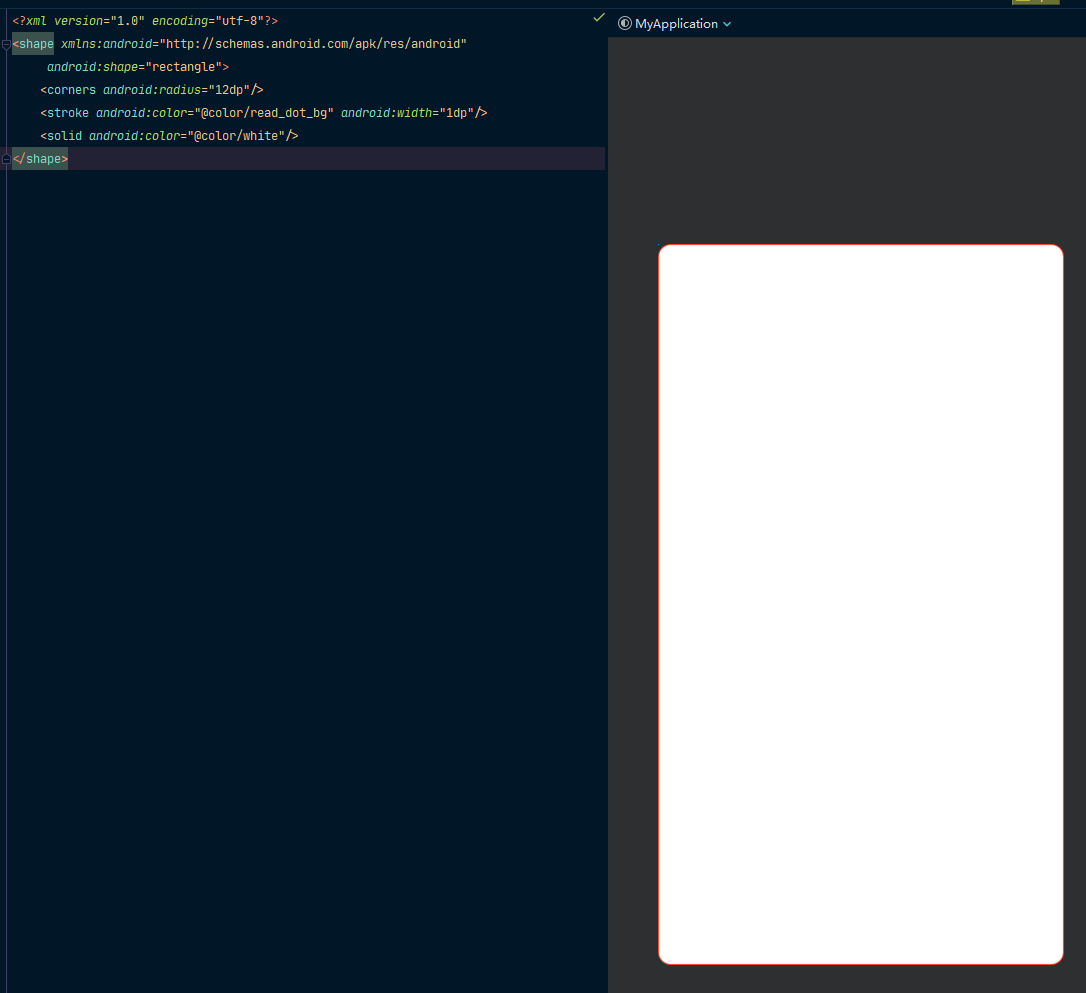
    <solid android:color="@color/white"/>
</shape>
上述程式碼,將背景設定了白色,且邊框也能正常顯示
gradient 漸變
| 屬性 | 說明 |
|---|---|
| startColor | 開始顏色 |
| endColor | 結束顏色 |
| angle | 角度 0 90 180 270 可以設定漸變的方向 |
| type | 漸變型別,linear:線性 radial:輻射狀 sweep:掃射 |
angle屬性記憶的方法是:先記住預設的方向,startColor到endColor,方向是從上到下,然後以逆時針為方向轉動,如果為0,則是逆時針轉動90°,以此類推
測試的方向,如果是45°的倍數,也是稍微有所區別
<?xml version="1.0" encoding="utf-8"?>
<shape xmlns:android="http://schemas.android.com/apk/res/android"
     android:shape="rectangle">
    <corners android:radius="12dp"/>
    <stroke android:color="@color/read_dot_bg" android:width="1dp"/>
    <solid android:color="@color/white"/>
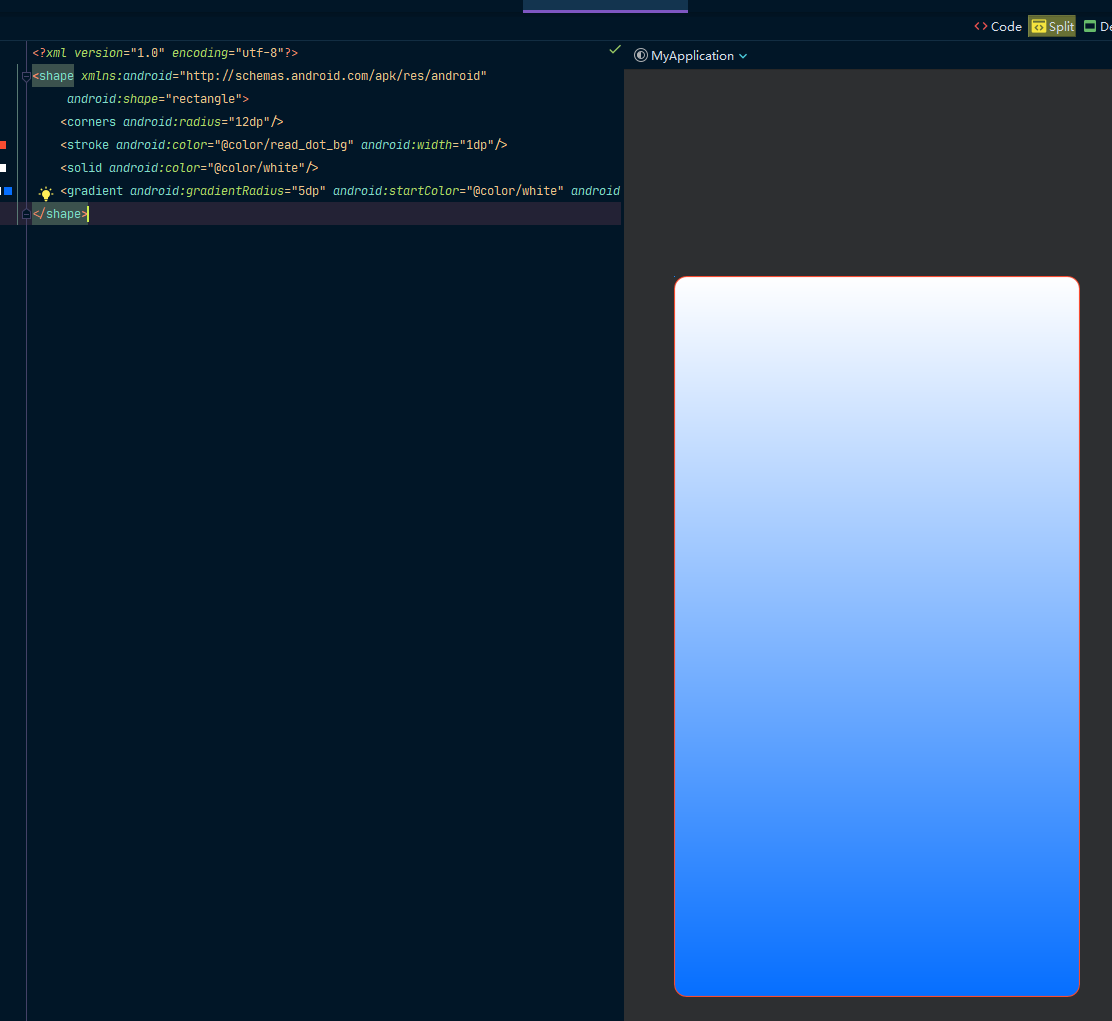
    <gradient android:gradientRadius="5dp" android:startColor="@color/white" android:endColor="@color/font_blue"/>
</shape>
PS: 注意solid和gradient兩個標籤的順序,兩者聯用,位於xml下面的會覆蓋上面的:
圓形背景
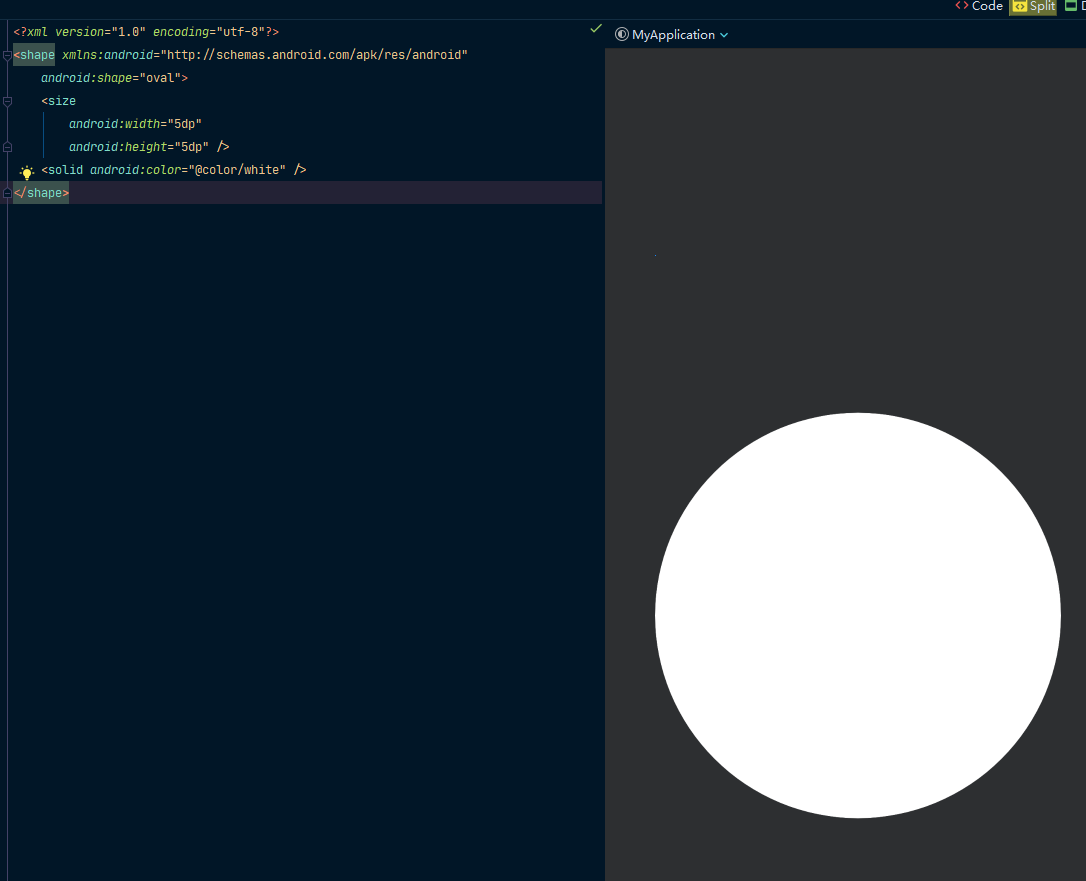
圓形背景,即設定了shape屬性為oval
<?xml version="1.0" encoding="utf-8"?>
<shape xmlns:android="http://schemas.android.com/apk/res/android"
    android:shape="oval">
    <size
        android:width="5dp"
        android:height="5dp" />
    <solid android:color="#80011627" />
</shape>
同時,加上了個size標籤,用來定義寬高,這樣才會顯示出圓形,不然就是橢圓
這裡size標籤寬高似乎可以是任意值,因為是向量,應用到View中會自動伸縮
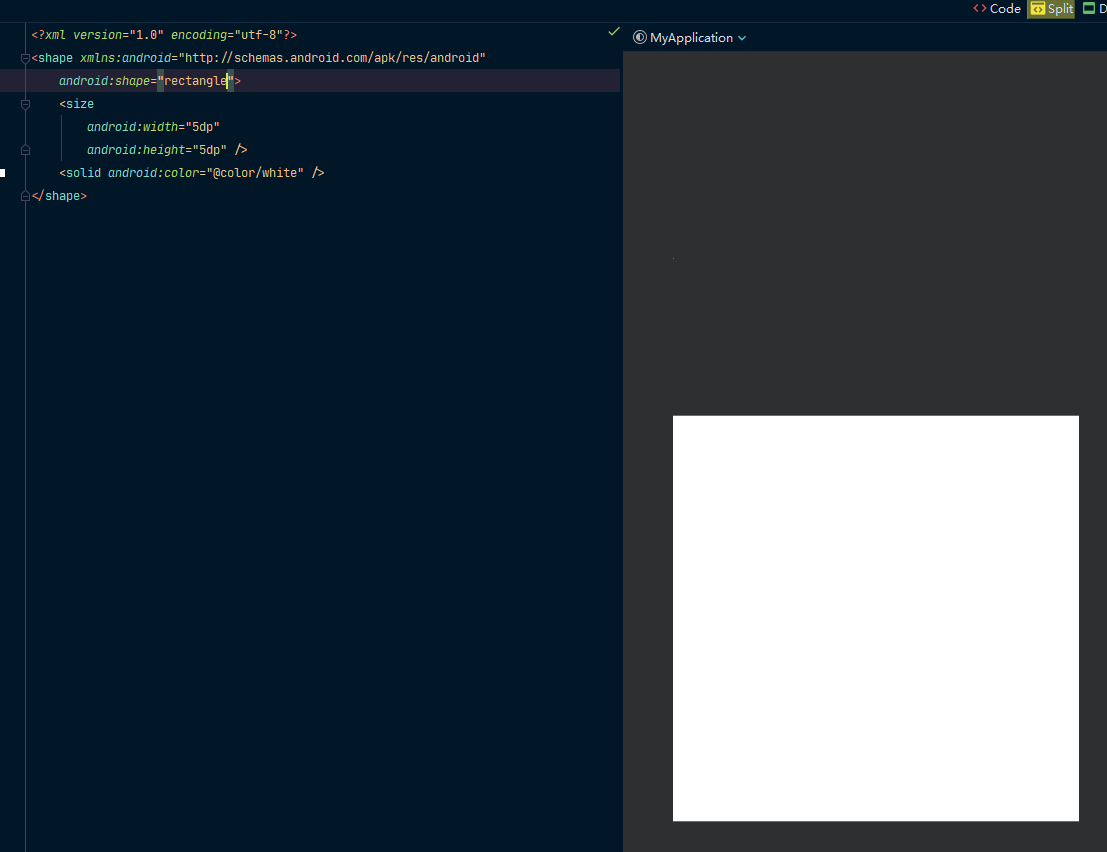
PS:同理,如果想要正方形,設定shape屬性了rectangle,同時加上size標籤即可,如下圖
ripple 水波紋
水波紋,需要用ripple標籤,不過只支援Android5.0以上的版本,寫法如下
<?xml version="1.0" encoding="utf-8"?>
<ripple xmlns:android="http://schemas.android.com/apk/res/android"
        xmlns:tools="http://schemas.android.com/tools"
        android:color="@color/colorPrimary"
        tools:targetApi="lollipop">
    <!--上面的是漣漪(水波紋)的顏色-->
    <!--下面的則是背景色-->
    <item>
        <shape android:shape="rectangle">
            <solid android:color="@color/colorAccent" />
            <corners android:radius="4dp" />
        </shape>
    </item>
</ripple>
使用的話,View中background屬性參照上面的xml檔案即可
在自定義
<ripple/>時,我們一般把它放到 drawable-v21 資料夾下, 在drawable資料夾下放置相容低版本的普通 Drawable 檔案,如<shape/>或者<selector/>。
selector 標籤
有時候需要自定義下按鈕的點選變化背景等樣式,就可以用到此標籤來定義相關的點選變化效果
常用屬性如下表所示:
| 屬性 | 說明 |
|---|---|
| state_pressed | 設定是否按壓狀態,一般在true時設定該屬性,表示已按壓狀態,預設為false |
| state_selected | 設定是否選中狀態,true表示已選中,false表示未選中 |
| state_checkable | 設定是否勾選狀態,主要用於CheckBox和RadioButton,true表示已被勾選,false表示未被勾選 |
| state_checked | 設定勾選是否可用狀態,類似state_enabled,只是state_enabled會影響觸控或點選事件,state_checkable影響勾選事件 |
| state_focused | 設定是否獲得焦點狀態,true表示獲得焦點,預設為false,表示未獲得焦點 |
| state_enabled | 設定觸控或點選事件是否可用狀態,一般只在false時設定該屬性,表示不可用狀態 |
文字選中變色範例
<?xml version="1.0" encoding="utf-8"?>
<selector xmlns:android="http://schemas.android.com/apk/res/android">
    <!--選中的顏色-->
    <item android:color="@color/read_dot_bg" android:state_checked="true" />
    <!--未選中的顏色 -->
    <item android:color="@color/black" android:state_checked="false" />
    <!--預設的顏色-->
    <item android:color="@color/black" />
</selector>
checkbox選中效果變化範例
<?xml version="1.0" encoding="utf-8"?>
<selector xmlns:android="http://schemas.android.com/apk/res/android">
    <!--選中的背景-->
    <item android:drawable="@drawable/radio_background_checked" android:state_checked="true" />
    <!--未選中背景 -->
    <item android:drawable="@drawable/radio_background_uncheck" android:state_checked="false" />
    <!--預設的背景-->
    <item android:drawable="@drawable/radio_background_normal" />
</selector>
補充
關於透明色效果
透明色是定義在#後面前面的兩個數值,是十六進位制
PS:注意,似乎也有規則是在後面加上兩位數值代表透明度
如:#011627 -> #80011627透明色
其中80即為透明度的十六進位制,表示透明度為50%,可以參考下面透明度大全表格
<solid
    android:color="#4DFFFFF2">
</solid>
透明度大全
不透度對應16進位制大全(0-100)
| 不透明度 | 16進位制 |
|---|---|
| 0% | 00 |
| 1% | 03 |
| 2% | 05 |
| 3% | 08 |
| 4% | 0A |
| 5% | 0D |
| 6% | 0F |
| 7% | 12 |
| 8% | 14 |
| 9% | 17 |
| 10% | 1A |
| 11% | 1C |
| 12% | 1F |
| 13% | 21 |
| 14% | 24 |
| 15% | 26 |
| 16% | 29 |
| 17% | 2B |
| 18% | 2E |
| 19% | 30 |
| 20% | 33 |
| 21% | 36 |
| 22% | 38 |
| 23% | 3B |
| 24% | 3D |
| 25% | 40 |
| 26% | 42 |
| 27% | 45 |
| 28% | 47 |
| 29% | 4A |
| 30% | 4D |
| 31% | 4F |
| 32% | 52 |
| 33% | 54 |
| 34% | 57 |
| 35% | 59 |
| 36% | 5C |
| 37% | 5E |
| 38% | 61 |
| 39% | 63 |
| 40% | 66 |
| 41% | 69 |
| 42% | 6B |
| 43% | 6E |
| 44% | 70 |
| 45% | 73 |
| 46% | 75 |
| 47% | 78 |
| 48% | 7A |
| 49% | 7D |
| 50% | 80 |
| 51% | 82 |
| 52% | 85 |
| 53% | 87 |
| 54% | 8A |
| 55% | 8C |
| 56% | 8F |
| 57% | 91 |
| 58% | 94 |
| 59% | 96 |
| 60% | 99 |
| 61% | 9C |
| 62% | 9E |
| 63% | A1 |
| 64% | A3 |
| 65% | A6 |
| 66% | A8 |
| 67% | AB |
| 68% | AD |
| 69% | B0 |
| 70% | B3 |
| 71% | B5 |
| 72% | B8 |
| 73% | BA |
| 74% | BD |
| 75% | BF |
| 76% | C2 |
| 77% | C4 |
| 78% | C7 |
| 79% | C9 |
| 80% | CC |
| 81% | CF |
| 82% | D1 |
| 83% | D4 |
| 84% | D6 |
| 85% | D9 |
| 86% | DB |
| 87% | DE |
| 88% | E0 |
| 89% | E3 |
| 90% | E6 |
| 91% | E8 |
| 92% | EB |
| 93% | ED |
| 94% | F0 |
| 95% | F2 |
| 96% | F5 |
| 97% | F7 |
| 98% | FA |
| 99% | FC |
| 100% | FF |


