通過一個實戰,來看看PWA怎麼應用於Angular專案

PWA 有如下一些優點:
- 無連線(offline)狀態下的可用性
- 載入速度快
- 螢幕快捷方式
如果情況允許,還是推薦大家將其用於專案中的,提升效能,也提升使用者的體驗。
更加詳細的說明,可以檢視 MDN PWA。Talk is Cheap 接下來我們就實戰看一下效果。【相關教學推薦:《》】
1 準備工作
npm i -g @angular/cli@latest
ng new pwa-demo
# npm i -g json-server
# npm i -g http-server
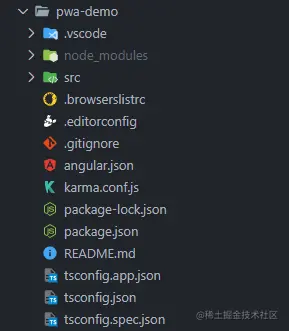
修改 package.json 方便我們啟動專案
{
  ....,
  "scripts": {
    ...,
    "json": "json-server data.json -p 8000",
    "build:pwa": "ng build",
    "start:pwa": "http-server -p 8001 -c-1 dist/pwa-demo"
  }
}
新建一個 data.json 檔案來模擬資料,放在根目錄即可
{
  "posts": [{ "id": 1, "title": "json-server", "author": "typicode" }],
  "comments": [{ "id": 1, "body": "some comment", "postId": 1 }],
  "profile": { "name": "typicode" }
}
2 寫一個小 demo 來模擬從後端拿資料
ng g s services/data
// data.service.ts
// 記得在 app.module.ts 中引入 HttpClientModule
import { Injectable } from '@angular/core';
import { HttpClient } from '@angular/common/http';
import { Observable } from 'rxjs';

@Injectable({
  providedIn: 'root'
})
export class DataService {
  dataUrl = 'http://localhost:8000/posts';

  constructor(private http: HttpClient) {}

  // 實際專案中最好別用 any,可以根據返回的資料型別定義對應的 interface
  public getPosts(): Observable<any> {
    return this.http.get(this.dataUrl);
  }
}
接下來我們修改 app.component.ts 和 app.component.html
// app.component.ts
import { Component, OnInit } from '@angular/core';
import { DataService } from './services/data.service';

@Component({
  selector: 'app-root',
  templateUrl: './app.component.html',
  styleUrls: ['./app.component.scss']
})
export class AppComponent implements OnInit {
  title = 'pwa-demo';
  posts = [];

  constructor(private dataService: DataService) {}

  ngOnInit(): void {
    this.dataService.getPosts().subscribe((res) => {
      this.posts = res;
    });
  }
}
<div class="app">
<h1>Hello PWA</h1>
<br />
{{ posts | json }}
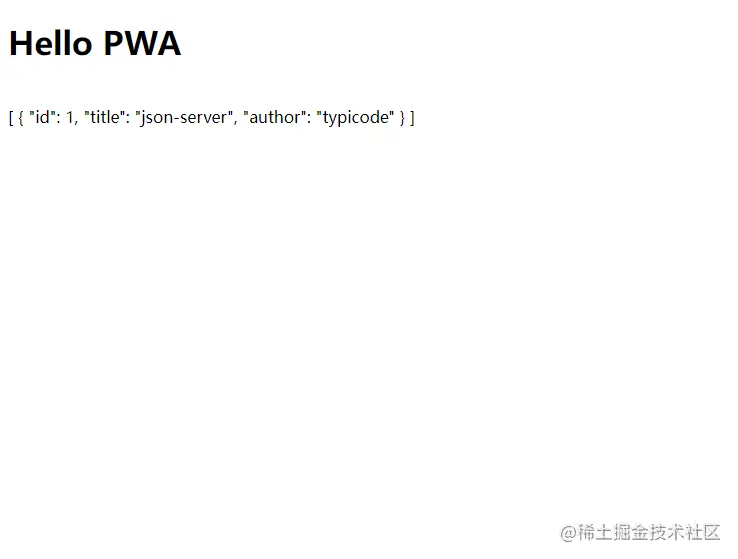
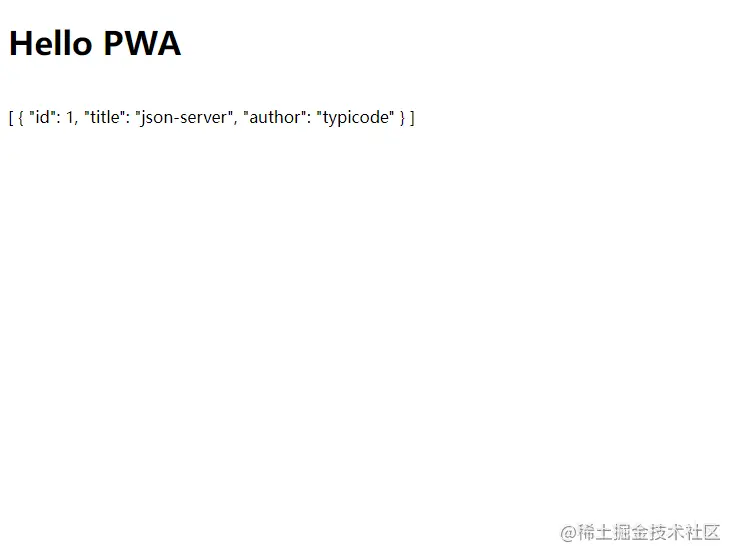
</div>到目前為止如果專案正常啟動起來應該能看到如下頁面
3 斷網
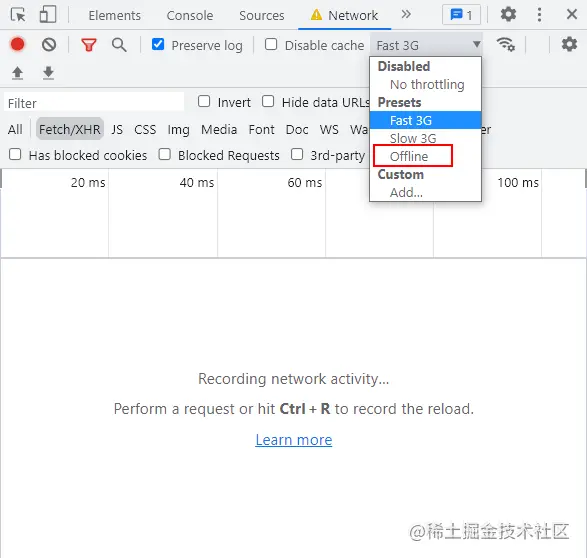
做完了準備工作,現在我們來斷網看看會發生什麼,按 F12 選擇 NetWork 後選擇 Offline。
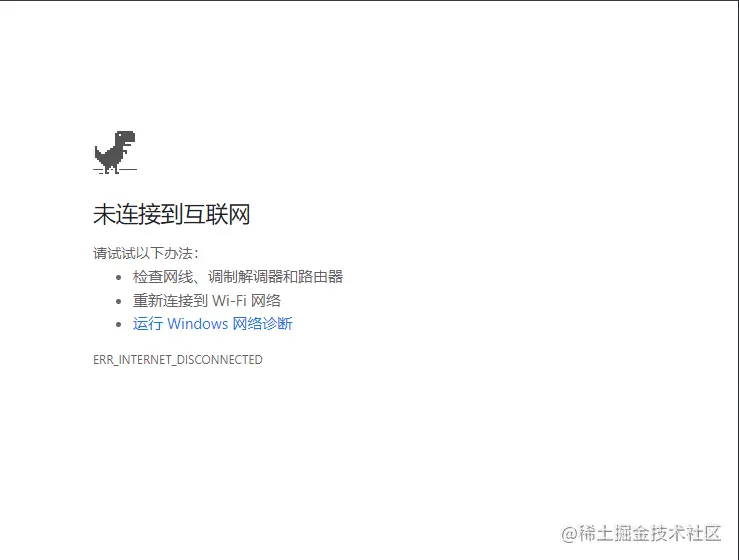
重新整理後會發現我們的頁面已經不能正常載入了
4 PWA 登場
現在就輪到我們的 PWA 登場了。
首先安裝 pwa
ng add @angular/pwa
安裝完成之後大家會發現這些檔案發生了變化
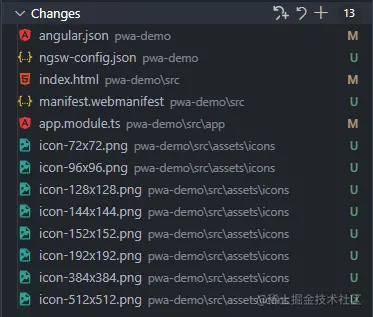
在這裡我們主要關注 ngsw-config.json 這個檔案即可,別的檔案發生的變化都很好理解,大家一看便知
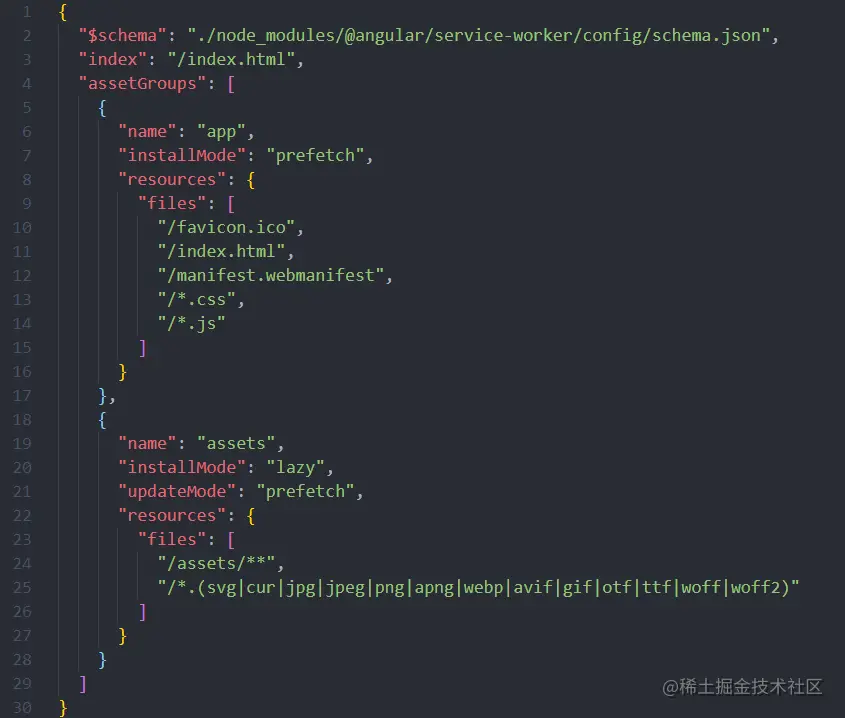
在這個檔案中定義了這些要被快取的檔案:
- favicon.ico
- index.html
- manifest.webmanifest
- JS and CSS bundles
- 所有在 assets 下的檔案
接下來我們將請求的介面設定到 ngsw-config.json 中來,更多的設定可以參考 Angular Service Worker Configuration
{
  ...,
  "dataGroups": [
    {
      "name": "api-posts",
      "urls": ["/posts"],
      "cacheConfig": {
        "maxSize": 100,
        "maxAge": "5d"
      }
    }
  ]
}
設定完成之後重新構建我們的專案 npm run build:pwa
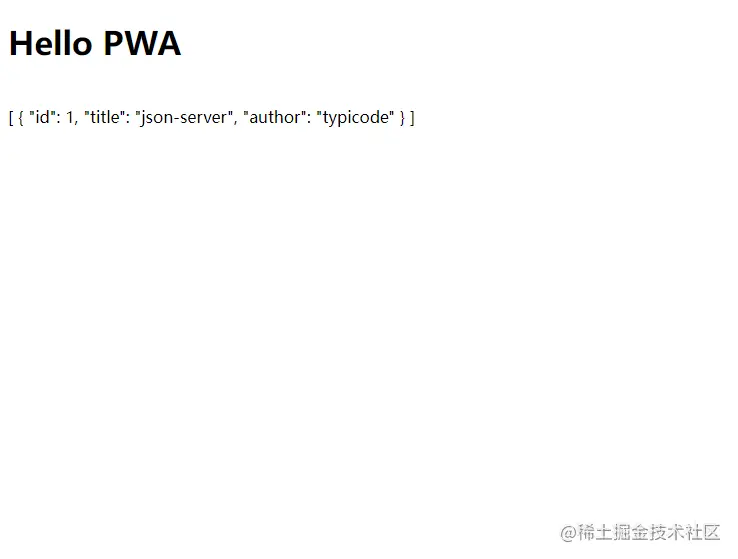
構建完成之後再通過 npm run start:pwa 來啟動我們的專案,啟動成功後開啟 http://127.0.0.1:8001 應該能夠看到
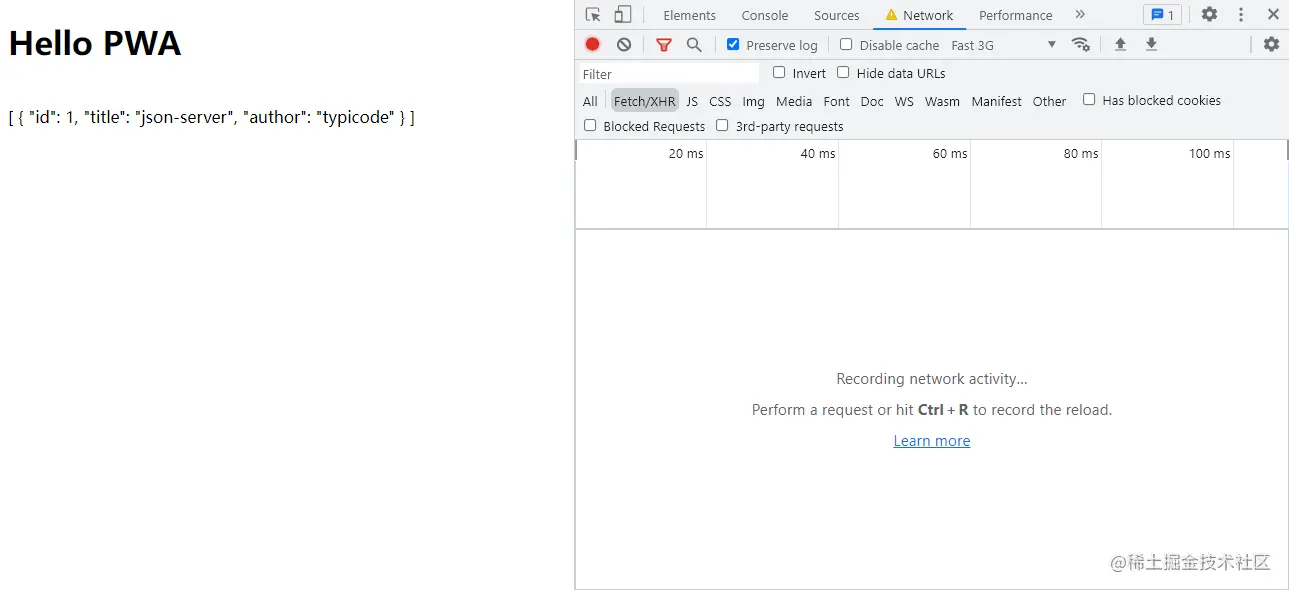
一樣的我們重複前面的步驟,將網路斷開再重新重新整理,你會發現頁面依舊能夠正常的載入出來。
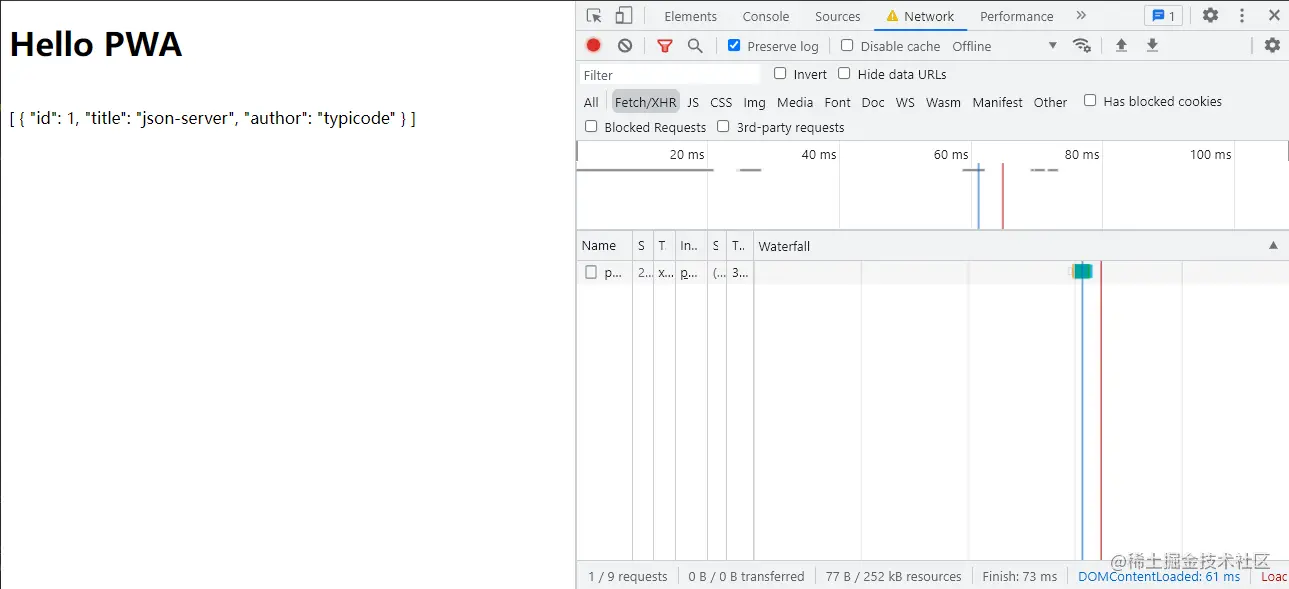
我們再來測試一下我們的快取,按照下面的步驟來試一下
- 先開啟一個無痕瀏覽視窗
- npm run start:pwa 啟動,並開啟頁面
- 關掉標籤(注意是頁籤,不能關閉瀏覽器哦),關掉 http-server
- 對 app.component.html 做一些更改
- 重新 build 後再用 http-server 啟動,開啟頁面。
第一次啟動的結果
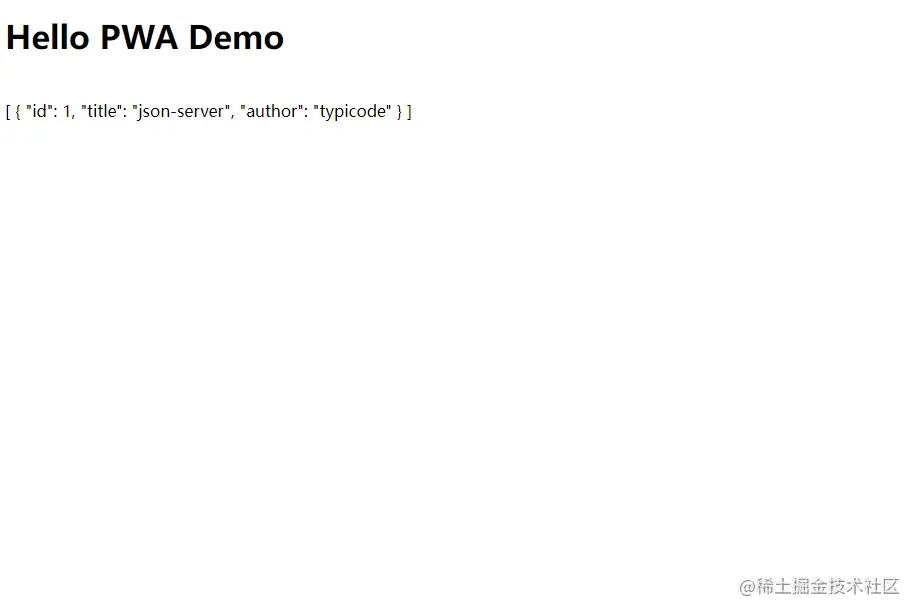
更改 app.component.html 中文字為 Hello PWA Demo,再次執行 npm run build:pwa && npm run start:pwa 再開啟 http://127.0.0.1:8001 會發現結果並沒有改變
此時我們再重新整理一下,會發現頁面重新整理成了我們更改之後的
5 總結
更多相關的說明還是推薦大家參考 Angular 官方,對於相關的設定參考 Service Work Configuration。希望這篇文章能夠幫助到大傢伙提升前端頁面的效能和體驗。同樣的 Angular 還有一項功能 App Shell,其功能與我們這次提到的 PWA 類似,有興趣的大家也可以去了解一下:)。
DevUI:體驗讓世界更美好!
更多程式設計相關知識,請存取:!!
以上就是通過一個實戰,來看看PWA怎麼應用於Angular專案的詳細內容,更多請關注TW511.COM其它相關文章!