聊聊 vue2.x + turn.js 如何實現翻書效果
2022-01-17 22:00:21

vue中使用turn.js
效果先覽:

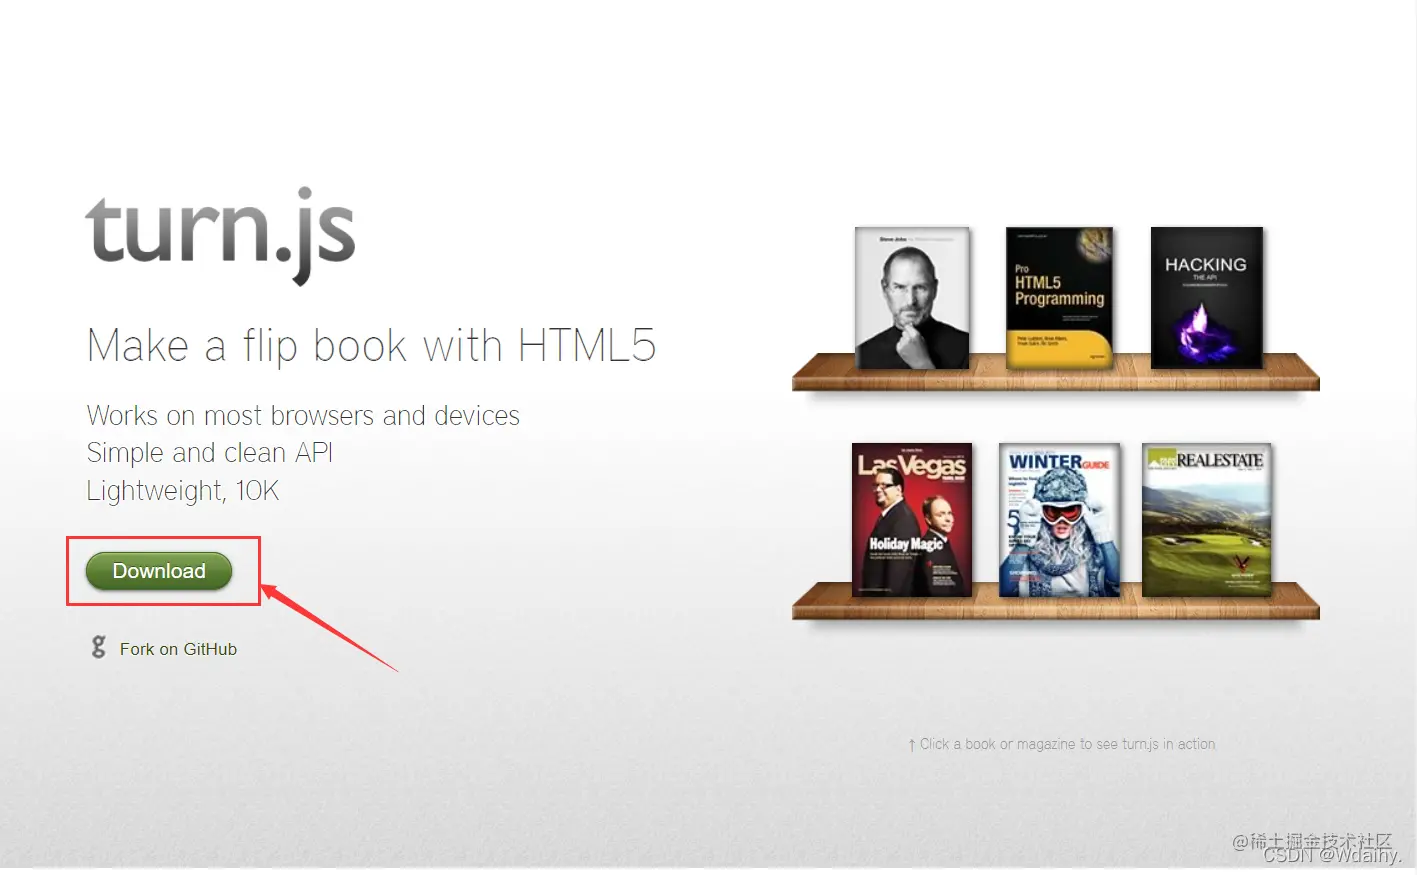
官方網站下載原始碼:http://turnjs.com/

找到裡面的檔案 lib/turn.js

放到新建的utils檔案裡面

Turn.js是使用了jquery書寫的,使用vue中要引入jquery
npm install --save jquery
新建vue.config.js組態檔
const webpack = require('webpack')
module.exports = {
    chainWebpack: config => {
        //引入ProvidePlugin
        config.plugin("provide").use(webpack.ProvidePlugin, [{
            $: "jquery",
            jquery: "jquery",
            jQuery: "jquery",
            "window.jQuery": "jquery",
        }, ]);
    },
}
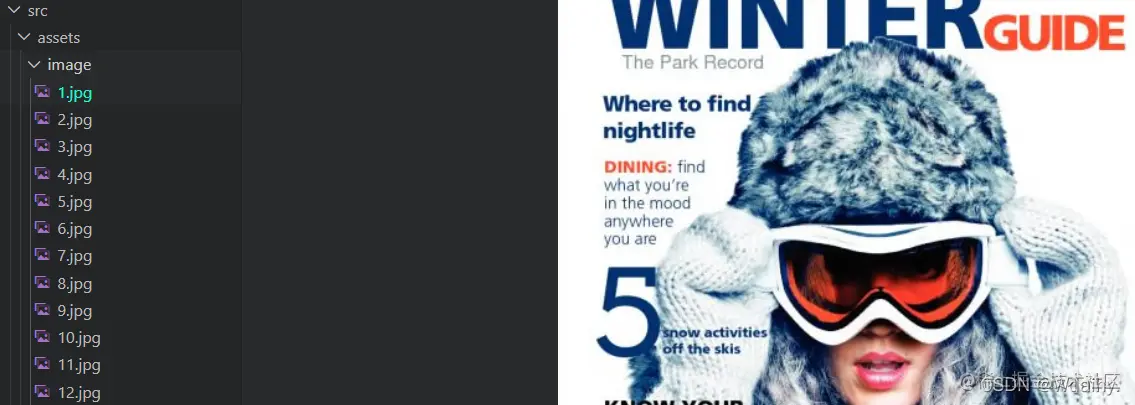
我把官方檔案引入到本地圖片檔案使用

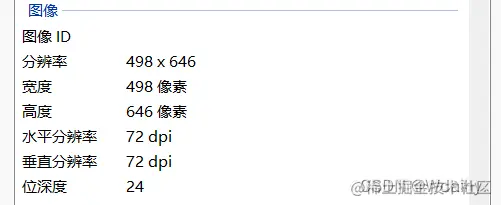
檢視檔案的畫素,在設定寬高的時候width是2倍 height不變。

使用vue檔案內容
<template>
  <div>
    <div>
      <div id="flipbook">
          <div v-for="(item) in imgUrl" :key="item.index"
          :style="`
          background:url(${item.imgurl}) no-repeat 100% 100%

          `"
          >
          </div>
      </div>
    </div>
  </div>


</template>

<script>
//turn.js
import turn from '../utils/turn.js'

export default {
  name: 'Home',
  data(){
    return{
        imgUrl:[
          {imgurl:'image/1.jpg',index:1},
          {imgurl:'image/2.jpg',index:2},
          {imgurl:'image/3.jpg',index:3},
          {imgurl:'image/4.jpg',index:4},
          {imgurl:'image/5.jpg',index:5},
          {imgurl:'image/6.jpg',index:6},
          {imgurl:'image/7.jpg',index:7},
          {imgurl:'image/8.jpg',index:8},
          {imgurl:'image/9.jpg',index:9},
          {imgurl:'image/10.jpg',index:10},
          {imgurl:'image/11.jpg',index:11},
          {imgurl:'image/12.jpg',index:12},
        ]
    }
  },
  methods:{
      onTurn(){
        this.$nextTick(()=>{
        $("#flipbook").turn({
        autoCenter: true,
        height:646,
        width:996,
        });
        })

      }
  },
  mounted(){
   this.onTurn();
  }
}
</script>
<style>
  *{
    margin: 0;
    padding: 0;
  }
  .home{
    width: 100vw;
    height: 100vh;
    .turnClass{
      display: flex;
      margin: 0px auto;
      width: 996px;
      height: 646px;
      padding: calc((100vh - 646px)/2) 0;
      overflow: hidden;
    }
  }
</style>
效果圖片:

【相關推薦:】
以上就是聊聊 vue2.x + turn.js 如何實現翻書效果的詳細內容,更多請關注TW511.COM其它相關文章!