【Unity3D日常開發】Unity3D中實現向Web伺服器上傳圖片以及下載圖片功能
2022-01-07 17:00:02
推薦閱讀
大家好,我是佛系工程師☆恬靜的小魔龍☆,不定時更新Unity開發技巧,覺得有用記得一鍵三連哦。
一、前言
今天分享一下從搭建web伺服器,到向伺服器傳送圖片,以及載入圖片的整體實現。
因為是Demo演示,所以儘可能的簡單、詳細且實用,有什麼錯誤敬請指正。
先看一下效果圖:
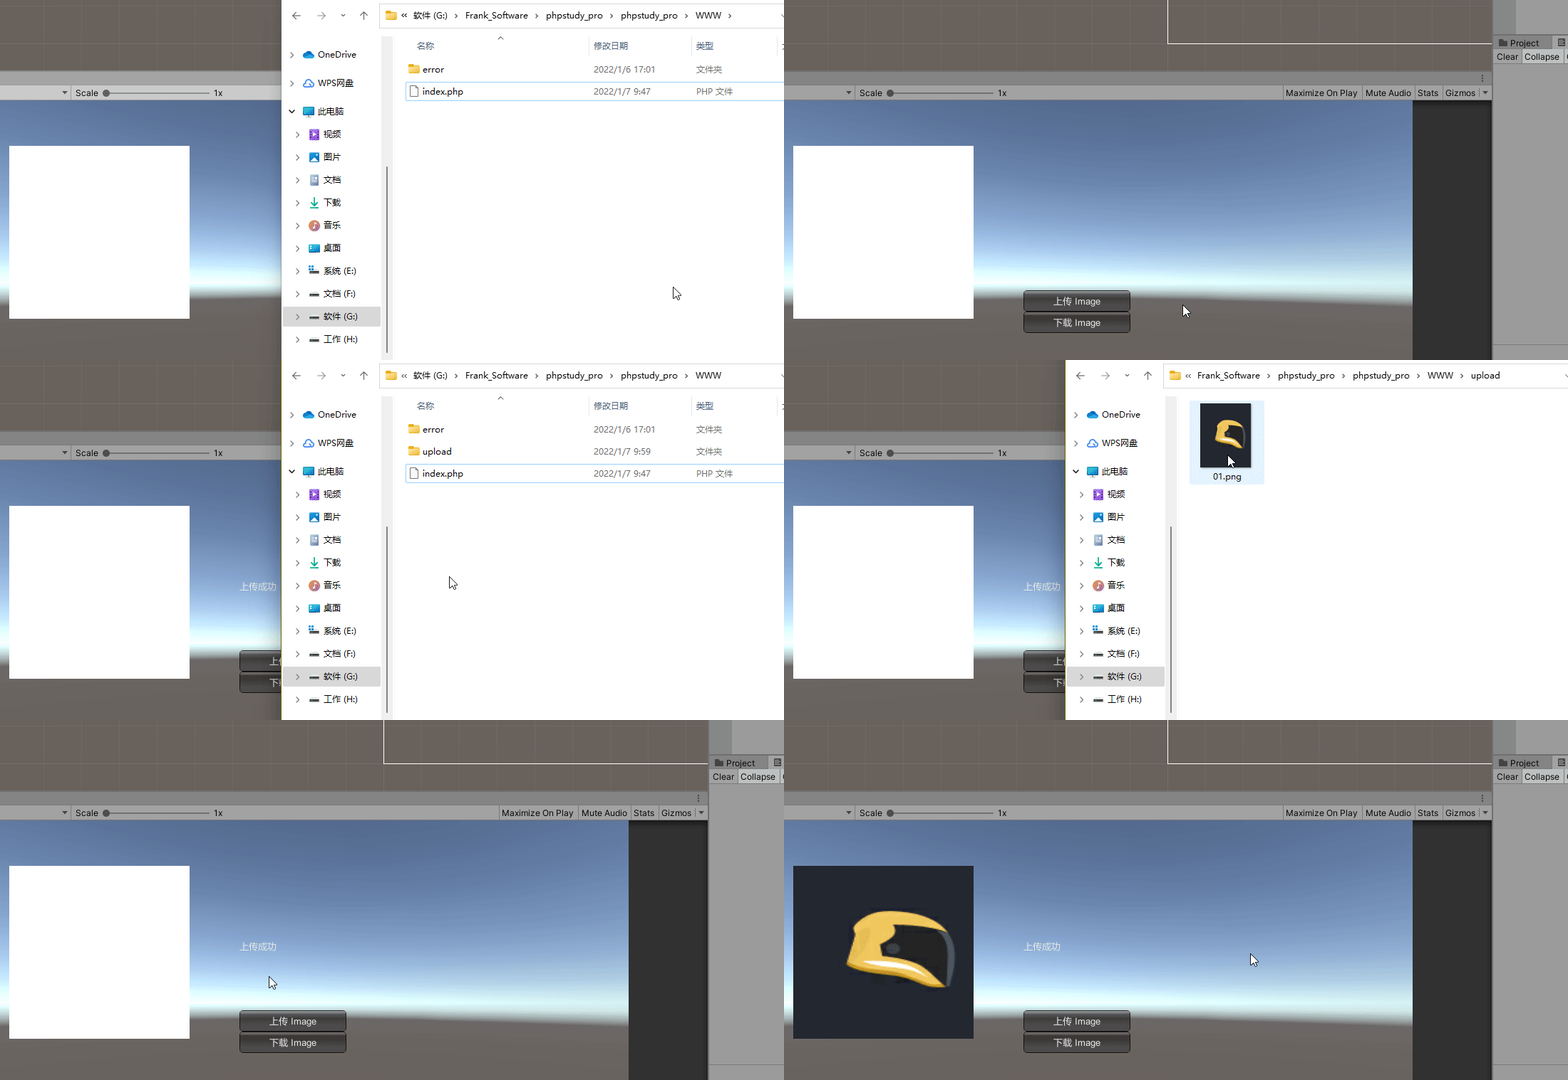
文章參考:Unity向Web伺服器上傳和下載圖片
二、搭建PHP伺服器
搭建PHP伺服器還是很簡單的,只需要一個軟體phpStudyPHP整合環境。
phpStudy支援LAMP(Linux+Apache+MySQL+PHP)、WAMP(Windows+Apache+MySQL+PHP)
LAMP和WAMP都是指一組用來搭建動態網站或者伺服器的開源軟體,軟體自身都是獨立的程式。
因為常常放到一起使用,所以擁有較高的相容性,共同組合乘一個強大的Web應用程式平臺。
首先,去PhpStudy官網下載安裝包:
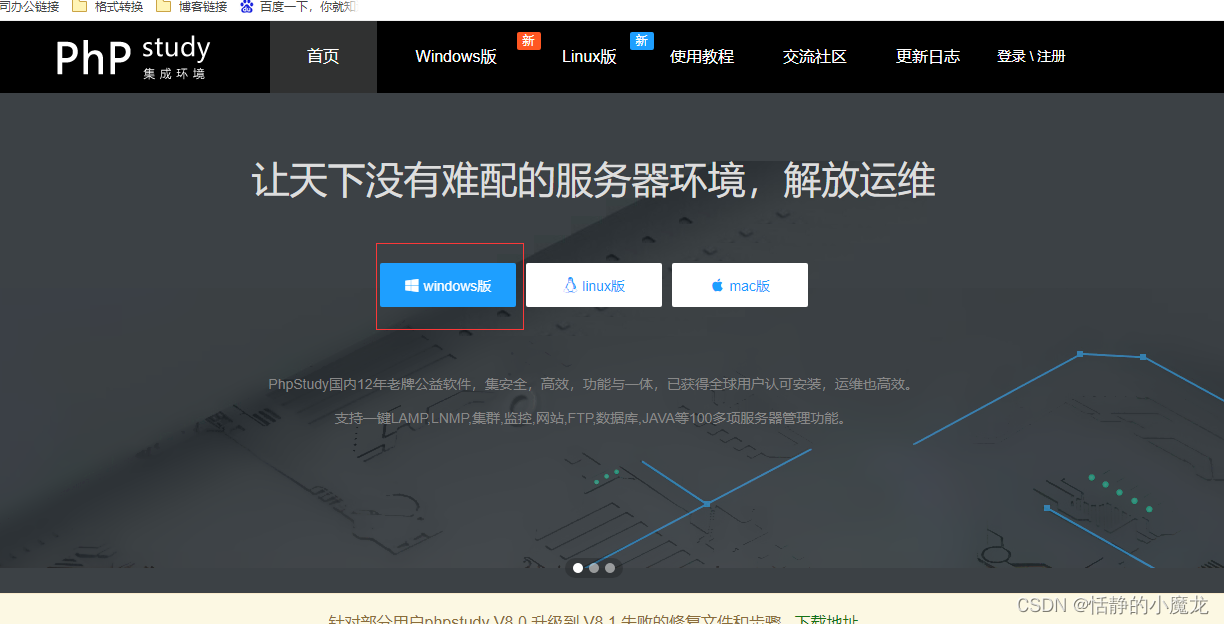
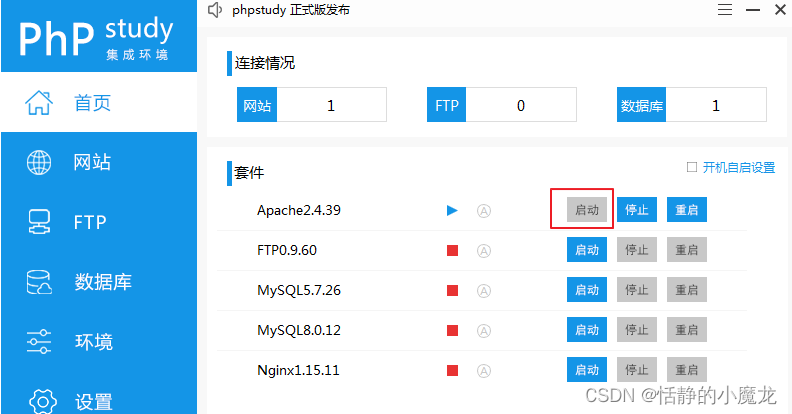
正常安裝完,開啟程式,執行Apache:
切換到網站面板,點選管理,在下拉式選單中選擇開啟網站:
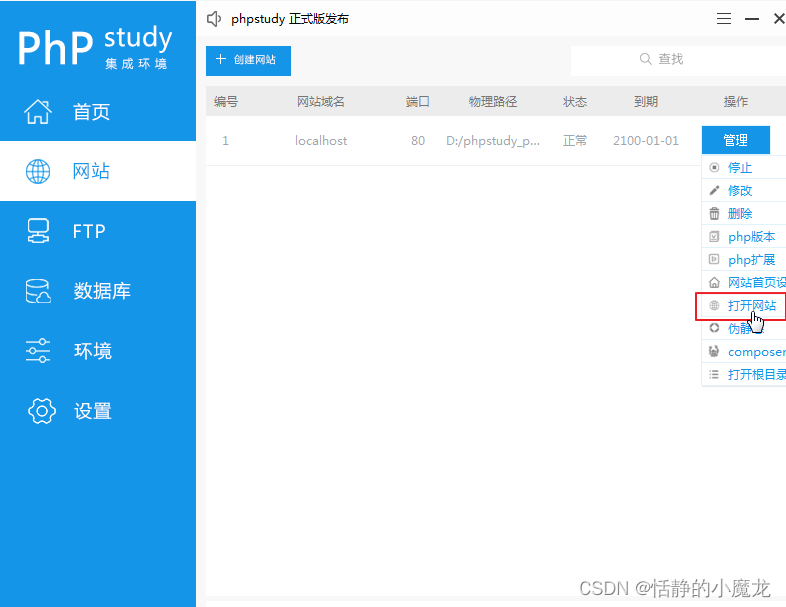
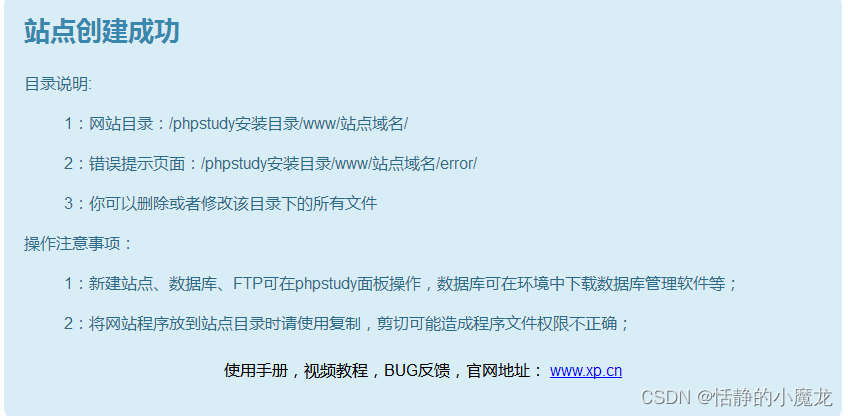
看到歡迎介面說明phpStudy安裝並啟動成功:
切換到網站面板,點選管理,在下拉式選單中選擇開啟根目錄:
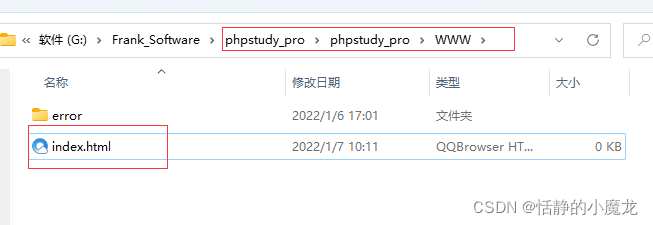
刪除index.html,新建index.php,用文字編輯器開啟index.php,修改php程式碼:
<?php
if(isset($_FILES['ImgData']))//判斷有沒有指定欄位
{
	$folder=$_POST["folder"];//資料夾名 upload
	$fileName=$_FILES["ImgData"]["name"];//檔名 xxx.jpg
	$tmp=$_FILES["ImgData"]["tmp_name"];//臨時儲存的檔名  C:\Windows\php251.tmp
	$fil=$folder.'/'.$fileName;//檔案路徑 upload/001.png

	if(file_exists($folder))//判斷有沒有這個資料夾
	{
		if(file_exists($fil))//判斷有沒有這個檔案
		{
			unlink($fil);//刪除檔案
			move_uploaded_file($tmp,$fil);//上傳
		}
		else
		{
			move_uploaded_file($tmp,$fil);//沒檔案直接上傳
		}
	}
	else
	{
		mkdir($folder,0777);//新建資料夾
		move_uploaded_file($tmp,$fil);//上傳檔案
	}
	echo $fil;
}
?>
註釋標記比較清楚,如果想要學習php的也可以理解一下php程式碼。
其實語言都是相通的,可以多學習一下其他語言。
三、搭建Unity場景
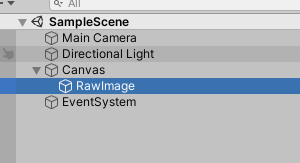
新建一個RawImage:
新建一個指令碼,命名為WebManager,雙擊開啟指令碼編輯指令碼:
using System.Collections;
using UnityEngine;
using UnityEngine.Networking;
using UnityEngine.UI;

public class WebManager : MonoBehaviour
{
    public RawImage myRaw;
    public Texture2D m_uploadImage;
    string m_info = "";
    string imgPath = "";

    //圖片上傳伺服器
    IEnumerator IRequestPic(string imgName)
    {
        string url = "http://127.0.0.1:80/index.php";//這裡需要注意一下phpStudy中的埠號
        WWWForm form = new WWWForm();
        form.AddField("folder", "upload");
        form.AddBinaryData("ImgData", m_uploadImage.EncodeToPNG(), imgName + ".png", "image/png");
        UnityWebRequest req = UnityWebRequest.Post(url, form);
        yield return req.SendWebRequest();
        if (req.isHttpError || req.isNetworkError)
        {
            m_info = "上傳失敗";
        }
        if (req.isDone && !req.isHttpError)
        {
            m_info = "上傳成功";
            imgPath = req.downloadHandler.text;
        }
    }

    //伺服器下載圖片
    IEnumerator DownLoadPic()
    {
        string url = "http://127.0.0.1:80/" + imgPath;
        using (UnityWebRequest request = new UnityWebRequest(url))
        {
            //下載影象作為紋理使用
            DownloadHandlerTexture texDl = new DownloadHandlerTexture(true);
            request.downloadHandler = texDl;
            yield return request.SendWebRequest();
            if (request.isHttpError || request.isNetworkError)
            {
                m_info = request.error;
            }
            else
            {
                myRaw.texture = texDl.texture;
            }
        }
    }

    private void OnGUI()
    {
        GUI.BeginGroup(new Rect(Screen.width * 0.5f - 100, Screen.height * 0.5f - 100, 500, 200), "");
        GUI.Label(new Rect(10, 10, 400, 30), m_info);
        if (GUI.Button(new Rect(10, 110, 150, 30), "上傳 Image"))
        {
            StartCoroutine(IRequestPic("01"));
        }
        if (GUI.Button(new Rect(10, 140, 150, 30), "下載 Image"))
        {
            StartCoroutine(DownLoadPic());
        }
        GUI.EndGroup();
    }
}
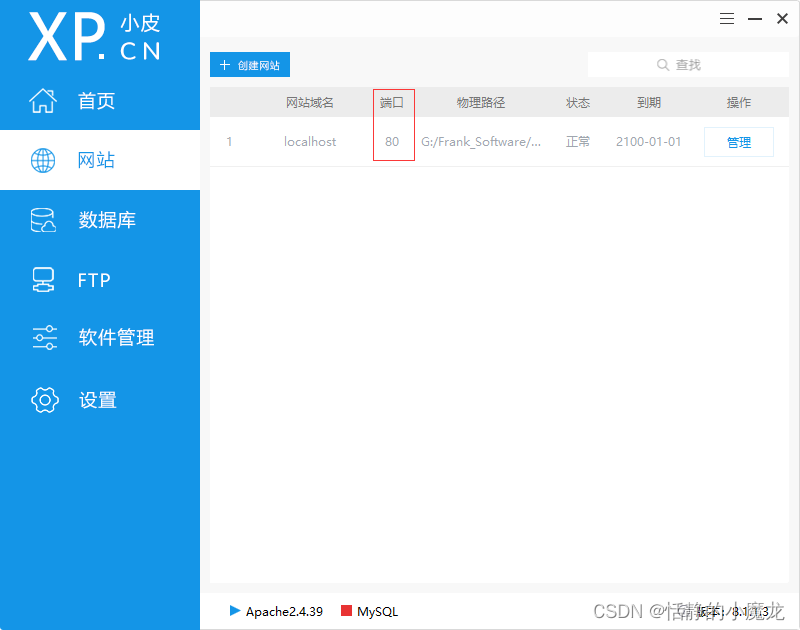
主要注意一下埠號:80,不同的可能會有區別,開啟phpStudy,切換到網站面板可以看到埠號:
執行程式,就可以上傳圖片和下載圖片了。