linux軟體包管理-原始碼編譯
linux的進階篇
文章目錄
一,原始碼包的基本描述
- 在linux環境下面安裝原始碼包是比較常見的, 早期運維管理工作中,大部分軟體都是通過原始碼安裝的。那麼安裝一個原始碼包,是需要我們自己把原始碼編譯成二進位制的可執行檔案。
- 原始碼包的編譯用到了linux系統裡的編譯器,通常原始碼包都是用C語言開發的,這也是因為C語言為linux上最標準的程式語言。Linux上的C語言編譯器叫做gcc,利用它就可以把C語言變成可執行的二進位制檔案。所以如果你的機器上沒有安裝gcc就沒有辦法去編譯原始碼。可以使用yum -y install gcc來完成安裝。
二,原始碼包的優點
- 1,自定義修改原始碼
- 2,客製化需要的相關功能
- 3,新版軟體優先使用更新原始碼
三,原始碼包的獲取方式
- 官方網站,獲取最新的軟體包
- Apahce官方網站
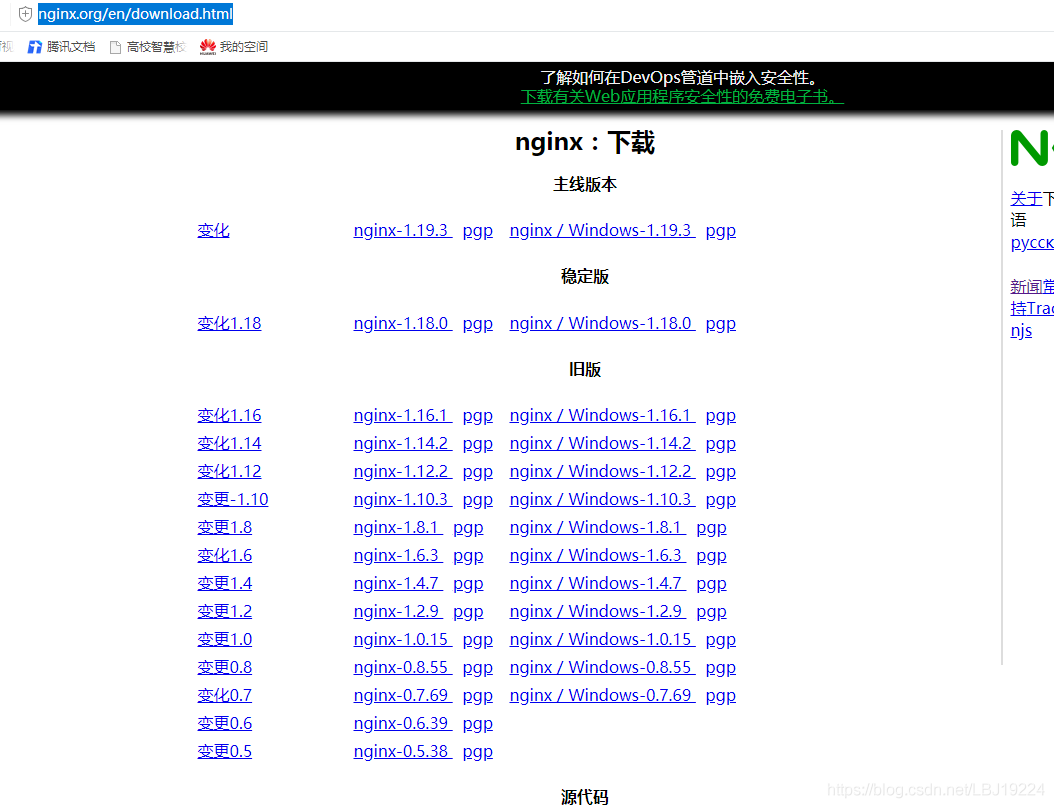
- Nginx官方網站
- Mysql官方網站
四,原始碼包分類
- 原始碼格式(需要編譯安裝)
- 二進位制格式(解壓後可以直接使用)
五, 原始碼包的安裝
-
編譯需要編譯環境,開發環境,開發庫,開發工具。
常用的編譯環境有c、c++、perl、java、python5種
c環境的編譯器:gcc(GNU C Complier)
c++環境的編譯器:g++ -
make(進行編譯的動作)編譯命令:c、c++的統一專案管理工具,編譯時有可能呼叫gcc也有可能呼叫g++。使用makefile檔案定義make按何種次序去編譯源程式檔案中的源程式
-
原始碼安裝三部曲(常見):
- 第一步: ./configure(客製化元件)
1.指定安裝路徑,例如 – prefix=/opt/nginx-1.12
2.啟用或禁用某項功能, 例如 --enable-ssl
3.和其它軟體關聯,例如–with-pcre
4.檢查安裝環境,例如是否有編譯器 gcc,是否滿足軟體的依賴需求
5.檢測通過後生成Makefile檔案 - 第二步: make
1.執行make命令進行編譯, 可以使用-j指定CPU核心數進行編譯
2.按Makefile檔案進行編譯, 編譯成可執行二進位制檔案
3.生成各類模組和主程式 - 第三步: make install
1.按Makefile定義好的路徑拷貝至安裝目錄中
上面介紹的原始碼三部曲不能百分百通用於所有原始碼包, 也就是說原始碼包的安裝並非存在標準安裝步驟,但是大部分原始碼安裝都是類似的步驟
建議:
拿到原始碼包解壓後,然後進入到目錄找相關的幫助檔案,通常會以INSTALL或者README為檔名
- 第一步: ./configure(客製化元件)
5.1 configure指令碼的功能
- 讓使用者選定編譯特性
- 檢查編譯環境是否符合程式編譯的基本需要
5.2 編譯安裝注意事項
-
a,如果安裝時不是使用的預設路徑,則必須要修改PATH環境變數,以能夠識別此程式的二進位制檔案路徑;
修改/etc/profile檔案或在/etc/profile.d/目錄建立一個以.sh為字尾的檔案,在裡面定義export PATH=$PATH:/path/to/somewhere-
增添環境變數,使得nginx原始碼包命令服務使用的更加方便。
- 第一步:echo ‘export PATH=/usr/local/nginx/sbin:$PATH’ > /etc/profile.d/nginx.sh 將安裝的nginx目錄的nginx命令新增到環境變數中,使得我們提取命令時更加方便,
- 第二步:source /etc/profile.d/nginx.sh //將上面寫入的環境變數加入到系統的環境變數中
- 第三步:echo $PATH //檢視當前的環境變數
- 第四步:nginx 執行命令
- 第五步:Ss -antl 檢視系統偵聽的埠,相應服務啟動的埠是否正在被偵聽。
-
-
b,預設情況下,系統搜尋庫檔案的路徑只有/lib,/usr/lib
-
增添額外庫檔案搜尋路徑方法:
在/etc/ld.so.conf.d/中建立以.conf為字尾名的檔案,而後把要增添的路徑直接寫至此檔案中。此時庫檔案增添的搜尋路徑重新啟動後有效,若要使用增添的路徑立即生效則要使用ldconfig命令
-
ldconfig:通知系統重新搜尋庫檔案

-
/etc/ld.so.conf和/etc/ls.so.conf.d/*.conf //組態檔
-
/etc/ld.so.cache //快取檔案
-v //顯示重新搜尋庫的過程
-p //列印出系統啟動時自動載入並快取到記憶體中的可用庫檔名及檔案路徑對映關係
-
-
-
c,標頭檔案:輸出給系統
預設:系統在/usr/include中找標頭檔案,若要增添標頭檔案搜尋路徑,使用連結進行
man檔案路徑:安裝在–prefix指定的目錄下的man目錄- 通過連結生成標頭檔案連結。

- 預設:系統在/usr/share/man中找man檔案。此時因為編譯安裝的時候不是安裝到預設路徑下,如果要查詢man檔案則可以使用以下兩種方法:
man -M /path/to/man_dir command
在/etc/man_db.conf檔案中新增一條MANPATH

- 通過連結生成標頭檔案連結。
5.3 原始碼包編譯範例
- 下面通過編譯安裝nginx來深入理解原始碼包安裝
-
//1.基礎環境準備 [root@localhost ~]# yum -y install gcc gcc-c++ make wget
-
//2.下載原始碼包(原始碼包一定要上官方站點下載,其他站點不安全) [root@localhost ~]# cd /usr/src
[root@localhost src]# wget http://nginx.org/download/nginx-1.12.2.tar.gz -
//3.解壓原始碼包,並進入相應目錄 [root@localhost src]# tar xf nginx-1.12.2.tar.gz
[root@localhost src]# cd nginx-1.12.2 -
//4.設定相關的選項,並生成Makefile [root@localhost nginx-1.12.2]# ./configure --help|head
help選項:
-
| –help | print this message |
|---|---|
| –prefix=PATH | set installation prefix |
| –sbin-path=PATH | set nginx binary pathname |
| –modules-path=PATH | set modules path |
| –conf-path=PATH | set nginx.conf pathname |
| –error-log-path=PATH | set error log pathname |
| –pid-path=PATH | set nginx.pid pathname |
| –lock-path=PATH | set nginx.lock pathname |
//後面的內容省略了,使用 ./configure --help 命令檢視可以使用的選項
//一般常用的有 --prefix=PREFIX 這個選項的意思是定義軟體包安裝到哪裡
//建議,原始碼包都是安裝在/opt/目錄下
- //5.指定編譯引數 [root@localhost nginx-1.12.2]# ./configure --prefix=/opt/nginx-1.12.2
- //6.驗證這一步命令是否成功, 非0的都不算成功 [root@localhost nginx-1.12.2]# echo $?
0 - //7.編譯並安裝 [root@localhost nginx-1.12.2]# make
[root@localhost nginx-1.12.2]# make install
[root@localhost nginx-1.12.2]# echo $? - //8.建立軟連結 [root@localhost nginx-1.12.2]# ln -s /opt/nginx-1.12.2 /opt/nginx
5.4原始碼編譯報錯資訊處理
-
error-1checking for C compiler … not found ./configure: error: C compiler cc is not found
//解決方案
[root@localhost ~]# yum -y install gcc gcc-c++ make -
error-2./configure: error: the HTTP rewrite module requires the PCRE library.
You can either disable the module by using --without-http_rewrite_module
option, or install the PCRE library into the system, or build the PCRE library
statically from the source with nginx by using --with-pcre=option. //解決方案
[root@localhost ~]# yum install -y pcre-devel -
error-3./configure: error: the HTTP gzip module requires the zlib library.
You can either disable the module by using --without-
http_gzip_module option, or install the zlib library into the
system, or build the zlib library statically from the source with
nginx by using --with-zlib=option. //解決方案:
[root@localhost ~]# yum -y install zlib-devel -
error-4./configure: error: SSL modules require the OpenSSL library.
You can either do not enable the modules, or install the OpenSSL
library into the system, or build the OpenSSL library statically
from the source with nginx by using --with-openssl=option. //解決方案
[root@localhost ~]# yum -y install openssl-devel
5.5原始碼編譯安裝之-Nginx
1,準備原始碼包及資料檔案。
- 獲取方式,通過Nginx官網獲取
Nginx

- 下載需要的映象包
- 在xshell下進行下載。
[root@localhost ~]# wget http://103.95.217.6/nginx.org/download/nginx-1.18.0.tar.gz
- 解壓檔案 tar -xf nginx-1.18.0.tar.gz
2,檔案資料準備好後開始進行編譯的三部曲
-
我們首先需要安裝gcc的編譯器,通過命令dnf -y install gcc,否則後續的編譯檔案無法進行。
-
1,執行configure組態檔,
[root@localhost nginx-1.18.0]# ./configure --prefix=/usr/local/nginx
- 執行後可能會提示這樣一個錯誤
./configure: error: the HTTP gzip module requires the zlib library.
You can either disable the module by using --without-http_gzip_module
option, or install the zlib library into the system, or build the zlib library
statically from the source with nginx by using --with-zlib=option. - 解決方法:
安裝zlib所需要的庫:dnf -y install zlib-devel
-
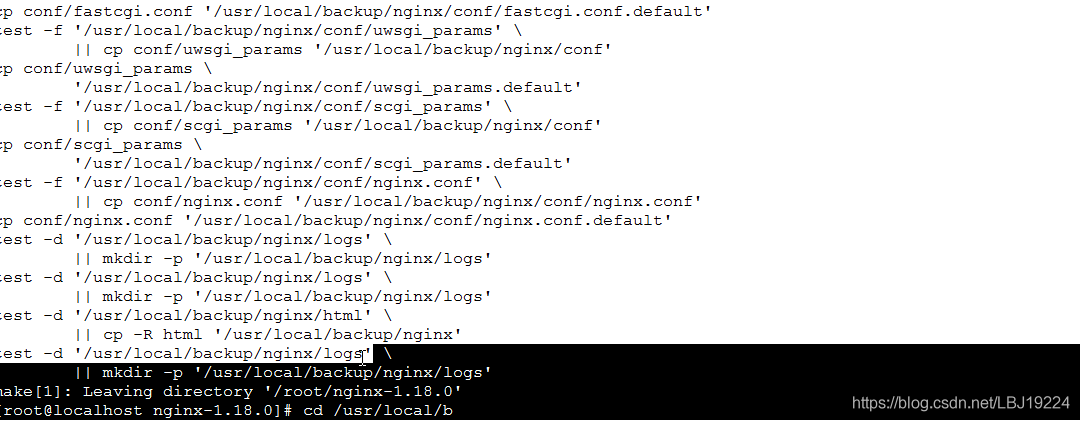
2,執行make命令與make install安裝命令;
安裝成功:

-
3,執行命令,檢視網頁。進入nginx的sbin目錄下。


5.6,原始碼編譯安裝之-Apache
1,準備原始碼包及資料檔案。
- 獲取方式,通過apache官網獲取
Apahce![![]](https://s3.ap-northeast-1.wasabisys.com/img.tw511.com/202010/20201025100951425zf1oao1dmjo.png)
- 下載需要的三個映象檔案包:
- 在xshell下進行下載。

- 現將檔案都拷貝到/usr/local/src存放原始檔的目錄下:
[root@localhost ~]# mv apr-1.6.5.tar.gz apr-util-1.6.1.tar.gz httpd-2.4.46.tar.gz /usr/local/
- 然後在終端下解壓:tar -xf httpd-2.4.46.tar.gz (注意三個檔案都要下載,都要解壓)
2,檔案資料準備好後開始進行編譯的三部曲
-
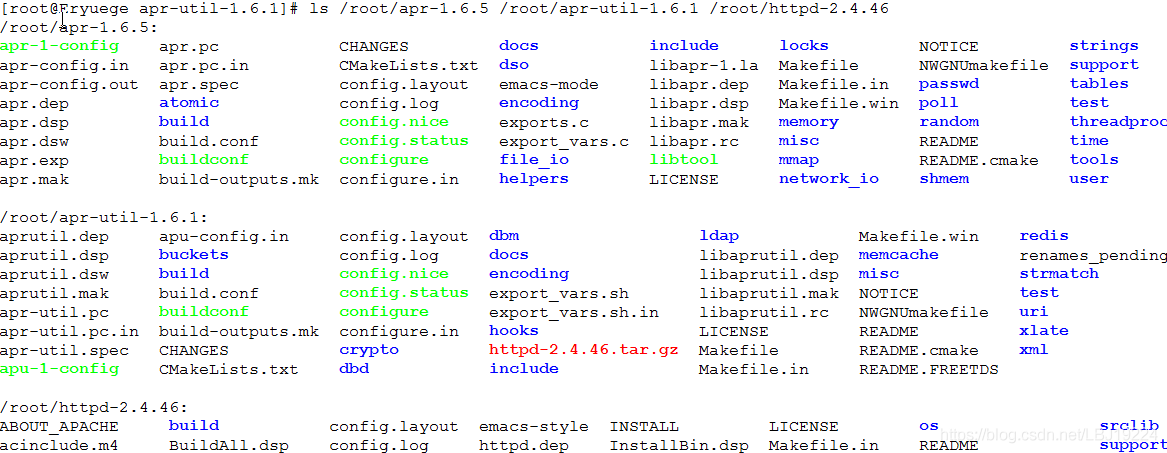
1,資料解壓完後應該看到這三個資料夾。

-
我們首先需要安裝gcc的編譯器,通過命令dnf -y install gcc,否則後續的編譯檔案無法進行。
-
2,首先我們進入apr-1.6.5這個資料夾中,進行編譯安裝;
(注:如果不安裝這個apr代理,在編譯httpd中的./configure檔案時則會出現以下錯誤)
Apache2.4報錯checking for APR… no configure: error: APR not found. Please read the documentation.
所以需要進行編譯Apr代理-
編譯命令:
ttar -zxf apr-1.6.5.tar.gz
cd apr-1.6.5
./configure --prefix=/usr/local/apr
make && make install -
編譯Apr會出現一個問題,在configure指令碼檔案中定義了一個目錄,這個目錄變數需要註釋掉,否則出現以下錯誤:
config.status: executing libtool commands
rm: cannot remove ‘libtoolT’: No such file or directory
-
-
3,其次我們在進行編譯時又會爆出apr-util的錯誤,所以我們又需要對apr-uitl進行編譯安裝:
checking for APR-util… no
configure: error: APR-util not found. Please read the documentation.- 編譯命令 (注,這個時候也會提示一個錯誤。)
tar -zxf apr-util-1.3.12.tar.gz
cd apr-util-1.3.12
./configure --prefix=/usr/local/apr-util -with-apr=/usr/local/apr/bin/apr
make && make install - 提示錯誤。
xml/apr_xml.c:35:10: 致命錯誤:expat.h:沒有那個檔案或目錄
#include <expat.h>
^~~~~~~~~
編譯中斷。
make[1]: *** [/root/apr-util-1.6.1/build/rules.mk:206:xml/apr_xml.lo] 錯誤 1
make[1]: 離開目錄「/root/apr-util-1.6.1」
make: *** [/root/apr-util-1.6.1/build/rules.mk:118:all-recursive] 錯誤 1 - 解決辦法:
dnf -y install expat-devel安裝這個庫檔案。
還可能會報出缺少pcre包,也是同樣的安裝pcre的包組。
- 編譯命令 (注,這個時候也會提示一個錯誤。)
-
4,將apr和apr-util依賴包組安裝完成後,就開始我們的Apache的安裝了
- 進入httpd目錄,進行組態檔的安裝:
[root@localhost httpd-2.4.46]./configure --prefix=/usr/local/apache --with-apr=/usr/local/apr --with-apr-util=/usr/local/apr-util
[root@localhost httpd-2.4.46] make
[root@localhost httpd-2.4.46] make install - 安裝完成後看到以下內容表示Apache已經安裝成功。

- 進入[root@localhost httpd-2.4.46]# /usr/local/apache/bin/apachectl start啟動apache服務。
然後瀏覽網頁。 - 注意,無法存取需要關閉防火牆和selinux的存取控制。

- 進入httpd目錄,進行組態檔的安裝: