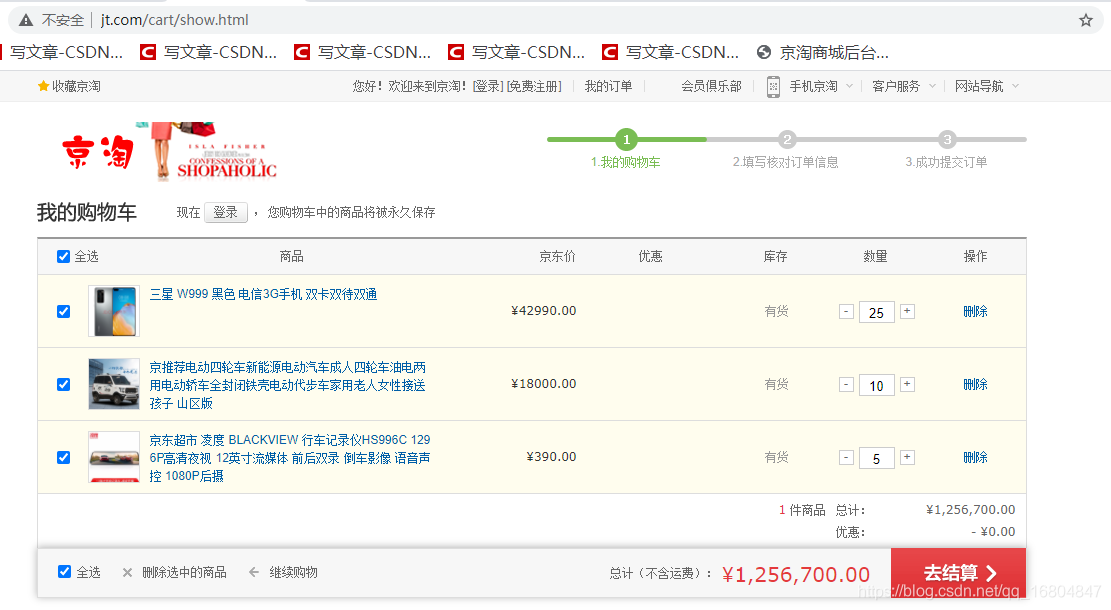
2006-京淘Day19
2020-10-22 11:00:24
1.使用者模組實現
1.1 使用者資訊回顯
1.1.1 頁面URL分析

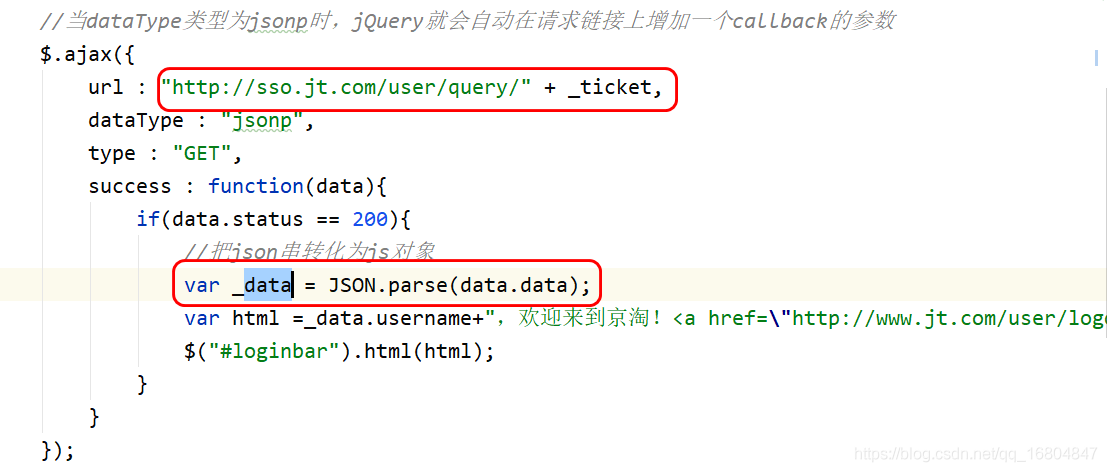
1.1.2 檢查頁面JS
1.1.3 編輯JT-SSO的Controller
/**
     * 業務實現:
     *  1.使用者通過cookie資訊查詢使用者資料.    通過ticket獲取redis中的業務資料.
     *  2.url請求: http://sso.jt.com/user/query/+ _ticket
     *  3.引數:    引數在url中. 利用restFul獲取
     *  4.返回值要求: SysResult物件(userJSON)
     */
    @RequestMapping("/query/{ticket}")
    public JSONPObject findUserByTicket(@PathVariable String ticket,
                                        HttpServletResponse response,
                                        String callback){

        String userJSON = jedisCluster.get(ticket);
        //1.lru演演算法清空資料   2.有可能cookie資訊有誤
        if(StringUtils.isEmpty(userJSON)){
            //2.應該刪除cookie資訊.
            Cookie cookie = new Cookie("JT_TICKET", "");
            cookie.setMaxAge(0);
            cookie.setDomain("jt.com");
            cookie.setPath("/");
            response.addCookie(cookie);
            return new JSONPObject(callback,SysResult.fail());
        }
        return new JSONPObject(callback,SysResult.success(userJSON));
    }
1.2 編輯Cookie工具API
package com.jt.util;

import javax.servlet.http.Cookie;
import javax.servlet.http.HttpServletRequest;
import javax.servlet.http.HttpServletResponse;

public class CookieUtil {

    //1.新增cookie
    public static void addCookie(HttpServletResponse response,String cookieName, String cookieValue, int seconds, String domain){
        Cookie cookie = new Cookie(cookieName,cookieValue);
        cookie.setMaxAge(seconds);
        cookie.setDomain(domain);
        cookie.setPath("/");
        response.addCookie(cookie);
    }


    //2.根據name查詢value的值
    public static String getCookieValue(HttpServletRequest request,String cookieName){

        Cookie[] cookies = request.getCookies();
        if(cookies !=null && cookies.length >0){
            for (Cookie cookie : cookies){
                if(cookieName.equals(cookie.getName())){
                    return cookie.getValue();
                }
            }
        }
        return null;
    }


    //3.刪除cookie
    public static void deleteCookie(HttpServletResponse response,String cookieName,String domain){

        addCookie(response,cookieName,"",0, domain);
    }
}
1.3 使用者退出操作
1.3.1 業務說明
如果使用者點選退出操作, 首先應該刪除Redis中的資料 其次刪除Cookie中的資料 之後重定向到系統首頁.
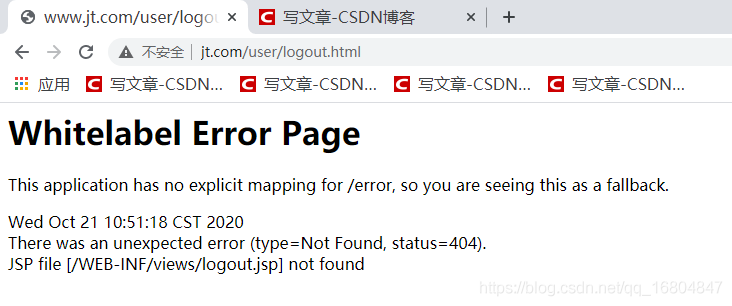
1.3.2 URL分析
1.3.3 編輯UserController
	/**
     * 實現使用者的退出操作.重定向到系統首頁
     * url: http://www.jt.com/user/logout.html
     * 業務:
     *      1.刪除Redis中的資料  key
     *      2.刪除Cookie記錄
     */
    @RequestMapping("logout")
    public String logout(HttpServletRequest request,HttpServletResponse response){
        //1.根據JT_TICKET獲取指定的ticket
        String ticket = CookieUtil.getCookieValue(request,"JT_TICKET");

        //2.判斷ticket是否為null
        if(!StringUtils.isEmpty(ticket)){
            jedisCluster.del(ticket);
            CookieUtil.deleteCookie(response,"JT_TICKET","jt.com");
        }

        return "redirect:/";
    }
2 實現商品詳情展現
2.1 業務說明
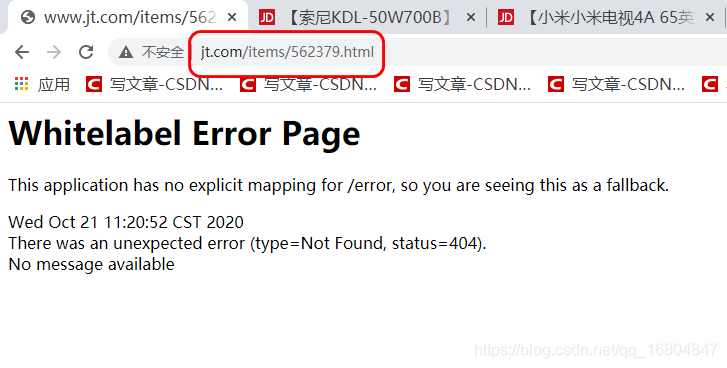
說明: 當使用者點選商品時,需要跳轉到商品的展現頁面中 頁面名稱item.jsp
2.2 重構JT-MANAGE
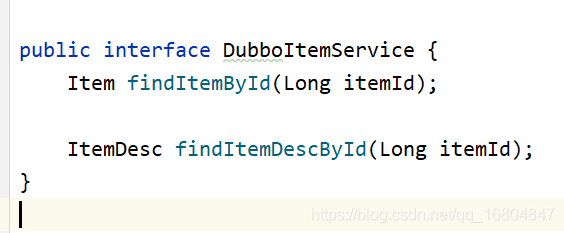
2.2.1建立介面
說明:在jt-common中建立介面
2.2.2 編輯Dubbo實現類
package com.jt.service;


import com.alibaba.dubbo.config.annotation.Service;
import com.jt.mapper.ItemDescMapper;
import com.jt.mapper.ItemMapper;
import com.jt.pojo.Item;
import com.jt.pojo.ItemDesc;
import org.springframework.beans.factory.annotation.Autowired;

@Service(timeout = 3000)
public class DubboItemServiceImpl implements DubboItemService{

    @Autowired
    private ItemMapper itemMapper;
    @Autowired
    private ItemDescMapper itemDescMapper;


    @Override
    public Item findItemById(Long itemId) {

        return itemMapper.selectById(itemId);
    }

    @Override
    public ItemDesc findItemDescById(Long itemId) {

        return itemDescMapper.selectById(itemId);
    }
}
2.2.3 編輯YML組態檔
server:
  port: 8091
  servlet:
    context-path: /
spring:
  datasource:
    #引入druid資料來源
    #type: com.alibaba.druid.pool.DruidDataSource
    driver-class-name: com.mysql.cj.jdbc.Driver
    url: jdbc:mysql://127.0.0.1:3306/jtdb?serverTimezone=GMT%2B8&useUnicode=true&characterEncoding=utf8&autoReconnect=true&allowMultiQueries=true
    username: root
    password: root

  mvc:
    view:
      prefix: /WEB-INF/views/
      suffix: .jsp
#mybatis-plush設定
mybatis-plus:
  type-aliases-package: com.jt.pojo
  mapper-locations: classpath:/mybatis/mappers/*.xml
  configuration:
    map-underscore-to-camel-case: true

logging:
  level:
    com.jt.mapper: debug

#關於Dubbo設定
dubbo:
  scan:
    basePackages: com.jt    #指定dubbo的包路徑 掃描dubbo註解
  application:              #應用名稱
    name: provider-manage     #一個介面對應一個服務名稱   一個介面可以有多個實現
  registry:  #註冊中心 使用者獲取資料從機中獲取 主機只負責監控整個叢集 實現資料同步
    address: zookeeper://192.168.126.129:2181?backup=192.168.126.129:2182,192.168.126.129:2183
  protocol:  #指定協定
    name: dubbo  #使用dubbo協定(tcp-ip)  web-controller直接呼叫sso-Service
    port: 20881  #每一個服務都有自己特定的埠 不能重複.
2.2.4 編輯ItemController
package com.jt.controller;

import com.alibaba.dubbo.config.annotation.Reference;
import com.jt.pojo.Item;
import com.jt.pojo.ItemDesc;
import com.jt.service.DubboItemService;
import org.springframework.stereotype.Controller;
import org.springframework.ui.Model;
import org.springframework.web.bind.annotation.PathVariable;
import org.springframework.web.bind.annotation.RequestMapping;

@Controller
@RequestMapping("/items")
public class ItemController {

    @Reference(timeout = 3000)
    private DubboItemService itemService;

    /**
     * 實現商品詳情頁面跳轉
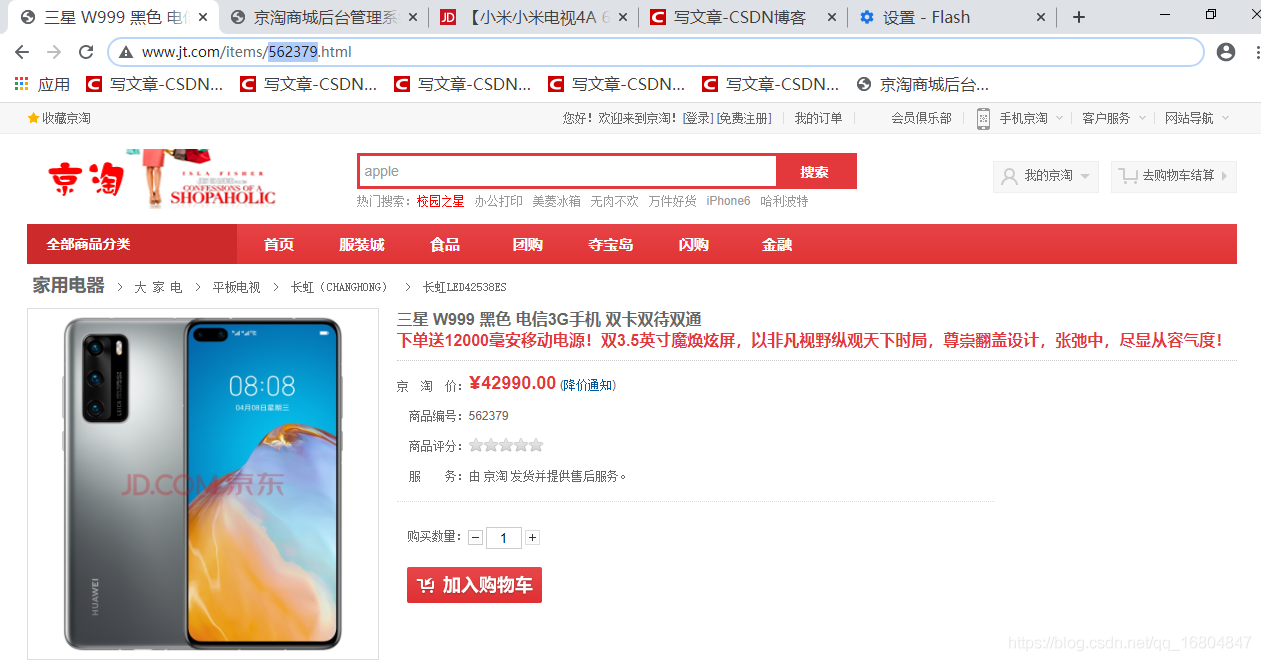
     * url: http://www.jt.com/items/562379.html
     * 引數: 562379 itemId
     * 返回值:  item.jsp頁面
     * 頁面取值說明:
     *      ${item.title }   item物件
     *      ${itemDesc.itemDesc }  itemDesc物件
     *
     * 思路:
     *      1.重構jt-manage專案
     *      2.建立中立介面DubboItemService
     *      3.實現業務呼叫獲取item/itemDesc物件
     */
    @RequestMapping("/{itemId}")
    public String findItemById(@PathVariable Long itemId, Model model){

        Item item = itemService.findItemById(itemId);
        ItemDesc itemDesc = itemService.findItemDescById(itemId);
        //將資料儲存到request域中
        model.addAttribute("item",item);
        model.addAttribute("itemDesc",itemDesc);
        return "item";
    }
}
2.2.5 頁面效果展現
3 購物車模組實現
3.1 建立服務提供者
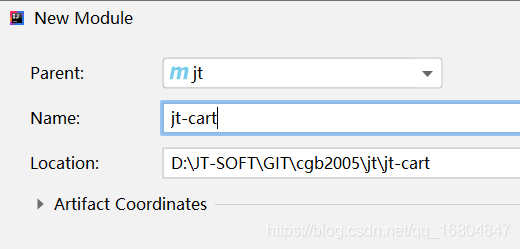
3.1.1 建立專案JT-CART
3.1.2 新增繼承/依賴/外掛
 <!--2.新增依賴資訊-->
    <dependencies>
        <!--依賴實質依賴的是jar包檔案-->
        <dependency>
            <groupId>com.jt</groupId>
            <artifactId>jt-common</artifactId>
            <version>1.0-SNAPSHOT</version>
        </dependency>
    </dependencies>

    <!--3.新增外掛-->
    <build>
        <plugins>
            <plugin>
                <groupId>org.springframework.boot</groupId>
                <artifactId>spring-boot-maven-plugin</artifactId>
            </plugin>
        </plugins>
    </build>
3.1.3 編輯POJO物件
@TableName("tb_cart")
@Data
@Accessors(chain = true)
public class Cart extends BasePojo{  //使用包裝型別

    @TableId(type = IdType.AUTO)
    private Long id;
    private Long uesrId;        //使用者ID號
    private Long itemId;        //商品ID號
    private String itemTitle;   //商品標題
    private String itemImage;   //圖片
    private Long itemPrice;     //商品價格
    private Integer num;        //商品數量

}
3.1.4 編輯CartService介面

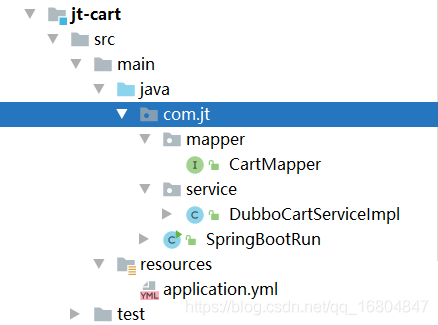
3.1.5 jt-cart程式碼結構
3.2 購物車列表頁面展現
3.2.1 頁面url分析
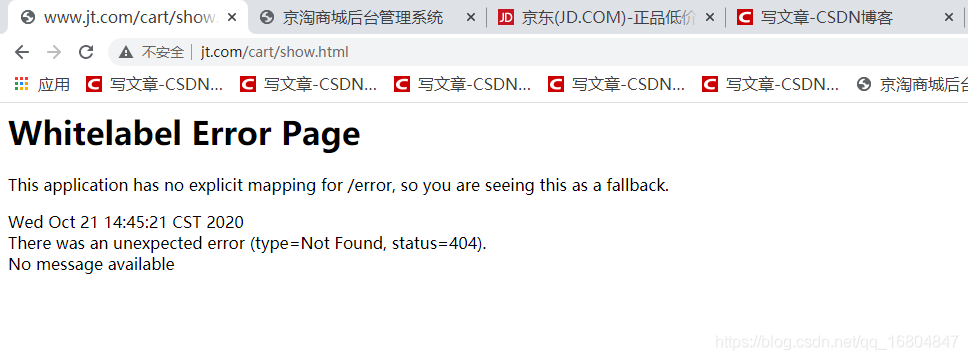
說明:當使用者點選購物車按鈕時,需要跳轉到購物車展現頁面. cart.jsp
頁面取值: ${cartList}
要求: 只查詢userId=7的購物車列表資訊.之後進行頁面展現
3.2.2 編輯CartController
package com.jt.controller;

import com.alibaba.dubbo.config.annotation.Reference;
import com.jt.pojo.Cart;
import com.jt.service.DubboCartService;
import org.springframework.stereotype.Controller;
import org.springframework.ui.Model;
import org.springframework.web.bind.annotation.RequestMapping;

import java.util.List;

@Controller
@RequestMapping("/cart")
public class CartController {

    @Reference(timeout = 3000,check = false)
    private DubboCartService cartService;

    /**
     * 業務需求: 根據userId查詢購物車資料
     * url地址: http://www.jt.com/cart/show.html
     * 請求引數: 動態獲取userId
     * 返回值結果:  cart.jsp頁面
     * 頁面取值方式: ${cartList}
     */
    @RequestMapping("/show")
    public String findCartListByUserId(Model model){
        Long userId = 7L;
        List<Cart> cartList = cartService.findCartListByUserId(userId);
        model.addAttribute("cartList",cartList);
        return "cart";
    }
}
3.2.3 編輯CartService
package com.jt.service;

import com.alibaba.dubbo.config.annotation.Service;
import com.baomidou.mybatisplus.core.conditions.query.QueryWrapper;
import com.jt.mapper.CartMapper;
import com.jt.pojo.Cart;
import org.springframework.beans.factory.annotation.Autowired;

import java.util.List;

@Service
public class DubboCartServiceImpl implements DubboCartService{

    @Autowired
    private CartMapper cartMapper;


    @Override
    public List<Cart> findCartListByUserId(Long userId) {
        QueryWrapper<Cart> queryWrapper = new QueryWrapper<>();
        queryWrapper.eq("user_id", userId);
        return cartMapper.selectList(queryWrapper);
    }
}
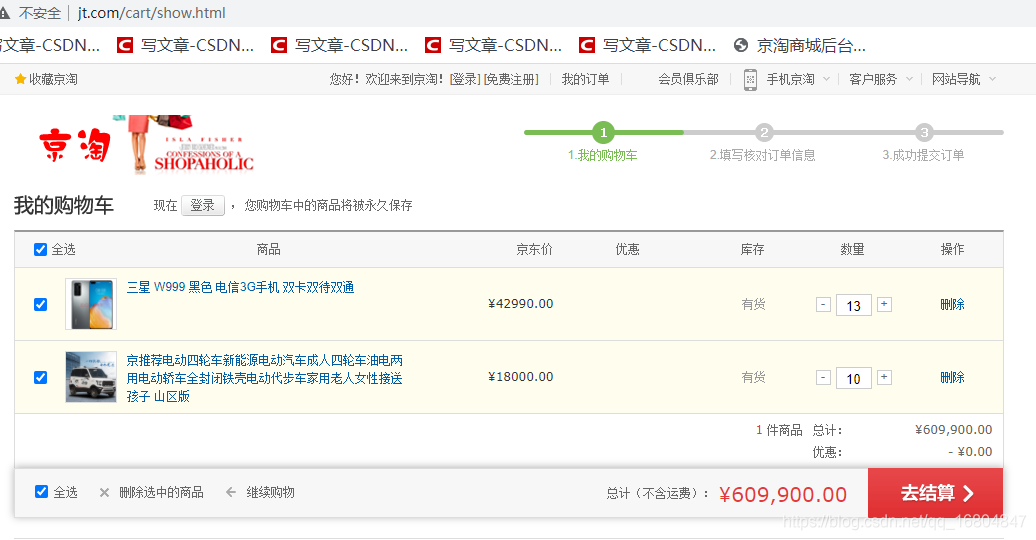
3.2.4 頁面效果展現
3.3 購物車數量的修改
3.3.1 業務說明
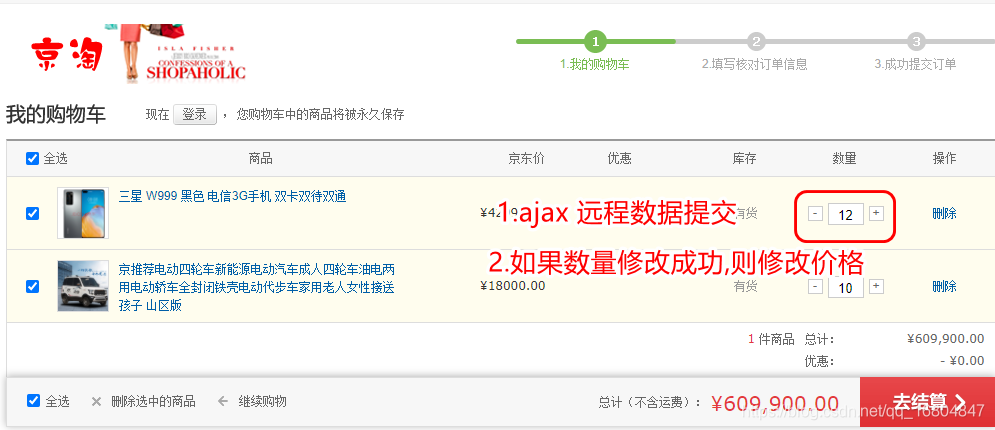
3.3.2 頁面JS分析


3.3.3 編輯CartController
  /**
     * 業務: 實現購物車數量的更新
     * url: http://www.jt.com/cart/update/num/562379/12
     * 引數: itemId/num
     * 返回值: void
     */
    @RequestMapping("/update/num/{itemId}/{num}")
    @ResponseBody  //1.返回值轉化為json 2.ajax結束標識
    public void updateCartNum(Cart cart){ //key名稱必須與屬性的名稱一致.

        Long userId = 7L;
        cart.setUserId(userId);
        cartService.updateCartNum(cart);
    }
3.3.4 編輯CartService
 @Override
    public void updateCartNum(Cart cart) {

        //cartMapper.updateCartNum(cart);
        //1.準備修改的資料  根據物件中不為null的元素當做set條件
        Cart cartTemp = new Cart();
        cartTemp.setNum(cart.getNum());

        //2.根據物件中不為null的元素當做where條件
        UpdateWrapper<Cart> updateWrapper =
                        new UpdateWrapper<>(cart.setNum(null));
        /*updateWrapper.eq("user_id", cart.getUserId())
                     .eq("item_id", cart.getItemId());*/
        cartMapper.update(cartTemp,updateWrapper);

    }
3.3.5 編輯CartMapper
public interface CartMapper extends BaseMapper<Cart> {
    @Update("update tb_cart set num = #{num},updated=now() where user_id=#{userId} and item_id=#{itemId}")
    void updateCartNum(Cart cart);
}
3.4 購物車新增
3.4.1 購物車新增業務
當使用者點選購物車按鈕時實現購物車入庫操作. 如果使用者重複加購則應該修改購物車商品的數量.
加購成功之後,應該重定向到購物車列表頁面.
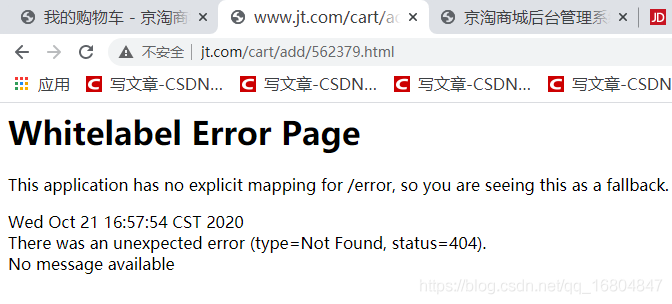
3.4.2 頁面分析
3.4.3 頁面表單提交
<form id="cartForm" method="post">
									<input class="text" id="buy-num" name="num" value="1" onkeyup="setAmount.modify('#buy-num');"/>
									<input type="hidden" class="text"  name="itemTitle" value="${item.title }"/>
									<input type="hidden" class="text" name="itemImage" value="${item.images[0]}"/>
									<input type="hidden" class="text" name="itemPrice" value="${item.price}"/>
								</form>
3.4.4 頁面JS解析
<a class="btn-append " id="InitCartUrl" onclick="addCart();" clstag="shangpin|keycount|product|initcarturl">加入購物車<b></b></a>
//利用post傳值
		function addCart(){
			var url = "http://www.jt.com/cart/add/${item.id}.html";
			document.forms[0].action = url;		//js設定提交連結
			document.forms[0].submit();			//js表單提交
		}
3.4.5 編輯CartController
 /**
     * 完成購物車新增
     * url: http://www.jt.com/cart/add/562379.html
     * 引數: form表單提交  物件接收
     * 返回值: 重定向到購物車列表頁面中
     */
    @RequestMapping("/add/{itemId}")
    public String saveCart(Cart cart){

        Long userId = 7L;
        cart.setUserId(userId);
        cartService.saveCart(cart);
        return "redirect:/cart/show.html";
    }
3.4.6 編輯CartService
/**
     *  如果重複加購則更新數量
     * 1.查詢是否已經有改資料 user_id/item_id
     */
    @Override
    public void saveCart(Cart cart) {
        QueryWrapper<Cart> queryWrapper = new QueryWrapper<>();
        queryWrapper.eq("user_id", cart.getUserId())
                    .eq("item_id", cart.getItemId());
        Cart cartDB = cartMapper.selectOne(queryWrapper);
        if(cartDB == null){
            //使用者第一次加購
            cartMapper.insert(cart);
        }else {
            //使用者需要修改數量
            int num = cart.getNum() + cartDB.getNum();
            cart.setNum(num);
            cartMapper.updateCartNum(cart);
        }
    }
3.4.6 頁面效果
