CKEditor4+CKFinder3(php版本)安裝及設定方法
目錄
-
介紹CKEdiotr4+CKFinder3
CKEditor4是一個強大的富文字編輯器,這是國外開源,功能非常齊全,大部分基本滿足需求,外掛擴充套件功能強大。 但是存取官方速度有點慢,因為它是國外嘛!!!全都是英文,看不懂英文的話瀏覽器應該有自帶翻譯即可。
CKFinder3主要用於一個檔案上傳器功能的外掛,上傳圖片、視訊、檔案等都支援的,非常有好處就是它擁有自帶Ajax檔案管理器,不需編寫關於ajax的程式碼,能提供資料夾樹形結構,選擇好圖片後只要一點選上傳伺服器即可,相當於把你的圖片已經放在Ajax檔案管理器裡。它的功能非常強大,比如可以刪除、上傳、下載等一些功能,用起來非常方便!
-
安裝
1.CKEditor4官方下載連結:
https://ckeditor.com/ckeditor-4/download/
我選擇是全包的共有72個外掛並下載:

2.CKFinder3官方下載連結:
https://ckeditor.com/ckfinder/download/
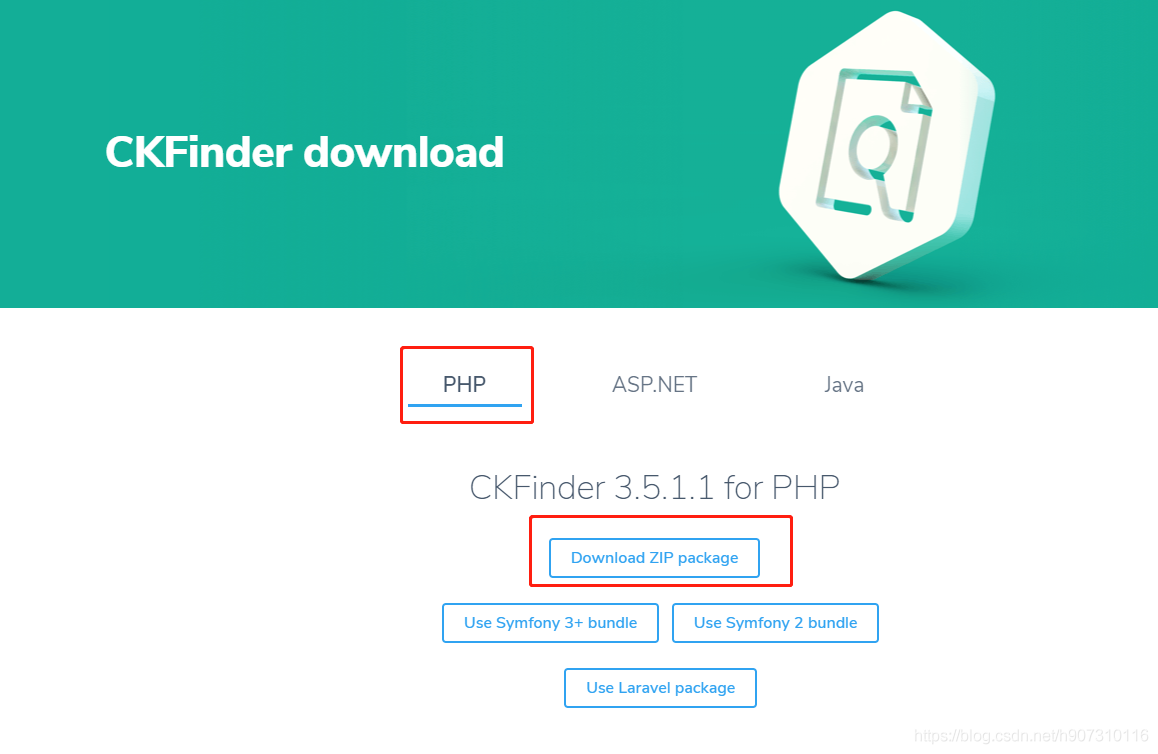
這個CKFinder3支援三種程式語言分別是php、.net及java,我一般寫後端都是php,因此選擇php版本,然後選擇下載ZIP。

-
使用
1.CKEditor4
下載好之後,如何把這富文字編輯器放入網頁中呢?
首先在編寫html程式碼:
<!--富文字編輯器-->
<textarea id="editor" name="editor"></textarea>
為什麼要用<textarea>元素,而不用<div>元素呢?因為它本來是文字域,但是對於終端來說,文字域是不可見的,為了生成富文字編輯器的實現,所以必須要用<textarea>元素。
因為它本身是js應用程式,所以需要去載入它,需要在html中引入一個js檔案。注:前提是安裝好CKEditor的目錄,需要根據你CKEditor4的目錄路徑的不同而不同,路徑檔案一定要正確:
<script type="text/javascript" src="../../lib/ckeditor/ckeditor.js"></script>這個是不可缺少的核心,所以需要呼叫CKEDITOR.replace辦法,否則顯示不了,切記!
<script>

      CKEDITOR.replace( 'editor' );

</script>
最後實現出來了,OK!如下:

2.CKFinder3
下載好之後,這個使用比較簡單,因為它本身是一個外掛而已,如何快速地使用?
首先找到檔案路徑ckfinder->ckfinder.html並開啟網頁,如果遇到出現這個問題,如下:

這個意思是本身安全的原因,檔案管理器被禁用了。
怎麼解決?首先找到檔案路徑ckfinder->config.php並開啟,把第29行的flase改成true:

以上的部分內容,如果沒問題的話,可忽略。
最後,ckfinder即可正常使用。注:前提是必須要開伺服器(php)的環境下,保證能夠正常使用,否則就會報錯的資訊。

-
設定
1.CKEditor4
如果你覺得富文字編輯器的工具列外掛太多,或者沒必要的外掛,這個本身可支援自定義的外掛。怎麼操作去客製化?如下:
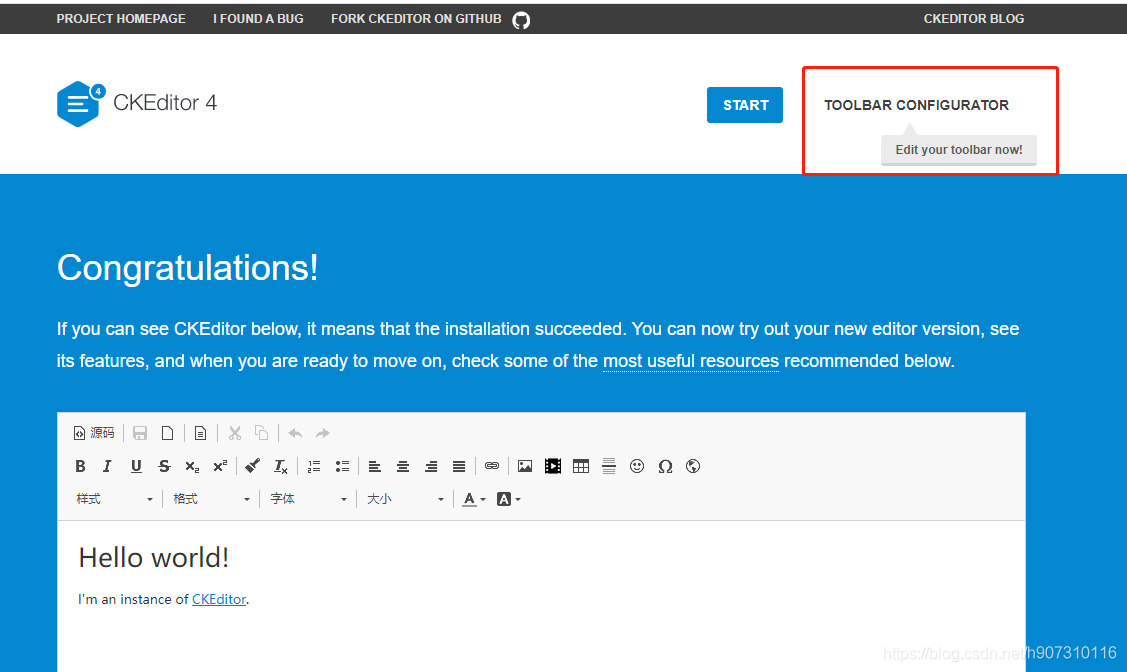
首先找到路徑檔案ckdeitor->samples->index.html並開啟;開啟後,點選」TOOLBAR CONFIGURATOR」:

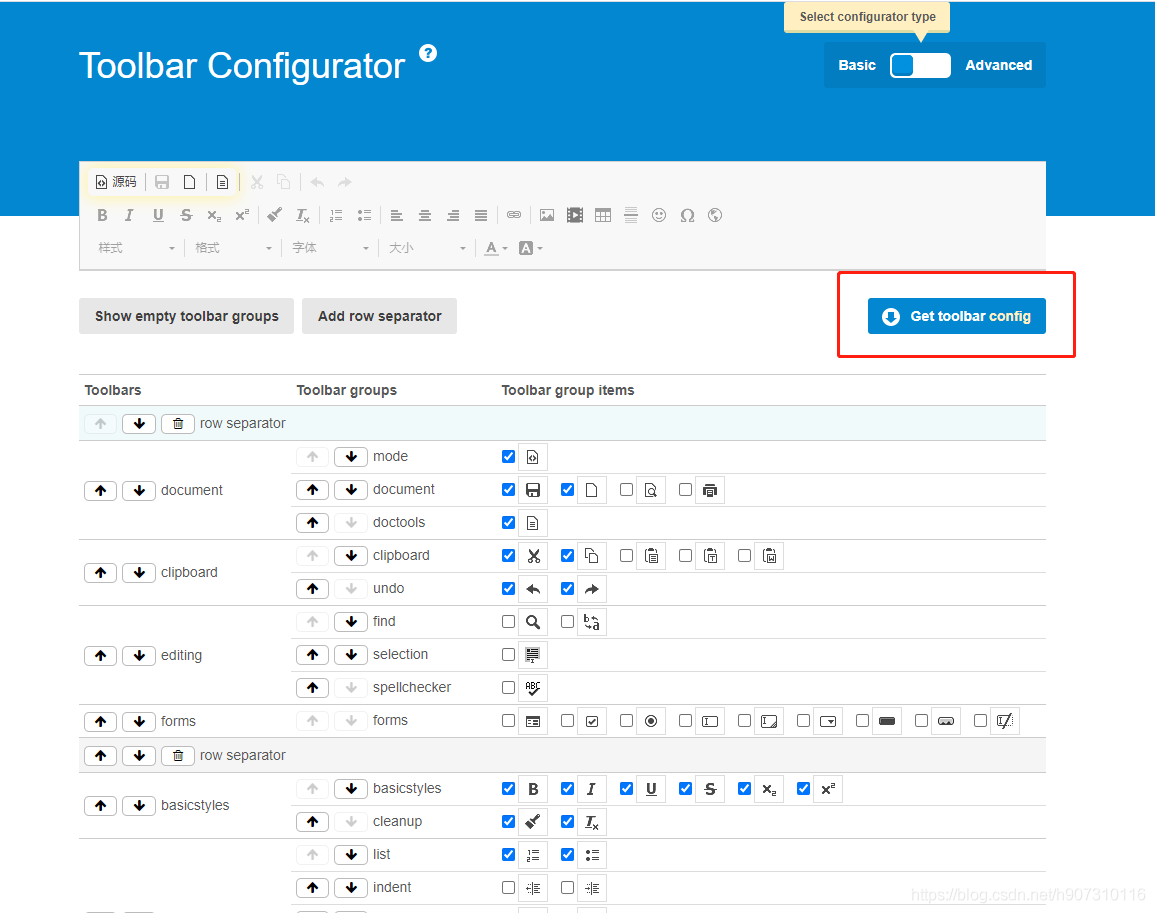
點選後看到如下:
這就是客製化的工具列編輯器,你覺得沒必要的外掛可取消打勾;有必要的外掛可打勾。
如果你覺得客製化的工具列沒問題的話,可以點選「Get toolbar config」。

點選後就會整個程式碼出來,然後把它複製到ckeditor->config.js裡面去。

CKEDITOR.editorConfig = function( config ) {
	config.toolbarGroups = [
		'/',
		{ name: 'document', groups: [ 'mode', 'document', 'doctools' ] },
		{ name: 'clipboard', groups: [ 'clipboard', 'undo' ] },
		{ name: 'editing', groups: [ 'find', 'selection', 'spellchecker', 'editing' ] },
		{ name: 'forms', groups: [ 'forms' ] },
		'/',
		{ name: 'basicstyles', groups: [ 'basicstyles', 'cleanup' ] },
		{ name: 'paragraph', groups: [ 'list', 'indent', 'blocks', 'align', 'bidi', 'paragraph' ] },
		{ name: 'links', groups: [ 'links' ] },
		{ name: 'insert', groups: [ 'insert' ] },
		'/',
		{ name: 'styles', groups: [ 'styles' ] },
		{ name: 'colors', groups: [ 'colors' ] },
		{ name: 'tools', groups: [ 'tools' ] },
		{ name: 'others', groups: [ 'others' ] },
		{ name: 'about', groups: [ 'about' ] }
	];

config.removeButtons = 'Find,Replace,SelectAll,Scayt,Form,Checkbox,Radio,TextField,Textarea,Select,Button,ImageButton,HiddenField,PageBreak,Maximize,ShowBlocks,About,CreateDiv,Blockquote,Outdent,Indent,BidiLtr,BidiRtl,Unlink,Anchor,Language,PasteText,PasteFromWord,Paste,Preview,Print,Flash';
};
如上的就是設定分組是由toolbarGroups設定定義的。如果還要再客製化的話,可按照以上的操作步驟。
因此,這就是開發人員最常用的需求。
2. CKFinder3
上傳圖片或視訊是我們最常用的,如何去設定它的介面呢?這個設定很簡單,需要去寫介面即可,把這個介面的程式碼複製到ckeditor->config.js,新增如下:
config.filebrowserBrowseUrl='../../lib/ckeditor/ckfinder/ckfinder.html';
config.filebrowserImageBrowseUrl='../../lib/ckeditor/ckfinder/ckfinder.html?Type=Images';
config.filebrowserFlashBrowseUrl='../../lib/ckeditor/ckfinder/ckfinder.html?Type=Flash';
config.filebrowserUploadUrl ='../../lib/ckeditor/ckfinder/core/connector/php/connector.php?command=QuickUpload&type=Files';
config.filebrowserImageUploadUrl='../../lib/ckeditor/ckfinder/core/connector/php/connector.php?command=QuickUpload&type=Images';
config.filebrowserFlashUploadUrl='../../lib/ckeditor/ckfinder/core/connector/php/connector.php?command=QuickUpload&type=Flash';
以上的URL值需要根據你的ckfinder路徑檔案位置,切記,路徑檔案一定要正確!!!
最後把CKEditor4+ CKFinder3整合,大功告成!用起來是不是很簡單?
如有問題,歡迎可留言!