Python-Opencv學習(2)——Numpy的基本操作
2020-10-15 14:00:51
獲取影象的高寬
Numpy可遍歷陣列中的每個畫素點,可以修改陣列中的畫素點的值
# 獲取影象的高、寬和通道
def access_pixels(image):
    print(image.shape)
    height = image.shape[0]
    width = image.shape[1]
    # channels = image.shape[2]
    # 在彩色影象中才有通道,此處是灰度圖
    print("width : %s,height : %s" % (width, height))
Opencv中RGB彩色影象的順序是BGR(Blue、Green、Red)
遍歷並修改畫素
for row in range(height):
    for col in range(width):
        pv = image[row, col]  # 遍歷
        image[row, col] = 255-pv
但是,這種方法的耗時有點長,可以用下面的API:
# 和上面的函數實現功能一樣,可以反轉影象,但是速度更快
def inverse(image):
    dst = cv.bitwise_not(image)
    cv.imshow("inverse", dst)
計時
cv.getTickCount() 和 cv.getTickFrequency()來實現計時的功能
t1 = cv.getTickCount()

t2 = cv.getTickCount()
time = (t2-t1)/cv.getTickFrequency()
print("Time : %s ms" % (time*1000))   # 這裡用毫秒來表示,用秒就去掉*1000
建立新的影象並修改
初始化影象的兩種方法:
一個是用zeros(),把影象全部變成0(黑色);
一個是用ones(),把影象全部變成1(白色)。
多通道
# 建立新的影象, 並修改
def create_image():
    img = np.zeros([400, 400, 3], np.uint8)
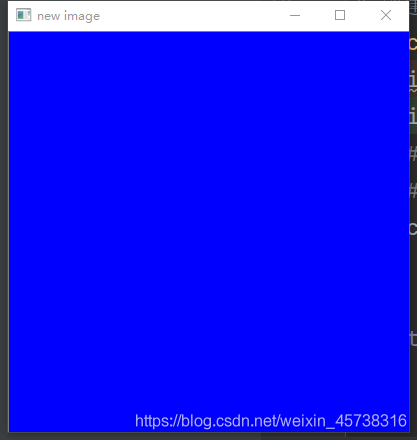
    img[:, :, 0] = np.ones([400, 400])*255  # 修改第一個通道Blue
    # img[:, :, 1] = np.ones([400, 400]) * 255  # 修改第兩個通道Green
    # img[:, :, 2] = np.ones([400, 400]) * 255  # 修改第三個通道Red
    cv.imshow("new image", img)
建立了一幅黑色影象

修改第一個通道的值,結果如下(藍色)

單通道
def create_image_single():
    # img = np.zeros([400, 400, 1], np.uint8)
    # img[:, :, 0] = np.ones([400, 400])*127
    # 或者用下面這兩行
    img = np.ones([400, 400, 1], np.uint8)
    img = img * 127
    cv.imshow("new image", img)

建立矩陣
def fill_in():
    m1 = np.ones([3, 3], np.float) # 注意這裡的型別
    m1.fill(122.388)
    print(m1)
輸出結果為:
[[122.388 122.388 122.388]
[122.388 122.388 122.388]
[122.388 122.388 122.388]]
將float改為uint8:
def fill_in():
    m1 = np.ones([3, 3], np.uint8)
    m1.fill(122.388)
    print(m1)
結果變成整型
[[122 122 122]
[122 122 122]
[122 122 122]]
型別要選擇合適,看這個例子:
def fill_in():
    m1 = np.ones([3, 3], np.uint8)
    m1.fill(12238.8)
    print(m1)
此時被截斷,只能輸出:
[[206 206 206]
[206 206 206]
[206 206 206]]
因此,型別要選擇合適,避免發生如上的截斷情況,導致後續處理達不到效果
避免溢位,可以用cv.convertScaleAbs( )
維度之間的變換
用reshape(),但是資料不能變,1* 9不可能變成2* 5
# 建立矩陣
def fill_in():
    m1 = np.ones([3, 3], np.uint8)
    m1.fill(122.388)
    print(m1)
    # 維度變換
    m2 = m1.reshape([1, 9])
    print(m2)