10個好用的 HTML5 特性
作者:Ahmad shaded
譯者:前端小智
來源:sitepoint
行動端閱讀:https://mp.weixin.qq.com/s/A5dv9ZFfIfNPVM7OE-hagQ
點贊再看,養成習慣
本文
GitHubhttps://github.com/qq449245884/xiaozhi 上已經收錄,更多往期高贊文章的分類,也整理了很多我的檔案,和教學資料。歡迎Star和完善,大家面試可以參照考點複習,希望我們一起有點東西。
在本文中,我列出了十個我過去沒用過的HTML5功能,但現在發現它們很有用,廢話不多說,讓我們開始吧。
🔥 detais 標籤
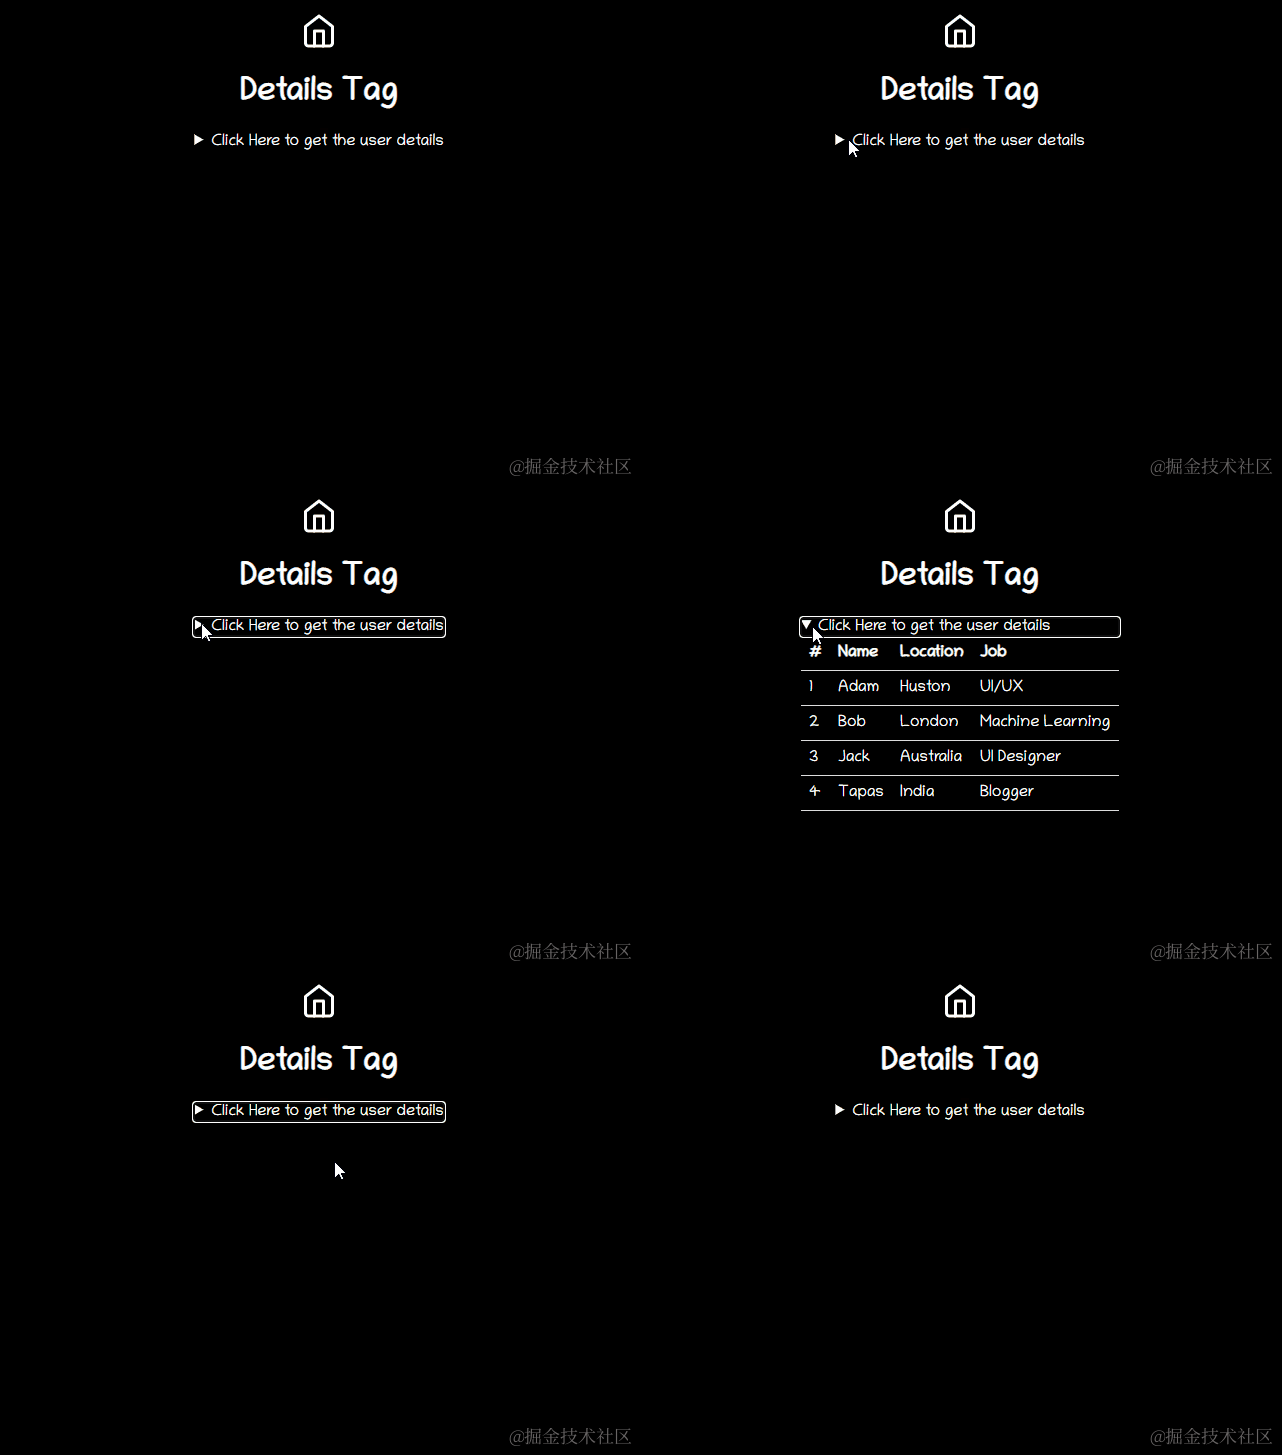
<details>標籤向使用者提供按需檢視詳細資訊的效果。 如果需要按需向使用者顯示內容,簡單的做法就是使用此<details>標籤。 預設情況下,它是收起來的,開啟後,它將展開並顯示被隱藏的內容。
事例:
<details>
  <summary>Click Here to get the user details</summary>
  <table>
    <tr>
      <th>#</th>
      <th>Name</th>
      <th>Location</th>
      <th>Job</th>
    </tr>
    <tr>
      <td>1</td>
      <td>Adam</td>
      <td>Huston</td>
      <td>UI/UX</td>
    </tr>
  </table>
</details>
執行結果:
技巧
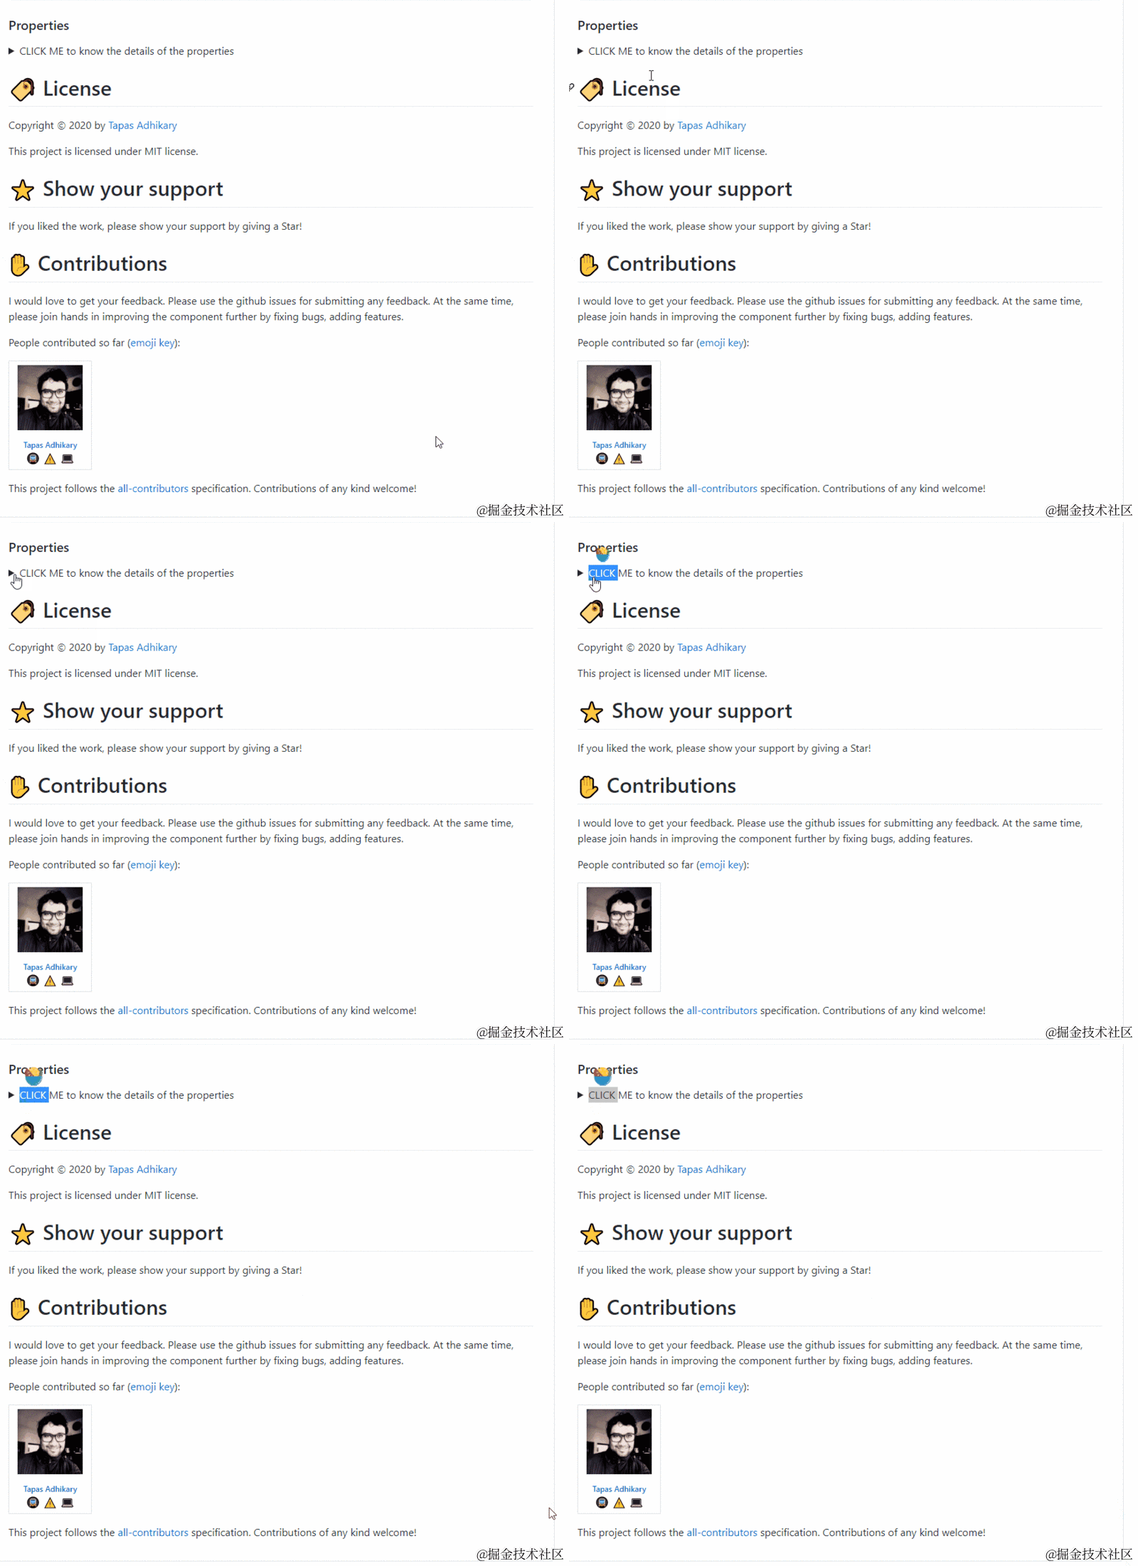
在 GitHub Readme 中使用它來顯示按需的詳細資訊。 這是一個範例https://github.com/atapas/notifyme
🔥 內容可編輯
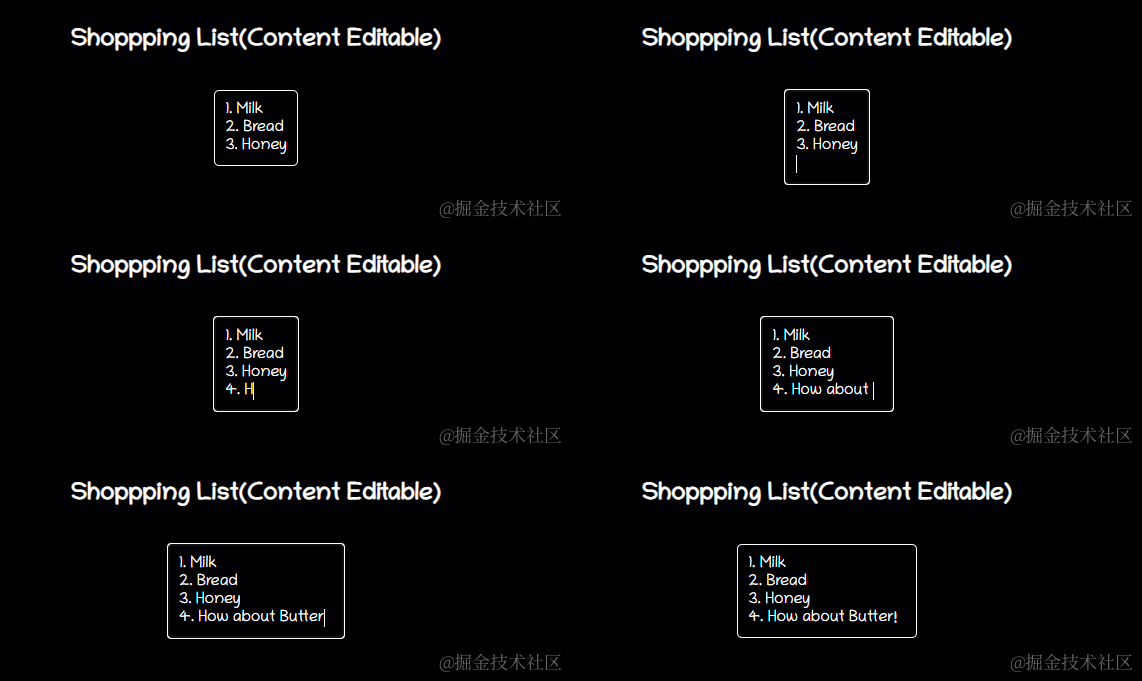
contenteditable是可以在元素上設定以使內容可編輯的屬性。 它適用於DIV,P,UL等元素。
注意,當在元素上沒有設定
contenteditable屬性時,它將從其父元素繼承該屬性。
<h2> Shoppping List(Content Editable) </h2>
 <ul class="content-editable" contenteditable="true">
     <li> 1. Milk </li>
     <li> 2. Bread </li>
     <li> 3. Honey </li>
</ul>
執行結果:
技巧
可以讓span或div標籤可編輯,並且可以使用css樣式向其新增任何豐富的內容。 這將比使用輸入欄位處理它更好。 試試看!
🔥 Map
HTML <map> 屬性 與 <area> 屬性一起使用來定義一個影象對映(一個可點選的連結區域)。可點選的區域可以是這些形狀中的任何一個,矩形,圓形或多邊形區域。如果不指定任何形狀,則會考慮整個影象。
事例:
<div>
    <img src="circus.jpg" width="500" height="500" alt="Circus" usemap="#circusmap">

    <map name="circusmap">
        <area shape="rect" coords="67,114,207,254" href="elephant.htm">
        <area shape="rect" coords="222,141,318, 256" href="lion.htm">
        <area shape="rect" coords="343,111,455, 267" href="horse.htm">
        <area shape="rect" coords="35,328,143,500" href="clown.htm">
        <area shape="circle" coords="426,409,100" href="clown.htm">
    </map>
 </div>
執行結果:

技巧
map有其自身的缺點,但是你可以將其用於視覺演示。
🔥 mark 標籤
<p> Did you know, you can <mark>"Highlight something interesting"</mark> just with an HTML tag? </p>
執行結果:
技巧
可以使用css更改高亮顏色:
mark {
  background-color: green;
  color: #FFFFFF;
}
🔥 data-* 屬性
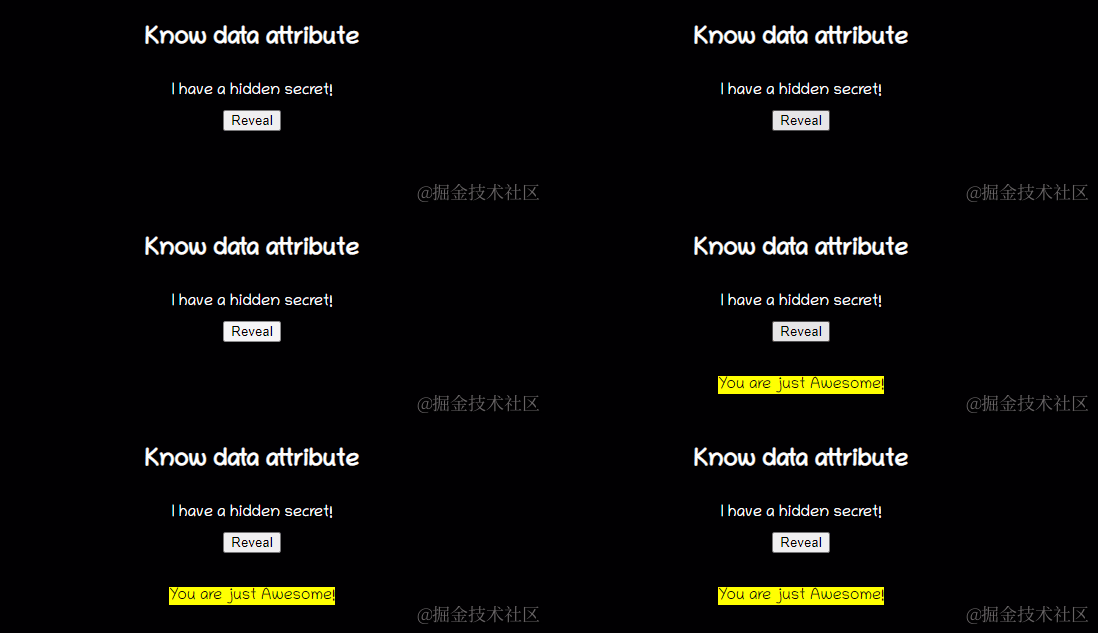
data-*屬性用於儲存頁面或應用程式專用的自定義資料。 可以在 JavaScript 程式碼中使用儲存的資料來建立更多的使用者體驗。
data-*屬性由兩部分組成
- 屬性名不能包含任何大寫字母,並且必須在字首「
data-」之後至少有一個字元 - 屬性值可以是任何字串
事例:
<h2> Know data attribute </h2>
 <div
       class="data-attribute"
       id="data-attr"
       data-custom-attr="You are just Awesome!">
   I have a hidden secret!
  </div>

 <button onclick="reveal()">Reveal</button>
在 JS 中:
function reveal() {
   let dataDiv = document.getElementById('data-attr');
    let value = dataDiv.dataset['customAttr'];
   document.getElementById('msg').innerHTML = `<mark>${value}</mark>`;
}
**注意:**要在 JS 中讀取這些屬性的值,可以通過getAttribute('data-custom-attr')g來獲取,但是標準方式是用dataset來獲取。
技巧
你可以使用它在頁面中儲存一些資料,然後使用REST呼叫將其傳遞給伺服器。
🔥 output 標籤
<output> 標籤表示計算或使用者操作的結果。
<form oninput="x.value=parseInt(a.value) * parseInt(b.value)">
   <input type="number" id="a" value="0">
          * <input type="number" id="b" value="0">
                = <output name="x" for="a b"></output>
</form>

技巧
如果要在使用者端 JS 中執行任何計算,並且希望結果反映在頁面上,可以使用<output>,這樣就無需使用getElementById()獲取元素的額外步驟。
🔥 datalist
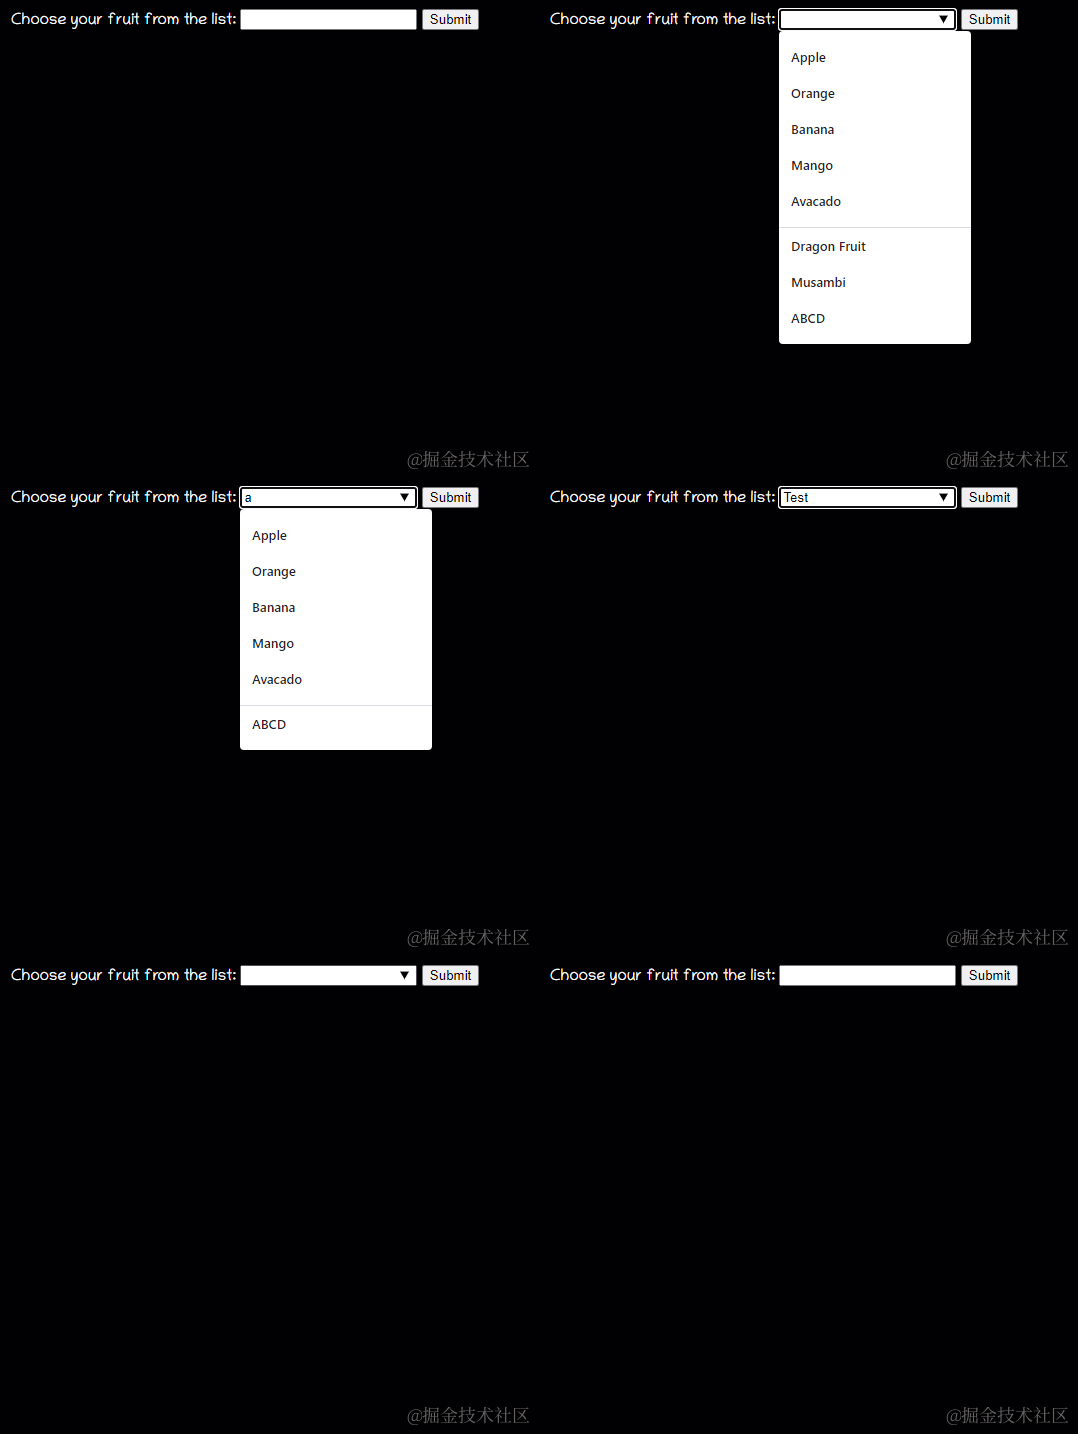
<datalist>元素包含了一組<option>元素,這些元素表示其它表單控制元件可選值.
事例:
<form action="" method="get">
    <label for="fruit">Choose your fruit from the list:</label>
    <input list="fruits" name="fruit" id="fruit">
        <datalist id="fruits">
           <option value="Apple">
           <option value="Orange">
           <option value="Banana">
           <option value="Mango">
           <option value="Avacado">
        </datalist>
     <input type="submit">
 </form>
技巧
dataList的表現很像是一個select下拉選單,但它只是提示作用,並不限制使用者在input輸入框裡輸入什麼
select標籤建立了一個選單。選單裡的選項通option標籤指定。一個select元素內部,必須包含一個option元素,
總的來說就是,它們都可以顯示出一個下拉表單框,但是select標籤只能在它提供的選項中選擇,而datalist不僅可以讓你選擇,還可以讓你自己輸入其它的選項。
🔥 Range(Slider)
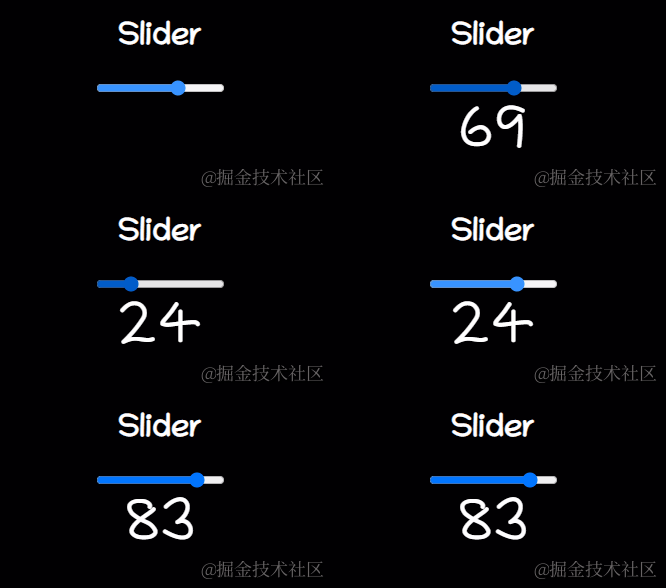
range是一種 input 型別,給定一個滾軸型別的範圍選擇器。
<form method="post">
    <input
         type="range"
         name="range"
         min="0"
         max="100"
         step="1"
         value=""
         onchange="changeValue(event)"/>
 </form>
 <div class="range">
      <output id="output" name="result">  </output>
 </div>
🔥 meter
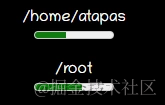
<meter>元素用來顯示已知範圍的標量值或者分數值。
<label for="home">/home/atapas</label>
<meter id="home" value="4" min="0" max="10">2 out of 10</meter><br>

<label for="root">/root</label>
<meter id="root" value="0.6">60%</meter><br>
技巧
不要將<meter>用作進度條來使用,進度條對應的<Progress> 標籤。
<label for="file">Downloading progress:</label>
<progress id="file" value="32" max="100"> 32% </progress>

🔥 Inputs
對於input標籤型別,最常見的有 text,password 等等,下面列舉一些比較少見的語法。
required
要求輸入欄位必填。
<input type="text" id="username1" name="username" required>

autofocus
文字輸入欄位被設定為當頁面載入時獲得焦點:
<input type="text" id="username2" name="username" required autofocus>
用正規表示式驗證
可以使用regex指定一個模式來驗證輸入。
<input type="password"
            name="password"
            id="password"
            placeholder="6-20 chars, at least 1 digit, 1 uppercase and one lowercase letter"
            pattern="^(?=.*\d)(?=.*[a-z])(?=.*[A-Z]).{6,20}$" autofocus required>
Color picker
一個簡單的顏色選擇器。
<input type="color" onchange="showColor(event)">
<p id="colorMe">Color Me!</p>

原文:https://dev.to/atapas/10-useful-html5-features-you-may-not-be-using-2bk0
程式碼部署後可能存在的BUG沒法實時知道,事後為了解決這些BUG,花了大量的時間進行log 偵錯,這邊順便給大家推薦一個好用的BUG監控工具 Fundebug。
文章每週持續更新,可以微信搜尋「 大遷世界 」第一時間閱讀和催更(比部落格早一到兩篇喲),本文 GitHub https://github.com/qq449245884/xiaozhi 已經收錄,整理了很多我的檔案,歡迎Star和完善,大家面試可以參照考點複習,另外關注公眾號,後臺回覆福利,即可看到福利,你懂的。

