Android Material UI控制元件之ShapeableImageView
效果圖
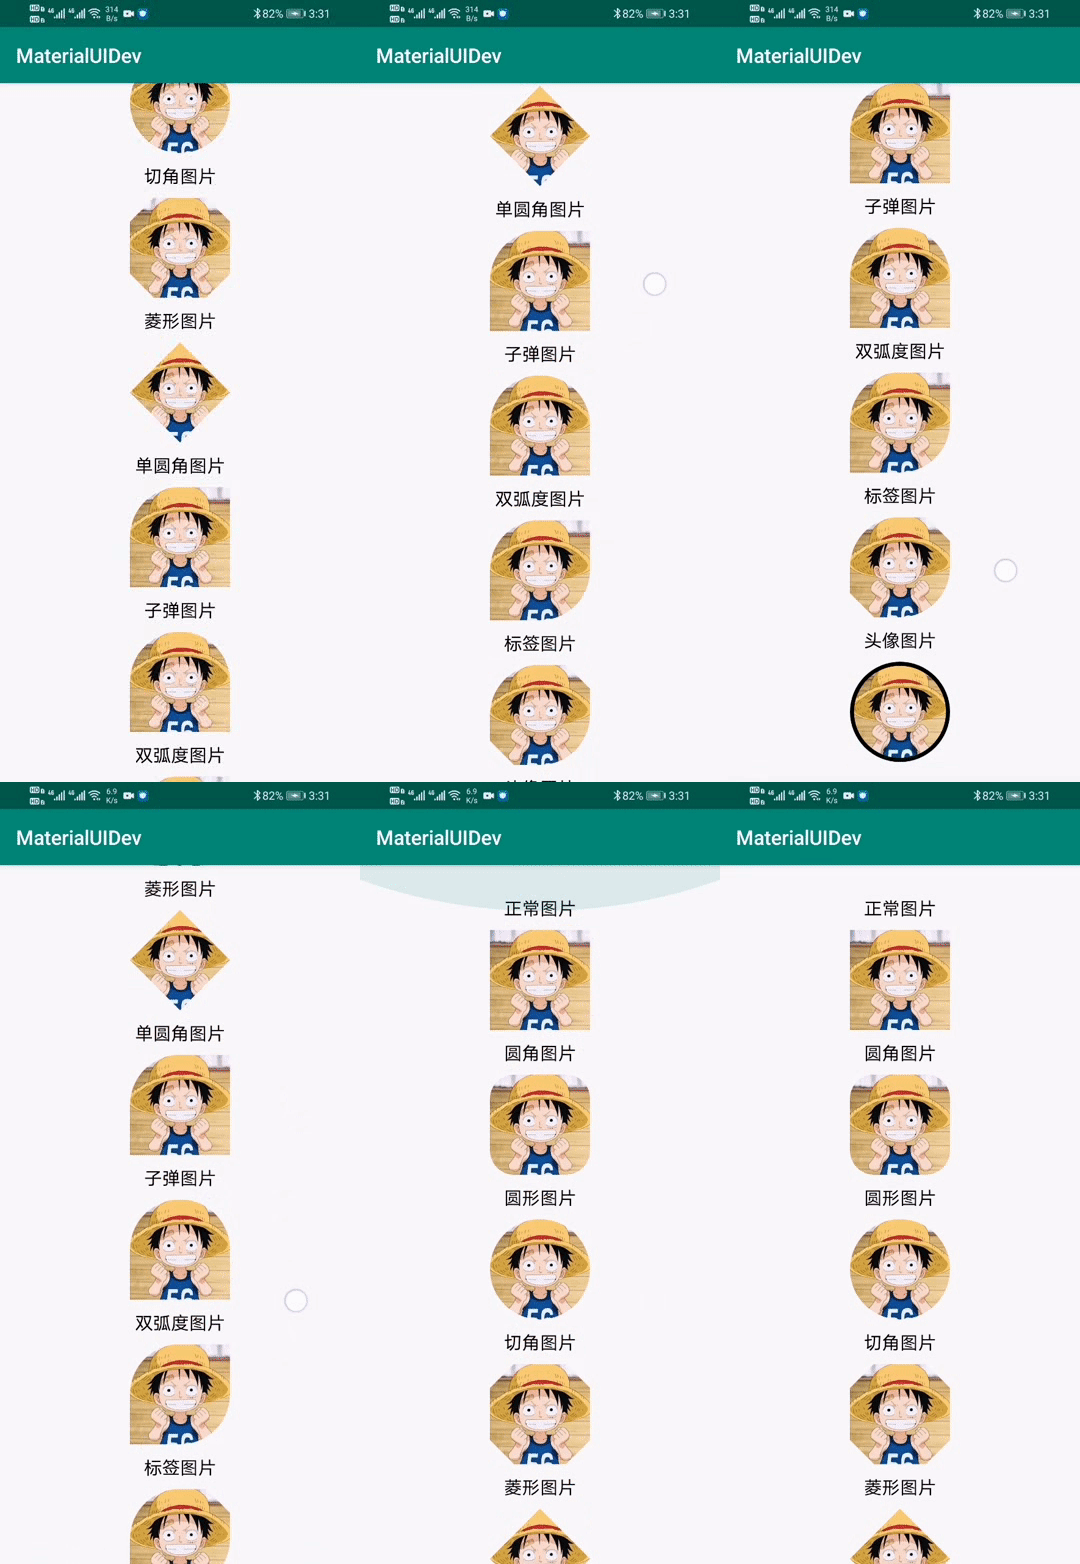
Android Material UI控制元件之ShapeableImageView
前言
你有使用過Material中的UI控制元件嗎?為什麼要使用它們,相對於原來的控制元件優勢在哪裡?
相信你看到這篇文章也會有所疑問,第一個問題就不用說了,那麼從第二問題開始回答,Android官方為開發者提供了許多豐富的UI控制元件,Material 元件就是包含了這些控制元件的一套工具,多數時候使用它可以滿足我們日常開發UI的需求,提高效率。優勢就在於它比原來的控制元件更加的強大,比如說我們平時要是像顯示一個圓形的頭像,需要怎麼做呢?你可能會使用第三方庫,Glide或者CircleImageView等一些開源庫,或者你會自定義ImageView來實現,那麼如果我告訴你Material 中的ImageView可以不需要自定義和使用第三方庫就能夠實現圓形圖片或其他一些形狀的圖片呢?這樣是否證明它更強大?是否能提高你的開發效率呢?聽了這麼多的廢話遠不如實踐得勁,其實我也是這麼想的,但是我得讓你知道為什麼才行,這才是寫文章的目的。下面是正文了。
# 使用步驟 ## 1.引入庫 首先,新建一個專案或在原有的專案上操作。因為我是打算寫一個Material UI系列文章的,所以我會新建一個專案。
在app下的build.gradle中的dependencies閉包中增加如下依賴,然後Sync,同步到專案中。
implementation 'com.google.android.material:material:1.2.0'
以上均屬於基本操作,下面才是見證騷操作的時候。
1.基本使用
首先在佈局中新增一個ShapeableImageView。

你只要輸入一個<Shap,下面就會彈出一個提示,回車就可以自己匯入,如果沒有彈出就說明你沒有Sync或者你的專案還沒有參照到這個庫,你需要Make Project或者Rebuild Project。
<com.google.android.material.imageview.ShapeableImageView
        android:id="@+id/siv_wallpaper"
        android:src="@drawable/pic_wallpaper"
        android:layout_width="match_parent"
        android:layout_height="match_parent"/>
圖片pic_wallpaper如下:

在佈局預覽中可以看到它並沒有佔滿佈局
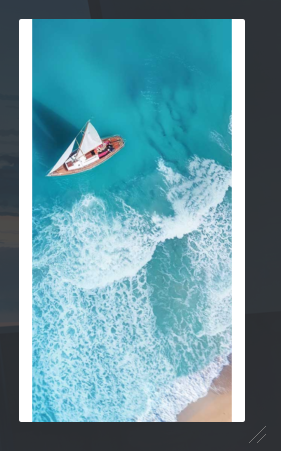
你預覽的效果實際就是你執行的效果,這並不是我想要的,然後增加一個scaleType屬性來改變一下
android:scaleType="fitXY"
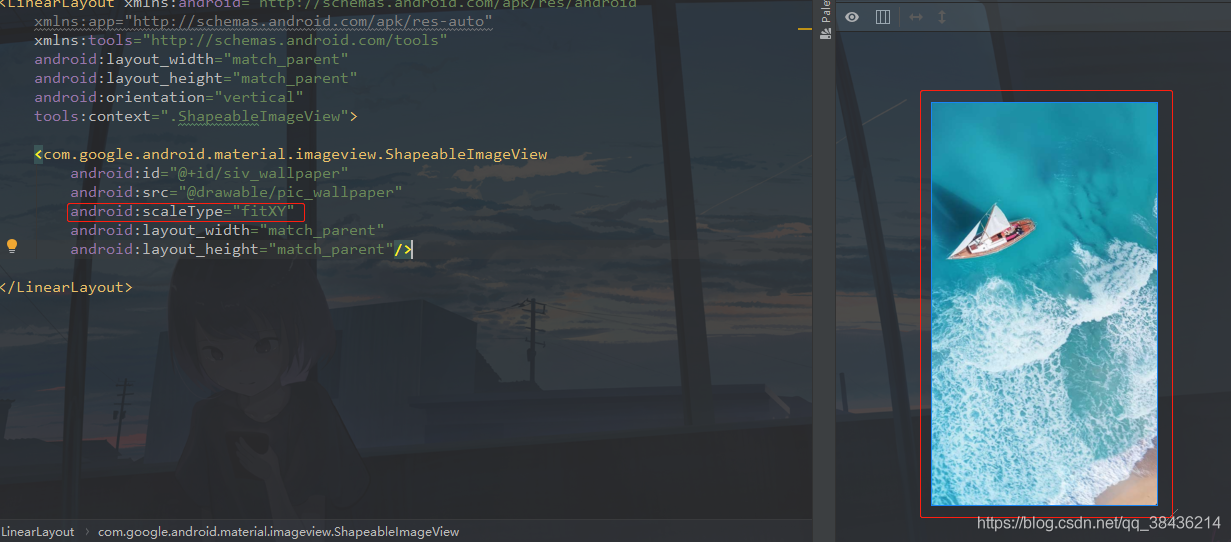
fitXY只是其中的一個型別,如何檢視其它型別呢?
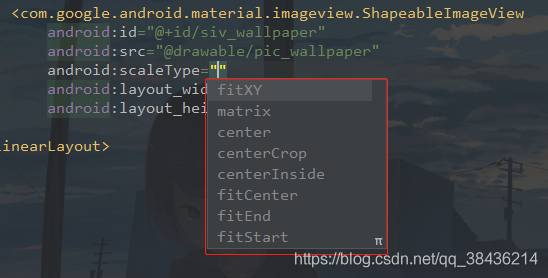
① scaleType屬性簡介
下面針對於scaleType的八種屬性來進行簡單的說明。
預設的圖片,可以看到,高度佔滿了,沒有佔滿寬度。
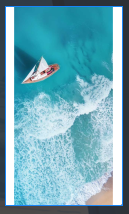
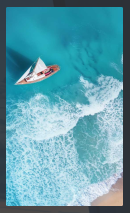
- fitXY
圖片等比縮放到完全填充控制元件,圖片寬高比和控制元件寬高比一致,則不變形;不一致,則會變形。
使用了fitXY,將寬度進行了拉伸,佔滿螢幕寬度
- fitCenter
等比例縮放,此型別為ScaleType預設模式(無選擇任何型別的時候預設為此型別),圖片寬高比和控制元件寬高比一致,則填滿控制元件顯示,居中顯示,即縮放後的圖片的中點和控制元件中點重疊,圖片寬高比和控制元件寬高比不一致,則等比縮放圖片最長邊,直到和控制元件寬或高一邊重疊,這種情況可會出現左右或者上下空白。
使用了fitCenter,效果等同於你預設的效果。

- fitStart
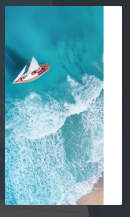
等比例縮放,圖片寬高比和控制元件寬高比一致,則填滿控制元件顯示,圖片寬高比和控制元件寬高比不一致,則等比縮放圖片最長邊,直到和控制元件寬或高任意一邊重疊,這種情況會出現右邊或者下邊空白。
使用了fitStart,效果如下,出現了右邊的留白。
- fitEnd
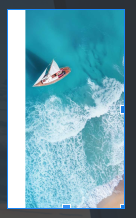
等比例縮放,圖片寬高比和控制元件寬高比一致,則填滿控制元件顯示,圖片寬高比和控制元件寬高比不一致,則等比縮放圖片最長邊,直到和控制元件寬或高任意一邊重疊,這種情況會出現左邊或者上邊空白。
使用了fitStart,效果如下,出現了左邊的留白。
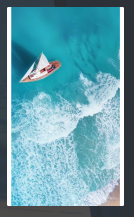
- center
控制元件中心和原始圖片中心重疊,圖片不進行縮放,只顯示控制元件區域的內容。如果原始圖片寬高都小於控制元件寬高,則看起來的效果和居中顯示一樣。
使用了center,效果如下,控制元件的重心和圖片重心重合,看起來像是放大了,實際上是高度比控制元件要高,所以重新定位了重心所以左右的留白會比預設的小。
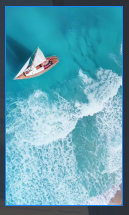
- centerCrop
控制元件中心和原始圖片中心重疊,等比例縮放,原圖比例和控制元件比例一致,則填滿控制元件,如果原圖比例大於控制元件比例,則按照控制元件高/圖片高進行等比例縮放,這樣就能保證圖片寬度在進行同等比例縮放的時候,圖片寬度大於或等於控制元件的寬度,如果原圖比例小於控制元件比例,則按照控制元件寬/圖片寬進行等比例縮放,這樣就能保證圖片高度在進行同等比例縮放的時候,圖片高度大於或等於控制元件的高度。
使用了centerCrop,效果如下,高度和寬度都進行了中心縮放。
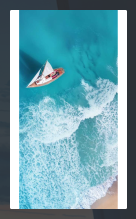
- CenterInside
如果圖片寬(或高)大於控制元件寬(或)則等比例縮小,顯示效果和FitCenter一樣。如果圖片寬高都小於控制元件寬高則直接居中顯示
使用了CenterInside,效果如下,和預設的效果沒有區別,這是因為圖片的高是比控制元件要高。
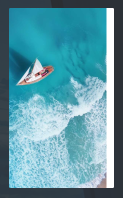
- matrix
對圖片的放縮策略和顯示方式採用matrix方式,即矩陣變換,例如我們想讓一張圖寬度與螢幕保持一致,高度等比放縮,並且頂部與ImageView頂部對齊。這種方式不能通過給定的預設方式做到。
使用了matrix,效果如下
以上為基本用顯示用法
1.樣式使用
樣式就是在Style中新建即可,比如
	<!-- 圓角圖片 -->
    <style name="roundedCornerStyle">
        <item name="cornerFamily">rounded</item>
        <item name="cornerSize">12dp</item>
    </style>
OK,下面放入一個用來顯示的圖片。

最喜歡的還是海賊王,蒙奇.D.路飛。
然後我在MainActivity的佈局中,放入了一個按鈕
<?xml version="1.0" encoding="utf-8"?>
<LinearLayout xmlns:android="http://schemas.android.com/apk/res/android"
    xmlns:app="http://schemas.android.com/apk/res-auto"
    xmlns:tools="http://schemas.android.com/tools"
    android:layout_width="match_parent"
    android:layout_height="match_parent"
    android:orientation="vertical"
    tools:context=".MainActivity">

    <Button
        android:text="ShapeableImageView"
        android:textAllCaps="false"
        android:onClick="onClick"
        android:layout_width="match_parent"
        android:layout_height="wrap_content"/>

</LinearLayout>
程式碼中跳轉到ShapeableImageViewActivity裡面,這是一個Activity
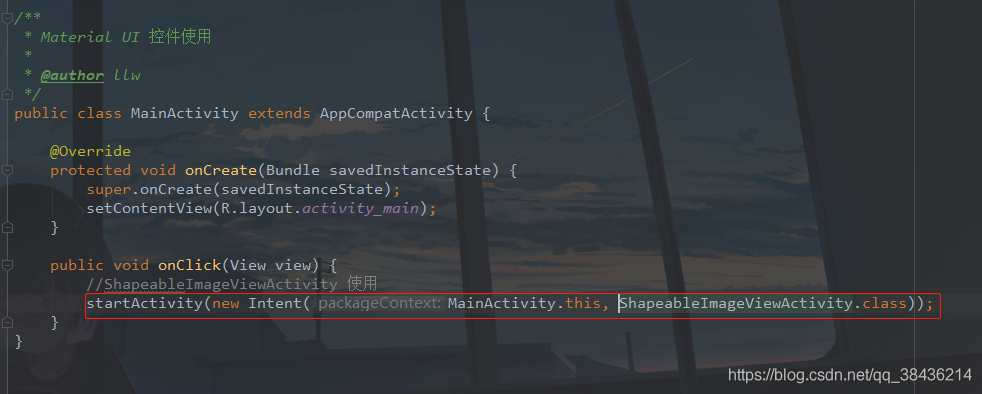
然後來看它的佈局。
然後修改佈局的程式碼:為了方便對比我用了一個卷軸,裡面包裹一個線性佈局,佈局裡面就是用來演示的效果圖,佈局程式碼如下:
<?xml version="1.0" encoding="utf-8"?>
<LinearLayout xmlns:android="http://schemas.android.com/apk/res/android"
    xmlns:app="http://schemas.android.com/apk/res-auto"
    xmlns:tools="http://schemas.android.com/tools"
    android:layout_width="match_parent"
    android:layout_height="match_parent"
    android:orientation="vertical"
    tools:context=".ShapeableImageView">

    <androidx.core.widget.NestedScrollView
        android:layout_width="match_parent"
        android:layout_height="match_parent">

        <LinearLayout
            android:layout_width="match_parent"
            android:layout_height="match_parent"
            android:gravity="center_horizontal"
            android:orientation="vertical">

            <TextView
                android:layout_width="wrap_content"
                android:layout_height="wrap_content"
                android:layout_margin="10dp"
                android:text="正常圖片"
                android:textColor="#000" />

            <com.google.android.material.imageview.ShapeableImageView
                android:layout_width="100dp"
                android:layout_height="100dp"
                android:src="@mipmap/test" />

            <!--圓角圖片-->

            <TextView
                android:layout_width="wrap_content"
                android:layout_height="wrap_content"
                android:layout_margin="10dp"
                android:text="圓角圖片"
                android:textColor="#000" />

            <com.google.android.material.imageview.ShapeableImageView
                android:layout_width="100dp"
                android:layout_height="100dp"
                android:src="@mipmap/test"
                app:shapeAppearanceOverlay="@style/roundedImageStyle" />

        </LinearLayout>
    </androidx.core.widget.NestedScrollView>


</LinearLayout>
① 圓角圖片
這個裡面用到一個樣式,可以直接在styles.xml中增加如下程式碼:
	<!-- 圓角圖片 -->
    <style name="roundedImageStyle">
        <item name="cornerFamily">rounded</item>
        <item name="cornerSize">24dp</item>
    </style>
好了,直接來執行吧。
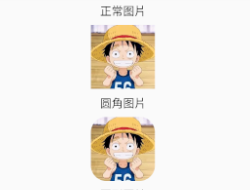
可以看到,圓角已經出來了,是不是很奈斯呢?嗯?當然還有不同的用法。剛才我設定樣式中的cornerSize的屬性值為24dp。cornerFamily的屬性值為rounded。表示有弧度。那麼假如我要變成圓角圖片呢?
② 圓形圖片
先來看這個樣式
	<!-- 圓形圖片 -->
    <style name="circleImageStyle">
        <item name="cornerFamily">rounded</item>
        <item name="cornerSize">50%</item>
    </style>
cornerSize設定為50%,表示為VIew的一半的值進行處理。那麼就會有圓形圖片了。
在佈局中增加如下程式碼,然後執行一下。
<!--圓形圖片-->
<com.google.android.material.imageview.ShapeableImageView
                android:layout_width="100dp"
                android:layout_height="100dp"
                android:src="@mipmap/test"
                app:shapeAppearanceOverlay="@style/circleImageStyle" />
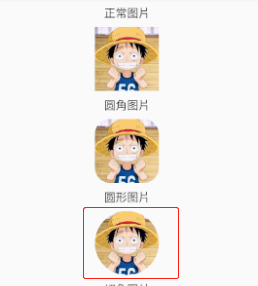
是不是簡簡單單。
其實不光是圓角,還有切角。
③ 切角圖片
先增加一個樣式
	<!-- 切角圖片 -->
    <style name="cutImageStyle">
        <item name="cornerFamily">cut</item>
        <item name="cornerSize">24dp</item>
    </style>
然後增加一個圖片
<!--切角圖片-->
<com.google.android.material.imageview.ShapeableImageView
                android:layout_width="100dp"
                android:layout_height="100dp"
                android:src="@mipmap/test"
                app:shapeAppearanceOverlay="@style/cutImageStyle" />
再執行。
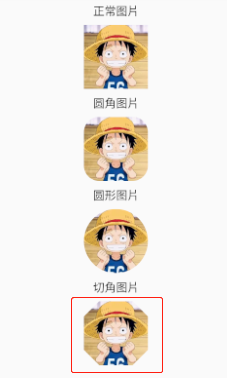
這就做出來了,而我只是簡單的把cornerFamily的屬性值改為cut就可以了。
那麼同樣我們吧這個cut狀態下的cornerSize設定為50%,那就是菱形圖片了。
④ 菱形圖片
新增樣式
	<!-- 菱形圖片 -->
    <style name="diamondImageStyle">
        <item name="cornerFamily">cut</item>
        <item name="cornerSize">50%</item>
    </style>
新增圖片
<!--菱形圖片-->
<com.google.android.material.imageview.ShapeableImageView
                android:layout_width="100dp"
                android:layout_height="100dp"
                android:src="@mipmap/test"
                app:shapeAppearanceOverlay="@style/diamondImageStyle" />
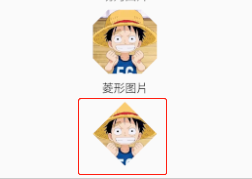
上面的屬於基本用法,其實你還可以這樣玩。
⑤ 單圓角圖片
新增樣式
	<!--單圓角圖片-->
    <style name="singleRoundedImageStyle">
        <item name="cornerFamilyTopLeft">rounded</item>
        <item name="cornerSizeTopLeft">50%</item>
    </style>
這個意思很明顯cornerFamilyTopLeft,左上角為圓角,指定弧度cornerSizeTopLeft為50%。
然後新增圖片
<!--單圓角圖片-->
<com.google.android.material.imageview.ShapeableImageView
                android:layout_width="100dp"
                android:layout_height="100dp"
                android:src="@mipmap/test"
                app:shapeAppearanceOverlay="@style/singleRoundedImageStyle" />
執行
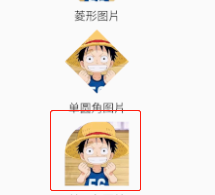
⑥ 雙圓角圖片(子彈圖片)
新增樣式
 	<!--子彈圖片-->
    <style name="bulletImageStyle">
        <item name="cornerFamilyTopLeft">rounded</item>
        <item name="cornerFamilyTopRight">rounded</item>
        <item name="cornerSizeTopLeft">50%</item>
        <item name="cornerSizeTopRight">50%</item>
    </style>
也是一看就懂,
新增圖片
<!--子彈圖片-->
<com.google.android.material.imageview.ShapeableImageView
                android:layout_width="100dp"
                android:layout_height="100dp"
                android:src="@mipmap/test"
                app:shapeAppearanceOverlay="@style/bulletImageStyle" />
執行
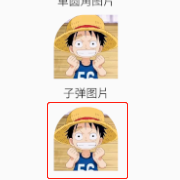
這種雙圓角比較醜,再來改變一下就會好看一些
	<!--雙弧度圖片-->
    <style name="doubleArcStyle">
        <item name="cornerFamilyTopLeft">rounded</item>
        <item name="cornerFamilyBottomRight">rounded</item>
        <item name="cornerSizeTopLeft">50%</item>
        <item name="cornerSizeBottomRight">50%</item>
    </style>
新增圖片
<!--雙弧度圖片-->
<com.google.android.material.imageview.ShapeableImageView
                android:layout_width="100dp"
                android:layout_height="100dp"
                android:src="@mipmap/test"
                app:shapeAppearanceOverlay="@style/doubleArcStyle" />
執行

⑦ 標籤圖片
	<!--標籤圖片-->
    <style name="TipImageStyle">
        <item name="cornerFamilyTopLeft">rounded</item>
        <item name="cornerFamilyBottomRight">rounded</item>
        <item name="cornerSizeTopLeft">50%</item>
        <item name="cornerSizeBottomRight">50%</item>
        <item name="cornerFamilyTopRight">cut</item>
        <item name="cornerFamilyBottomLeft">cut</item>
        <item name="cornerSizeTopRight">24dp</item>
        <item name="cornerSizeBottomLeft">24dp</item>
    </style>
新增圖片
<!--標籤圖片-->
<com.google.android.material.imageview.ShapeableImageView
                android:layout_width="100dp"
                android:layout_height="100dp"
                android:src="@mipmap/test"
                app:shapeAppearanceOverlay="@style/TipImageStyle" />
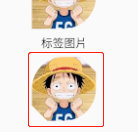
我相信你已經會玩了。
⑧ 頭像圖片
頭像常規的就是一個圓形的,然後外邊有一個邊框。圓形的樣式之前已經寫了,那麼只需要邊框就可以了。邊框就更簡單了。
<com.google.android.material.imageview.ShapeableImageView
                android:layout_width="100dp"
                android:layout_height="100dp"
                android:padding="2dp"
                android:src="@mipmap/test"
                app:shapeAppearanceOverlay="@style/circleImageStyle"
                app:strokeColor="#000"
                app:strokeWidth="4dp" />
可以看到,它比常規的圖片多了三個屬性
android:padding="2dp"
app:strokeColor="#000"
app:strokeWidth="4dp"
這裡我為什麼要填充呢?這是因為strokeWidth的寬度表示內外各2dp。如果不設定padding=「2dp」,就會出現這樣的效果

所以可以看到,上下左右都少了2dp,那麼就要加上,加上之後:
效果不錯吧!
然後捲動一下,看一下效果。

2. 樣式解讀
你以為這就完了嗎?當然木有,我相信從上述的使用過程中,你已經知道怎麼設定相應的樣式來顯示效果了,但是還是得說明一下,各個樣式代表的意思,那麼去哪裡看呢?當然是原始碼啦。首先把專案的模式切換為project,如果你是得話當我沒說。
然後展開這個目錄
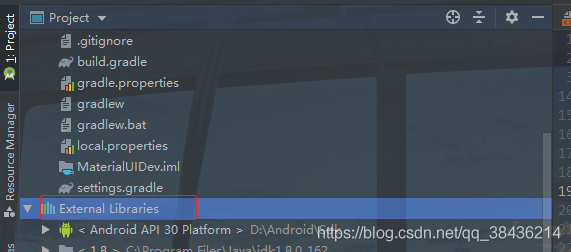
它裡面都是一些專案中的依賴庫。然後在裡面找到
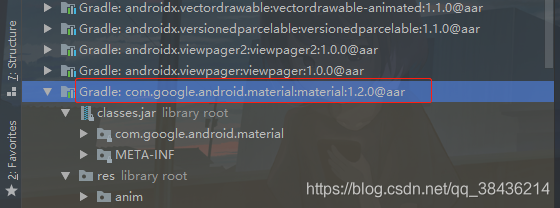
再展開。找到這個values檔案
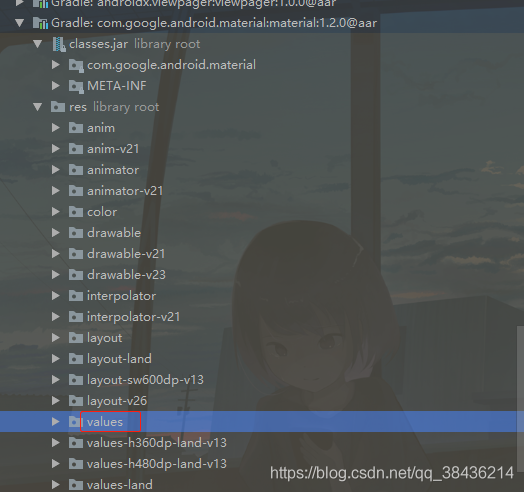
開啟裡面的value.xml

然後Ctrl + F 搜尋當前頁,輸入ShapeableImageView,找到如下圖所示的地方
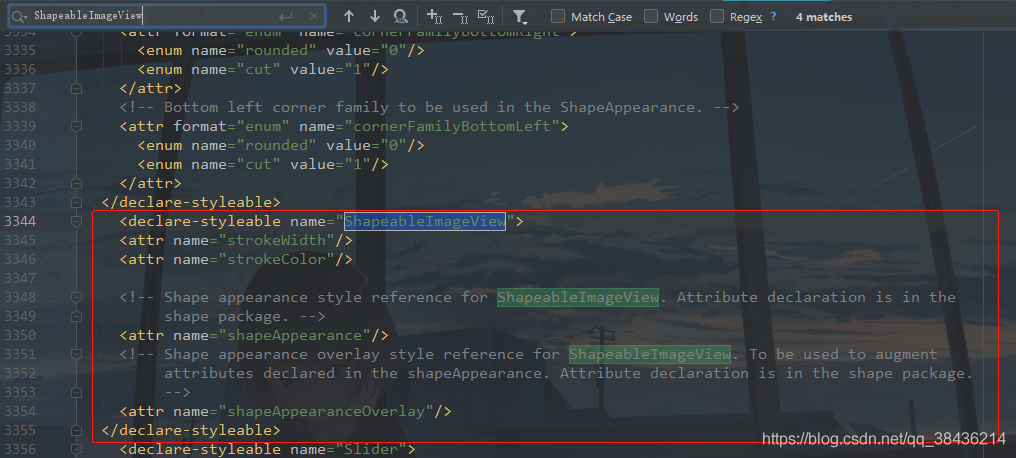
<declare-styleable name="ShapeableImageView">
    <attr name="strokeWidth"/>
    <attr name="strokeColor"/>

    <!-- Shape appearance style reference for ShapeableImageView. Attribute declaration is in the
         shape package. -->
    <attr name="shapeAppearance"/>
    <!-- Shape appearance overlay style reference for ShapeableImageView. To be used to augment
         attributes declared in the shapeAppearance. Attribute declaration is in the shape package.
         -->
    <attr name="shapeAppearanceOverlay"/>
  </declare-styleable>
<declare-styleable name="ShapeAppearance">
    <!-- Corner size to be used in the ShapeAppearance. All corners default to this value -->
    <attr format="dimension|fraction" name="cornerSize"/>
    <!-- Top left corner size to be used in the ShapeAppearance. -->
    <attr format="dimension|fraction" name="cornerSizeTopLeft"/>
    <!-- Top right corner size to be used in the ShapeAppearance. -->
    <attr format="dimension|fraction" name="cornerSizeTopRight"/>
    <!-- Bottom right corner size to be used in the ShapeAppearance. -->
    <attr format="dimension|fraction" name="cornerSizeBottomRight"/>
    <!-- Bottom left corner size to be used in the ShapeAppearance. -->
    <attr format="dimension|fraction" name="cornerSizeBottomLeft"/>

    <!-- Corner family to be used in the ShapeAppearance. All corners default to this value -->
    <attr format="enum" name="cornerFamily">
      <enum name="rounded" value="0"/>
      <enum name="cut" value="1"/>
    </attr>
    <!-- Top left corner family to be used in the ShapeAppearance. -->
    <attr format="enum" name="cornerFamilyTopLeft">
      <enum name="rounded" value="0"/>
      <enum name="cut" value="1"/>
    </attr>
    <!-- Top right corner family to be used in the ShapeAppearance. -->
    <attr format="enum" name="cornerFamilyTopRight">
      <enum name="rounded" value="0"/>
      <enum name="cut" value="1"/>
    </attr>
    <!-- Bottom right corner family to be used in the ShapeAppearance. -->
    <attr format="enum" name="cornerFamilyBottomRight">
      <enum name="rounded" value="0"/>
      <enum name="cut" value="1"/>
    </attr>
    <!-- Bottom left corner family to be used in the ShapeAppearance. -->
    <attr format="enum" name="cornerFamilyBottomLeft">
      <enum name="rounded" value="0"/>
      <enum name="cut" value="1"/>
    </attr>
  </declare-styleable>
可以看到裡面只有四個樣式,有三個我們在上面就已經用到了。
- strokeWidth 描邊寬度,(內外描邊,需要設定一半的值為填充)
- strokeColor 描邊顏色,常規顏色就可以。
- shapeAppearance ShapeableImageView的外觀形狀樣式,需要設定Style。
- shapeAppearanceOverlay ShapeableImageView的外觀形狀疊加樣式,需要設定Style。
shapeAppearance和shapeAppearanceOverlay我感覺差不太多,如果單獨使用的話,可以互相切換,一起使用可能就不一樣了。
比如

可以看到我設定兩個屬性,但是shapeAppearanceOverlay是作為最終顯示效果的。shapeAppearance設定的為圓角,shapeAppearanceOverlay設定為圓形,結果顯示的就是圓形,你要是不信邪,就自己也是試一下。
說到樣式,也要詳細的說一下:

比如這個圓角圖片,我們看到cornerFamily的屬性是rounded,其實它只有兩個屬性值。另一個是cut,也就是說只有圓角和切角,預設是上下左右。而cornerSize代表大小,也是預設上下左右。
- cornerFamilyTopLeft 左上的形狀
- cornerSizeTopLeft 左上的的大小
其他形狀參考這個來設定就可以了。
3. 總結
這種圖片的用法,還是比較不錯的,通過簡單的程式碼就可以實現效果,同時顯示網路圖片也是沒問題的。OK,就到這裡了。最後注意一點,在低版本的Andoid裝置上可能不會生效哦!