CentOS 7 安裝 NVIDIA 顯示卡驅動以及CUDA驅動(自測可用)
借鑑部落格:地址
一、安裝NVIDIA 顯示卡驅動
1、遮蔽 nouveau 驅動
編寫(如果沒有會新建),下面兩個檔案
# vi /etc/modprobe.d/nvidia-installer-disable-nouveau.conf
# vi /lib/modprobe.d/nvidia-installer-disable-nouveau.conf
在兩個檔案下寫入如下內容
blacklist nouveau
options nouveau modeset=0
2、重做 initramfs 映象
①給當前映象做備份
cp /boot/initramfs-$(uname -r).img /boot/initramfs-$(uname -r).img.bak
②建立新的映象
dracut /boot/initramfs-$(uname -r).img $(uname -r)
③重新啟動
reboot
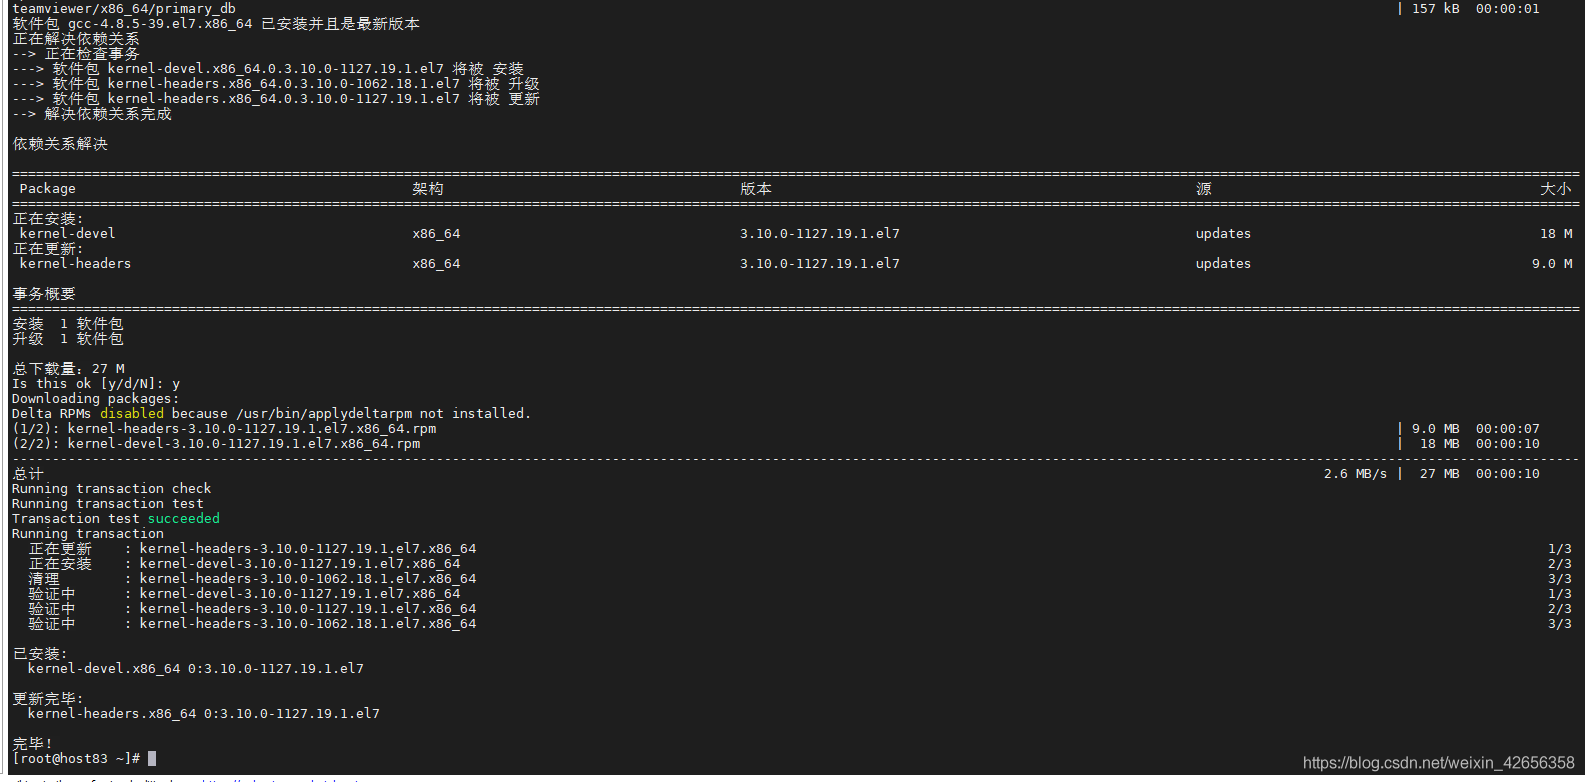
3、預安裝元件(聯網)
yum install gcc kernel-devel kernel-headers
4、根據當前系統核心下載 NVIDIA 官方驅動
地址:https://www.nvidia.cn/Download/index.aspx?lang=cn
5、安裝 NVIDIA驅動
執行如下的安裝步驟,必需指定 kernel source path,否則會報錯;kernel 的版本和系統核心有關,可能會有差別
①定位到驅動下載到的目錄
②執行
./NVIDIA-Linux-x86_64-450.66.run --kernel-source-path=/usr/src/kernels/3.10.0-1127.19.1.el7.x86_64 -k $(uname -r)
說明:
-
NVIDIA-Linux-x86_64-450.66.run是下載的驅動;
-
3.10.0-1127.19.1.el7.x86_64是通過ll /usr/src/kernels/命令檢視的系統核心原始碼

6、安裝解壓
Verifying archive integrity... OK
Uncompressing NVIDIA Accelerated Graphics Driver for Linux-x86_64 384.81.......................................
..................................................................
..................................................................
常規選擇即可
安裝 32 位相容庫 -yes
PS:大多數預設選擇就可以,有一些是與NVIDIA做後期互動的一些選擇,也是預設即可
7、驗證
執行:
lspci |grep NVIDIA
nvidia-smi
如下效果表示安裝成功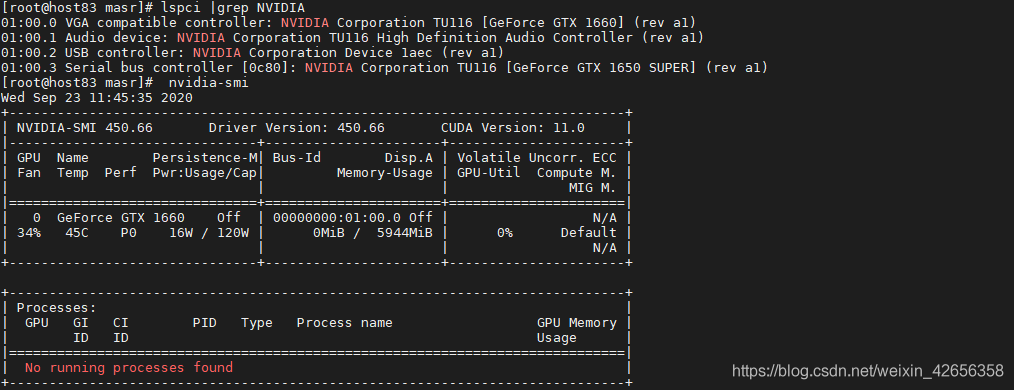
二、安裝CUDA驅動
1、下載CUDA
地址:https://developer.nvidia.com/cuda-downloads?target_os=Linux&target_arch=x86_64&target_distro=CentOS&target_version=7&target_type=rpmnetwork
根據提供地址,下載到本地

2、安裝
安裝執行:
./cuda_11.0.3_450.51.06_linux.run
此時可能會出現許可權不足的情況,需要進行授權,這裡我直接給了最高許可權
chmod 777 cuda_11.0.3_450.51.06_linux.run
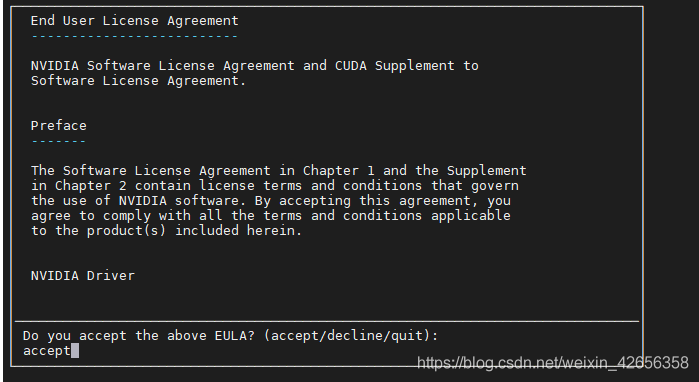
之後會出現協定,選擇接受:
安裝:
這裡面不需要再裝顯示卡驅動了(這裡截圖有錯)
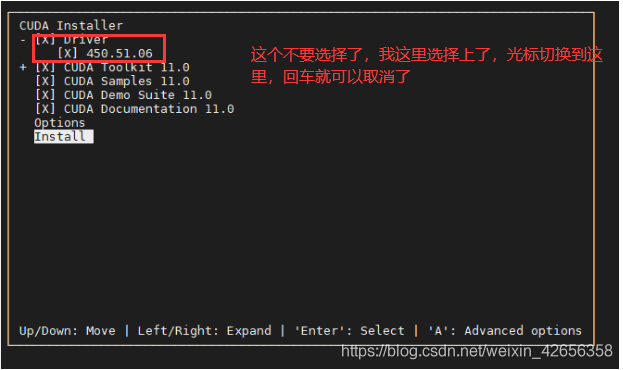
出現了警告資訊,對安裝無影響

截圖紀錄檔:
[root@host83 masr]# sudo sh cuda_11.0.3_450.51.06_linux.run
===========
= Summary =
===========

Driver:   Not Selected
Toolkit:  Installed in /usr/local/cuda-11.0/
Samples:  Installed in /root/, but missing recommended libraries

Please make sure that
 -   PATH includes /usr/local/cuda-11.0/bin
 -   LD_LIBRARY_PATH includes /usr/local/cuda-11.0/lib64, or, add /usr/local/cuda-11.0/lib64 to /etc/ld.so.conf and run ldconfig as root

To uninstall the CUDA Toolkit, run cuda-uninstaller in /usr/local/cuda-11.0/bin
***WARNING: Incomplete installation! This installation did not install the CUDA Driver. A driver of version at least .00 is required for CUDA 11.0 functionality to work.
To install the driver using this installer, run the following command, replacing <CudaInstaller> with the name of this run file:
    sudo <CudaInstaller>.run --silent --driver

Logfile is /var/log/cuda-installer.log
也可以進入紀錄檔進行檢視(位置如下):
/var/log/cuda-installer.log
3、 設定環境變數
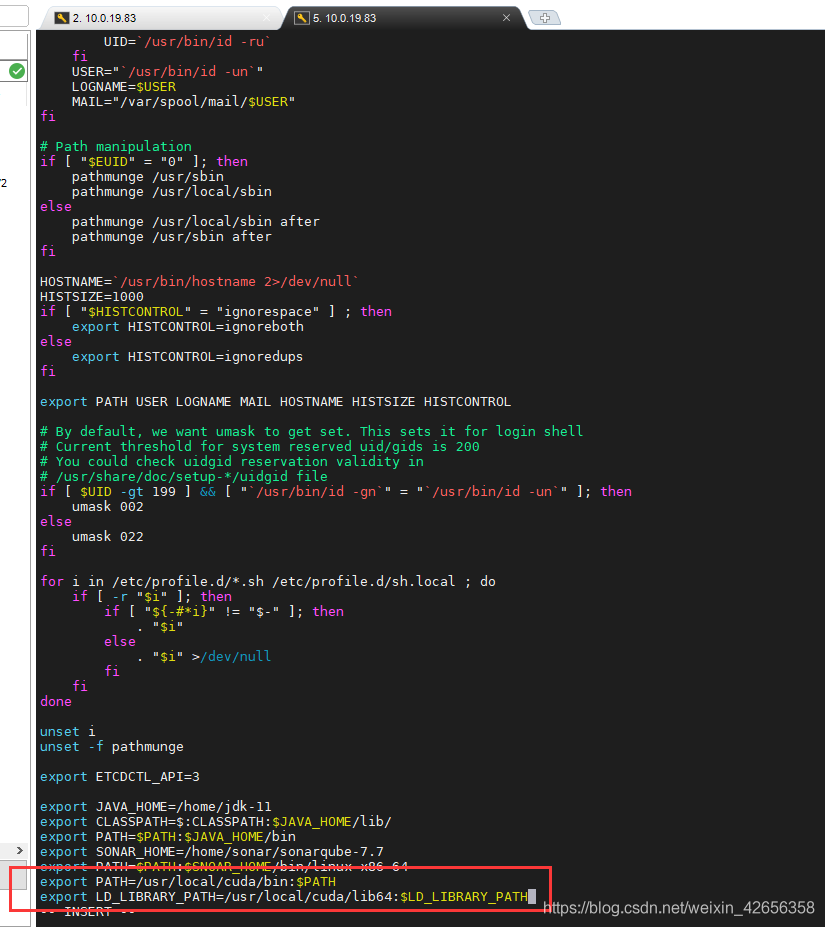
vi /etc/profile
進入檔案,新增設定
export PATH=/usr/local/cuda/bin:$PATH
export LD_LIBRARY_PATH=/usr/local/cuda/lib64:$LD_LIBRARY_PATH
使環境變數立即生效
source /etc/profile ;
安裝完成!
若有幫助記得點贊哦~