Unity—第一人稱完整控制器(自制版)
1.大體思路:
(1)具備移動功能。
(2)攝像頭跟隨。
(3)能夠隨滑鼠移動控制視角。
2.具體實現方法:
(1)移動功能指令碼:
在這裡我們打算利用剛體元件的addforce來施加一個力來移動,具體程式碼如下:注:(ismoving在此功能裡並無卵用,主要是為了其他功能請無視掉這個bool值)
    private bool isMoving;
    private Rigidbody PlayerRig;
    public float Speed=2;
    void Start()
    {
        PlayerRig = GetComponent<Rigidbody>();
    }

    // Update is called once per frame
    void Update()
    {
        PlayerMove();
    }
 void PlayerMove()
    {
        isMoving = false;
        SpeedControl();
        if (Input.GetKey(KeyCode.W))    //ahead
        {
            PlayerRig.AddForce(new Vector3(0, 0, 1)*Time.deltaTime*Speed*200);
            isMoving = true;
        }
         else
        if (Input.GetKey(KeyCode.S))    //right
        {
            PlayerRig.AddForce(new Vector3(0, 0, -1) * Time.deltaTime * Speed * 200);
            isMoving = true;
        }
        else
        if (Input.GetKey(KeyCode.A))    //left
        {
            PlayerRig.AddForce(new Vector3(-1, 0, 0) * Time.deltaTime * Speed * 200);
            isMoving = true;
        }
        else
        if (Input.GetKey(KeyCode.D))    //back
        {
            PlayerRig.AddForce(new Vector3(1, 0, 0) * Time.deltaTime * Speed * 200);
            isMoving = true;
        }
        else
          if (Input.GetKey(KeyCode.Space))  //jump
        {
            PlayerRig.AddForce(new Vector3(0, 1, 0) * Time.deltaTime * Speed * 300);
            isMoving = true;
        }

    }
分析下上述程式碼可知需要在玩家物體上掛在剛體元件,在程式碼中也應當宣告並獲取rigidbody元件,在此基礎上我們才可以使用rigidbody.AddForce(Vector3))來施加力,通過觀察可以看到在AddForce後*了一個Time.delttime這是因為在沒幀都會呼叫施加力這個函數,也就意味著這個力一秒施加力60次!(直接原地發射=v=)而deltatime=1/60也就是一幀的時間數這樣一乘就意味著一秒施加一次力,而後面乘的常數量則起到調節作用,你感覺力小了可以乘一個較大的數乘起來或者將剛體元件的阻力值改小些都可以的 *
(2)攝像頭跟隨
這裡就涉及到一些向量加法問題了,既然空間向量不好畫,我們可以用簡單的平面直角座標來解釋這個問題,首先來看下具體程式碼:
using System.Collections;
using System.Collections.Generic;
using UnityEngine;

public class FollowTarget : MonoBehaviour
{
    public Transform PlayerTransform;
    private Vector3 offset;//最開始的偏移量


    // Start is called before the first frame update
    void Start()
    {
        offset = transform.position - PlayerTransform.position;
    }

    // Update is called once per frame
    void Update()
    {
        transform.position = PlayerTransform.position + offset;
    }
}
offset是一個偏移量比方說空間有A(1,2),B(2,1),2個點,向量AB就是B相對於A的一個偏移量,意思是要想將B點移動到A點既B的座標要從(2,1)變到(1,2),AB向量為A-B=(-1,1),B+AB=(2,1)+(-1,1)=(1,2)=A,這下是不是就明白了呢?要讓攝像頭無論怎麼移動都和操控物體保持相對位置也就是隨時調整二者位置使其保持相對靜止,通過transform.position修改camera位置即可,要把這個指令碼掛在Camera上歐~
(3)能夠隨滑鼠移動控制視角。
還是先上程式碼
    void AngleControl()
    {
        float h = Input.GetAxis("Horizontal");
        float v = Input.GetAxis("Vertical");
        float X = Input.GetAxis("Mouse X") * RotateSpeed;
        float Y = Input.GetAxis("Mouse Y") * RotateSpeed;
        Vector3 speed = new Vector3(h, 0, v);
        Maincameral.transform.localRotation = Maincameral.transform.localRotation * Quaternion.Euler(-Y,0,0);
        transform.localRotation = transform.localRotation * Quaternion.Euler(0, X, 0);
    }
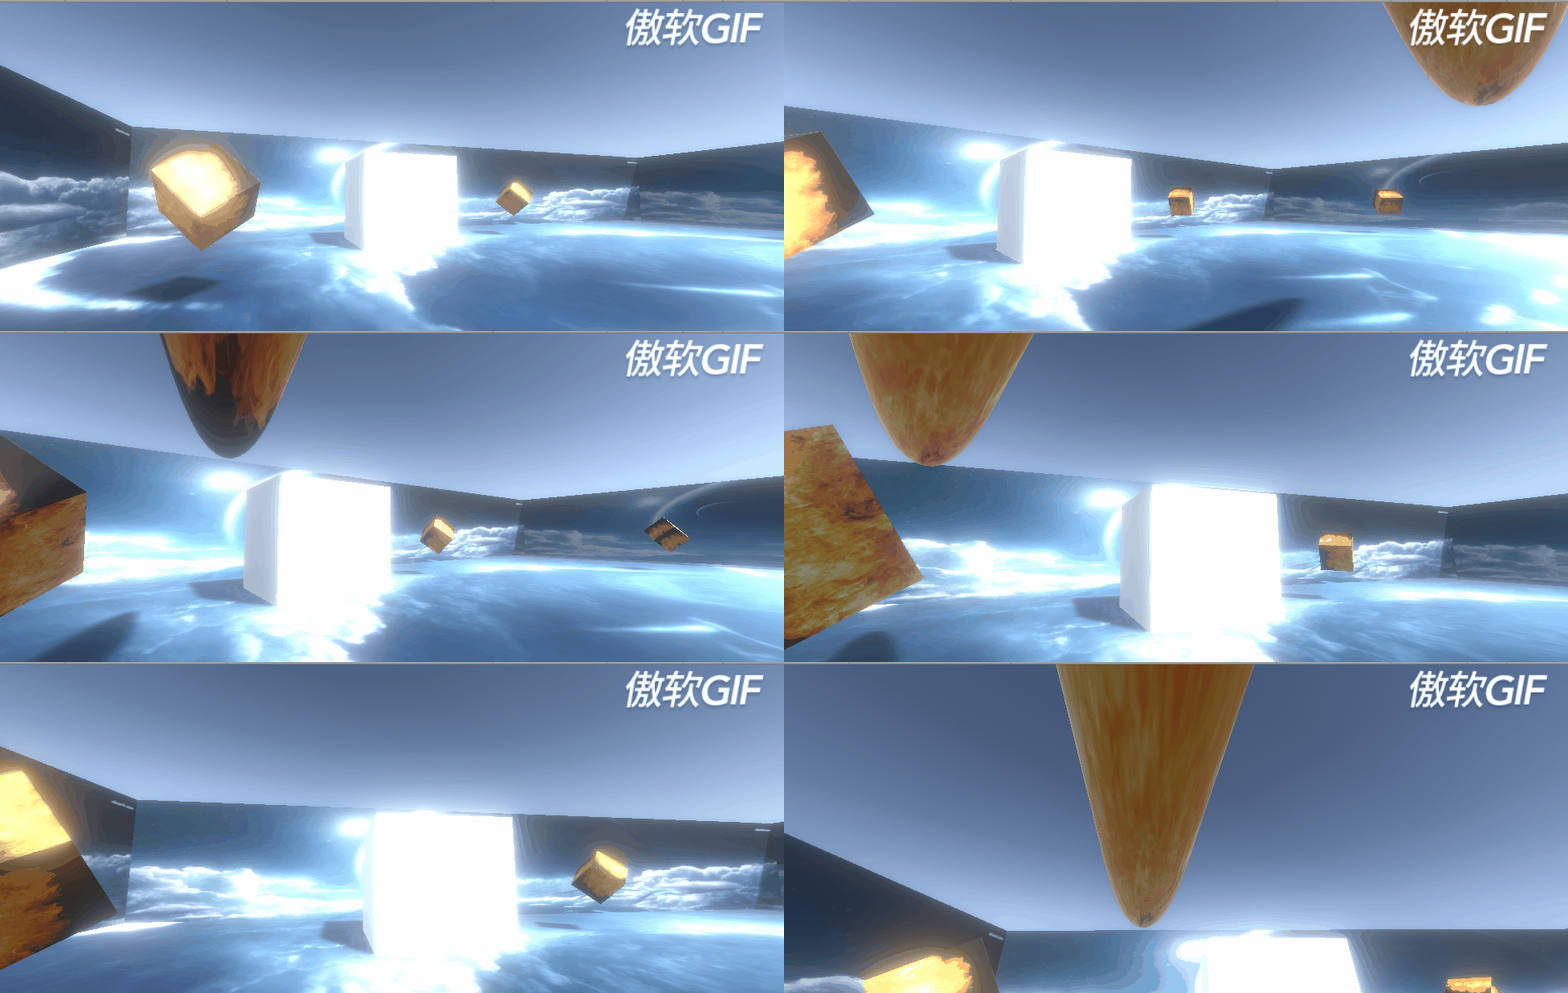
這樣基本功能就算是實現了接下來放上效果圖:
其他要素可以忽略^v ^總體是實現了,對於為什麼一定要用quaternion.Euler而不是通過修改他的rotation來設定角度則涉及到一個萬向鎖鎖死問題,具體會導致像是側著身子看整個視角歪曲的結果下期再討論。bye~