LVS 負載均衡群集 ---------- DR(直連路由)模式
2020-09-24 11:01:11
LVS 負載均衡群集 ---------- DR(直連路由)模式
負載均衡 ---- DR模式
- 本次主要介紹負載均衡中的DR模式
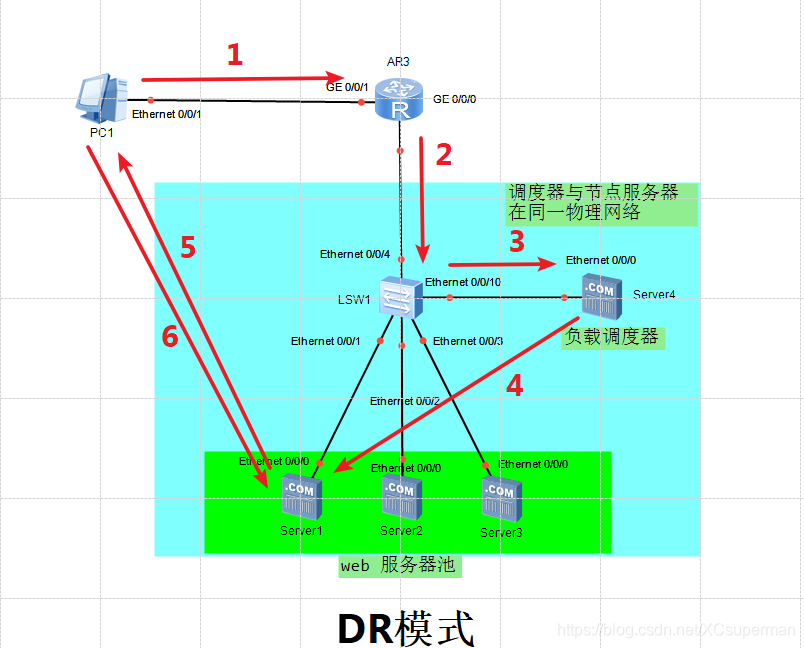
直接路由(Direct Routing)簡稱 DR模式;採用半開放式的網路結構,與TUN模式的結構類似,但各節點並不是分散在各地,而是與排程器位於同一物理網路;負載排程器與各節點伺服器通過本地網路連線,不需要建立專用的IP隧道。
網路環境部署
-
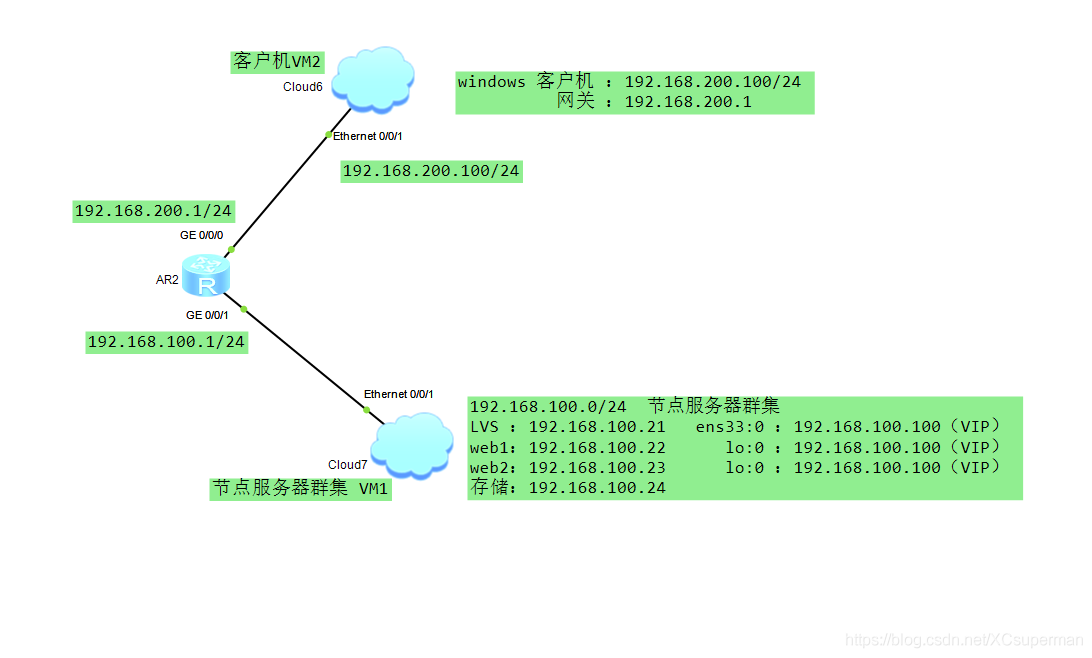
本次將用 eNsp 拓撲圖 + 5臺虛擬機器器來進行搭建演示
-
節點伺服器群集
1、一臺LVS排程器(vm1連線方式)
更改 ip :192.168.100.21/24 閘道器:192.168.100.1 重新啟動網路卡;2、兩臺節點伺服器(vm1連線方式)
更改 ip :192.168.100.22/24 閘道器:192.168.100.1 重新啟動網路卡;
更改 ip :192.168.100.23/24 閘道器:192.168.100.1 重新啟動網路卡;3、一臺NFS共用記憶體(vm1連線方式)
更改 ip :192.168.100.24/24 閘道器:192.168.100.1 重新啟動網路卡; -
客戶機
1、一臺 windows 系統的虛擬機器器(使用者端)(vm2連線方式)
更改網路介面卡的網址 ip:192.168.200.100/24 閘道器:192.168.200.1 -
真機
1、真機更改 vm1 網路卡(用於連線 CRT 的)
更改 ip:192.168.100.2/24 閘道器:192.168.100.1 -
關閉所有虛擬機器器的防火牆、核心防護、安裝本地 yum源
開始設定 LVS — DR模式
設定 LVS排程器(192.168.100.21)
【1】設定虛擬IP地址(VIP)
[root@localhost ~]# cd /etc/sysconfig/network-scripts/
[root@localhost network-scripts]# ll
[root@localhost network-scripts]# cp ifcfg-ens33 ifcfg-ens33:0
[root@localhost network-scripts]# vi ifcfg-ens33:0

NAME=ens33:0
DEVICE=ens33:0
ONBOOT=yes
IPADDR=192.168.100.100
NETMASK=255.255.255.255

[root@localhost network-scripts]# ifup ens33:0
[root@localhost network-scripts]# ip addr                ####檢視 lo:0 介面上設的IP是否出現(我這是最小化安裝的)
【2】調整/proc響應引數 對於 DR 群集模式來說,由於 LVS 負載排程器和各節點需要共用 VIP 地址,應該關閉 Linux 核心的重定向引數響應伺服器不是一臺路由器,那麼它不會傳送重定向,所以可以關閉該功能(響應優化)
[root@localhost ~]# vi /etc/sysctl.conf
net.ipv4.conf.all.send_redirects = 0
net.ipv4.conf.default.send_redirects = 0
net.ipv4.conf.ens33.send_redirects = 0

[root@localhost ~]# sysctl -p                   ####檢視是否生效
net.ipv4.conf.all.send_redirects = 0
net.ipv4.conf.default.send_redirects = 0
net.ipv4.conf.ens33.send_redirects = 0
【3】設定負載分配策略
[root@localhost /]# ipvsadm -v
[root@localhost ~]# modprobe ip_vs
[root@localhost ~]# cat /proc/net/ip_vs
[root@localhost ~]# yum -y install ipvsadm
[root@localhost ~]# ipvsadm -A -t 192.168.100.100:80 -s rr                #### 可以 ipvsadm -ln 檢視下
[root@localhost ~]# ipvsadm -a -t 192.168.100.100:80 -r 192.168.100.22:80 -g -w 1
[root@localhost ~]# ipvsadm -a -t 192.168.100.100:80 -r 192.168.100.23:80 -g -w 1
[root@localhost ~]# ipvsadm-save > /opt/ipvsadm

[root@localhost ~]# ipvsadm -ln
IP Virtual Server version 1.2.1 (size=4096)
Prot LocalAddress:Port Scheduler Flags
  -> RemoteAddress:Port           Forward Weight ActiveConn InActConn
TCP  192.168.100.100:80 rr
  -> 192.168.100.22:80            Route   1      0          0
  -> 192.168.100.23:80            Route   1      0          0
設定 NFS共用儲存(192.168.100.24)
rpm -q nfs-utils    ###如果沒裝,yum -y install nfs-utils
rpm -q rpcbind      ###如果沒裝,yum -y install rpcbind

[root@localhost ~]# mkdir /opt/51xue /opt/52xue
[root@localhost ~]# echo 'i am superman 51xue' > /opt/51xue/index.html
[root@localhost ~]# echo 'you are pig 52xue' > /opt/52xue/index.html
[root@localhost ~]# vi /etc/exports                          #####新增下面二行(共用出去)
/opt/51xit 192.168.100.0/24 (rw,sync)
/opt/52xit 192.168.100.0/24 (rw,sync)

[root@localhost ~]# systemctl start rpcbind
[root@localhost ~]# systemctl enable rpcbind
[root@localhost ~]# systemctl start nfs
[root@localhost ~]# systemctl enable nfs
[root@localhost ~]# showmount -e
Export list for localhost.localdomain:
/opt/52xue 192.168.100.0/24
/opt/51xue 192.168.100.0/24
設定 節點伺服器(192.168.100.22)
【1】設定虛擬IP地址
[root@localhost ~]# cd /etc/sysconfig/network-scripts/
[root@localhost network-scripts]# cp ifcfg-lo ifcfg-lo:0
[root@localhost network-scripts]# vi ifcfg-lo:0

DEVICE=lo:0
IPADDR=192.168.100.10
NETMASK=255.255.255.255
ONBOOT=yes

[root@localhost network-scripts]# ifup lo:0
[root@localhost network-scripts]# ip addr                   ####我是最小化安裝
看看 lo:0 介面上設的IP是否出現

[root@localhost network-scripts]# vi /etc/rc.local
/sbin/route add -host 192.168.100.100 dev lo:0                 ####在末尾新增

[root@localhost network-scripts]# route add -host 192.168.100.100 dev lo:0
( -bash: route: command not found     #### 出現這個報錯就 yum -y install net-tools 安裝這個工具)
【2】調整/proc響應引數
[root@localhost network-scripts]# vi /etc/sysctl.conf

net.ipv4.conf.all.arp_ignore = 1
net.ipv4.conf.all.arp_announce = 2
net.ipv4.conf.default.arp_ignore = 1
net.ipv4.conf.default.arp_announce = 2
net.ipv4.conf.lo.arp_ignore = 1
net.ipv4.conf.lo.arp_announce = 2

[root@localhost network-scripts]# sysctl -p                    ####檢視是否生效
net.ipv4.conf.all.arp_ignore = 1
net.ipv4.conf.all.arp_announce = 2
net.ipv4.conf.default.arp_ignore = 1
net.ipv4.conf.default.arp_announce = 2
net.ipv4.conf.lo.arp_ignore = 1
net.ipv4.conf.lo.arp_announce = 2
【3】安裝httpd 掛載測試頁
[root@localhost ~]# yum -y install httpd
[root@localhost ~]# systemctl start httpd
[root@localhost ~]# systemctl enable httpd
[root@localhost ~]# yum -y install nfs-utils
[root@localhost ~]# mount 192.168.100.24:/opt/51xue /var/www/html/
[root@localhost ~]# df -Th                       ####檢視掛載情況
[root@localhost ~]# vi /etc/fstab
192.168.100.24:/opt/51xue /var/www/html nfs defaults,_netdev 0 0        ###開機自動掛載,注意格式對齊
[root@localhost ~]# systemctl start nfs
[root@localhost ~]# systemctl enable nfs

[root@localhost ~]# showmount -e 192.168.100.24        ####如果還沒釋出,請到儲存伺服器釋出下,exportfs -rv(如果報錯就是設定出錯了)
Export list for 192.168.100.24:
/opt/52xue 192.168.100.0/24
/opt/51xue 192.168.100.0/24
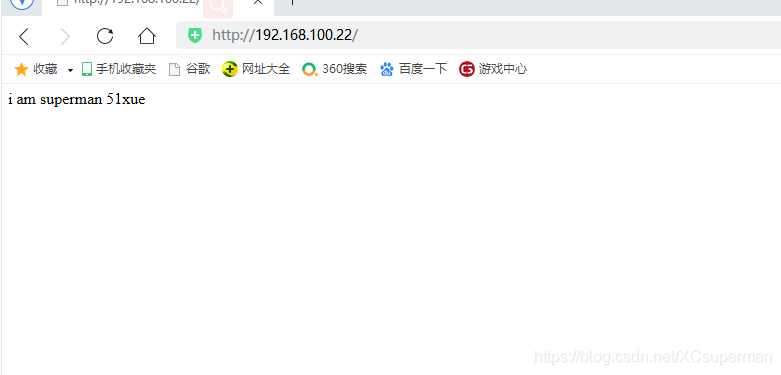
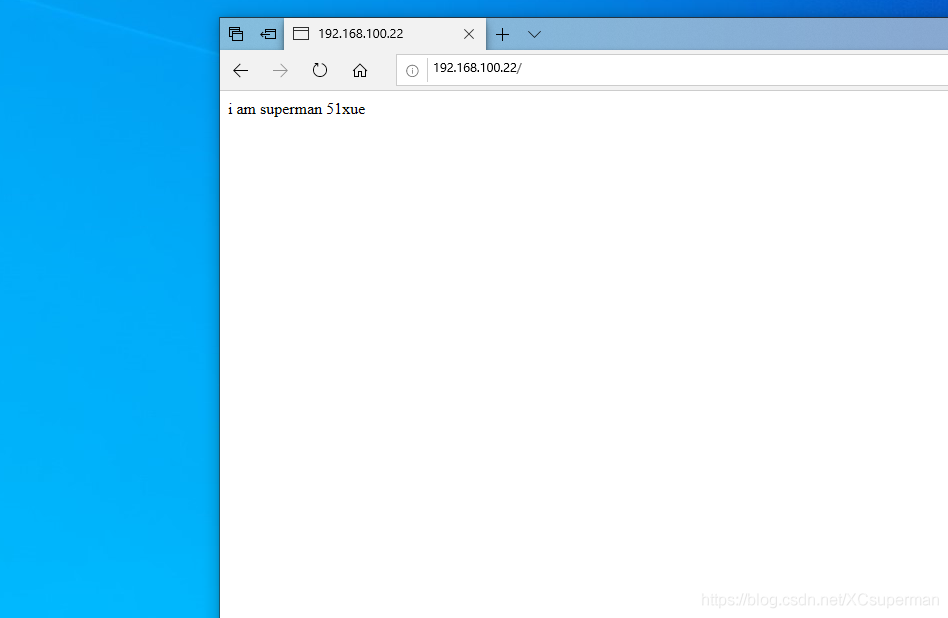
- 登入192.168.100.22測試網站是否正常
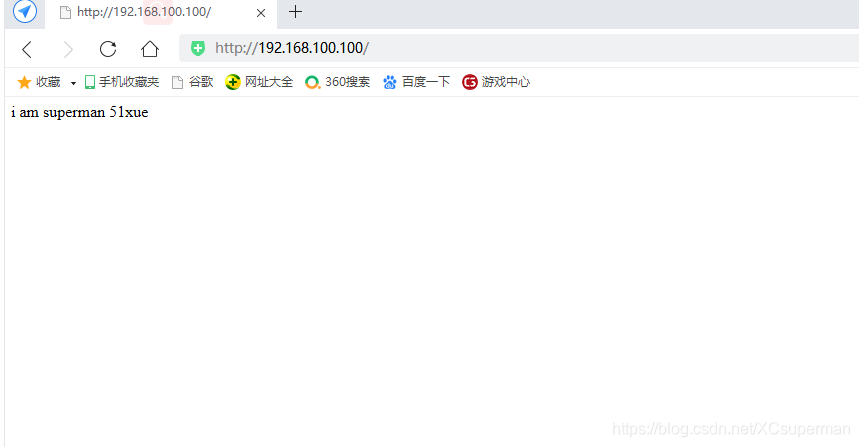
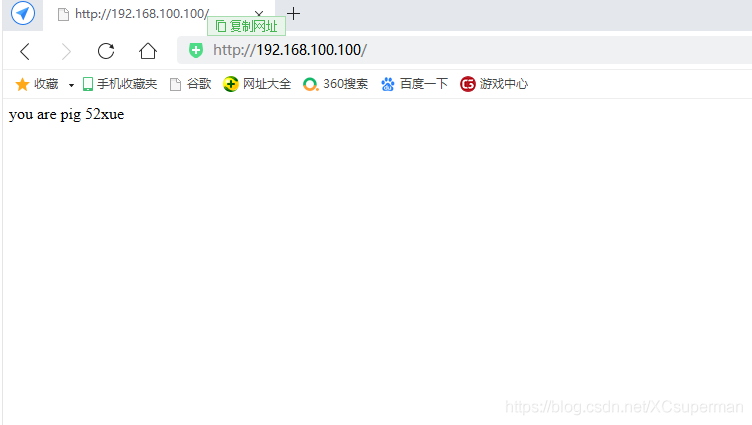
真機測試:
客戶機測試:
設定 節點伺服器(192.168.100.23)
【1】設定虛擬IP地址
[root@localhost ~]# cd /etc/sysconfig/network-scripts/
[root@localhost network-scripts]# cp ifcfg-lo ifcfg-lo:0
[root@localhost network-scripts]# vi ifcfg-lo:0

DEVICE=lo:0
IPADDR=192.168.100.100
NETMASK=255.255.255.255
ONBOOT=yes

[root@localhost network-scripts]# ifup lo:0
[root@localhost network-scripts]# ip addr              ####我是最小化安裝
看看 lo:0 介面上設的IP是否出現

[root@localhost network-scripts]# vi /etc/rc.local
/sbin/route add -host 192.168.100.100 dev lo:0                ####在末尾新增

[root@localhost network-scripts]# route add -host 192.168.100.100 dev lo:0
( -bash: route: command not found     #### 出現這個報錯就 yum -y install net-tools 安裝這個工具)
【2】調整/proc響應引數
[root@localhost network-scripts]# vi /etc/sysctl.conf

net.ipv4.conf.all.arp_ignore = 1
net.ipv4.conf.all.arp_announce = 2
net.ipv4.conf.default.arp_ignore = 1
net.ipv4.conf.default.arp_announce = 2
net.ipv4.conf.lo.arp_ignore = 1
net.ipv4.conf.lo.arp_announce = 2

[root@localhost network-scripts]# sysctl -p                 ####檢視是否生效

   ...............
【3】安裝httpd 掛載測試頁
[root@localhost ~]# yum -y install httpd
[root@localhost ~]# systemctl start httpd
[root@localhost ~]# systemctl enable httpd
[root@localhost ~]# yum -y install nfs-utils
[root@localhost ~]# mount 192.168.100.24:/opt/52xue /var/www/html/
[root@localhost ~]# df -Th                       ####檢視掛載情況
[root@localhost ~]# vi /etc/fstab
192.168.100.24:/opt/52xue /var/www/html nfs defaults,_netdev 0 0        ###開機自動掛載,注意格式對齊
[root@localhost ~]# systemctl start nfs
[root@localhost ~]# systemctl enable nfs

[root@localhost ~]# showmount -e 192.168.100.24
Export list for 192.168.100.24:
/opt/52xue 192.168.100.0/24
/opt/51xue 192.168.100.0/24
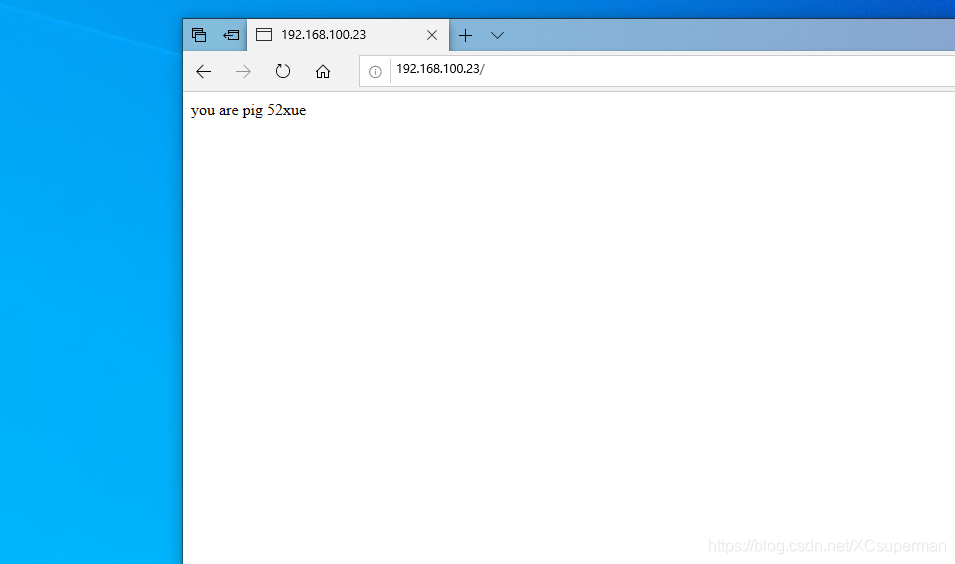
- 登入192.168.100.23測試網站是否正常
真機測試:

客戶機測試:
客戶機測試 LVS 負載均衡
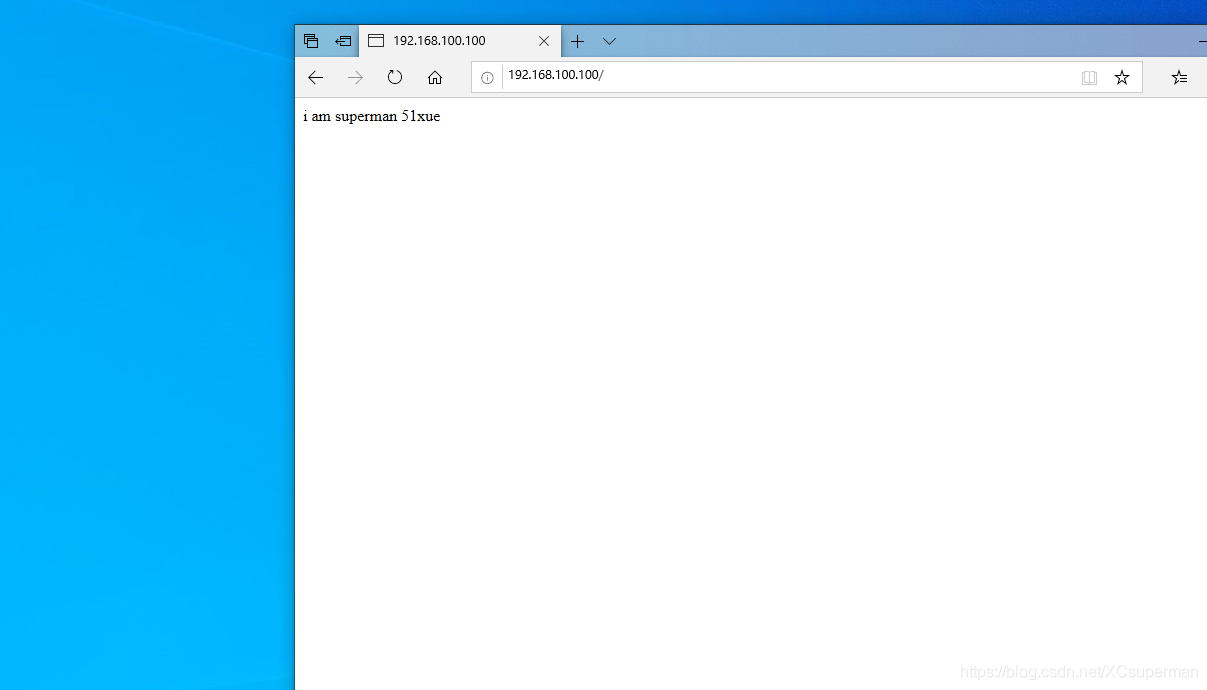
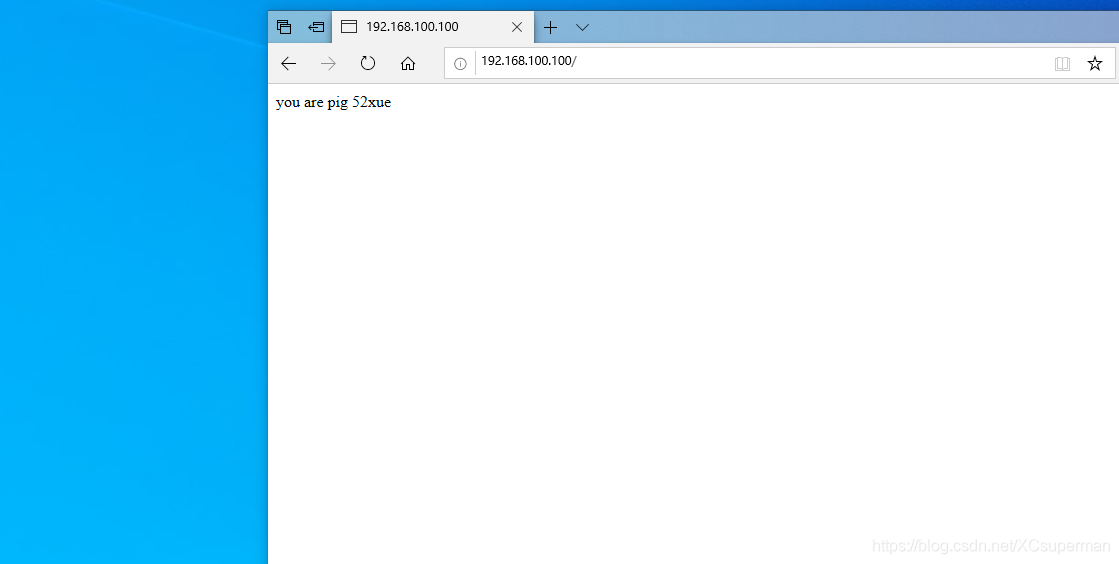
- 真機測試
