# Centos 7 yum 源搭建 LAMP 環境並部署WordPress部落格系統
2020-09-22 13:00:35
環境搭建過程如下
- 關閉系統的防火牆以及selinux
[root@LAMP ~]# systemctl stop firewalld
[root@LAMP ~]# systemctl disable firewalld
[root@LAMP ~]# vim /etc/selinux/config
.....
SELINUX=disabled
.....
[root@LAMP ~]# setenforce 0     //執行這個生效設定
注:因為centos 7源裡面沒有mysql的軟體包,所以我們用mariadb資料庫來代替mysql資料庫
如果實在想要用mysql資料庫,那麼還需要另行下mysql對應的rpm包
[root@LAMP ~]# wget http://dev.mysql.com/get/mysql57-community-release-el7-11.noarch.rpm
[root@LAMP ~]# rpm -ivh mysql57-community-release-el7-11.noarch.rpm
##下載包含mysql資料庫的yum源倉庫,然後在進行下載即可,如果系統存在一些mariadb包,那麼請使用yum remove -y mariadb* 來進行刪除即可
2.安裝LAMP環境所需的軟體`
[root@LAMP ~]# yum install -y httpd mariadb mariadb-server php php-mysql
#執行以上這個命令來進行安裝即可
3.然後我們啟動Apache伺服器
[root@LAMP ~]# systemctl start httpd
[root@LAMP ~]# ss -tan | grep 80
LISTEN     0      128       [::]:80                    [::]:*
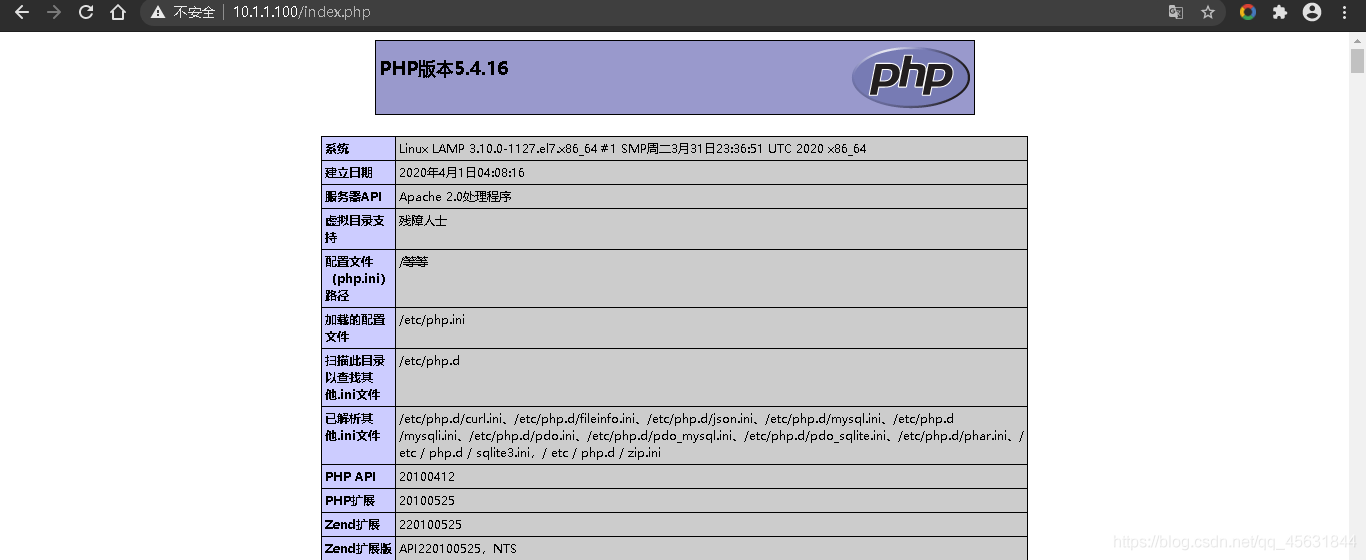
4.啟動完成以後,我們編寫一個PHP指令碼來看看httpd能否解析
[root@LAMP ~]# echo "<?php phpinfo(); ?>" > /var/www/html/index.php
#編寫一個如上的PHP指令碼
瀏覽器存取測試
5.開啟mariadb資料庫然後進行初始化操作
[root@LAMP ~]# systemctl start mariadb
[root@LAMP ~]# ss -tan | grep 3306
LISTEN     0      50           *:3306                     *:*
[root@LAMP ~]# mysql_secure_installation
#初始化資料庫
6.我們登入測試一下能否登入上去
[root@LAMP ~]# mysql -uroot -p
Enter password:
Welcome to the MariaDB monitor.  Commands end with ; or \g.
Your MariaDB connection id is 10
Server version: 5.5.65-MariaDB MariaDB Server

Copyright (c) 2000, 2018, Oracle, MariaDB Corporation Ab and others.

Type 'help;' or '\h' for help. Type '\c' to clear the current input statement.

MariaDB [(none)]>
7.接下來我們上傳WordPress部落格系統到Linux伺服器上進行解壓操作
[root@LAMP /]# ls
wordpress-4.9.4-zh_CN.tar.gz
[root@LAMP /]# tar -xf wordpress-4.9.4-zh_CN.tar.gz -C /var/www/html/
#然後我們進行解壓操作解壓到我們建立的目錄下
8.然後我們就可以去瀏覽器上存取WordPress然後進行安裝操作了
輸入:IP地址/wordpress 即可存取
#注:如果不想要輸入wordpress 向直接輸入 IP地址就可以存取那麼就需要修改httpd的組態檔了,如下:
[root@LAMP ~]# vim /etc/httpd/conf/httpd.conf
119 DocumentRoot "/var/www/html/WordPress"
124 <Directory "/var/www/html/WordPress">
125     AllowOverride None
126     # Allow open access:
127     Require all granted
128 </Directory>
#修改以上指定的行即可
9.然後我們進入WordPress的安裝介面
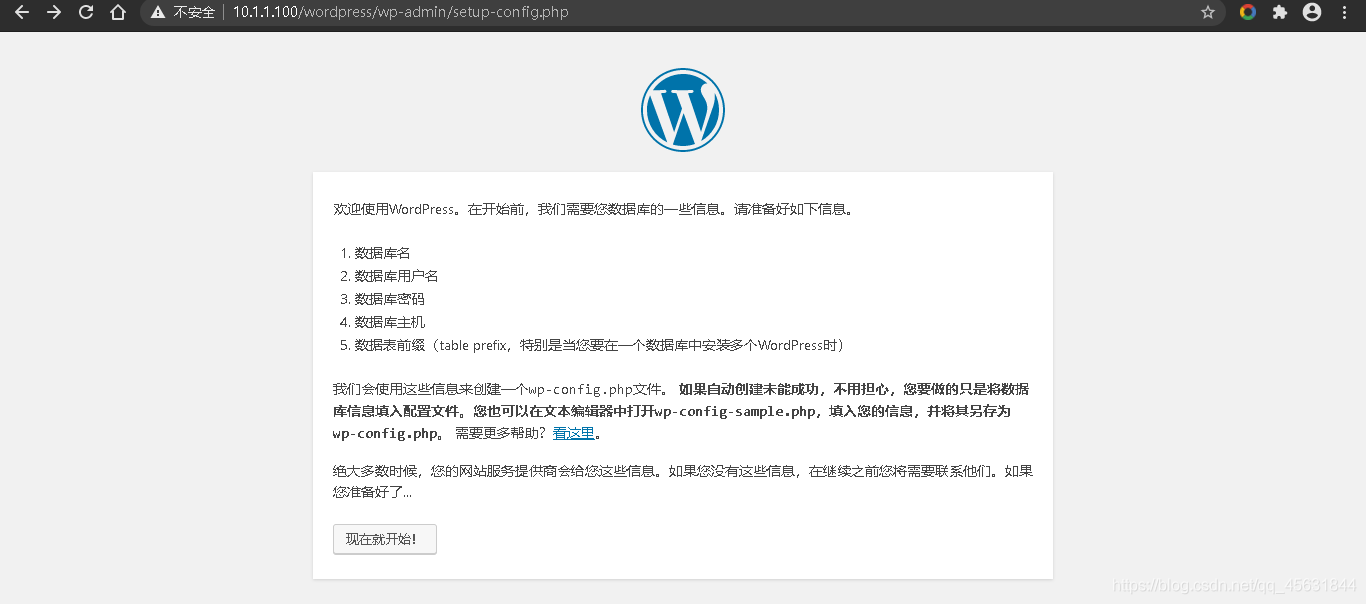
然後點選現在就開始
如果紅箭頭指的地方在mariadb資料庫裡面沒有這個資料庫,我們需要執行以下命令去進行建立 MariaDB [(none)]> create database wordpress;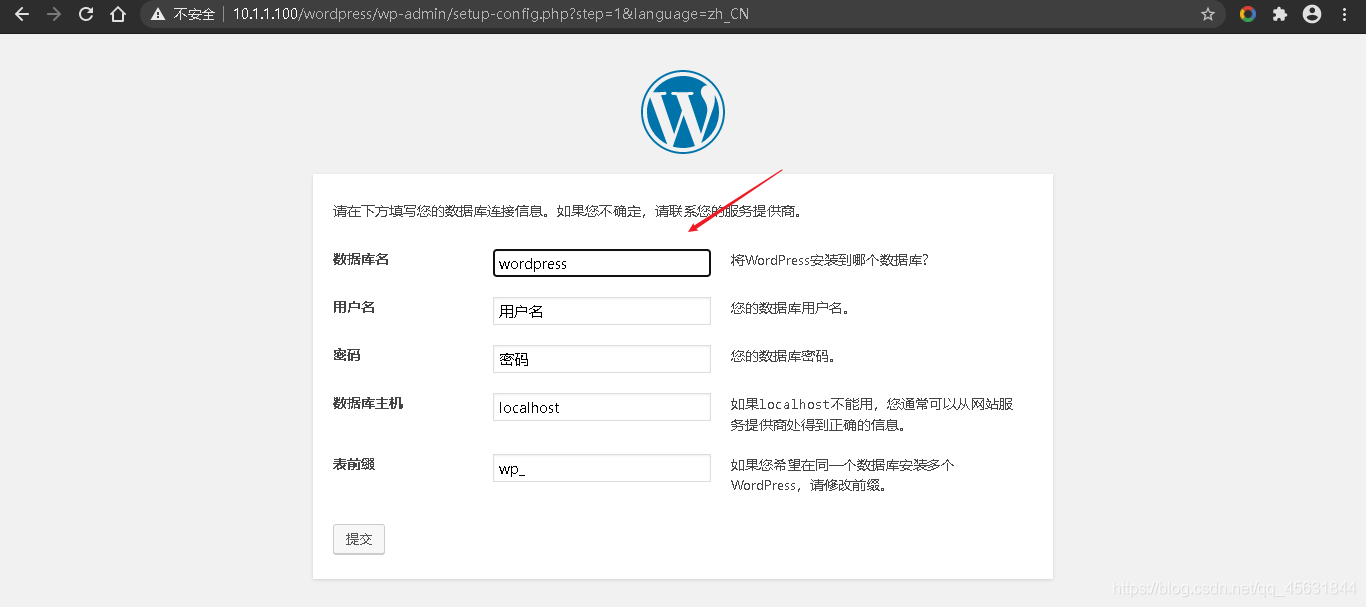
到了以下這一步就會要求你去指定的目錄下建立一個檔案並且把頁面給出的內容複製進入我們直接操作即可
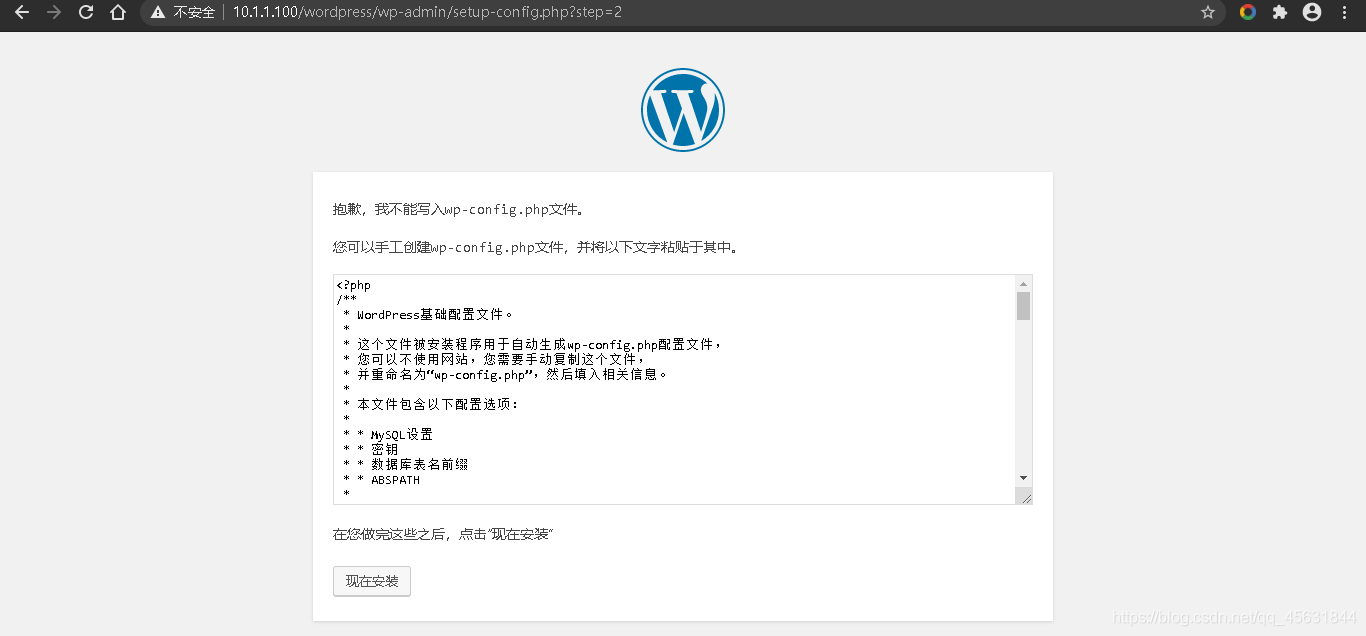
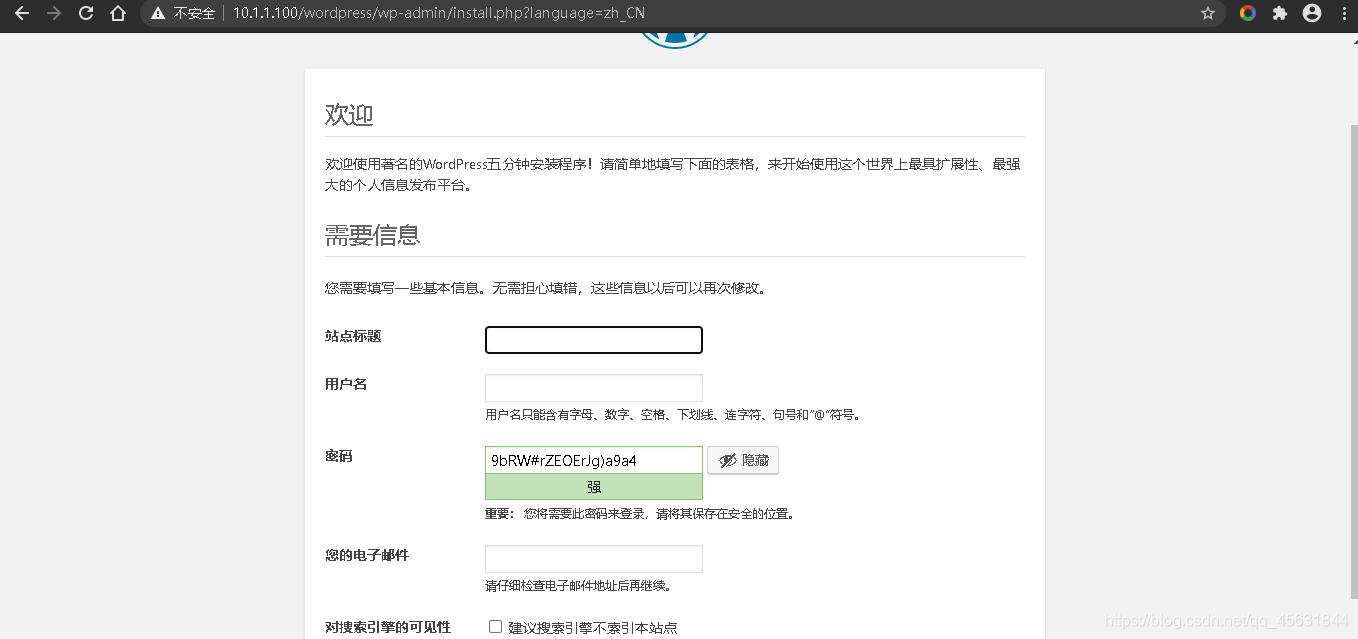
接下來我們就可以進行設定站點的各種資訊了
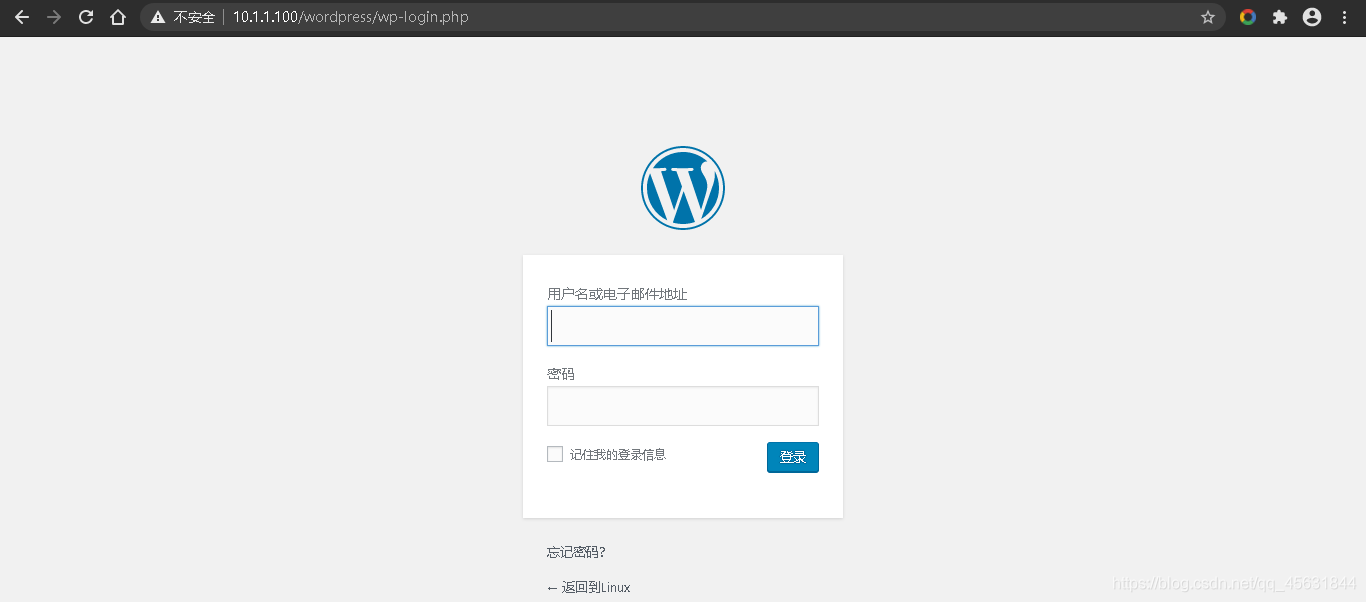
 最後的登入介面如下
**至此整個環境就搭建完成了,還是有很多不足的地方,待改進,還是一位正在努力的小白網工**